


BWLWAPG1000 Quick Start Guide
V1 .1
Table of Contents
1 – Introduction ........................................................................................... 1
2 – Logging into the B WRACWALL ........................................................ 2
3 – Navigating the Web GUI ..................................................................... 2
4 – Configuring the SSID .......................................................................... 3
5 – AP Association, Default AP Configu ration, Unique AP
Configuration ............................................................................................... 5
1–Introduction
This Quick Start Guide will help you configure the BWLWAPG1000. These basic
instructions will aide in setting up the lightweight access point, and will walk through and
managing BWLWAPG1000 lightweight access points.
Requirements: IMPORTANT
A computer running Windows 2000, Windows XP, Windows Vista or Mac that is
already connected to the internet and a BWRACWALL Access Controller
In the box you will receive a BWLWAPG1000, a power supply, an Ethernet
cable and a quick start guide.

2– Logging into the BWRACWALL
STEP 2.1
Plug an Ethernet cable from a computer into the LAN port of the BWRACWALL
STEP 2.2
Open up a browser window i.e.: Firefox, Explorer, Safari. The BWRACWALL runs a web
server IP (192.168.101.2) on its LAN connection.
STEP 2.3
Type 192.168.101.2 into the address bar
STEP 2.4
Input user name and password when prompt appears.
Default user name and password
Username: admin
Password: admin
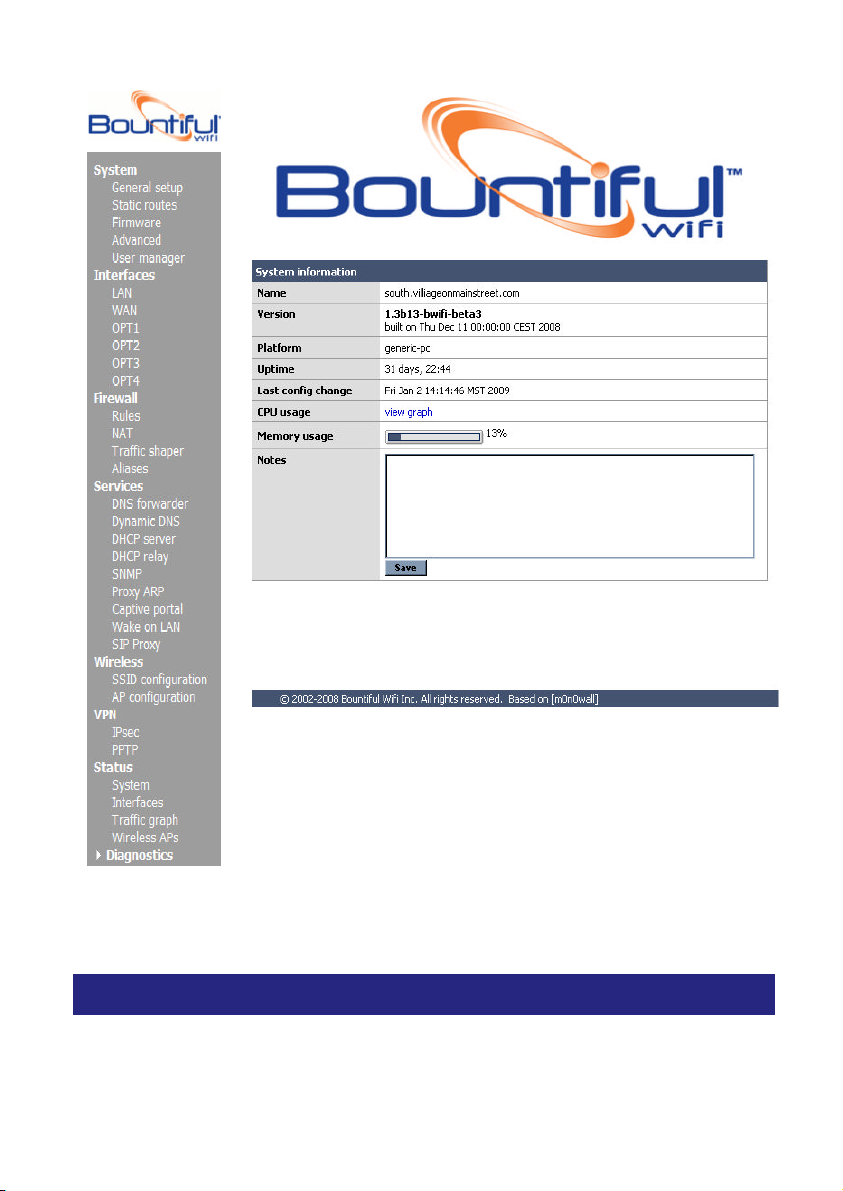
3– Navigating the web GUI
STEP 3.1
When you first access the Bountiful® Wi-Fi BWRACWALL web GUI, the system status
screen will appear. Along the left-hand side of all the screens is a menu to allow you to
navigate to other screens. The default Bountiful® Wi-Fi BWRACWALL configuration
may be sufficient for you. If not review the following sections.
Bountiful® Wi-Fi Quick Start Guide v1.1 2
4– Configuring the SSID
STEP 4.1
Click on SSID under Wireless section.
Bountiful® Wi-Fi Quick Start Guide v1.1 3

To make changes click on the for edit.
Click on to configure additional SSIDs.
Click on the to delete existing SSIDs.
Bountiful® Wi-Fi Quick Start Guide v1.1 4

STEP 4.2
Input an SSID in the given box. It is also suggested that you type a description but not
required.
STEP 4.3
Encryption- Determine the level of security you wish your wireless network to have.
Input a unique password and save the changes.
5– AP Association, Default AP
Configuration, Unique AP Configuration
STEP 5.1
AP Association:
STEP 5.1.1
Plug your BWLWAPG1000(s) (lightweight Bountiful® Wi-Fi Access Point(s) into your
BWRACWALL LAN port or into the switch used with your controller.
STEP 5.1.2
Wait a few minutes until your BWLWAPG1000 associates with the controller.
STEP 5.1.3
Go to the Wireless “AP Configuration”menu to verify that your BWLWAPG1000 has
succesfully associated. You will see your description, heartbeat, first SSID and
encryption presented on the screen. A green heartbeat signifies a successful and real
time association between AP and the BRWACWALL controller.
STEP 5.2
Default AP Configuration:
STEP 5.2.1
Bountiful® Wi-Fi Quick Start Guide v1.1 5

Under “AP Configuration” look for the “Default AP Configuration” tab.
STEP 5.2.2
Push the to begin configuring the default AP.
STEP 5.2.3
Here you can configure the following AP defaults: AP name, wireless status, channel,
SSID.
STEP 5.2.4
Press save when you are complete. All new APs will automatically be setup with your
default configuration.
Bountiful® Wi-Fi Quick Start Guide v1.1 6

STEP 5.3
Unique AP Configuration:
STEP 5.3.1
To change your configurations per AP return to the main wireless AP configuration
screen and press the next to the AP you would like to uniquely configure.
STEP 5.3.2
Here you can uniquely configure per AP the: AP name, MAC address, IP address, turn
off and on the default AP configuration, wireless status, WDS (bridge and repeater.
Please see user’s manual for more information on how to configure lightweight APs as
bridge or repeater), channel and SSID. Remember, your encryption is configured by
SSID under “wireless SSID configuration.”
STEP 5.3.3
Press Save when you are complete configuring your AP.
Bountiful® Wi-Fi Quick Start Guide v1.1 7

After you press save a red f
or “push configuration” will appear. Allow a few moments
for the configuration to finish. Some configurations may take longer than others. A
percentage sign will appear to indicate how much of the configuration has been
completed.
This completes the Quick Setup guide for the BWRACWALL controllers and
lightweight Access Points. If you would like assistance on setting up additional features
or would like a more in depth explanation on how to set up the controller, please go to
www.Bountifulwif.com and download the BWRACWALL users manual
Bountiful® Wi-Fi Quick Start Guide v1.1 8

 Loading...