

Page 1
1
BOSSCOM
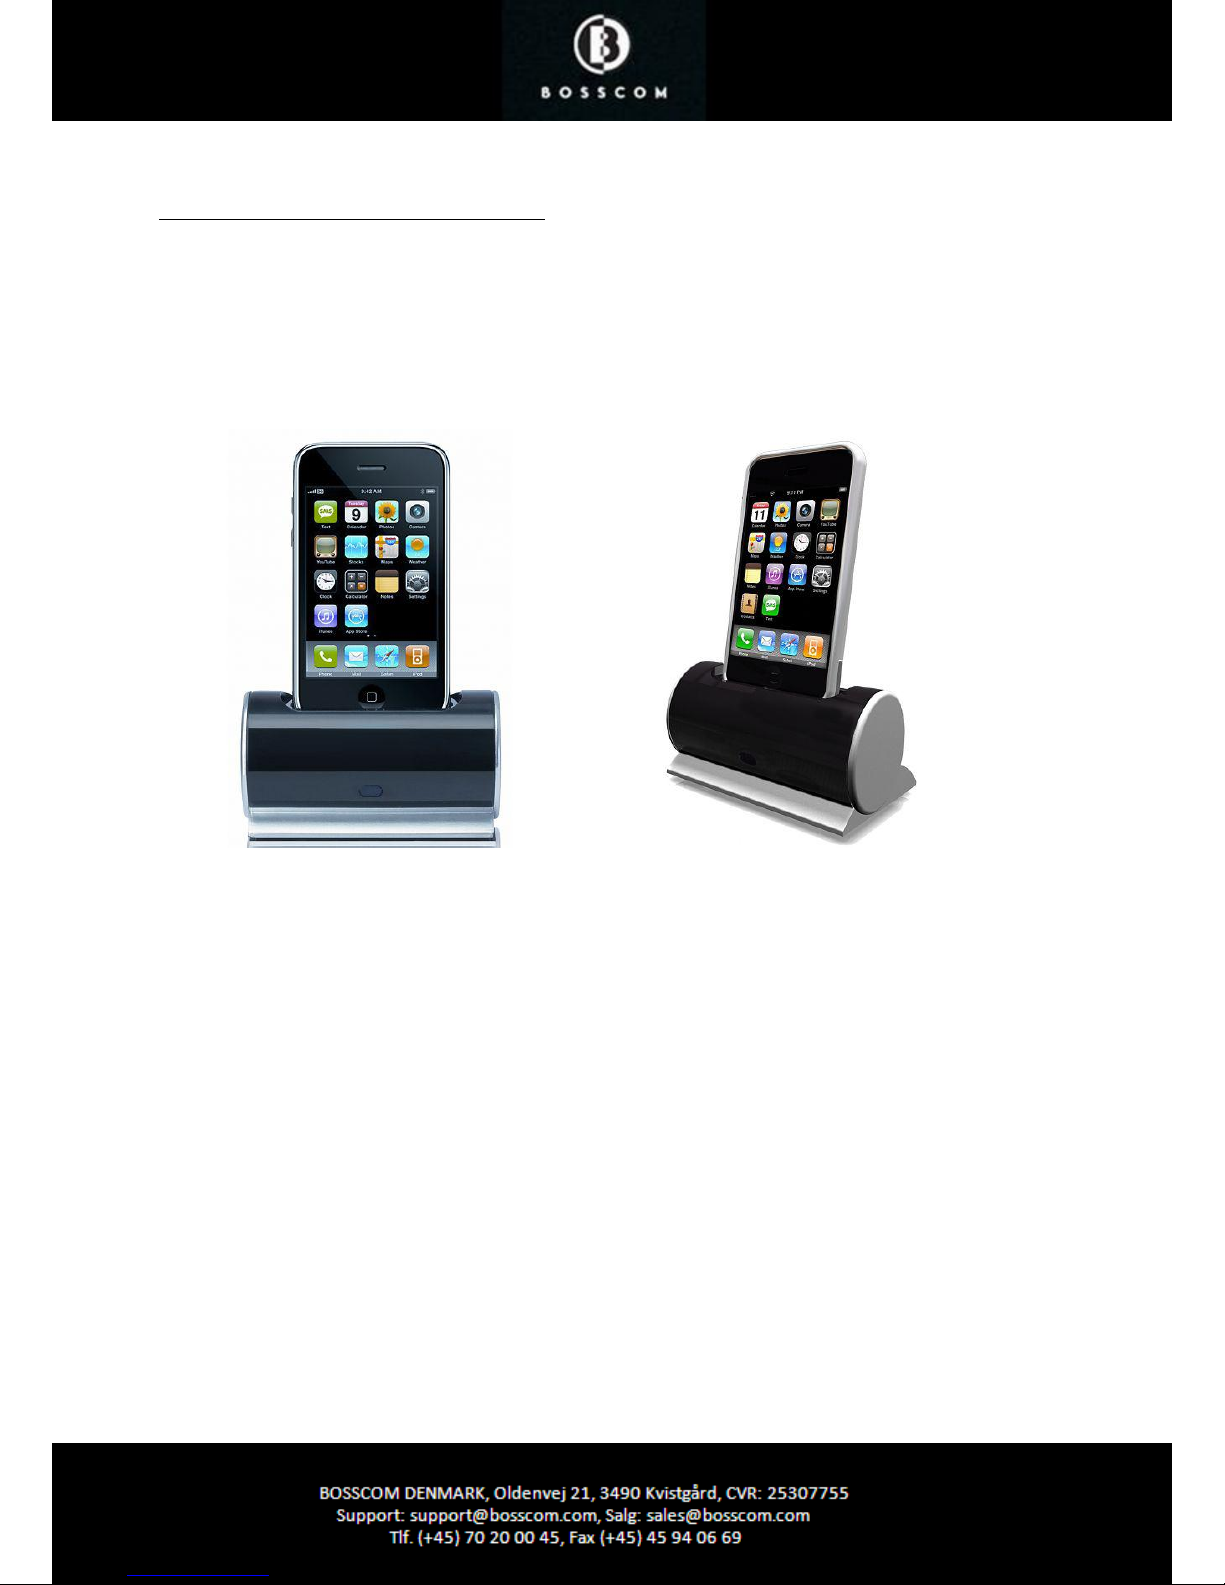
iPod Dock II for
B&O
(For most iPods, including Touch and iPhone)
User manual
With an iPod or iPhone inserted in the dock it can be operated and charged at the same time. When the
dock is connected to a Bang & Olufsen audio- or video system the dock’s iPod and the audio-video
system may be controlled with the same remote control, Beolink 1000, Beo4 or Beo5.
Page 2

2
Control with Beo4 or Beo5
oo Select
o A Menu
o S Menu fw
A/ S Rew/ FF*1
D / F Up/ down
E/ R Menu – select *2
q Play/ pause
o Play/ pause
(Press for 2 secs)*3
By selecting the correct source on the
Bang & Olufsen remote control terminal,
the BOSSCOM iPod Dock II is
automatically turned on.
Note !
When your iPod is inserted into the dock,
it is operable after exchanging data with
the dock within 10-15 secs.
*1
Prev./next track when playing music.
*2
The coloured button functionality is always
available in the Direct Mode, but not in the
CableLink Mode in all Bang & Olufsen
equipment.
*3
This functionality is only available with Beo4
with
SW 3.0 or higher.
Control with Beolink1000
pp Select
p Z Menu
p X Menu fw
Z/ X Rew/ FF*1
C/ V Up/ down
q Play/ pause
Page 3

3
Contents
Page
4.......................Getting Started
4.......................Direct Mode or Cable Link Mode
4....................
...
Factory Settings
5......................Installation
5..........
..........
Examples of Bang & Olufsen Set Ups
6......................Setting Up the BOSSCOM iPod Dock II
6......................Option Programming
7......................Source and Option Selection
12....................Setting Up the BOSSCOM iPod Dock II
12....................Setting Up for Video Output
13....................Connecting as an AV Source
13....................Specifications
Page 4

4
Getting Started
This BOSSCOM iPod Dock II has been re-designed for operation in a Bang & Olufsen remote control
system allowing full control with a Bang & Olufsen remote control terminal either directly or via
connection to Bang & Olufsen equipment.
This dock is BeoLink compatible.
If the Bang & Olufsen system comprises one or more link rooms in a BeoLink System sound may be
distributed to these rooms, and in some cases – see below – the docked device might even be controlled
from there.
Connect the BOSSCOM iPod Dock II to a Bang & Olufsen audio or video system as any vacant audio- or
AV input source. Setting up Bang & Olufsen systems may vary, and this user guide describes how.
Direct Mode or CableLink Mode
The BOSSCOM iPod Dock II is always connected to Bang & Olufsen equipment with the 7-pin DINcable, but through option programming it may be controlled as follows:
1. Via dock’s built in IR receiver, ”Direct Mode”
Direct Mode is used when connection to an input with control data is not possible.
2. Via the cable connected Bang & Olufsen equipment, ”CableLink Mode”
CableLink Mode is used when connection to an input with control data is possible.
Factory Settings
The factory setting is for control is “Direct Mode”.
The factory setting for input socket and selected source is:
· Beo4 og Beo5 N.MUSIC, A.MEM2 or.TAPE2
· Beolink 1000 SHIFT A.TAPE
If the BOSSCOM iPod Dock II is connected to a different input, the option should be programmed
accordingly. See page 6 for Option Programming
Page 5
5
Installation
________________________________________________________________________
· Select option and complete option programming, if required
· Connect the BOSSCOM iPod Dock II to the correct input socket
· Connect power supply to the dock
· Select the source on the remote control terminal
By selecting the correct source on the Bang & Olufsen remote control terminal, the BOSSCOM
iPod Dock II is automatically turned on.
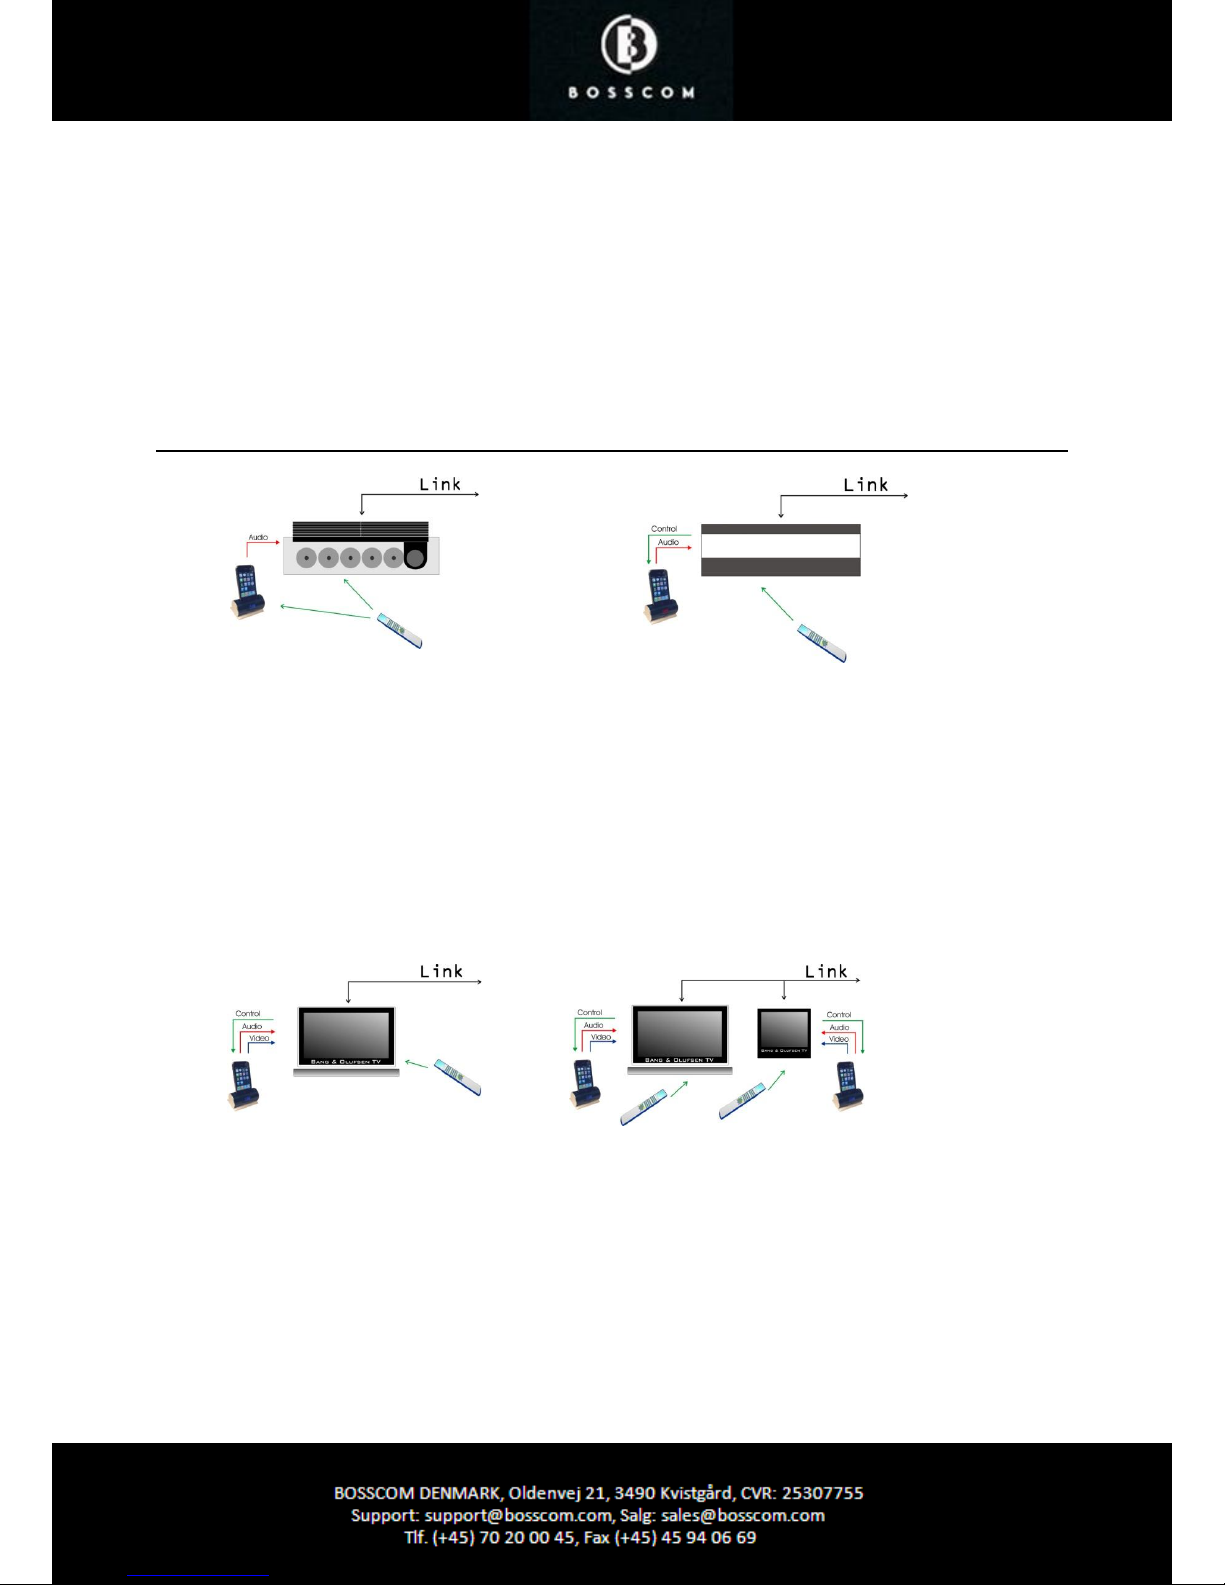
Examples of Bang & Olufsen Set Ups
Set Up for Direct Control
The Bang & Olufsen remote terminal controls both
the BOSSCOM iPod Dock II and the Bang &
Olufsen audio equipment.
When selecting the dock connected source with
the Bang & Olufsen remote the corresponding
input socket is opened, and the dock is turned on
simultaneously.
The docked iPod may be listened to in any
connected linkroom, but not controlled from there.
Set Up for CableLink Control.
The Bang & Olufsen remote terminal controls the
BOSSCOM iPod Dock II via the Bang & Olufsen
audio equipment that is transmitting control data via
the 7-pin DIN connection cable.
When selecting the dock connected source with the
Bang & Olufsen remote terminal the corresponding
input socket is opened, control data transmitted via
the connection cable and the dock is turned on.
Control data is only available via some input sockets
in various Bang & Olufsen audio equipment.
A BOSSCOM iPod Dock II connected via CableLink
may be controlled from any connected linkroom.
Set Up for CableLink Control
The BOSSCOM iPod Dock II is connected as an
AV source to an AV input in a Bang & Olufsen TV.
When selecting the dock connected source with
the Bang & Olufsen remote terminal the
corresponding AV input socket is opened, control
data transmitted via the connection cable and the
dock is turned on.
A BOSSCOM iPod Dock II connected via
CableLink may be controlled from any connected
linkroom.
Set Up for Direct Control
A BOSSCOM iPod Dock II may be connected to any
TV and with a dock in each room individual program
selection is possible- and every docked iPod is always
fully charged.
Page 6
6
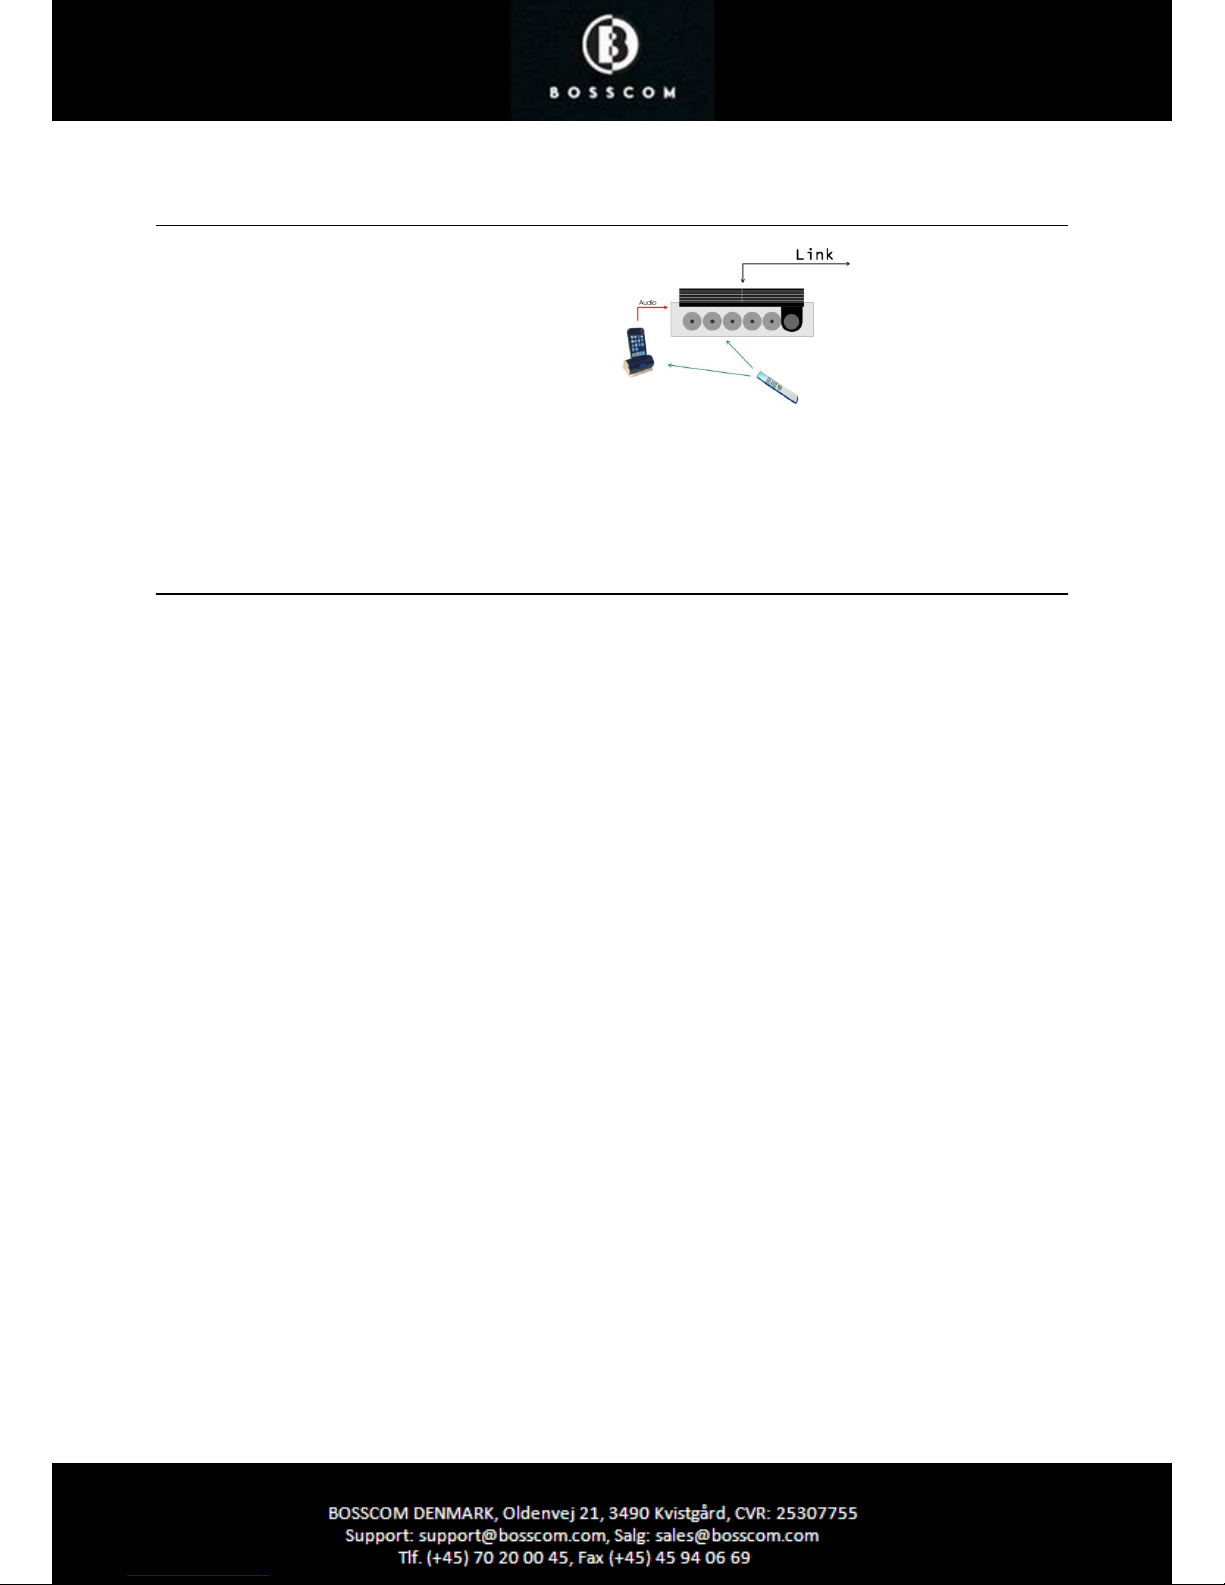
Setting up the BOSSCOM iPod Dock II for the Direct Mode using a Bang
& Olufsen Remote Control
In the Direct Mode the Bang & Olufsen remote
control signal controls both the BOSSCOM iPod
Dock II and the Bang & Olufsen equipment at the
same time.
Thus the dock must be programmed to respond to
the correct signals.
In the Direct Mode the docked iPod may be listened to
from any link room, but cannot be controlled from there.
The Direct Mode will work in any setup, but the dock’s IR-receiver is NOT plasma-safe. If there is a plasma panel in
the room, an external plasma-safe IR-receiver has to be used.
Option Programming
Option programming is required only when installing dock. The programming is performed with a Bang &
Olufsen remote control terminal by pressing a 5 button sequence within 4 seconds after powering up the
dock.
When powering up the dock the red control lights up for 4 seconds, and the programming has to take
place before the control turns blue. If not successful the operation may be repeated.
Programming starts by pressing STOP and ends by pressing RECORD. All options have 3 digits to be
entered in between.
Option 106 is entered like this:
LIGHT – 1 – 0 – 6 - STANDBY
Page 7
7
Source & Option Selection
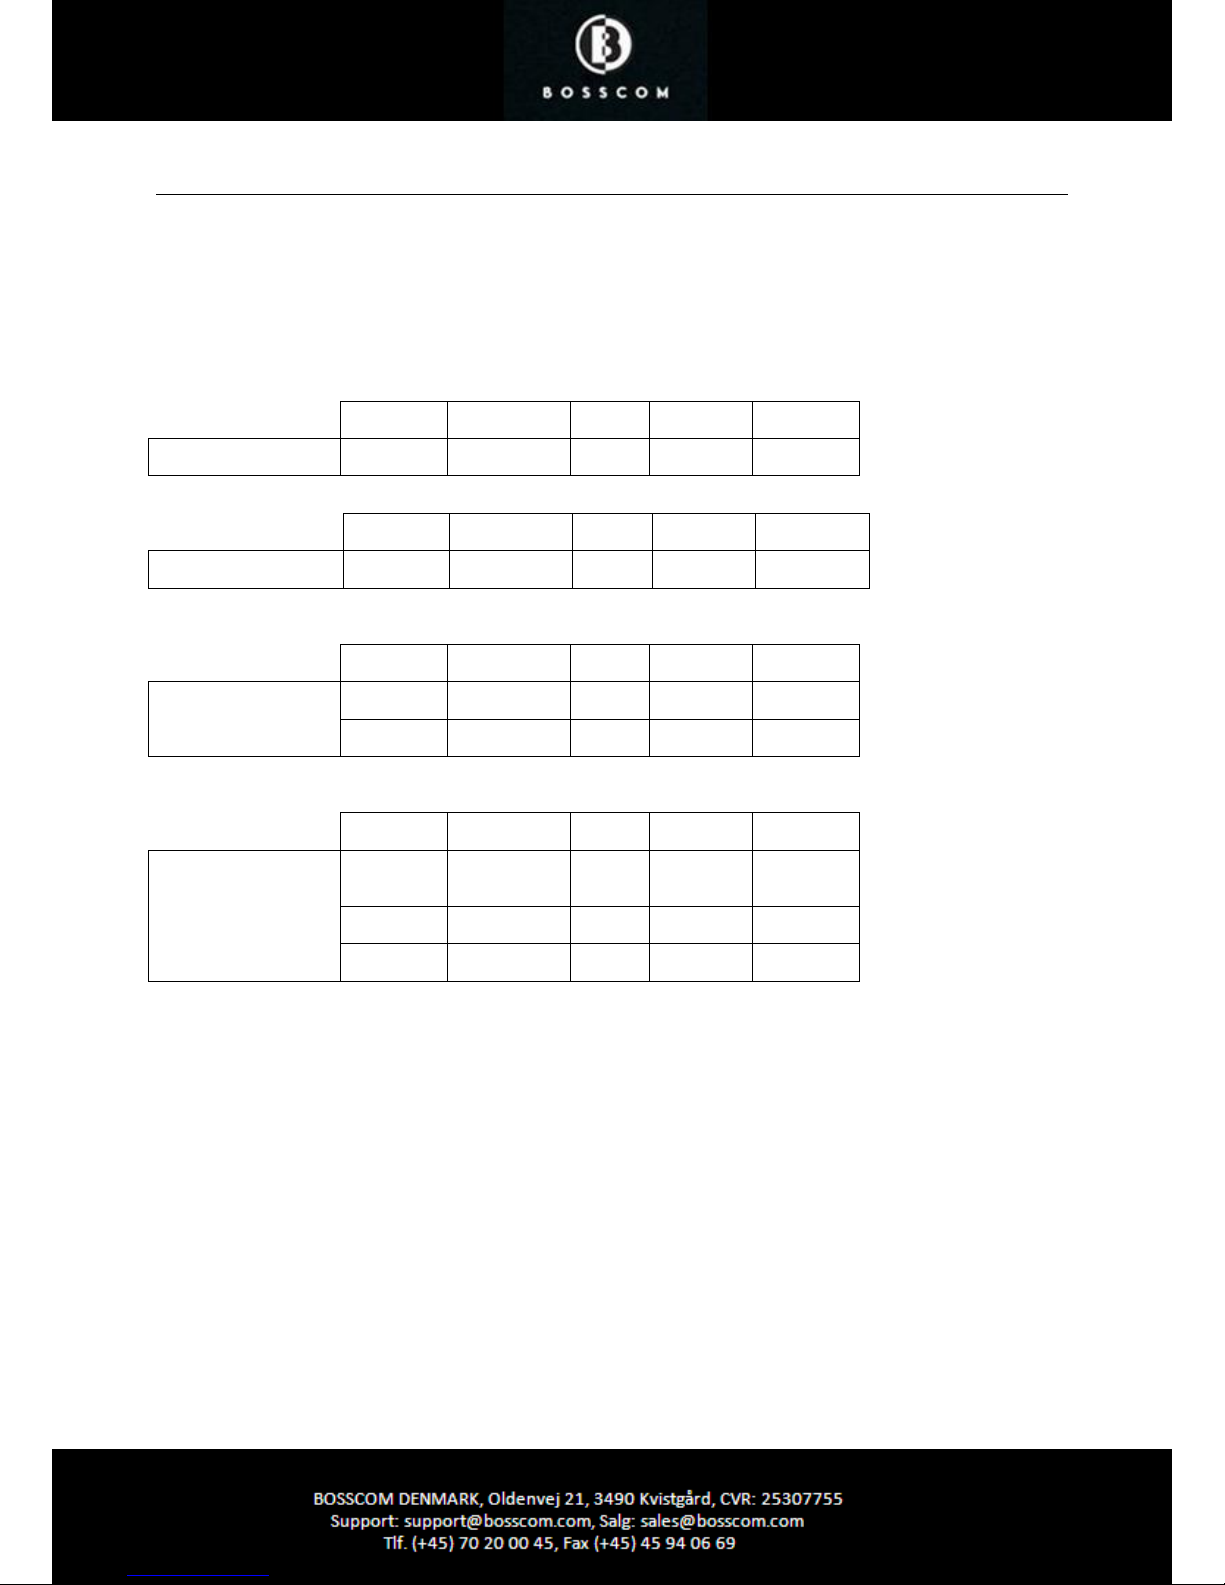
The following tables show the available input sockets in various Bang & Olufsen audio and video products,
how to select them using a remote control terminal and what the corresponding option program of the
BOSSCOM iPod Dock II should be.
The BOSSCOM iPod Dock II has to be programmed with the right option to operate correctly. See page
5 and 6.
Input
Socket
Selected
Source
Direct
Option
CableLink
Option
Remarks
BeoCenter 2 AUX-IN A.AUX
SHIFT RADIO
100 - *2
Input
Socket
Selected
Source
Direct
Option
CableLink
Option
Remarks
BeoSound 4 AUX A.AUX
SHIFT RADIO
100 - *2
Input
Socket
Selected
Source
Direct
Option
CableLink
Option
Remarks
BeoSound 1 AUX A.AUX
SHIFT RADIO
100 - *3
AUX A.MEM,
ATAPE
102 - *3
Input
Socket
Selected
Source
Direct
Option
CableLink
Option
Remarks
BeoSound Century AUX N.MUSIC
A.MEM2
SHIFT ATAPE
103 - *3
AUX N.RADIO
PHONO
106 - *3
AUX A.AUX
SHIFT RADIO
100 - *3
*1 Input with control data via cable
*2 RCA in/ out
*3 DIN in/ out
*4 No numeric data via cable. The Direct Mode option is recommended as an alternative.
Page 8
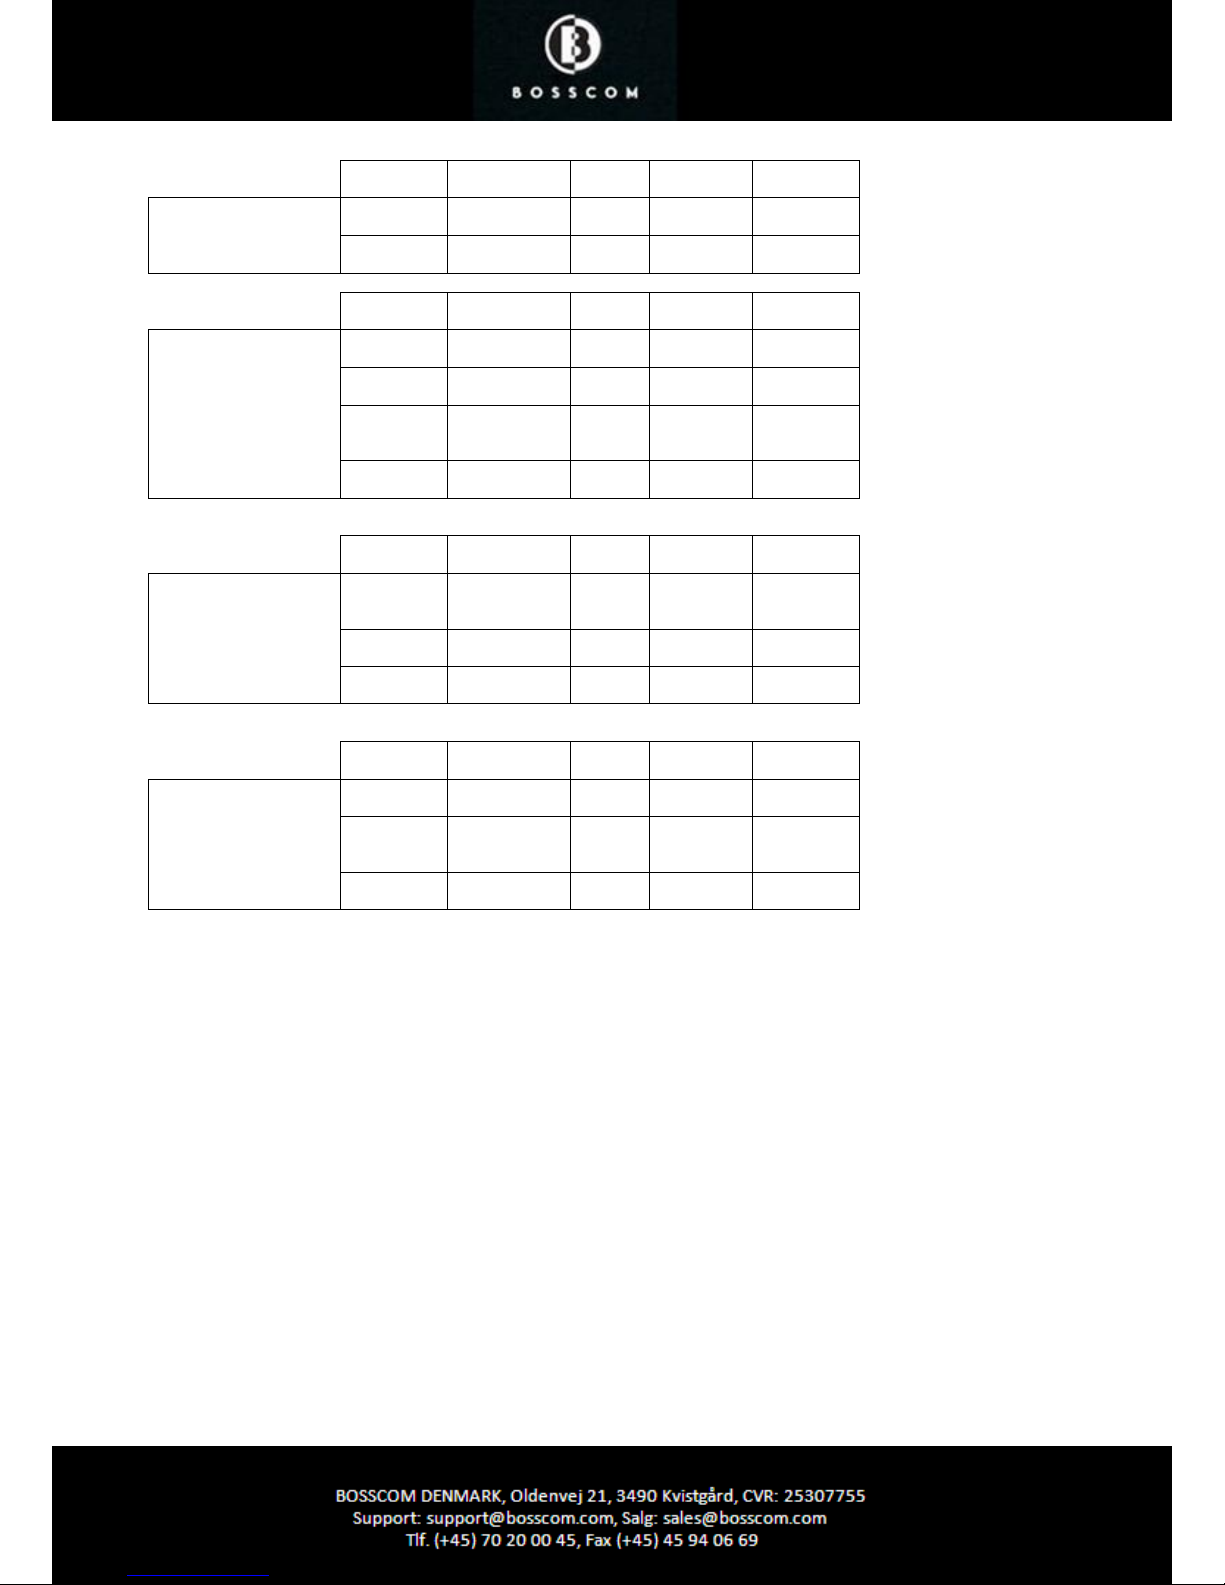
8
Input
Socket
Selected
Source
Direct
Option
CableLink
Option
Remarks
BeoSound 9000 AUX A.AUX
SHIFT RADIO
100 - *3
AUX A.MEM
ATAPE
102 - *3
Input
Socket
Selected
Source
Direct
Option
CableLink
Option
Remarks
BeoSound 3000
BeoSound 3200
AUX A.AUX
SHIFT RADIO
100 - *3
AUX A.MEM
ATAPE
102 - *3
AUX N.MUSIC
A.MEM2
SHIFT ATAPE
103 - *3
AUX N.RADIO
PHONO
106 - *3
Input
Socket
Selected
Source
Direct
Option
CableLink
Option
Remarks
BeoSound
Ouverture
AUX N.MUSIC
A.MEM2
SHIFT ATAPE
103 302 *1 *4
AUX N.RADIO
PHONO
106 206 *1 *4
AUX A.AUX
SHIFT RADIO
100 - *1 *4
Input
Socket
Selected
Source
Direct
Option
CableLink
Option
Remarks
BeoSystem 2500 AUX A.AUX
SHIFT RADIO
100 - *1 *4
AUX N.MUSIC
A.MEM2
SHIFT ATAPE
103 302 *1 *4
AUX N.RADIO
PHONO
106 206 *1 *4
*1 Input with control data via cable
*2 RCA in/ out
*3 DIN in/ out
*4 No numeric data via cable. The Direct Mode option is recommended as an alternative.
Page 9
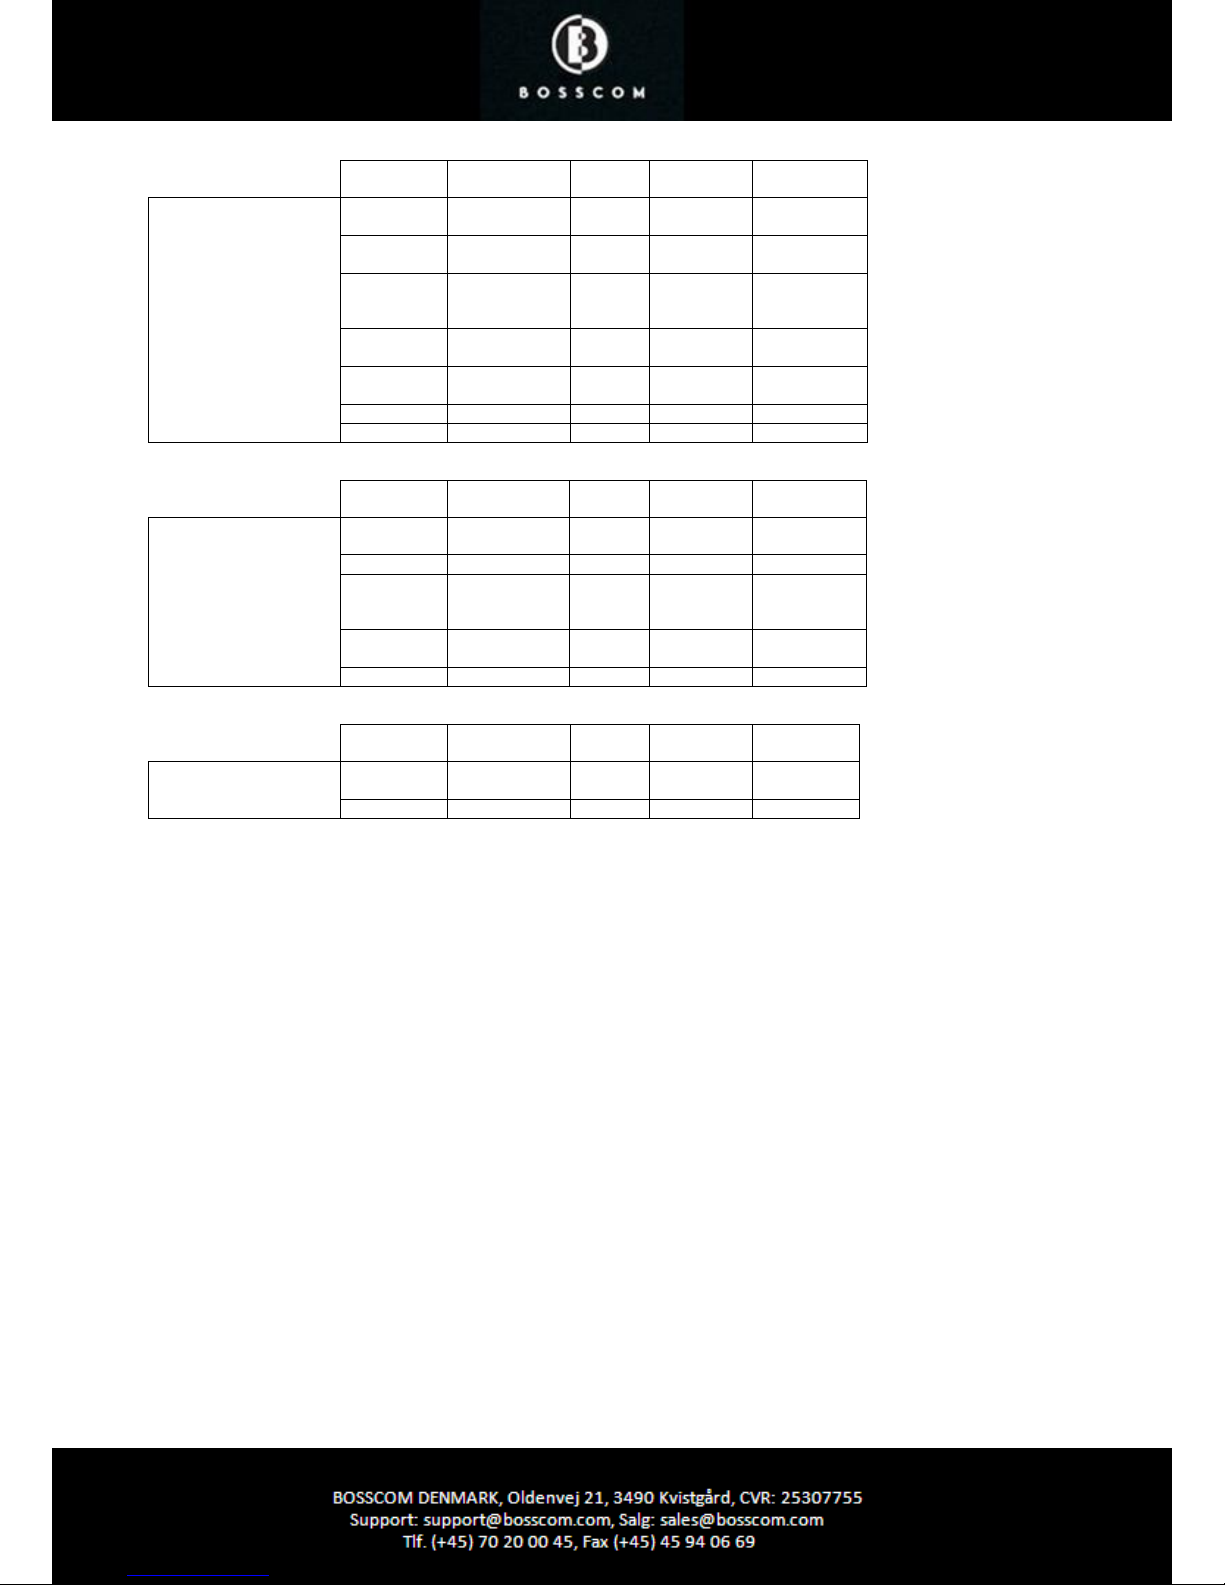
9
Input
Socket
Selected
Source
Direct
Option
CableLink
Option
Remarks
BeoCenter 2300 AUX A.AUX
SHIFT RADIO
100 - *1 *4
AUX A.MEM
ATAPE
102 302 *1 *4
AUX N.MUSIC
A.MEM2
SHIFT ATAPE
103 302 *1 *4
AUX N.RADIO
PHONO
106 206 *1 *4
AUX V.TAPE
V.MEM
110 - *5
AUX DTV – SAT 116 - *5
AUX DVD 114 - *5
Input
Socket
Selected
Source
Direct
Option
CableLink
Option
Remarks
BeoMaster 3500
BeoMaster 4500
BeoMaster 6500
BeoMaster 7000
TP1 A.MEM
ATAPE
102 302 *1
CD CD 104 204 *1
TP2 N.MUSIC
A.MEM2
SHIFT ATAPE
103 302 *1
PHONO N.RADIO
PHONO
106 206 *1
AUX A.AUX 100 -
Input
Socket
Selected
Source
Direct
Option
CableLink
Option
Remarks
BeoMaster 3300
BeoMaster 5500
TP A.MEM
A.TAPE
102 302 *1 *4
CD CD 104 204 *1 *4
*1 Input with control data via cable
*2 RCA in/ out
*3 DIN in/ out
*4 No numeric data via cable. The Direct Mode option is recommended as an alternative.
*5 Audiomaster in option2
Page 10

10
Input
Socket
Direc
t
Optio
n
CableLin
k Option
Remarks
BeoCenter 8000
TAPE2
103 302 *1 *4
Input
Socket
Selected
Source
Direc
t
Optio
n
CableLin
k Option
Remarks
BeoCenter 8500
BeoCenter 9000
BeoCenter 9500
TAPE2 N.MUSIC
A.MEM2
SHIFT
A.TAPE
103 302 *1 *4
AUX A.AUX 100 -
Input
Socket
Selected
Source
Direc
t
Optio
n
CableLin
k Option
Remarks
BeoCenter 9300
PHONO N.RADIO
PHONO
106 206 *1 *4
TAPE2 N.MUSIC
A.MEM2
SHIFT
A.TAPE
103 302 *1 *4
AUX A.AUX 100 -
*1 Input with control data via cable
*2 RCA in/ out
*3 DIN in/ out
*4 No numeric data via cable. The Direct Mode option is recommended as an alternative.
Page 11
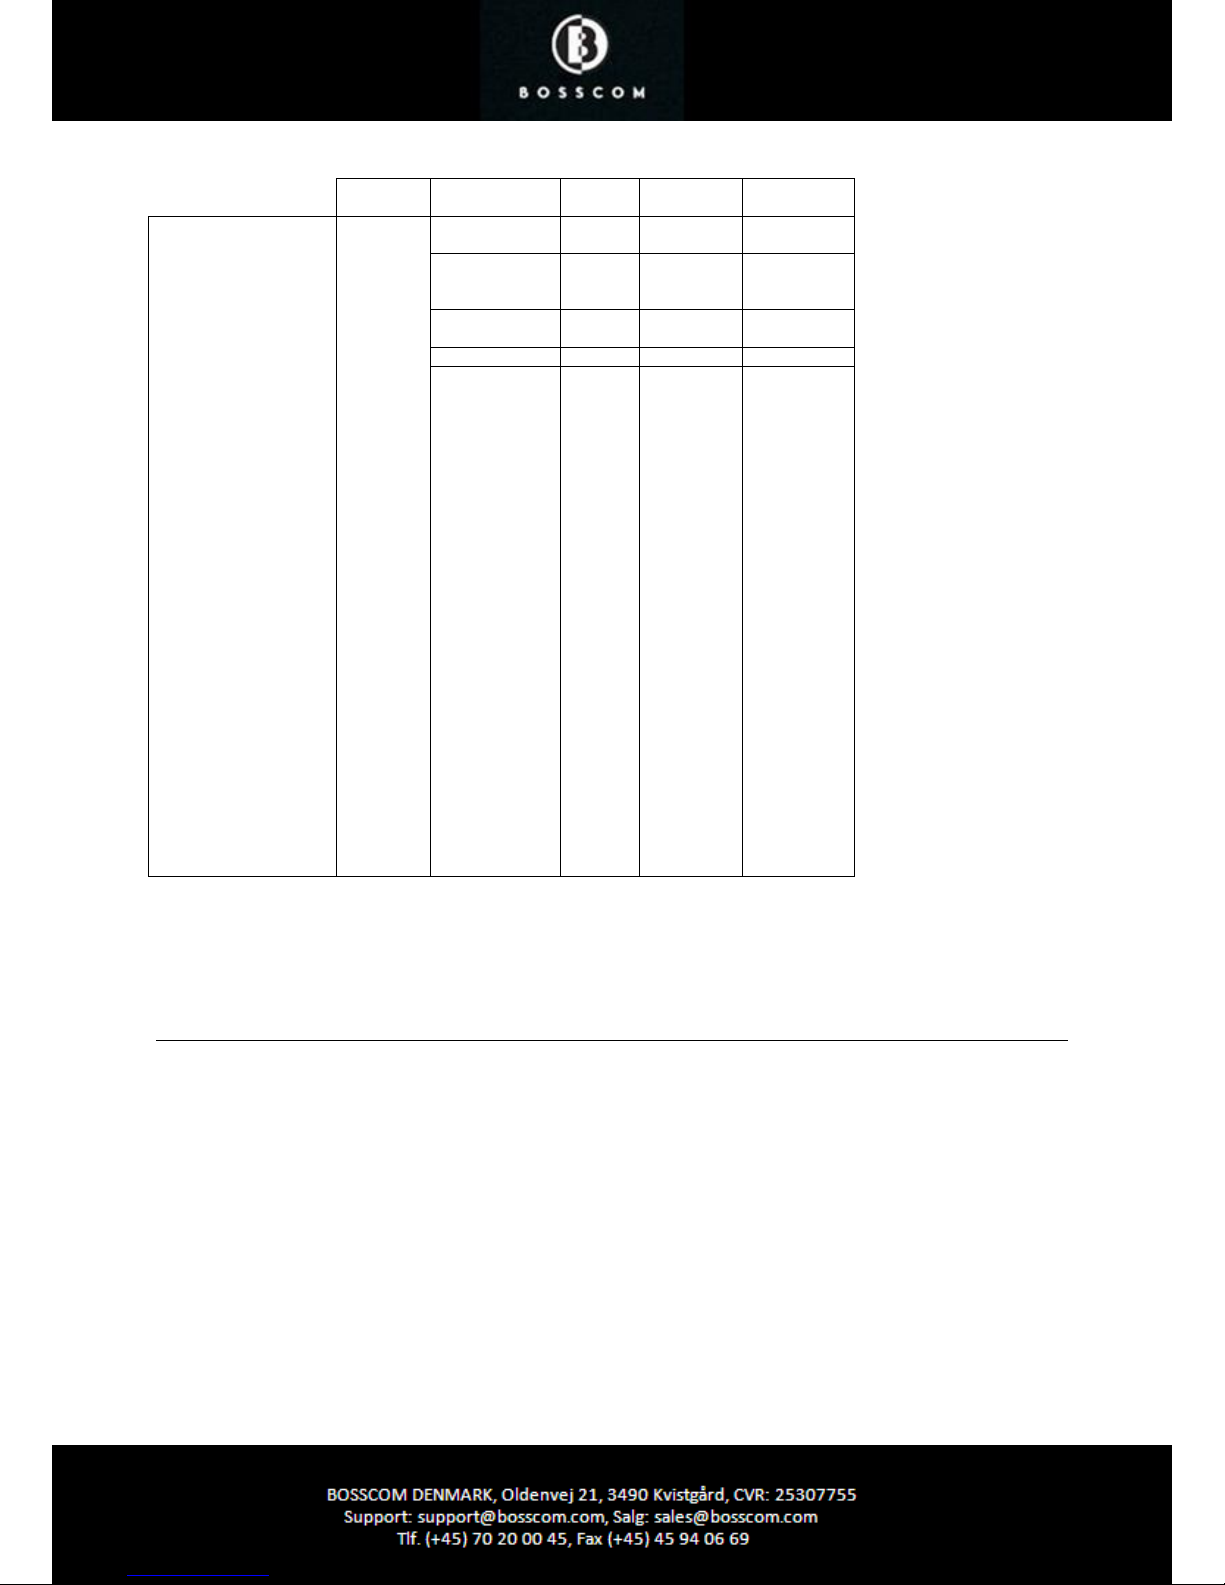
11
Input
Socket
Selected
Source
Direct
Option
CableLink
Option
Remarks
LX 2502
LX 2802
L4500
LS 4500
LX 4500
L5000
LS 5000
LX 5000
L5500
LS 5500
LX 5500
L6000
LS 6000
LX 6000
LE 6000
MX 1500
MX 3000
MX 3500
MX 4000
MX 4002
MX 4500
MX 5000
MX 5500
ME 6000
MS 6000
MX 6000
MX 7000
MX 4200
MX 8000
AVANT all models
All newer TVmodels may be
connected via the
AV input sockets
too……………
Scart
AV1
AV2
….
Not
decoder
Socket.
V.MEM
V.TAPE
110 410 *9
V.MEM2
V.TAPE2
SHIFT V.TAPE
110 410 *9
DTV
SAT
116 416 *9
V.AUX 112 412 *9
DVD 114 414 *9
*9 connection to an AV input on the TV using the BOSSCOM iPod Video Cable For B&O – item n.: 01779990
Check the TV user guide for setting up the AV inputs.
Page 12
12
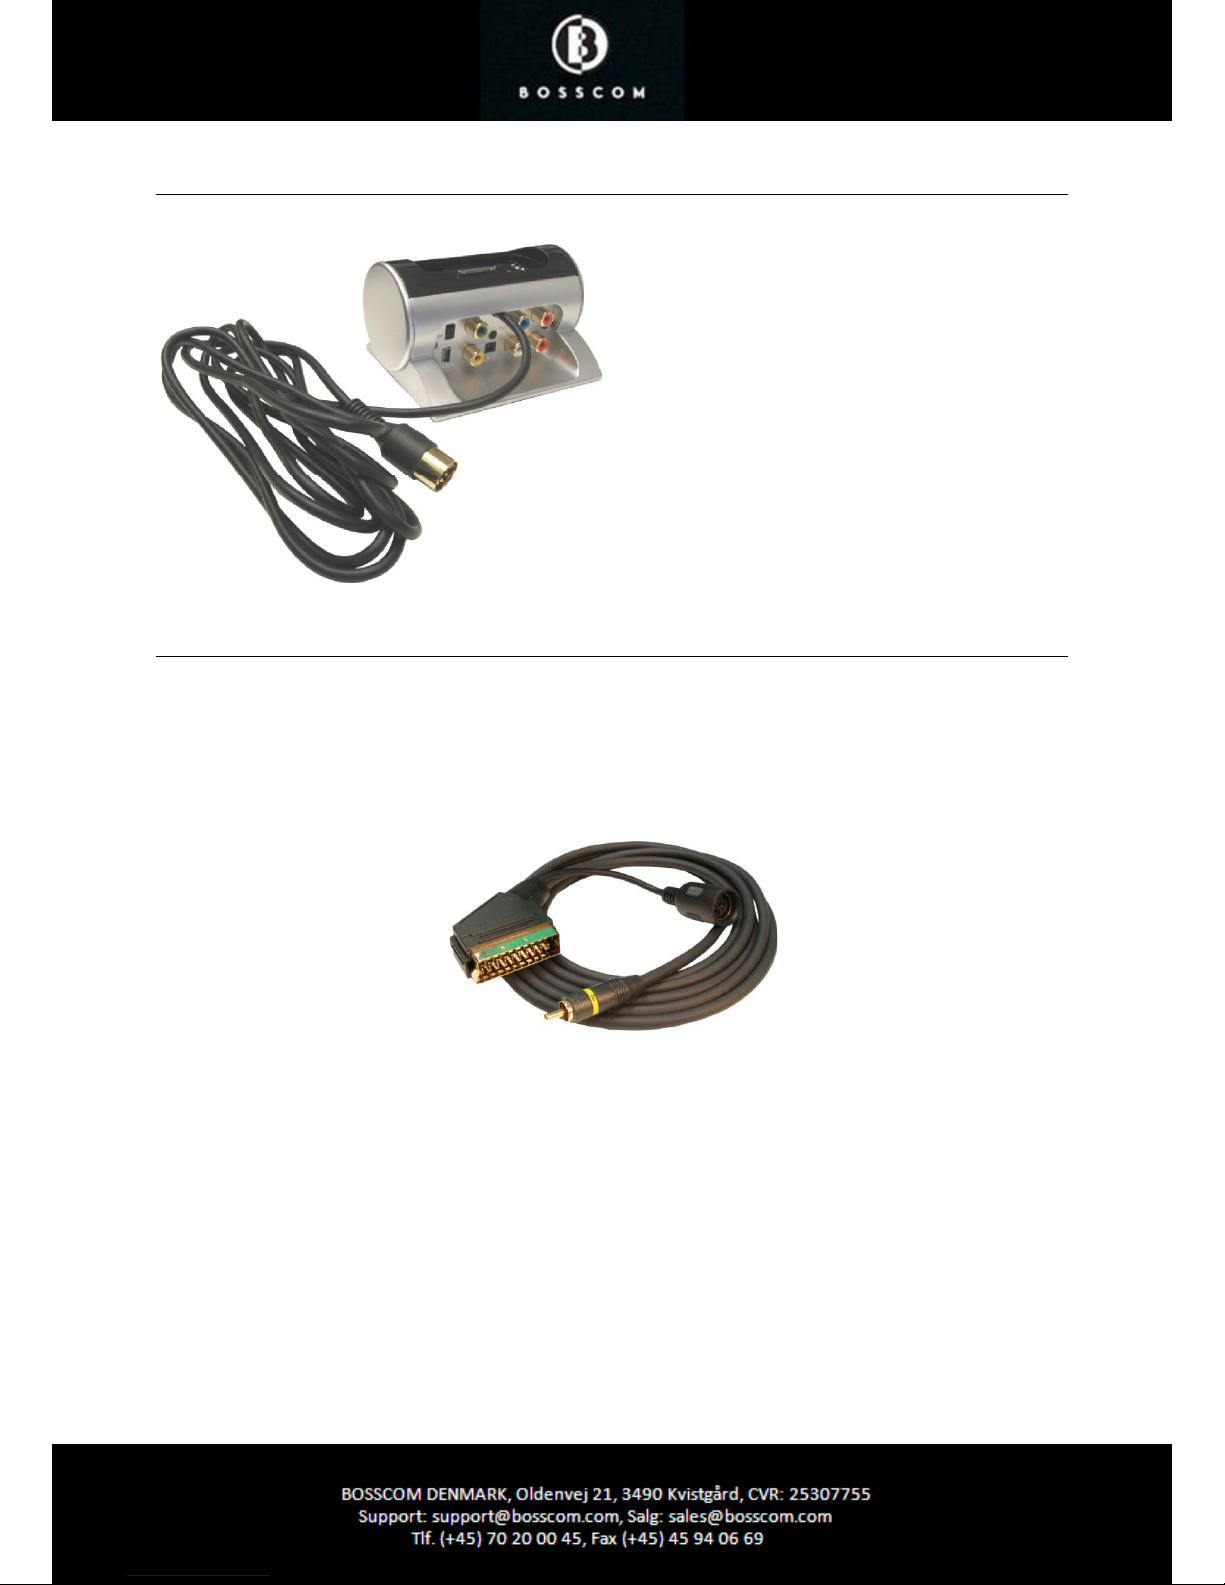
Setting Up the BOSSCOM iPod Dock II
The attached 7-pin DIN-cable includes
audio and control data connections
allowing for control of the iPod via Bang &
Olufsen audio or video equipment.
Insert the appropriate cradle (supplied
with your iPhone/ iPod) into the dock.
NOTE for iPhone 3G the cradle is supplied
with the dock
Setting Up for Video Output
iPhone/ iPhone3G, iPod Touch, Touch 2G, iPod Classic, iPod Nano 3G/ 4G and iPod 5G have video output
and are able to show videos on a screen.
Appropriate but not included cables have to be used to show video signals.
This BOSSCOM iPod Dock II has both RGB and Composite Video outputs.
BOSSCOM iPod Video Cable For B&O – item nr.: 01779990
Page 13

13
Connecting as an AV (scart) Source
Connect the dock as an AV source to any Bang & Olufsen TV, using BOSSCOM iPod Video Cable For B&O
– item nr: 01779990.
The dock must be option programmed to the CableLink mode (page 6) and the source must be
programmed, i.e. V.MEM or V.AUX (page 5).
Specifications
Video Out Resolution: 480 x 480 to 640 x 480 depending on iPod model.
Provided Power Adaptor: 5VDC @ 650mA
Sockets:
USB mini: For sync function of the iPhone/ iPod.
Attached 7-pin DIN-cable: 2 meter black, data & audio for Bang & Olufsen.
Audio Output: For use with other equipment than Bang & Olufsen.
C/V: TV Composite video out.
Y/G, Pb/B, Pr/R: RGB Component video output.
Video Output
Compatible Devices: iPhone/ iPhone 3G: 640x480 pixels
iPhone Touch/ Touch 2G: 640x480 pixels
iPod Classic 640x480 pixels
iPod Nano 3G/ 4G 640x840 pixels
iPod 5G 480x480 pixels
 Loading...