

Page 1
The Bose^
fl-5'“
oustimass
Speaker
System
Own er’s Gui de
Page 2
Before you begin...
We would like to iHanK you for purchasing the Bose^ AM-5'“
Acoustimass''' speaker system. We are confident that the
acfvanced technology and quality construction ot the AM-5
system will provide you with a litetirTK ol musical listening
pleasure.
The operating principles and wiring configuration of the
AM S system are significantly different from those of conven
tional speakers. This not only allows the AM-5 astern to
provide you with great sound, but also offers ptacement
fienfiiiity not available from conventional speakers. For best
results, and an easy installation, please take the time to
read this owner's guide.
Unpacking the AM-5 System
After opening the carton, remove all packaging material and
carefully lilt out the components of the AM-S system. Save
all the cartons and packing material in case the system
needs to be transporied at a later lime, if any of the com
ponents appear damaged, do not attempt to use the
system. Instead, repack the system in its original carton
and notify your authorized Bose dealer immediately.
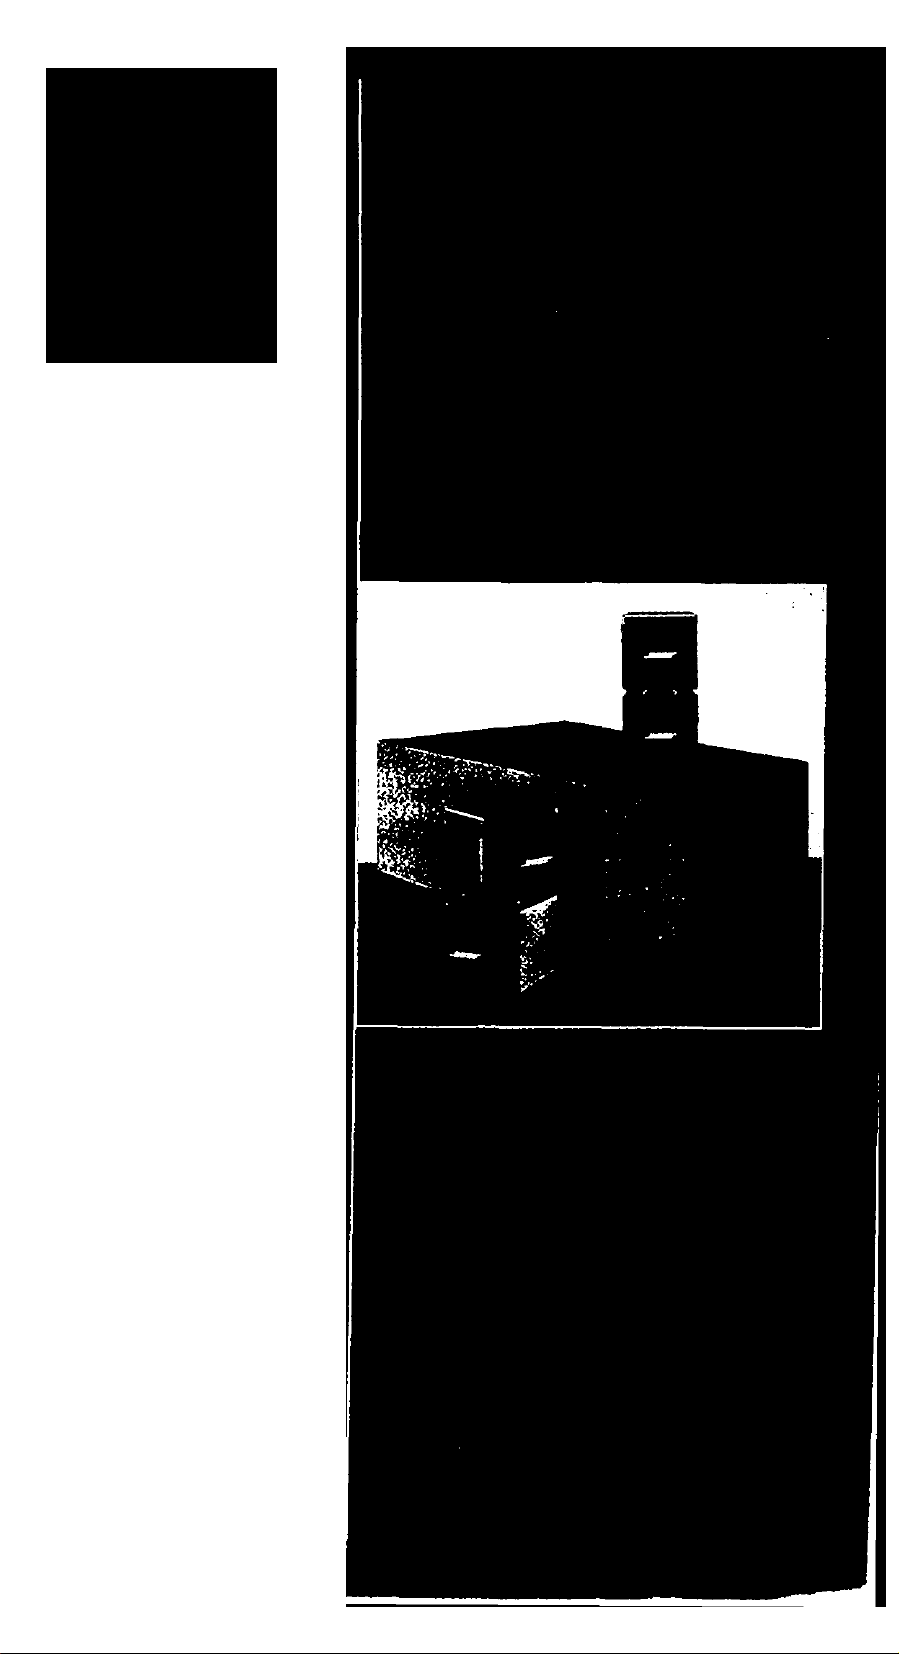
The Bose AM 5 Acouslimass ^em.
Setting Up the System
The AM-5 system otters many advantages not available from
a conventional speaker astern. For one, the system adjusts
to deliver the combination of reflecled and direct sound opti
mal lor any listening environment. For another, the system
delivers this lifelike combination of reflected and direct sound
while using very little of your living space.
Before you can install and adjust (he system's componenfs.
lake a minute to familianze yourself with them. M)ur system
should include;
2 Cube speaker arrays
1 Acouslimass''mc^ule(thelarger black cabinet)
4 Wires
A. Select the location where you intend to place Ihe tell and
right cube speaker arrays. Note that wires from the arrays
connect to (he Acouslimass module, so you should
locate the cube speaker arrays so that the wires will reach
the location you chose for №e module.
Note: White the wires provided are adequate for most instailatrons. you may increase the distance behveen the cube
speaker arr^ and the Acouslimass module by splicing m
additional
wire, and mal« sure you maintain the correct phase (" " to
" -I-' and * -" to" - ’), and properly connect the wires.
B. One of the real benelils ol your AM-5 system is its flexibil
C. In average sized listening rooms, the oest stereophonic
Note: For video applications, separation can be less than 3
feet While this may slightly reouce oerformance. it will allow
the cube speaker arrays to be located on each side of a TV or
ш If you do so. use similar gauge or thicker
ity. By positioning the bottom cube and rotating the (op
cube of each cube speaker array, you can adjust the
spatial balance of your system to match your room or
musicaltaste.
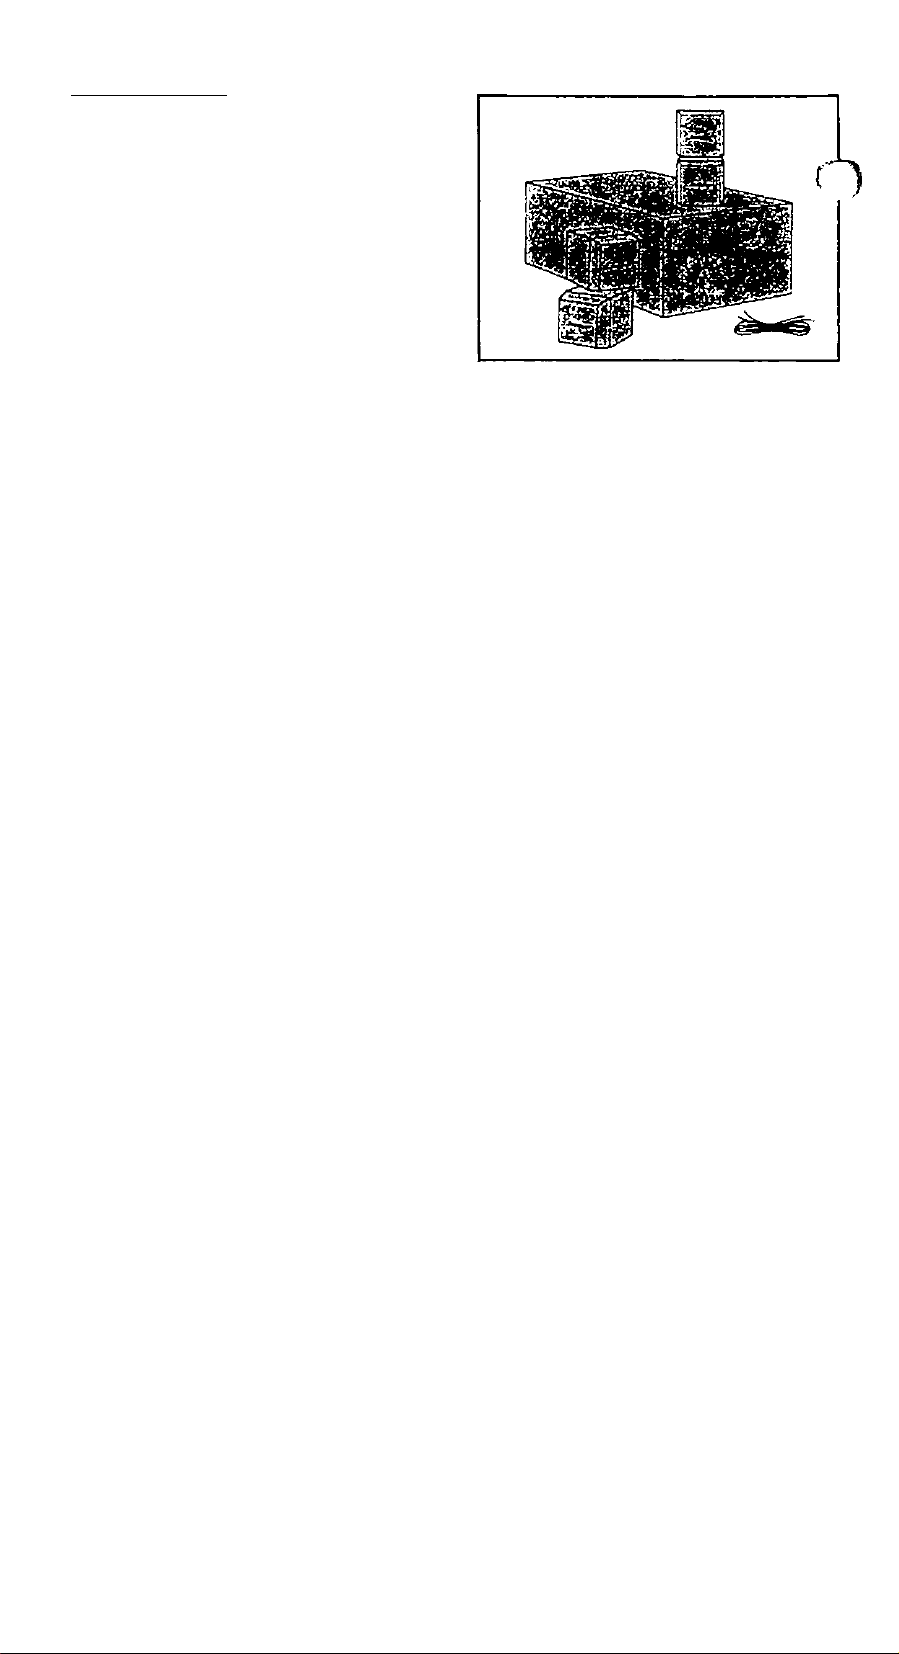
Though there is no ‘correcf position (or the cube
speaker arrays or the angle behveen them, the most
lifelike sound will be achieved by providing a balance of
direct and reflected sound. Figure 1 shows some typical
installations, and suggested positions.
effects result when the left and nghl cube speaker arrays
are spaced 6 to 12 feet apart (aoproximately 1.8-3.6 m).
However, ^u can still achieve excellent results with sepa
ration as little as 3 feet (approximatefy 1 m) or as great as
15 feet (approximately 4 5 m). Note (hat when you are
using a balance of reflecteo and direct sound, the switch
on (he back ol the lower cube of each array should oe set
to the "Reflected* posrtion.
)
J
Page 3
monitor For more ioformation on video applications, see
Part F of this section.
D. 'A)u can also use the cube speaker arrays in direct mode
(with both cubes facing forward). While this eliminates
the bendits of combining direct artd reflected sourM], it
may be ^>prQpriate for very small listerúng areas (like
desks or cúbreles). When used in this mode, the switch
on the back of each array should be sei to ihe ‘Direcr
position.
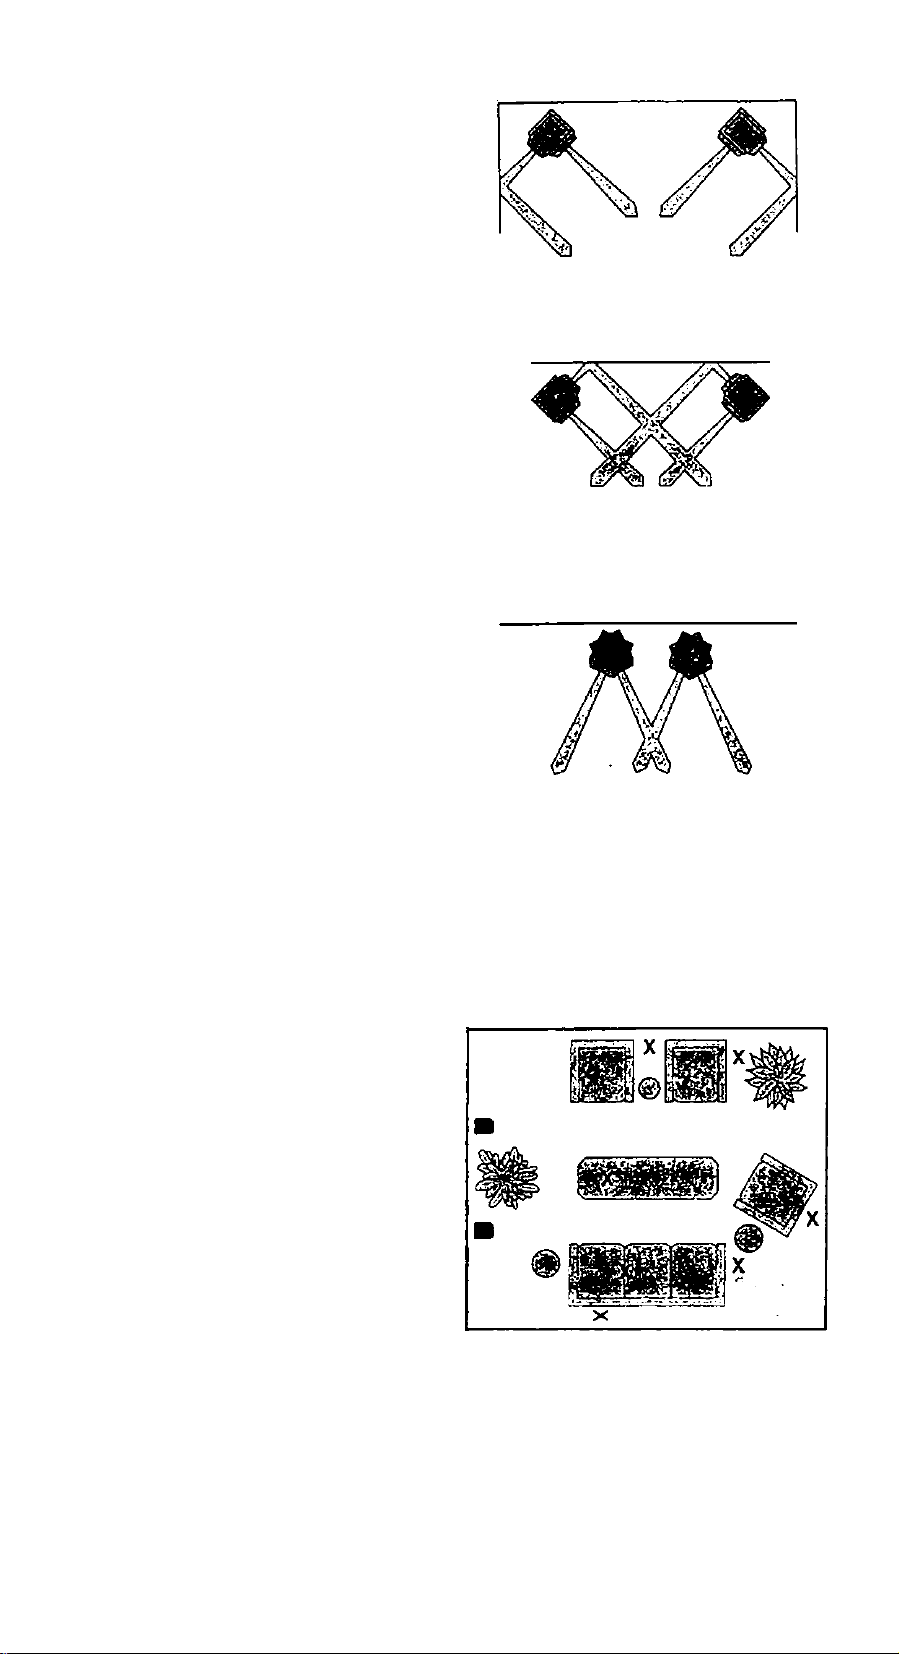
E. The Acoustimass'* module can be located virtually any
where in your lislening room (Figure 2) in either a vertical
or horizontal position. Its unique Acoustimass'" speaker
technology de!ii«s room filling bass from almost any
where. Feet free to hide the Acoustimass module under a
bed or table, or e/en behind a sofa. Just remember not to
block the two tournl openings in the end of the unit. M)u
should allow at least 2 inches (approximately 5 cm) of
open space between these openings and the wall or
oiher surface.
Unlike conventional lloorstanding or bookshell speakers,
you can ñne tune the bass response of your AM-5 sys
tem without compromising accurate stereo imaging Just
change the location of the Acoustimass '' module within
your listening room. For typical listening environments,
positioning the module along a wall 3 to 5 feet (approxim^efy 1 to 1.5 mders)from a com& provides a normal
balance of frequencies from your AM S system. Moving
the module closer to Ihe walls and/or corners of your
room win increase bass response, while moving H
towards the center of your room wll decrease it. tn most
moms, if should be reasonably ea^ to choose a location
which is convenient, yet provides pleasing bass response.
F The cube speaker arrays of your AM 5 system are mag
netically shielded (or use with video systems. This
allows you to position the cube speaker arrays close to
)
your TV or monitor without adversely affecting the pic
lure quakty (as happens with conventionai. nonshiefded
speakers). In addition, angling the top half of each array
in slightly win improve on screen localization and optimiK your ^stem (or video
Oxeci ftetteatrtg
Oired RvKeciif’O
Direct n«n«oi«>g
Connecting the AM-5 System
to Your Stereo
CAUTION: Before attempting to connect the AM-5
system, unplug your receiver or amplifier from the
wall outlet.
Note; Many receivers slate *use with 8*16 ohm
speakers '. While the AM-5 system is rated at 4 ohms
by lEC standard, the speaker s impedance actually
averages between 6 and Ô ohms, over most ot its
ODeratKKi range Therefore, the AM-5 should be
compatible with any quality receiver or amplifier
This includes electronics that call out use only
8-16 ohm speakers '
A Locate the wires v^ich v/ere packeo with the system, 'ibu
will find (our idenbeal sets. Tivo seis connect the cube
speaker arrays to the Acoustimass module, while the
other twp sets connect the Acoustimass module to your
receiver or amoiilier.
Examine the ends of the wires. For each set. one wire will
В
have a red marker For each connection you make,
always connect (he wire v/ith the red marker to the ' ~
terminal.
.ocate the terminais on the rear of the left cube soeaker
i
brray Depress the red ("r^ tao. insert Bie lead with the
j
red marker (Figure 3). and release the tao The lead
shoufq be held snugly m place by (he terminal. Repeat
Ihe orocess lor the black terminal and ihe other lead.
D- Locate the terminals marked "OUTPUTS TO CUBE
SPEAKERS" on the rear of the Acoustimass’'' module
(Figure 4). Connect the other end of wires from the left
Figure! Adjusting ihe comtxnalionoirenecled^ direct
sound (cuDe speaker arrays not lo scale). Feet free to expenment
wiih (be setting which sounds best in your tislenirig nxxn Ocn'l
kxgei to set the Direct/Renecting ^ switch on the rear ol each
oonom cube to me orooer postion.
Figure 2 Sorr^ oi the possible ioca№ns lot the Acac-stimass'''
module
Page 4

cube speaker array to the pair of terrtiir^als marked ‘‘I”.
Make sure that the lead with the red marker is connected
to the ■■+*. and the other lead to the " terminal.
E. Repeat steps C and Dior the right array.
F. Loc^e the lelt channel terminals on the Acoustimass'“
module marked 'INPUTS FROM AMP OR RECEIVER*.
Depress the red {"+") tab. insert the lead with the red
marker, and release the lab. Repeat the process for the
black terminal and the other lead.
G. Locate the speaker outputs on your amplifier or receiver.
Connect the other ends of the wire from the left channel
01 the Acouslimass"' module to the terminals marked
*L" or “LEFT". Make sure that the lead with the red
marker is connected to the * * " and the other lead is
connected to the * - " terminal.
H. Repeat Steps F and G for Ihe right channel.
I. Before you plug in your receiver or amplifier, make sure
that no strands of wire from any terminal are brushing
against any other terminal. Such “bridged” wires
create short circuits which can damage your
receiver or amplifier.
J. Ptug in your receiver, turn on your system, and enjoy
your music!
CHECKING THE SYSTEM
Once your have begun listening to your AM-5 ^siem. the
following test will help you make sure that the si^em is
working properly;
A. Turn the balance control on your receiver or amplifier
completely to the left. II you have connected the cube
speaker arrays properly, you will hear music from the left
cube speaker array, but not the right one.
8. Next turn the balance control completely to the right. II
your system is connected properly, you v/itl nov/ hear
music from the right cube speaker array, but not the
left one.
C. Return the balance control to the center position. Play a
selection with good, deep bass, and listen lo the music.
N
ovi turn the balance control all the way to the left and
listen, and then turn the balance all the way to the right
and listen. II the system is connected properly, the center
position should exhibit the same or greater bass response
than either the fett-onty or right-only position, ft it exhibits
less, then your speakers are wired out of phase. Check to
make sure that your receiver or amp is properly connected
to the module.
0. Return the balance control to the center position.
If your system does not appear to be viorking properly, refer
lo the section entitled "In Case >bu Have a Pfoblem"
Figure 3 Properly conneciing wires to a terminal.
Figure4 Connectkiglhecomponemsoritiesysiemtoyour
amplilier or receiver.
Caution: Do not connect your amplifier or receiver
directly lo the cube array terminals. Cube array
speakers must be connected directly to the Acousti
mass module or damage will resulL
Using The AM-5 System
Once your AM-5 system is set up and connected properly.
it will require very little attention. However, observing the
lollowing guidelines will help you get the most from your
investmenL
A. Fusing-'ibur Bose*- AM-5 system incorporates automatic
protection drcuitry which guards against most types i^
electrical stress. However, any speaker can be damaged
if the amplifier driving it should fail. Fusing will provide
additional protection from amplifier failure, and is
recommended.
1. Inserì a fusehoider "inline" oehveen the ‘+ ‘ terminal
ol Ihe left input on the Acoustimass '' module and the
"+" terminal of the left output on your receiver or
amplifier (Figure 5).
2 RepealStepI for the right channel.
3. Insert fuses inio the (usehoiders; the (using protection
system iscompiele. A 2-ampere, fast-blov/ AGC
^ies or Little Fuse AG series fuse is recommended.
J
Page 5

A (u$e iut containing tuses and holders is available trom
Bose Customer Ser^e Oeoartmeni. 78 ТиггнкКе Rd..
Westboro. MA 01581. for S7.50. Ask for Part No. 108938-1
(USA only) or consult your distributor.
^ Room Acouslics-As with any speater system, the
^ acoustics (s»jf>d properties) of your listening room can
affect (he overall sound quality of your AM-5 ^stem. The
lofiowing tips will give you some control over the sys
tem’s sound;
1. Rooms with a lot of sound absorbing furnishings
such as stuffed furniture, wall-to-wall carpet, or heavy
drapes may reduce the treble sound (high frequen
cies) of your AM-5 ^stem. The missing treble sound
can be restored by slightly turning up the treble con
trol on your amplifier or receiver. It convenient, you
may instead remove some of the sound absorbing
furnishings.
2. Roomswith too few sound absorbing furnishings,
especiaify those with bate floors and walls, may
sound overly shrill or “brighr because of too much
irebie. Turning down the treble control or adding
sound absorbers such as throw carpets or drapes wit!
usually solve this problem.
3. If your system seems to have too much or too
little bass (low frequencies), you can adjust it using
the bass control on your amplifier or receiver. As
described previously, you may also move the Acoustimass’' modute closer to a wall and/or corner to
increase bass, or closer to the center of (he room to
decrease it.
4. In general, many problems with acoustics can be
solved by the judicious use of your tone controls.
Remember, though, that the use of these controls
(e^eciaily when turned all the way up) may put
\ greater pov/er demands on your receiver or ampfifier.
^ Excessive tone control use can cause an ampli-
tier or receiver to run out of power and distort,
potentially damaging your system.
5. External signal processors (such as graphic and para
metric equalizers), while not recommended, can be
used with your AM-5 system if a greater degree of
acoustic control is desired. Consult your Bose dealer
tor advice.
C. Maintenance-The cabinets of your AM S ^stem can
be easily cleaned with a damp clr^h and. if necessary, a
mild detergent such as dish soap. Do not allow liquids to
spifl through the gntle assemblies of the cube speaker
arrays, or in any way to enter the АсоизЬтазз*" module.
Do not attempt to clean your AM-5 system with any
solvents or chemicals.
The grille assemolies on the cube speaker arrays may be
carefully vacuumed if necessary. Please note tha the
drivers are located directty defend the grille cloth, and are
easily damaged if reasonable care is not taken, ^roid
applying any pressure with the vacuum nozzle.
Figure 5 When fusing your speakers, insert the fusehoider
between the ’ v terminals of the Acousomass' module and
me ' ’ speaker ternwais of your ampiifiet or recener.
J
Page 6

In Case You Have a Problem
If you have a problem connecting and using your AM-5'' sys
tem. try the procedures listed t>elow. The majority of prob
lems usually occur in components other than the speakers.
Problem:
Solution:
The led cube speaker array doesn't play or sounds distorted.
The right cube speaker array doesn't play or sounds
distorted.
The whole AM-5 system does not play or sounds distorted.Turn oil the receiver or amplifier and disconnect the AM-5
II trouble persists in your AM-5 system, contact your autho
rized Bose dealer. He will verily any defects and arrange for
service by an authorized service agency or by the Bose laclory. Bose Corporation will make every eliort to romedy any
problem within the terms of the warranty at minimum incon-
veniervce to you.
Turn oH the amplifier or rececver. Check ihe wiring which
connects the cube speaker array to the Acoustimass'"
module, and the vnnng which connects the module to the
amplifier or receiver. If no visible problem is found, discon
nect the wires a! the back ol the amplifier or receiver. Now
connect the left v/ires to the right amplifier terminals. Turn
the balance control on the receiver or amplifier completely
to the righi. and turn Ihe power on. If the left cube speaker
array novr works properly, the left channel of your amplifier
or receiver is probably defective.
CAUTION: Do not connect the other cube speaker
array to the channel in question. If the amplifier or
receiver channel is defective, damage to your AM-5
system might occur.
Use the same procedure as given lor the left cube speaker
array, but substitute the words "left" lor ’nghl" and "righr
lor *lefl"
^em. Reconnecl the AM 5 ^em to another receiver or
amptifier known to be working properly. If the AM-5 system
now works property, the problem is not in the AM-5 system.
Note: If this is the case, you should check ail user acces
sible fuses on your receiver or amplifier (see the appropn
ate owner's guide for help). If the fuses blow again, have
the amplifier or receiver checked by qualified personnel.
)
Technical Information
Features
OirecbHeflecting' speaker design
Acoustimass'^ speaker system
DirecirRehecting^ frequency compensetion switch
Syncom-11 computerized quality control
Automatic protection circuitry
Driver Complement
T;vo 6'' (15 2cm) lov/ frequency drivers
Four 2.5" (6.4cm) magneticaity-shielded. wide range
drivers in cube speaker arrays
Nominal Impedance
4 ohms
Amplifier Power Requirements
(measured by (EC standard)
Minimum: 15 watts
Maximum: 100 wans
Finish
Acoustimass''' module: Scratch-resistant olack satin
finish
Cube speaker ariays. Black oolymer finish
Dimensions
Acoustimass ’' module. x 12‘^"W x 203^6"0
(19.2 X 32.1 X 51.3cm)
Cube speaker array: 73^“H x 3^"W x
(I8.7x9.2x 11.7cm)
Weight
33 Ibs{l5kg). in shipping carton
J
S-
Page 7

Full 5-Year Warranty
Bose- Corporation .varranis ihi$ um lo De tree irom defects m mate
rials ar>d workmanship lor a Kriod ol live years from the angina)
dae of purchase Ourir>g tha period. Bose will remedy an such
■ '^cis without charge lor parisor satw. upon return ol the unii
•iher with Ihe original sales receipt, or other proof of purchase, to
Bose, or to an authonaed Bose Service Agere/ ihis wa/rartty does
not extend to damage resulting from improper inslaltaiiort. misuse,
neglect or aouse. ihis-wairaniy is lull/tiansierabie.
in no event shall Bose be liable (or incidental or consequen
tial damages.
This warranty gives you specific legal ngnis. and you may also have
other nghls which vary Irom stale to stae. Some states do nol allow
Ihe exclusion or tvniiation ol mcrdeniai or consequential damages,
so №ts limilaiicn may not apply to you.
Should tNs urM lad wiihm the warranty period, contact >our author>Kd Bose dealer nns dealer wi tell you which ore of the lollowing
procedures you shouto (oiKiw:
1. Return unitwth pmol ol purchase to dealer. OB
2. Return uniiwdh prooioi purchase to the nearest authoriaed Bose
Sep/ice Agency. OR
3 Return unit wth prool ol purchase direcify to the Bose laciory
It Procedure 3 aberre is taken, pleasefcttow the instructions below:
1 Call Ihe Bose Customer Service Oep^ment at (SOS) 366-9096.
and ask to oe assigned a return authorization number.
2. ^ck Ihe unit n the original carton lor shippirvg. If you need a
new carton, your dealer or Bose Corporakon will provide a free
repiacemenl. Note: Any damage m uanst due to improper pack
ing is rwi covered by the warranty, and will noi be recognized as
an Htsurance claim by Iransportabon companies.
3. Aodress and sh0. fragm prepaid, to BoseCorpoialion. Customer
Service Oepartmem, 76 lijrnpke Rd.. wesitxKo. MA 0i S6i.
<t. Make sure your return aulhorizalion number appears prominently
on Ihe ouis4eo( Ihe carton
\bur unit will be repaireo and relumed to you ai Bose's expense ll
the delects cannoi be repaired after a reasonaOie number ol attempts
£ose to do so. ^u may elect to receive a refund or a reptacemem.
Jonty if the unii is returned lo Bose Iree atvd clear of al kens and
ether erKumOrances
The loregoing warranty applies only lo products solo wtihm the
United Stales ol America. <s territories and possessions, and to
sales al overseas mdiiary post exchanges For mtormation regarding
warranty coverage in other amas, consud ihe Bose subsidiary or
authorized deafer nearest you.
Please retain this
Warranty Information.
Record your serial numbers and purchase mtormalion on Ihis card
and retain it m >our records along with proof-ol purchase.
Speaker Model
Date Purchased
Se^-al N-jmber icn Acousumass MocJe:
Dealer Name
Dealer Acoress
Page 8

m
Better sound thfouc^ research. ^
8ose Ccfporation. The Mountain ^in^iam. MA Oi?0]-9tS
European Keadcuart<fS»6ose OtSTCO 8V Nij^erheidstraat 8
1135 GE Edam, tjeffttrums
6o«e Ausif alia. 11 Muriel Aver-ue. Rydaimere 2116 KS'/I
Ajstraiia. Belgium. Canada. England. Era-xe. Germany.
Ireland. It^. Japan. Netnerlard^ Spart. SMi2erland. (imied
States
Covered ay patents rssued and/or pendng ©Cociyngm 1988
Bose Corpaation. Ail r^ltts 'esen.ea Pmed in
 Loading...