

Bosch WFMC3200UC, WFXD5200UC, WFMC6400UC, WFXD8400UC Training Manual

2nd Edition/Revision 0 (4/28/04)
R020031E
WFMC/WFXD Washer Training
WFMC/WFXD Washer Training
Program
Program
1
WFMC/WFXD WASHER TRAINING MANUAL

2nd Edition/Revision 0 (4/28/04)
R020031E
2
/
WFMC/WFXD Washer Table of Contents
WFMC/WFXD Washer Table of Contents
••Operation…………...
Operation…………...
3
3
••Disassembly……….
Disassembly……….
17
17
••Ratings…………….
Ratings…………….
34
34
••Service Tips……….
Service Tips……….
39
39
••Test Program………
Test Program………
53
53
••Troubleshooting…...
Troubleshooting…...
67
67
••Maintenance……….
Maintenance……….
72
72

2nd Edition/Revision 0 (4/28/04)
R020031E
Operation
Operation
––WFMC
WFMC
Fascia Panels
Fascia Panels
3
WFMC64UC
WFMC32UC

2nd Edition/Revision 0 (4/28/04)
R020031E
Operation
Operation
––WFXD
WFXD
Fascia Panels
4
Fascia Panels
WFXD5200UC
WFXD8400UC
2nd Edition/Revision 0 (4/28/04)
R020031E
Both have Regular/
Cotton, Permanent Press,
Delicates, Hand Wash,
Temperature Boost, Wool,
Active Wear, Rinse Plus &
Bleach settings.
WFMC64UC
WFMC3200UC
Cycle Selector
Knob
Digital
Display
Special Wash
Buttons
Operation
Operation
––WFMC
WFMC
Controls
Controls
5
2nd Edition/Revision 0 (4/28/04)
R020031E
6
Operation
Operation
–
–
WFXD
WFXD
Controls
Controls
Both have Regular/
Cotton, Permanent Press,
Delicates, Hand Wash,
Temp Plus, Wool Care,
Active Wear, Extra Rinse
& Bleach settings.
WFXD8400UC
WFXD5200UC
Cycle Selector
Knob
Digital
Display
Special Wash
Buttons

2nd Edition/Revision 0 (4/28/04)
R020031E
7
/
Operation
Operation
––Sensors (1)
Sensors (1)
1A. Load Sensor (WFMC32/WFXD52)
At a predefined points during the initial fill, the washer determines if it needs more water using a pressure switch. This is due
to differences in the absorption of the laundry and the size of the loads.
1B. Dynamic Load Sensor (WFMC64/WFXD84)
During the entire fill the washer continually adjusts for the size of the load and determines if more water is needed using an
analog pressure switch and a flow meter.
2. Digital Temperature Sensor (WFMC32/WFXD52 & WFMC64/WFXD84)
The thermostat monitors the temperature of the water and controls the length of time the heating element is on, ensuring the
proper temperature for the chosen cycle.
3A. Suds Sensor (WFMC32/WFXD52)
During the beginning of the1st rinse/spin phase, the washer determines if there are excessive suds and automatically adds 2
rinses (if necessary). This is accomplished via the pressure switch and the motor synchronization system.
3B. Continuous Suds Sensor (WFMC64/WFXD84)
Checking the pumping out phase of the main wash, the beginning of the 1st rinse/spin phase and the actual spin speed vs.
the programmed spin speed, the washer determines if there are excessive suds and automatically adds up to 2 rinses (if
necessary). This is accomplished via the pressure switch, analog pressure switch and the motor synchronization system.
4. Unbalanced Load Sensor (WFMC32/WFXD52 & WFMC64/WFXD84)
During the final spin cycle the washer monitors the positioning and balance of the load. If the load unbalanced, the washer
stops and adjusts the load up to 15 times and reduces the spin speed to finish the cycle. This is accomplished via the motor
synchronization system.
2nd Edition/Revision 0 (4/28/04)
R020031E
8
/
Operation
Operation
––Sensors (2)
Sensors (2)
Mechanical Pressure Switch - (WFMC32/WFXD52 & WFMC64/WFXD84) measures the
water level after the first fill. If the water level is high (like for smaller loads), the pressure increases and the
pressure switch does not provide more water.
Analog Pressure Switch - (WFMC64/WFXD84)
• Precise measuring of actual water level
• Accurate load detection
• Control of the pump - noise reduction
• Time reduction - no pumping when empty
BENEFITS: Continuous adjustment of wash times
Water and energy consumed varies according to load size
1A/1B. Load & Dynamic Load Sensors
Mechanical
Pressure
Switch
Analog
Pressure
Switch

2nd Edition/Revision 0 (4/28/04)
R020031E
9
/
Operation
Operation
––Sensors (3)
Sensors (3)
1A/1B. Flow Meter
Exact monitoring of water inflow.
Ensures exact control of water inlet valves so that there is always the right amount of water for wash and
rinse cycles.
Together with the pressure switch, there is a continuous adjustment of wash time, water and energy in
relation to the load size.
The flow meter works independently of water pressure.
BENEFITS: Minimizes water consumption
Exact Load Detection
Superior Cleaning Performance
• An internal water clock monitors water inflow via soak compartment.
• Ensures exact control of water inlet valves - always right amount of water.
• Independent from water pressure.
2nd Edition/Revision 0 (4/28/04)
R020031E
Operation
Operation
––Sensors (4)
10
/
Sensors (4)
2. Digital Temperature Sensor
All models are equipped with an Electric Heater and Temperature Sensor (NTC) to deliver
guaranteed wash temperatures.
NOTE: Compare with competition
washers which only have heaters in top
of the line models.
Heater
Thermostat (NTC)

2nd Edition/Revision 0 (4/28/04)
R020031E
11
/
Operation
Operation
––Sensors (5)
Sensors (5)
3A/3B. Suds & Continuous Suds Sensors
Detection during draining out after main wash
immediate additional rinse & cancelling of 1st rinse spin
Detection during 1st rinse spin
immediate interuption of spin
insertion of one or two additional rinses
reduced agition during additional anti foam rinse
Detection during any other rinse spin
immediate interuption of spin
reduced agitiation in following rinse cycle
All subsequent rinse spin cycles are always rechecked
for suds
WFMC64/WFXD84
WFMC64/WFXD84
WFMC32/WFXD52
WFMC64/WFXD84
NOTE: Suds build-up usually occur only when way too
much detergent is used with lightly soiled loads.

2nd Edition/Revision 0 (4/28/04)
R020031E
12
/
Operation
Operation
––Sensors (6)
Sensors (6)
4. Unbalanced Load Sensor
• Accurate measuring of unbalance by deviation of spin speed and slow down
time of drum
• Infinite adapting of spin speeds
• Compensates reducing of spin speeds by prolonging spinning times
• Will attempt up to 15 times to redistribute a load
Advantages
:
• Reduction of noise
• Better stability of machine
• Good spinning results with big unbalances
2-step detection
2nd Edition/Revision 0 (4/28/04)
R020031E
13
/
Operation
Operation
––Sensors (7)
Sensors (7)
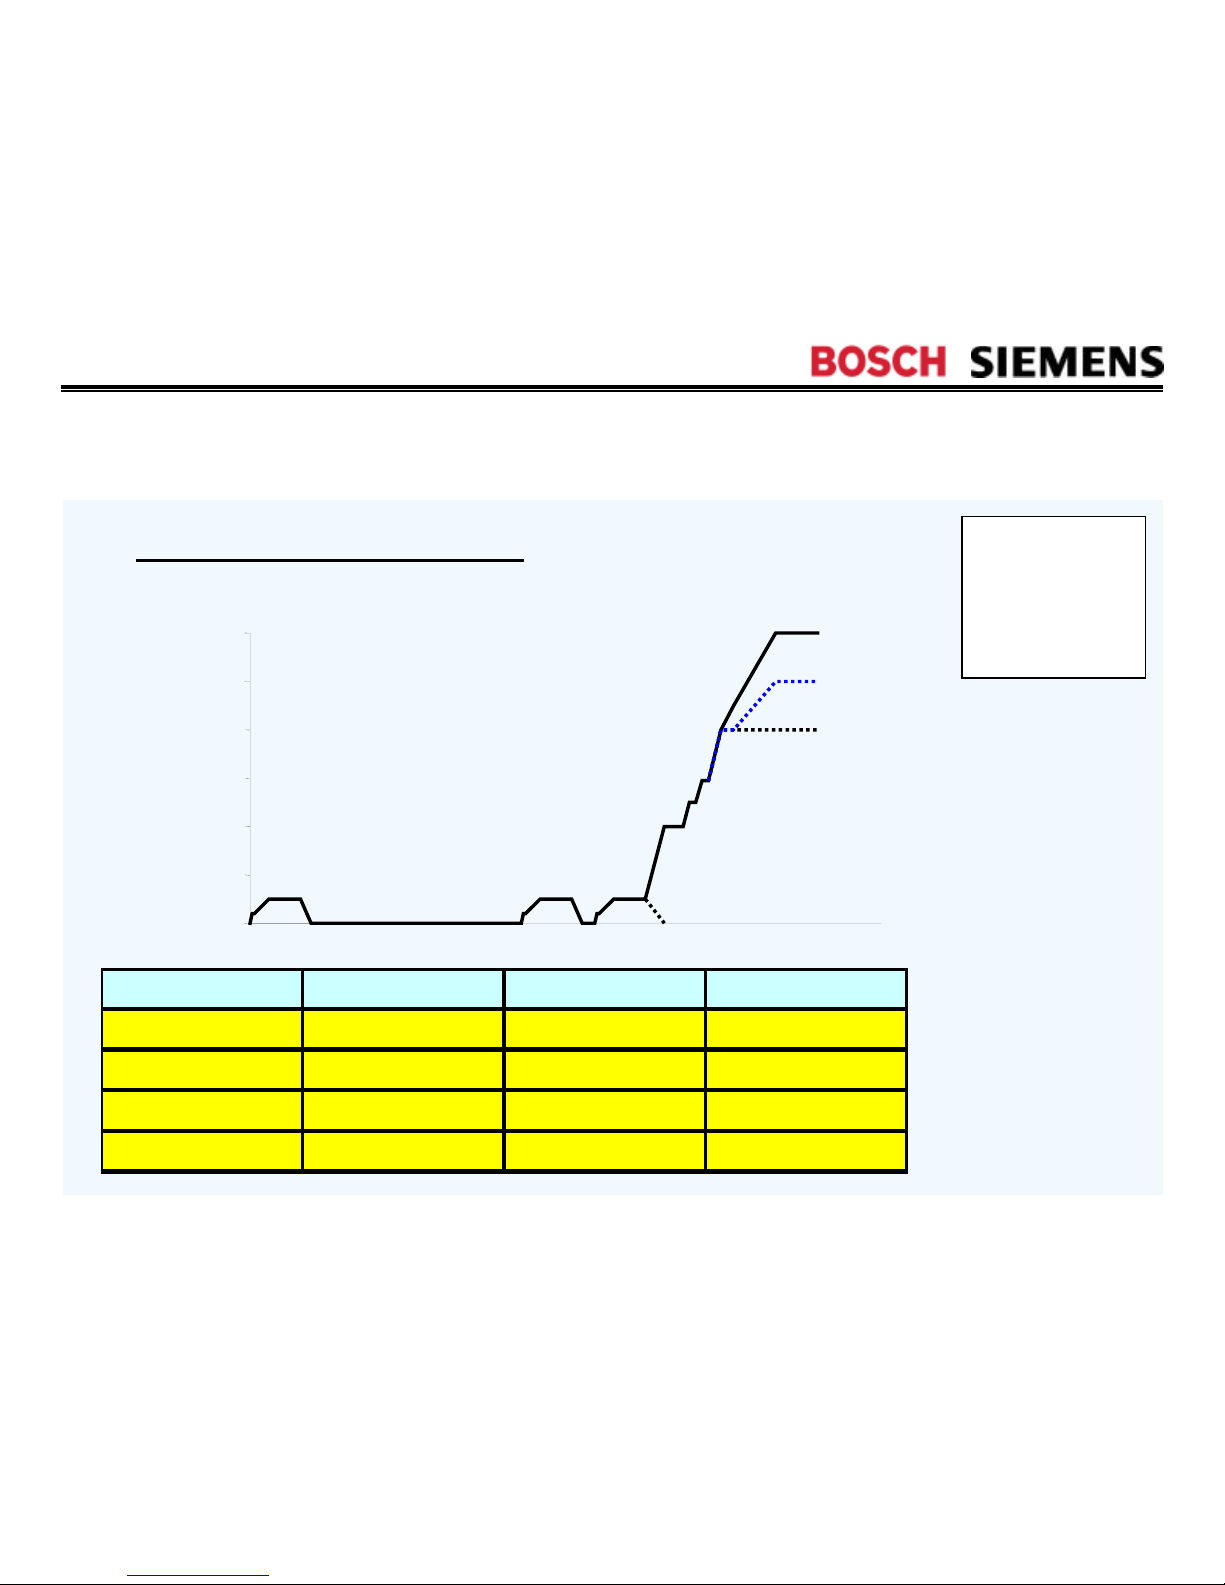
4. Unbalanced Load Sensor
Spin speed [rpm]
0
200
400
600
800
1000
1200
max. 15 trials
III
IV
II
I
load distri bution unba l a nce Spin spe ed (rpm) spinning profile
good small 1200 (max.) I
uneven medium 1000 (reduced) II
bad big 800 (low) III
none dangerous no spinning IV
After 4 attempts
After 7 attempts
After 14 attempts
2-step detection
2nd Edition/Revision 0 (4/28/04)
R020031E
Operation
Operation
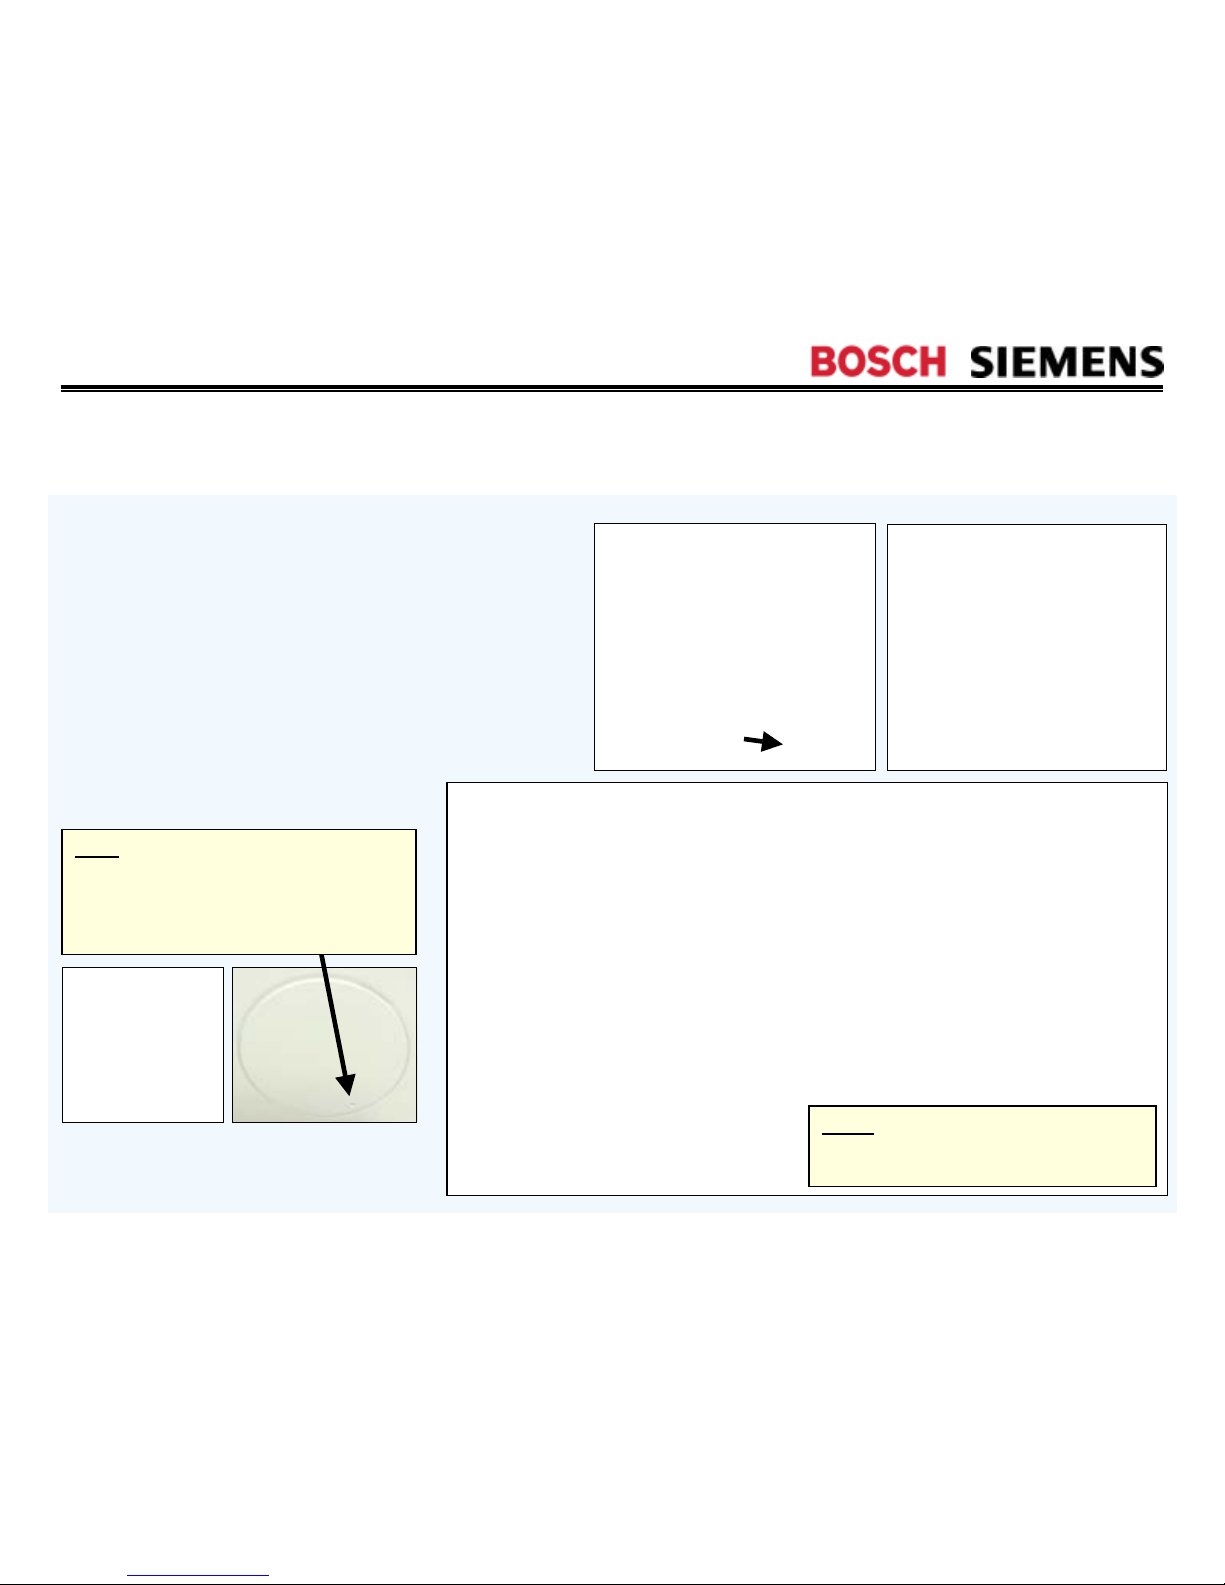
––Cleaning Drain Pump Trap
14
/
Cleaning Drain Pump Trap
Unlike WFK, WFL & WFR washers,
WFMC/WFXD drain pumps are
maintenance-free. So, larger objects
such as coins and paper clips are no
longer collected in the drain pump
trap. The drain pump trap is only
meant to be cleared by servicers.
NOTE: There’s no provision to drain
water manually from drain pumps like
earlier models.
HINT: To remove the drain pump
access cover, insert a pointed object
(or tool) into the hole, push in to
release the latch and rotate the cover
clockwise.
Current production pumps are beige
color – earlier WFMC pumps were black.

2nd Edition/Revision 0 (4/28/04)
R020031E
15
/
Operation
Operation
––Preventing Water Collecting in Door Seals
Preventing Water Collecting in Door Seals
Unlike WFK, WFL & WFR washers, WFMC/WFXD
washers have tilted tubs and flow through tub paddles to
help prevent water collecting in door seals and to
enhance wash water flowing through clothes.
Paddles direct water toward front of
washer – water drains into paddles from
outside of inner drum, flows toward front
of paddles and exits holes in front of
paddles onto clothing in front of washer.
Directing water away from door seals:
• Drums are tilted to direct water to the back of the drum and
away from the door seal.
• Door glass is shaped to direct water away from the door seal.
• Paddles insure clothing at front of dryer get wet despite tub
being tilted toward the back.

2nd Edition/Revision 0 (4/28/04)
R020031E
16
/
Operation
Operation
––Laundry Deflector
Laundry Deflector
Unlike WFK, WFL & WFR washers, WFMC/WFXD washers
have a laundry deflector to prevent small items such as
socks and wash rags from collecting in door seals. Without
laundry deflectors, small clothes items can get jammed in
door seals and apply pressure to bottoms of doors.
Without the laundry
deflector, small clothes
items being jammed in
door seals would only
cause minimal leakage (a
few drops).
2nd Edition/Revision 0 (4/28/04)
R020031E
Disassembly
Disassembly
––Fascia (Control) Panel (1)
Fascia (Control) Panel (1)
17
/
T-20 screws
To remove fascia panel to access control module & dispenser, remove (4) T-20 Torx
front/side screws and lift panel up. Caps over screws can be removed using
fingernails or a sharp knife – take care not to scratch fascia panel or caps.
When reassembling
panels, tuck rear
tabs under top
panel 1
st
.
Knobs are permanently attached
to panels and cannot be
removed.

2nd Edition/Revision 0 (4/28/04)
R020031E
Disassembly
Disassembly
––Fascia (Control) Panel (2)
18
/
Fascia (Control) Panel (2)
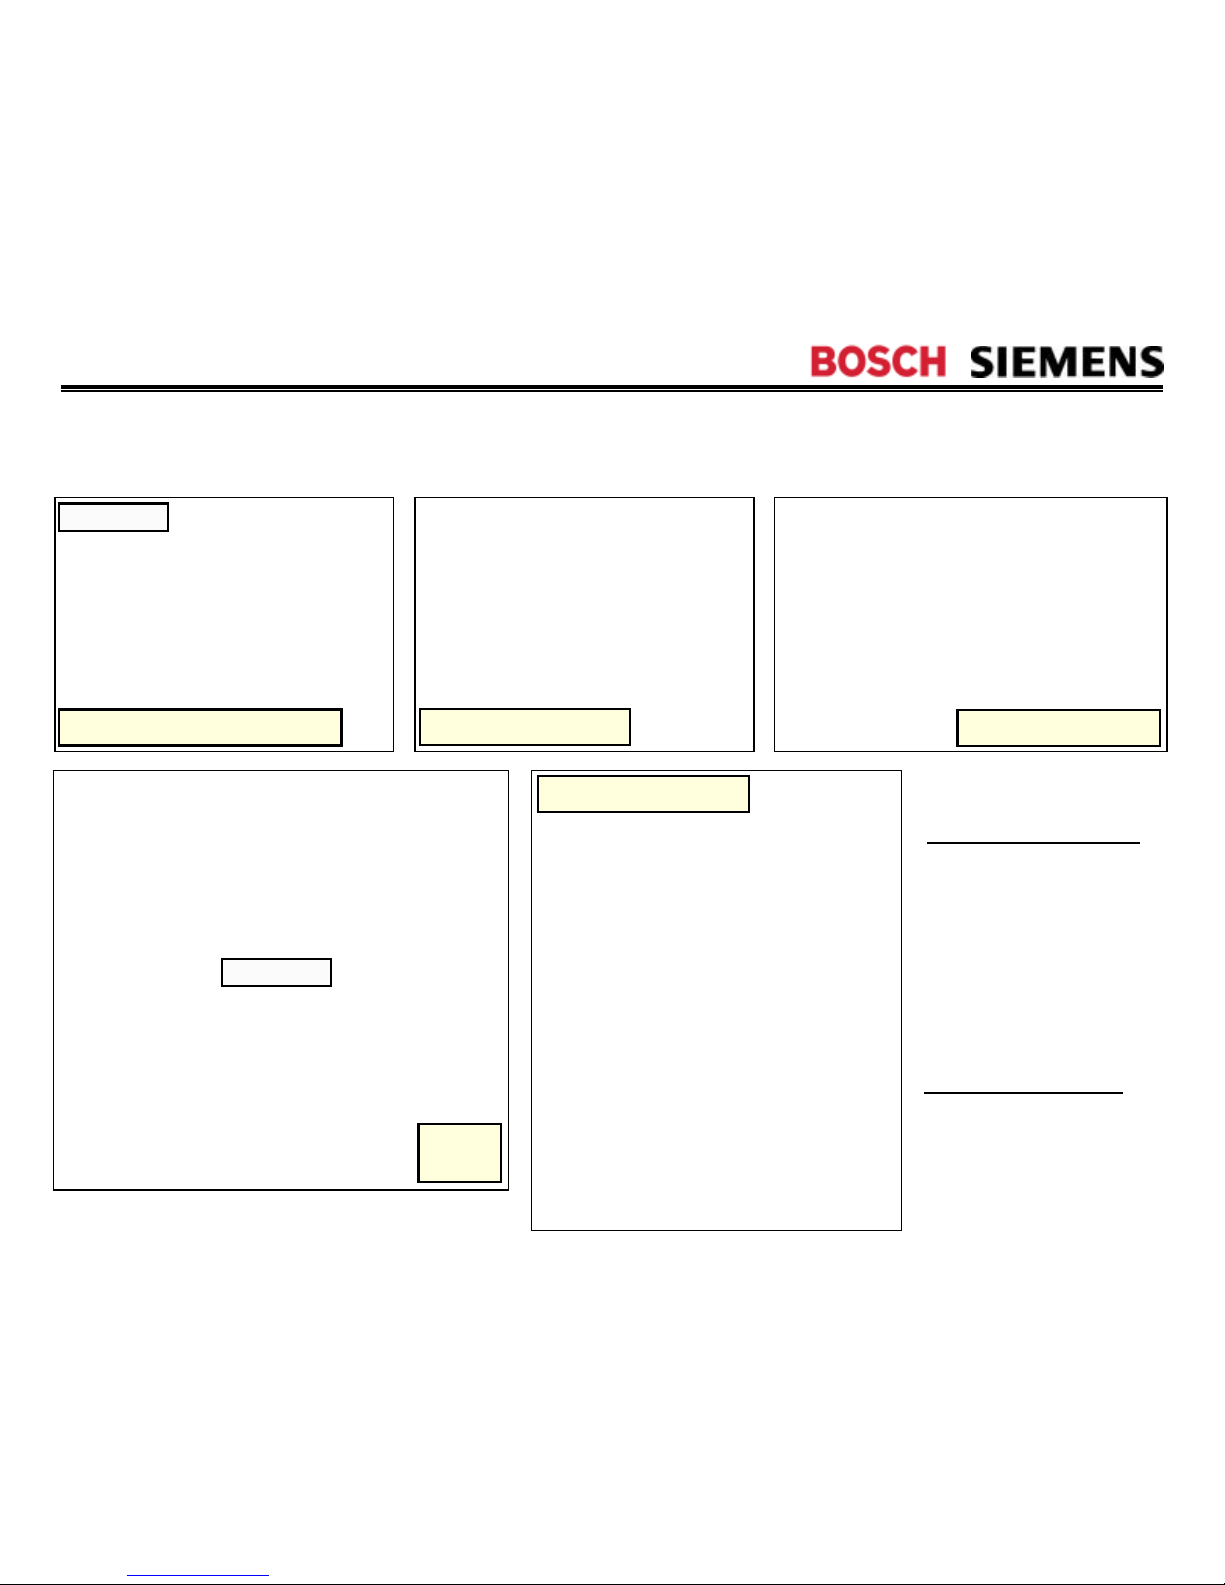
Control modules can be readily removed from fascia panels, but there’s a knack to it
– must use the procedure below exactly as shown
.
Start from left side Pry outer & inner tabs together L – R Pry out (3) inner tabs + all outer tabs
HINT: Don’t remove the wire
holders – clip off wire ties
instead. Carry extra wire ties to
reattach wire harnesses.
HINT: Don’t force modules out from fascia panels
to avoid breaking plastic parts. If modules don’t
come out easily, the procedure hasn’t been
followed and plastic parts will break.
HINT
: The knob does NOT have
to be removed to remove the
control module. The module lifts
off completely from the panel,
knob & buttons.
NOTE: Some control modules have been
replaced since fault codes stored in
module or motor control can’t be cleared.
Modules are operating properly and
shouldn’t
be replaced to clear fault codes.
2nd Edition/Revision 0 (4/28/04)
R020031E
19
/
Disassembly
Disassembly
––Top & Rear Panels (1)
Top & Rear Panels (1)
Remove top panel
Remove top panel screws
T-20 screws
Top panel removed
Rear panel removed
Rear
panel
T-20 screws
To remove rear panel to
access drive motor and
rear of drum, remove
(18) T-20 screws.
There’s no need to
remove the top rear
panel (with “H” & “C”
stampings).
To remove top panel
(for
easier parts access),
remove (3) T-20 screws
and slide panel to rear of
washer.
2nd Edition/Revision 0 (4/28/04)
R020031E
Disassembly
Disassembly
––Drum/Front Panel (1)
20
/
Drum/Front Panel (1)
Remove hinge cover screws Remove hinge screws Remove door seal spring
Remove door latch screws Carefully remove front shield Removing front shield
2nd Edition/Revision 0 (4/28/04)
R020031E
21
/
Disassembly
Disassembly
––Drum/Front Panel (2)
Drum/Front Panel (2)
Front panel tab
T-20 screws
T-20 screws
Remove top front panel screws Remove bottom front panel screws Note front panel mounting tabs
HINT: Removing front panel at this point will make
removing front counterweights easier.
HINT: Front panels are mounted using six (6) plastic tabs
– three (3) on each side. Lift front panels up to remove
them. When reassembling front panels, carefully align tabs
and don’t use excessive force to avoid breaking tabs.
HINT: Most washer screws require T-20 Torx
screwdrivers.
Remove front panel
2nd Edition/Revision 0 (4/28/04)
R020031E
Disassembly
Disassembly
––Drum/Front Panel (3)
22
/
Drum/Front Panel (3)
Remove door latch Note door latch manual release Top counterweight must be removed
13mm screws
Loosen top counterweight screws Slide out top counterweight Note top counterweight bushing slots in tub
 Loading...