

Page 1
For Sales & Service, Please Contact -
Phone: 1300 922 429
www.securitystrategies.com.au
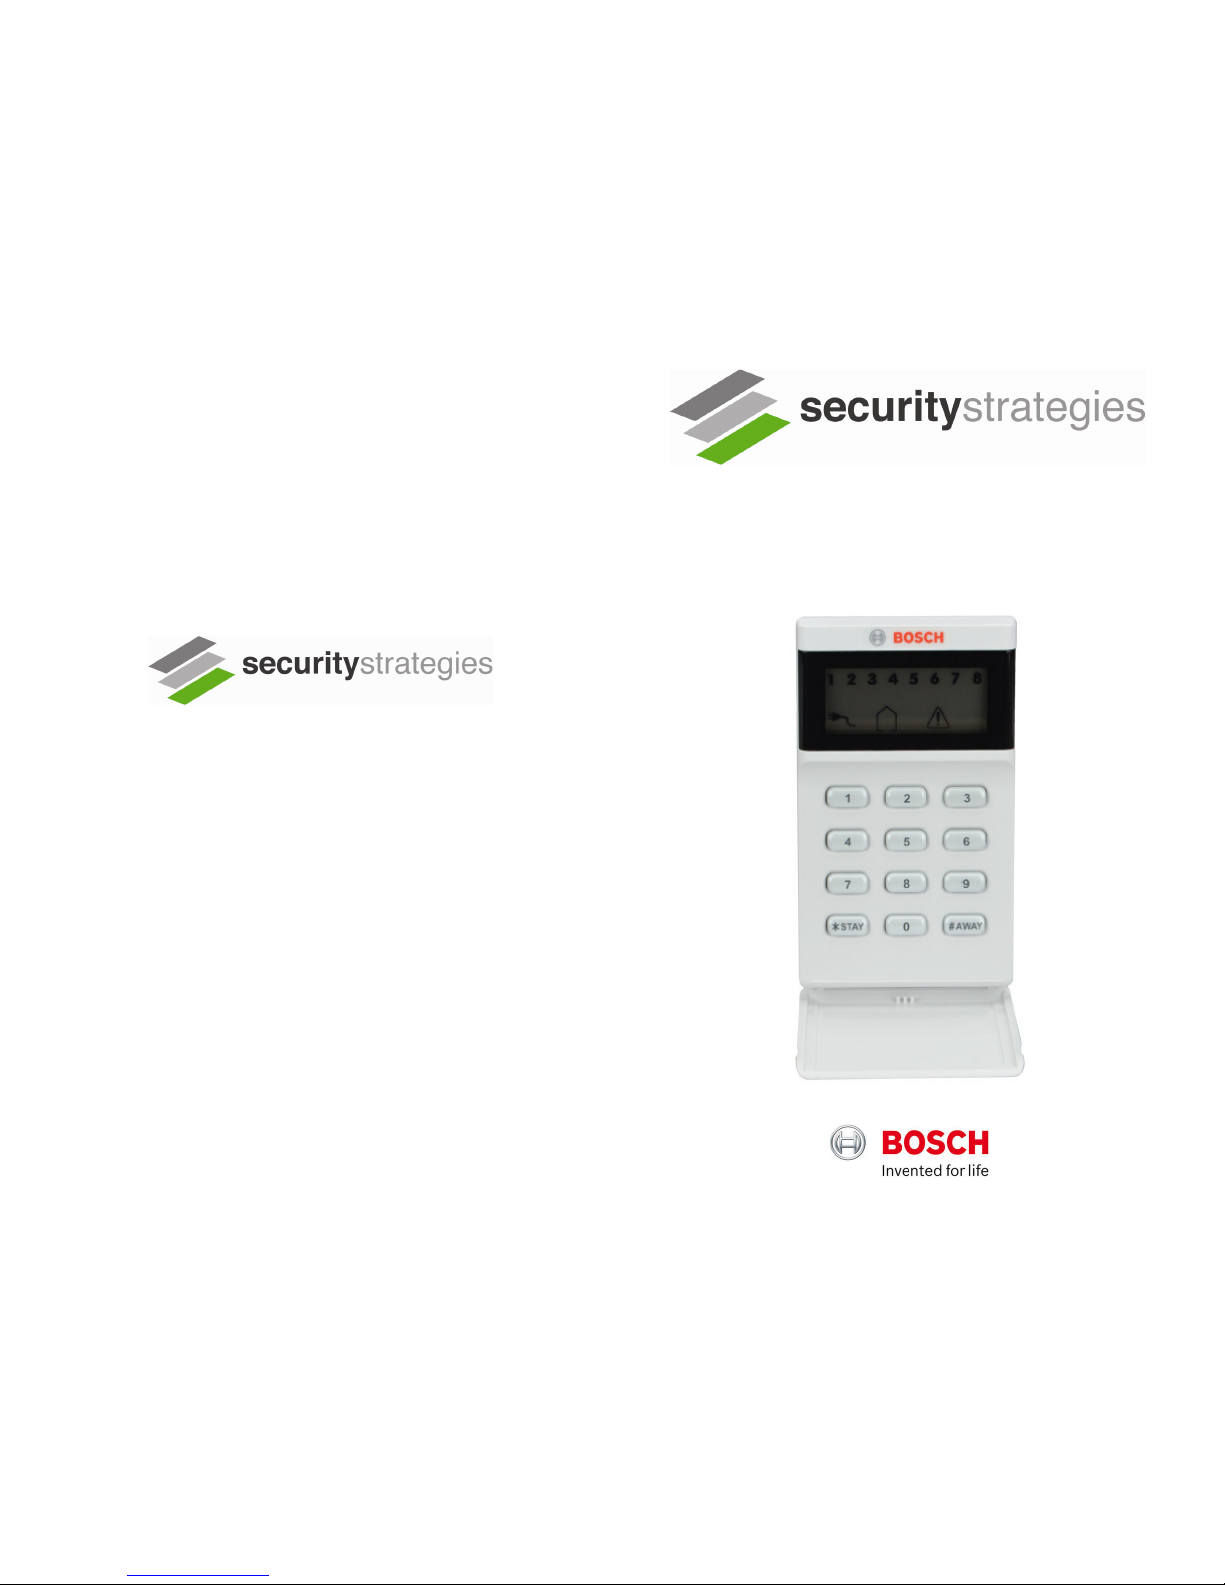
This quick user guide is designed for use with the Bosch Solution 3000 alarm system with the ICON LCD codepad.
This quick user guide is designed as a quick simple guide only; please refer to the full users guide provided for more
information prior to operating the system.
A copy of the full users guide can be downloaded from our website
http://www.securitystrategies.com.au/downloads/user-manuals/
ELECTRONIC SECURITY CCTV MONITORING PHONE & DATA INTERCOMS DIGITAL TV
BOSCH SOLUTION 3000
QUICK USERS GUIDE
Page 2
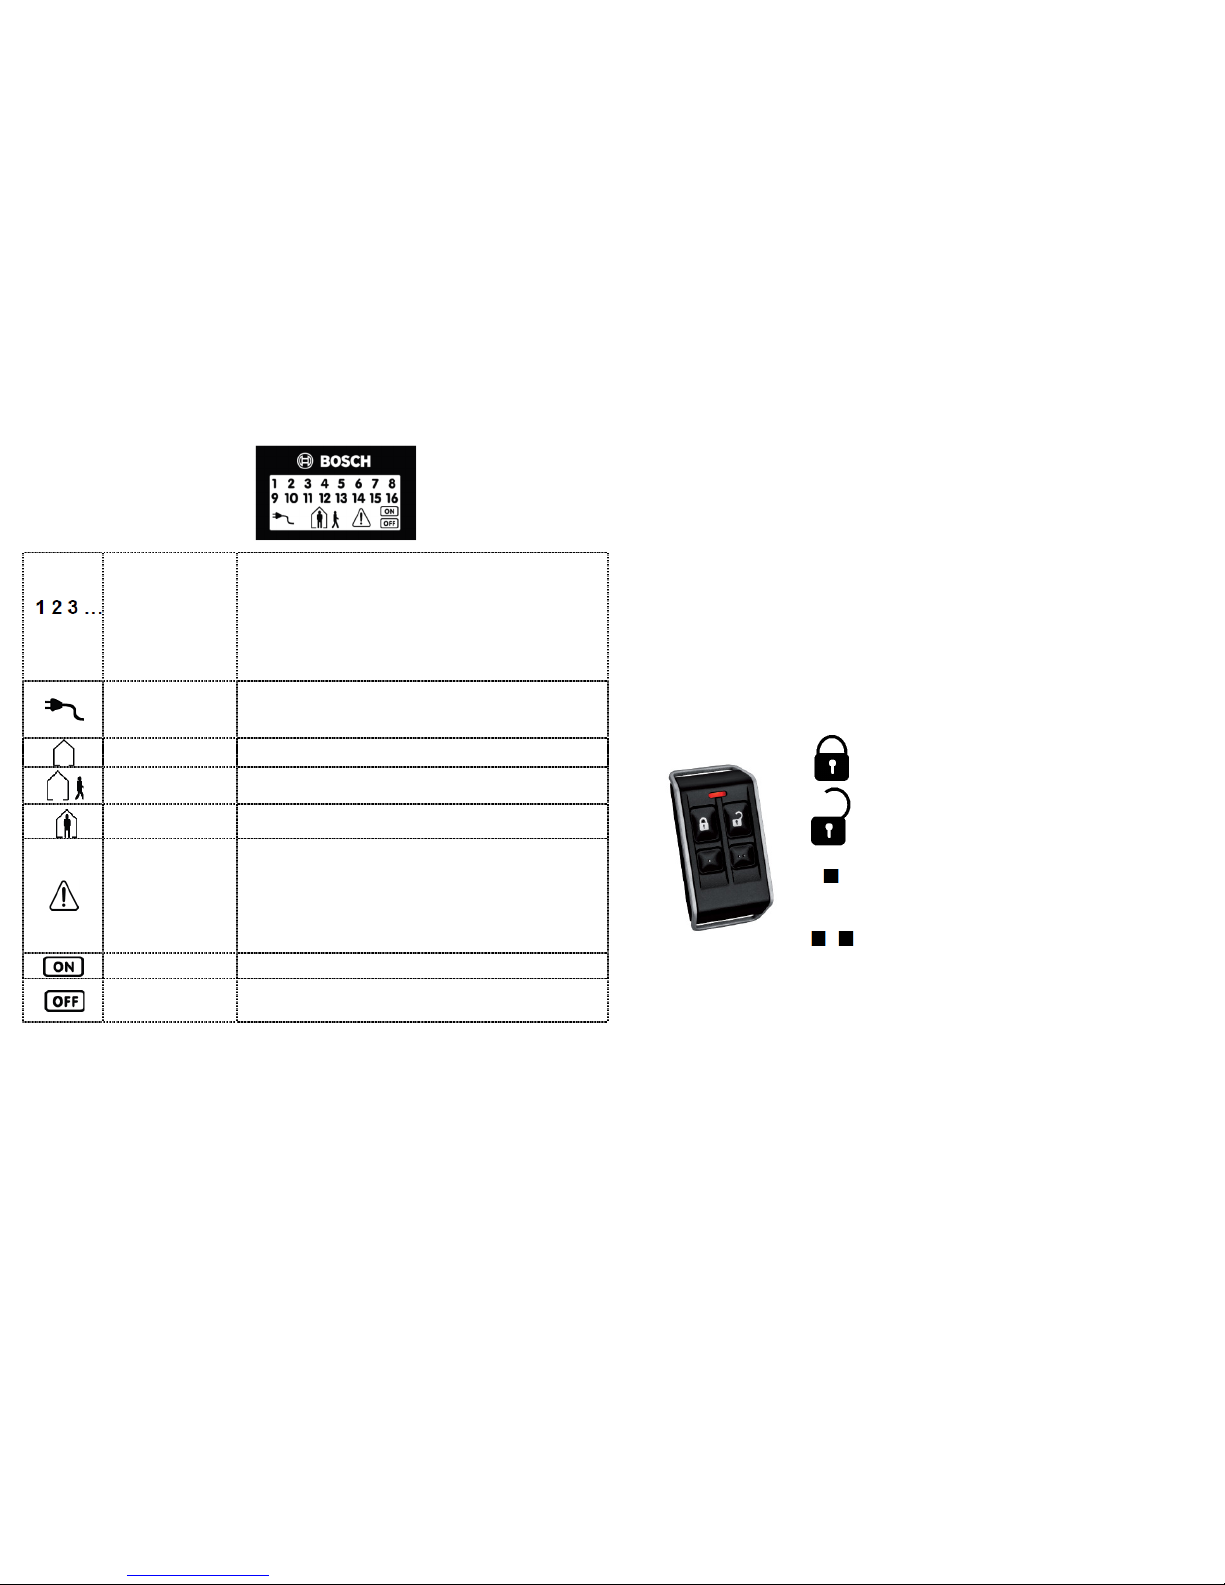
Keypad Display Icons & Meanings
Zone Indicators
Refer to zone list on
keypad flip cover for
zone number device
type and location.
On - Indicates which zones are unsealed (motion sensors detecting motion,
door open ect)
Off - Zone is sealed
Flashing fast (0.25 Sec on / 0.25 Sec off) - Indicates that zone has gone into
alarm recently, arming the system will clear this away
Flashing slow (1 sec on / 1 sec off) - Zone is isolated
Mains Power
On -
Alarm has mains AC power (Normal)
Flashing - Alarm has no mains AC power and is running on backup battery
only, check alarm plug pack is plugged in and power point is on.
System Is Disarmed
The alarm system is disarmed (OFF)
Armed - AWAY mode
The alarm is armed in AWAY mode (all armed)
Armed - STAY mode
The alarm is armed in STAY mode (partial armed)
System Fault
Off -
There are no system faults (Normal)
On / Flashing - There are system faults (power failure, phone line failure,
siren failure, low batteries, tampers ect)
The codepad may beep once per minute to indicate there is a fault, to stop
this press the # AWAY button once to acknowledge the fault.
Refer to full User Guide section 5.6 'Fault Analysis Mode' to determine
the type of fault and contact BJR Security if required.
Armed Indicator
The alarm system is armed in either AWAY or STAY mode.
Disarmed Indicator
The alarm system is disarmed.
The icon will flash if any zone is unsealed letting you know the system may
not be ready to arm.
Device Abbreviation Description
PIR - Passive Infra-Red (Motion detector)
Reed / Reed Switch / MRS - Magnetic reed switch, used on doors & Windows
Tamper - Switch installed on control cabinets, sirens, sensors and other devices to detect tampering or removal
How To Arm
To arm the whole alarm
Enter your 4 digit code then the [#AWAY] button
To arm in stay mode (arm only part of the house or office)
Enter your 4 digit code then the [*STAY] button
(Only zones discussed with your installer at time of installation will be armed in this mode)
How To Disarm
Enter your 4 digit code then the [#AWAY] button
Using The 4 Button Remote Controls
To use the remote, press and hold a button for approx 1 second until the red light comes on.
Arm the system in AWAY (full) mode
Disarm the system
Optional feature
(If setup by the technician at time of installation)
Arm the system in STAY (partial) mode
(If setup by the technician at time of installation)
How To Change Codes
Only the 'master code' (user 1) can be used to add, change or delete codes. If you only have 1 code,
typically this will be the 'master code'
1. Enter your master code then press [1] and [#AWAY] for example [2] [5] [8] [0] [1] [#AWAY]
2. Enter the user number (1-32) your wish to change then press [#AWAY] for example, the master code
is user number 1, to change the master code enter [1] [#AWAY]
3. Enter the new code for the user then press [#AWAY] for example [5] [6] [7] [8] [#AWAY]
Repeat steps 1-3 above to add any additional codes. Note: For security reasons, avoid any easy to guess
codes, ie 1234, your postcode, street address, birth year etc.
 Loading...