


A-ONE TAB with Wi-Fi
Mobile Skin Diagnosis System (SD) & Hair Diagnosis System (HD)
1

Bomtech Electronics Contents
1. Composition of Product
2. Specification
3. Precaution
4. Name of each Part
5. Main Function
6. Strengths
7. How to use A-ONE TAB
1) On/Off
2) Client management
3) SD Skin Diagnosis
4) HD Hair Diagnosis
5) Configuration
6) Client Registration
2

1) Main body
2) Battery 2Ea
3) USB cable
4) Stand (Optional)
1. Composition of product
3
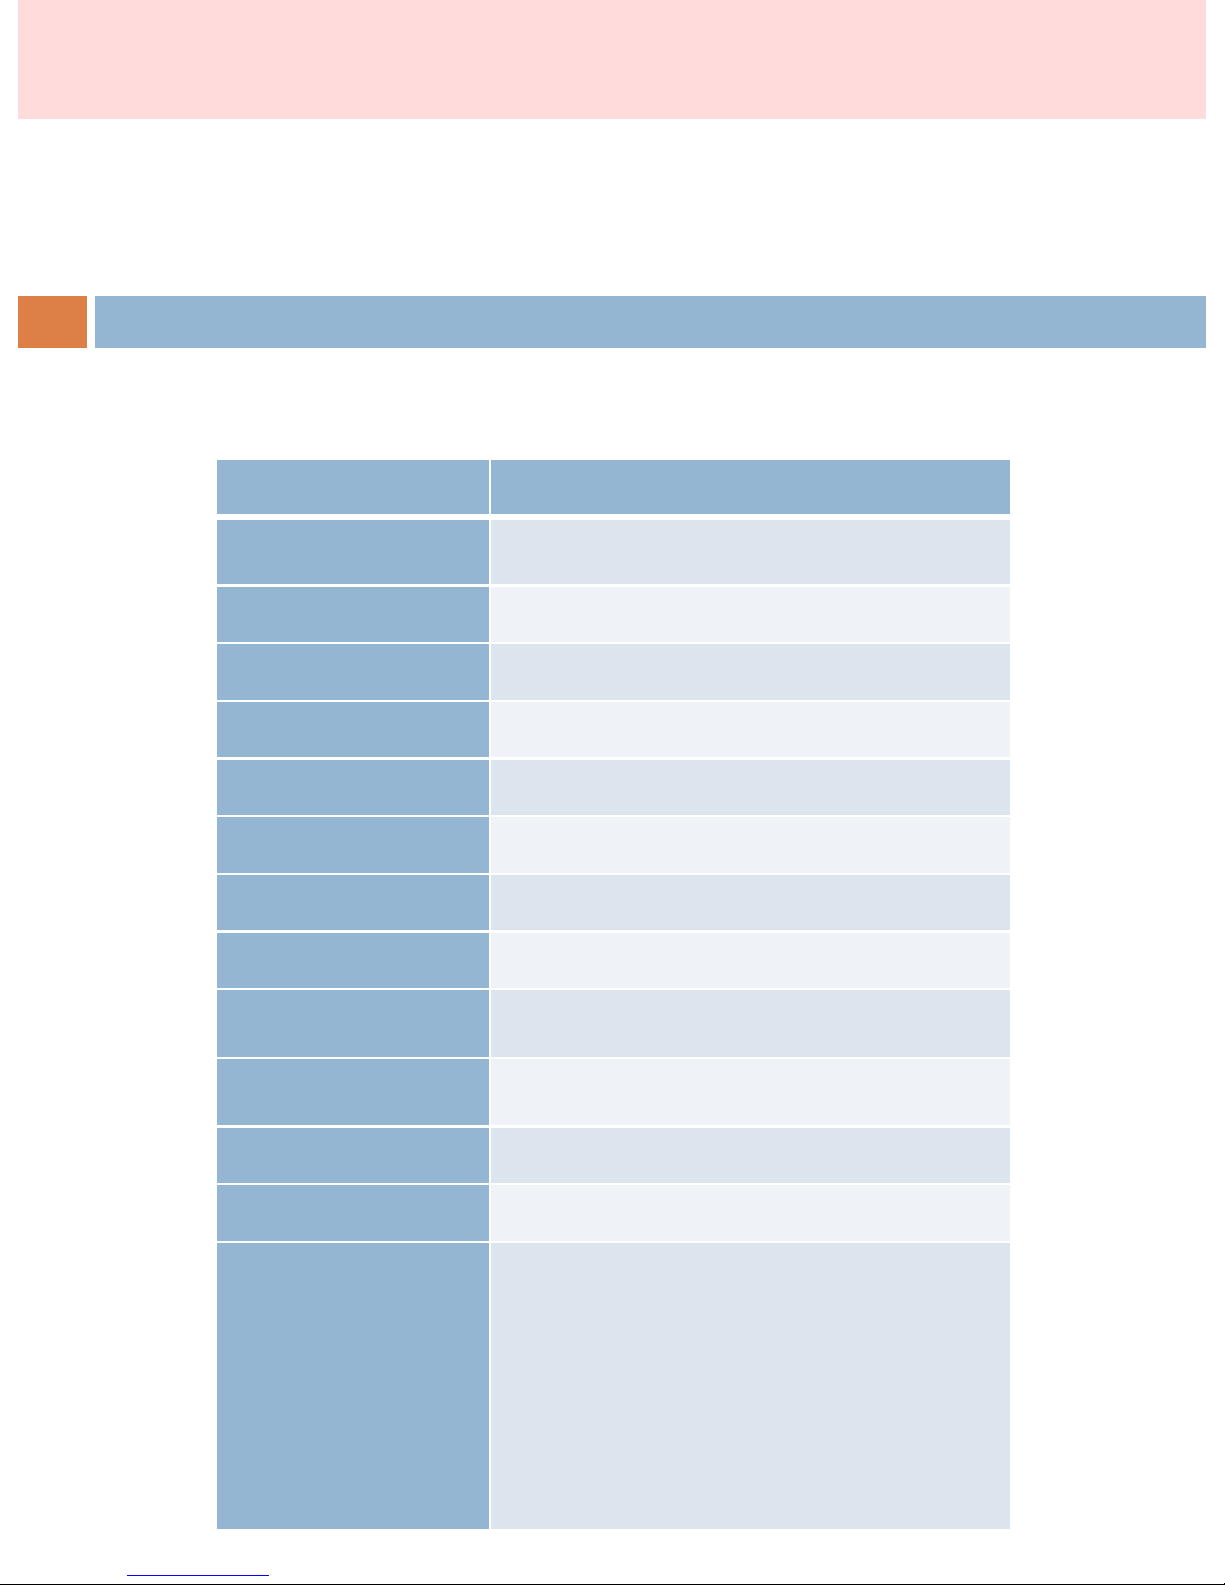
2. Specification
Classification
Description
Size
Width : 13cm , Length : 6.5cm , Height
:
1
.5cm
Weight
147.8g
CPU
Samsung
SP5V210 (1 GHz)
LCD
TFT
4’ (480*800)
OS Window
CE 6.0
Camera
CMOS
(640*480)
Rating
3
.7V, 1500 mAh
Battery
3
.7V, 1500 mAh (Lithium Polymer)
Adaptor
Input
: 100-240V, 50/60Hz
Output
: 5V, 1.2A
operating
temperature
5
℃~35℃
Internal
Memory
2
GB
External
Memory
microSD
slot support (Maximum 16 GB)
Others
WiFi
Moisture
Sensor
Elasticity
Sensor
UV
LED for sebum test
Normal
LED
4
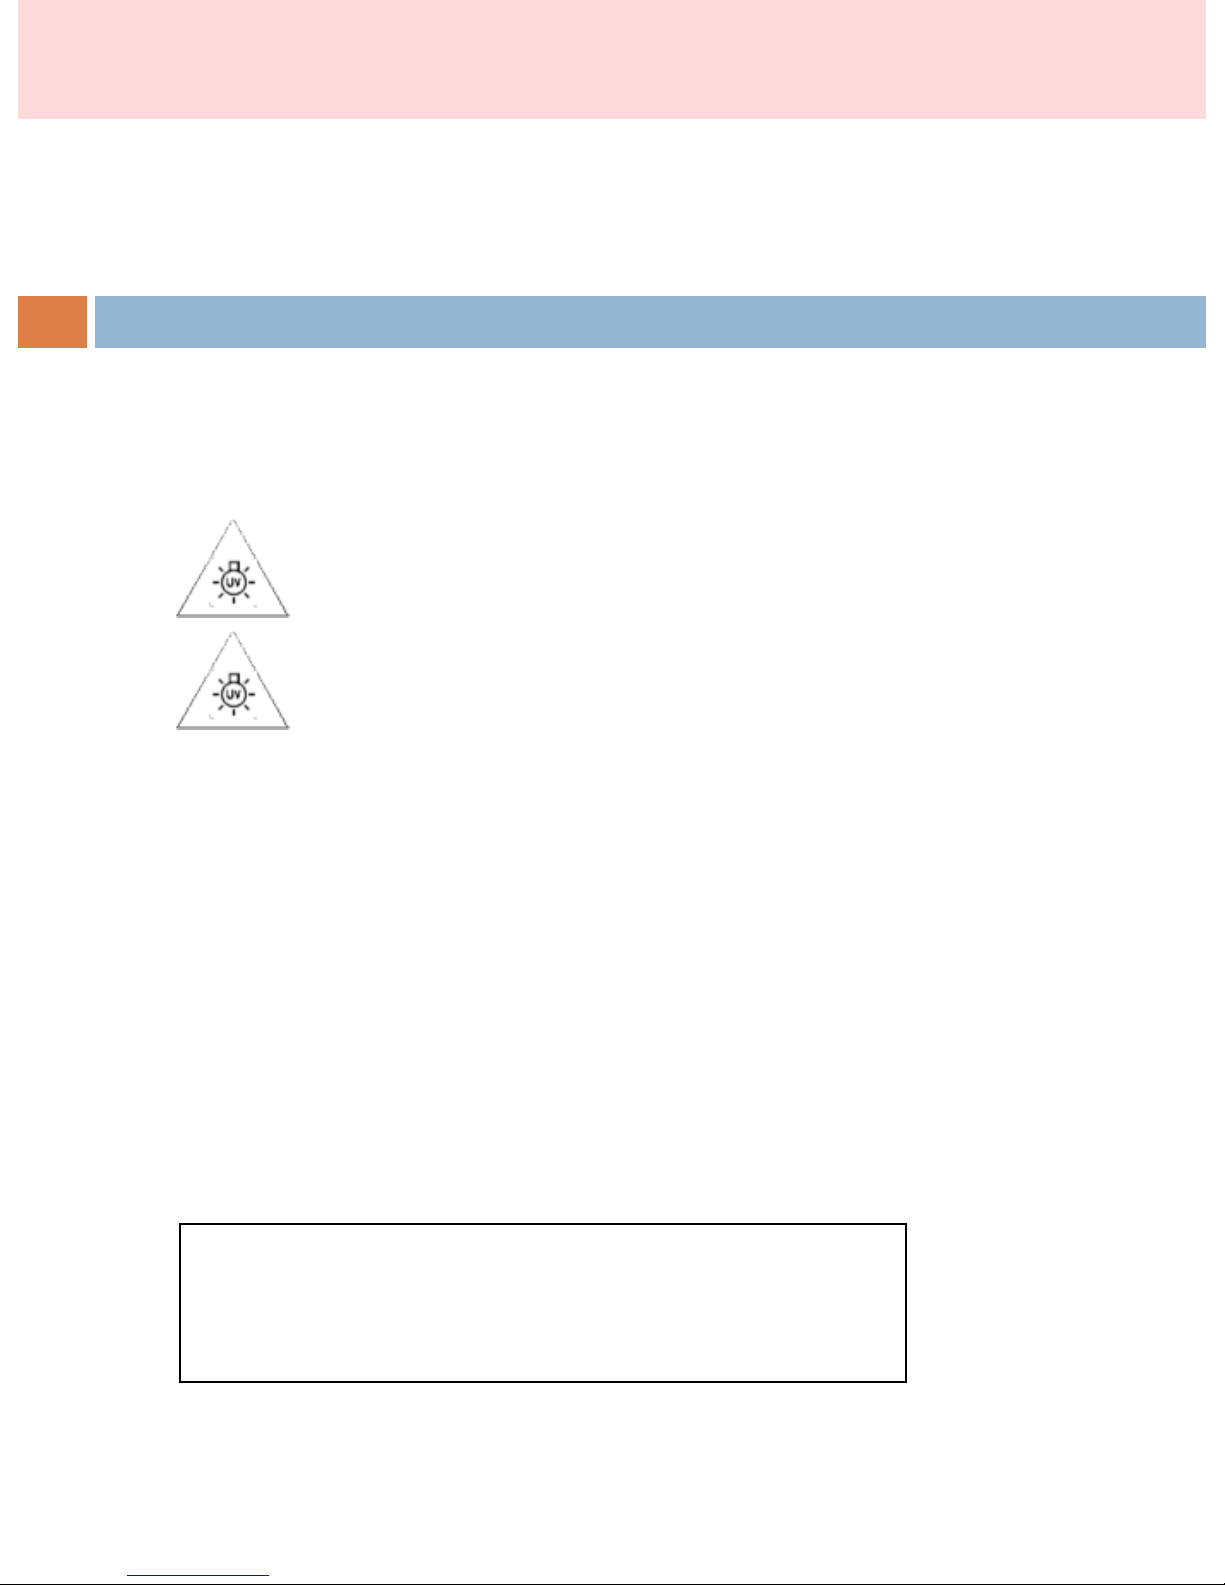
3. Precaution
5
1. Risk of explosion if battery is replaced by an incorrect type.
Dispose of used batteries according to the instructions.
2. NEVER aim the beam in or near anyone's eyes.
3. Do not be exposed to UV light for a long time
unnecessarily.
4. Separation distance between antenna and skin/scalp is
3.3cm.
This
device complies with part 15 of the
FCC Rules.
Operation is subject to the following two conditions:
(1) This device may not cause harmful interference, and
(2) This device must accept any interference received,
including interference that may cause undesired operation.
Caution: Any changes or modifications to the equipment not expressly approved by the party
responsible for
compliance could void user’s authority to operate the equipment.
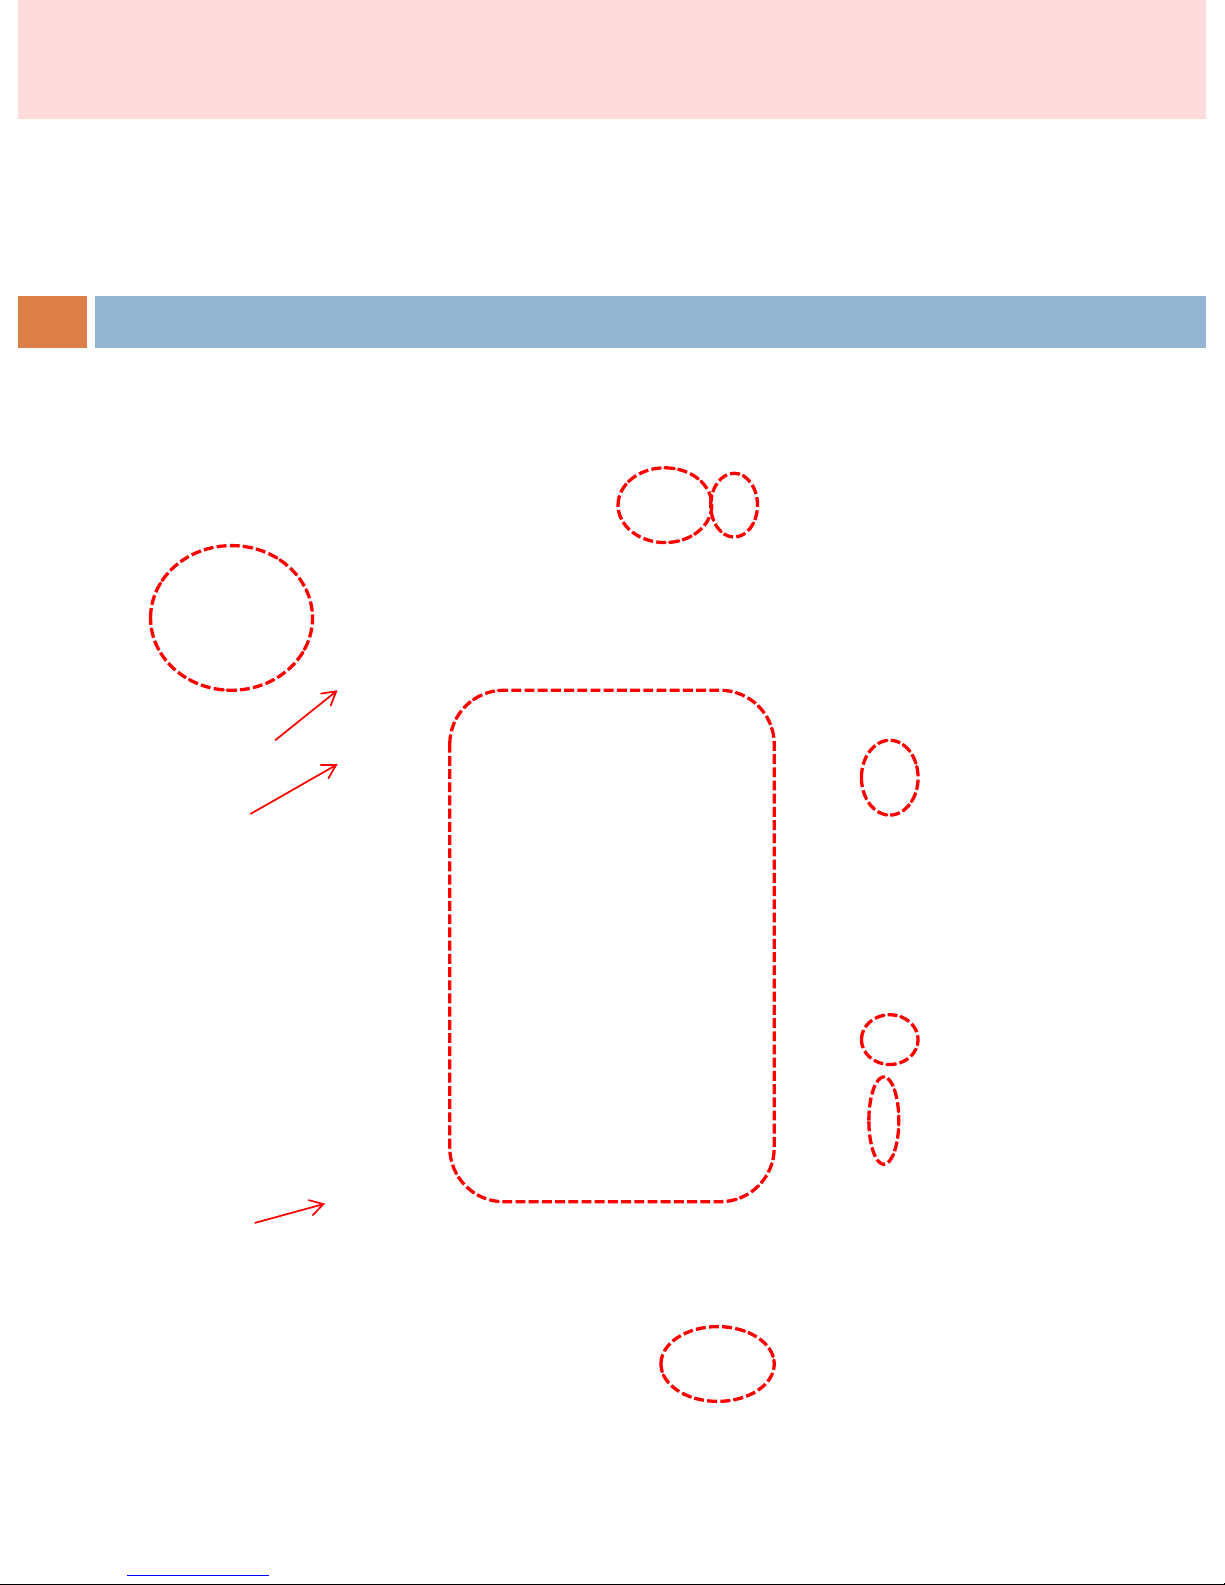
4. Name of each part
6
Micro SD card slot
VGA cable socket
On/Off button
Moisture/ Elasticity Sensor
CCD Camera
Micro USB socket
Battery Indicator
Capture button
Reset button
Touch screen

- Accurate Diagnosis
∙ Accurate diagnosis through vivid and magnified skin & hair scalp photos
by the digital scope
∙ Scientific diagnosis and description of customer’s real condition
- Automatic Analysis
∙ Accurate understanding on diagnosis result by analyzed photos and result
graph
- Diverse Analysis Data
∙ Skin : Skin types, Pore, Wrinkle, Pigmentation, Elasticity, Sebum, Moisture,
∙ Hair : Scalp types, Sebum, Hair loss, Hair density, Hair thickness and Hair damage
- Automatic Recommendation of product and service
∙ Generates automatic recommendation of suitable products
- Diverse Function
∙ Customer database / Diagnosis / Purchase Records / Providing standard
sample image / Color pencil function
5. Main Function
7

- Wi-Fi Function
Available to transfer the image and data to computer through Wi-Fi.
- Easy to use
(Touch screen) Very easy to operate program with finger
-Mobile solution
Very compact and light embedded computer system
-Embedded Sensor
Equipped with ‘Moisture’ and ‘Elasticity’ sensor inside the body.
- Integrated with ‘Skin’ and ’Hair’ diagnosis
Built in skin and hair diagnosis software
-Easy to back-up data
Data back-up is possible with USB or mini-SD-card
6. Strengths
8
(1) Start Diagnosis
9
1) Press On/Off switch at the side for 5
seconds to turn A- One Tab on.
2) Click <TAB> button to go to diagnosis
page..
7. How to use A-ONE TAB

1) Click ‘Registration’ button.
2) Click the edit box.
3) Enter the name of the client by using
keyboard and click ‘OK
4) Click birth date.
* You can go back to previous page by
clicking ‘Back’ button.
5) Click Year/ Month/ Day and enter
the number using the below keyboard.
** Do not forget to enter birth date and
gender as the result is based on age
and gender.
6) Click ‘OK’ to go to diagnosis
page.
.
◈New client ◈
(2) Client management
6. How to use A-ONE TAB
10

You can select a registered client to start
a test or edit the registered information.
1) Click ‘Search’ button to find the
registered client .
2) Click the edit box and enter the name
of the client
3) You can see the searched information
on the screen.
Click ‘ Diagnosis’ button to go to
diagnosis page.
* Diagnosis page
<SD> – Skin Diagnosis
<HD> – Hair Diagnosis
◈ Search◈
7. How to use A-ONE TAB
(2) Client management
11

◈ Search◈
7. How to use A-ONE TAB
(2) Client management
12
If you press a name of client for 2 seconds,
pop-up window will appear.
① Record by Date
: Check the previously tested data.
② Edit
: Edit the registered client’s information
③ Purchase List
: Show the purchase history of the selected
client.
④Delete
: Remove the registered client’s
information & previously tested data.
②
④ ③
①
①
③
②

You can just enter age & sex and
start a test without registration, as
guest.
1) Click ‘Simple Diagnosis’ button.
2) Click the edit box and enter age
using keyboard then click ‘OK’.
** Age & Gender are necessary to get
the result.
3) Select gender and Click ‘
Diagnosis’.
M – Man
W – Woman
◈ Simple Diagnosis◈
7. How to use A-ONE TAB
(2) Client management
13

<SD> BUTTON
Moisture / Elasticity / Pore /
Wrinkle / Sebum / Pigmentation
Click ‘SD’ to start skin
diagnosis.
◈ Individual Diagnosis ◈
Select certain test among pore,
wrinkle, pigment, sebum,
moisture / elasticity and
diagnose separately.
◈ Integrated Diagnosis ◈
Diagnose every part of pore,
wrinkle, pigment, sebum,
moisture / elasticity step by step.
◈ SD Diagnosis ◈
(3) SD Skin Diagnosis
7. How to use A-ONE TAB
14

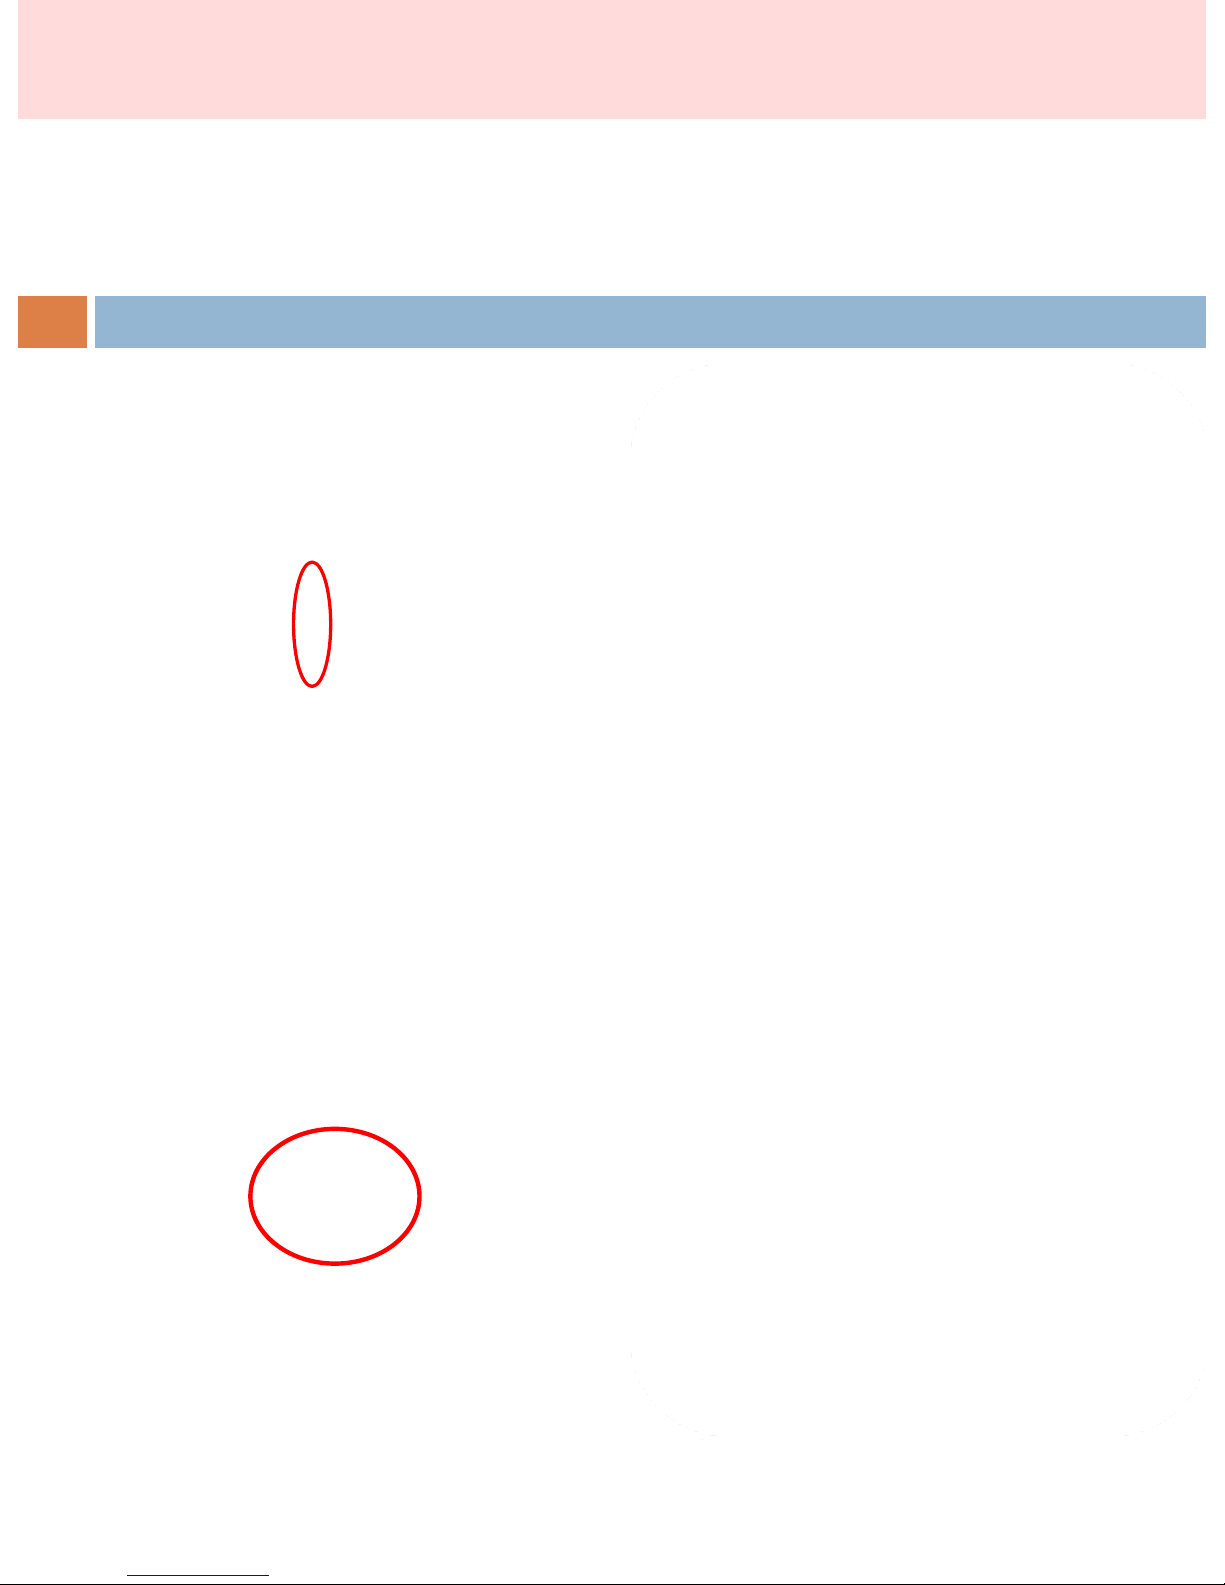
◈ How to use– Camera ◈
Put the sensor below your
cheekbone to measure
Moisture/Elasticity test.
Do not put it on your
cheekbone.
◈ How to use–Sensor ◈
(3) SD Skin Diagnosis
7. How to use A-ONE TAB
Proper use
Improper use
15
Put the camera on your skin
and take a photo to measure
Pigmentation/Sebum/Wrinkle
/Pore.
Press the Shot/Sensor Test
Button or capture button
on the side to take a photo
or measure by sensor.
◈ Shot / Sensor Test ◈
◈ Individual Diagnosis ◈
Click ‘Individual Diagnosis’.
<Pore> diagnosis
1) Click ‘Pore’ to measure pore condition.
2) put camera on the skin and click ‘shot’
** Click <Shot> to re-take a photo.
The test value will be shown automatically
at the bottom of left.
Manual measurement
** Click pore part colored with green.
you can see the measured value of the part.
(3) SD Skin Diagnosis
7. How to use A-ONE TAB
16
◈ <Pore> Diagnosis result ◈
3) Click ‘Result’ button.
<Do you want to save the test result?>
4) Select ‘Yes’ or ‘No’
5) Move to result page.
(3) SD Skin Diagnosis
7. How to use A-ONE TAB
17
◈ <Wrinkle> Diagnosis ◈
1) Click ‘Wrinkle’ to measure wrinkle condition.
2) put camera on wrinkle part and click ‘shot’
* wrinkle part : forehead, eye zone, around mouth
the test value will be shown automatically
at the bottom of left.
Manual measurement
** Drag wrinkle part colored with red as the left
image.
you can see the measured value of the part.
(3) SD Skin Diagnosis
7. How to use A-ONE TAB
18
Drag

◈ <Wrinkle> Diagnosis result ◈
3) Click ‘Result’ button.
<Do you want to save the test result?>
4) Select ‘Yes’ or ‘No’
5) Move to result page.
(3) SD Skin Diagnosis
7. How to use A-ONE TAB
19
◈ <Pigment> Diagnosis ◈
1) Click ‘Pigment’ to measure pigment condition.
2) put camera on skin and click ‘shot’
the test value will be shown automatically
at the bottom of left.
(3) SD Skin Diagnosis
7. How to use A-ONE TAB
20
◈ <Pigment> Diagnosis result ◈
3) Click ‘Result’ button.
<Do you want to save the test result?>
4) Select ‘Yes’ or ‘No’
5) Move to result page.
(3) SD Skin Diagnosis
7. How to use A-ONE TAB
21
◈ <sebum> Diagnosis ◈
1) Click ‘Sebum’ to measure sebum condition.
2) put camera on skin and click ‘shot’
the test value will be shown automatically
at the bottom of left.
(3) SD Skin Diagnosis
7. How to use A-ONE TAB
22
NEVER aim the beam in or near anyone's
eyes.
 Loading...