

Page 1
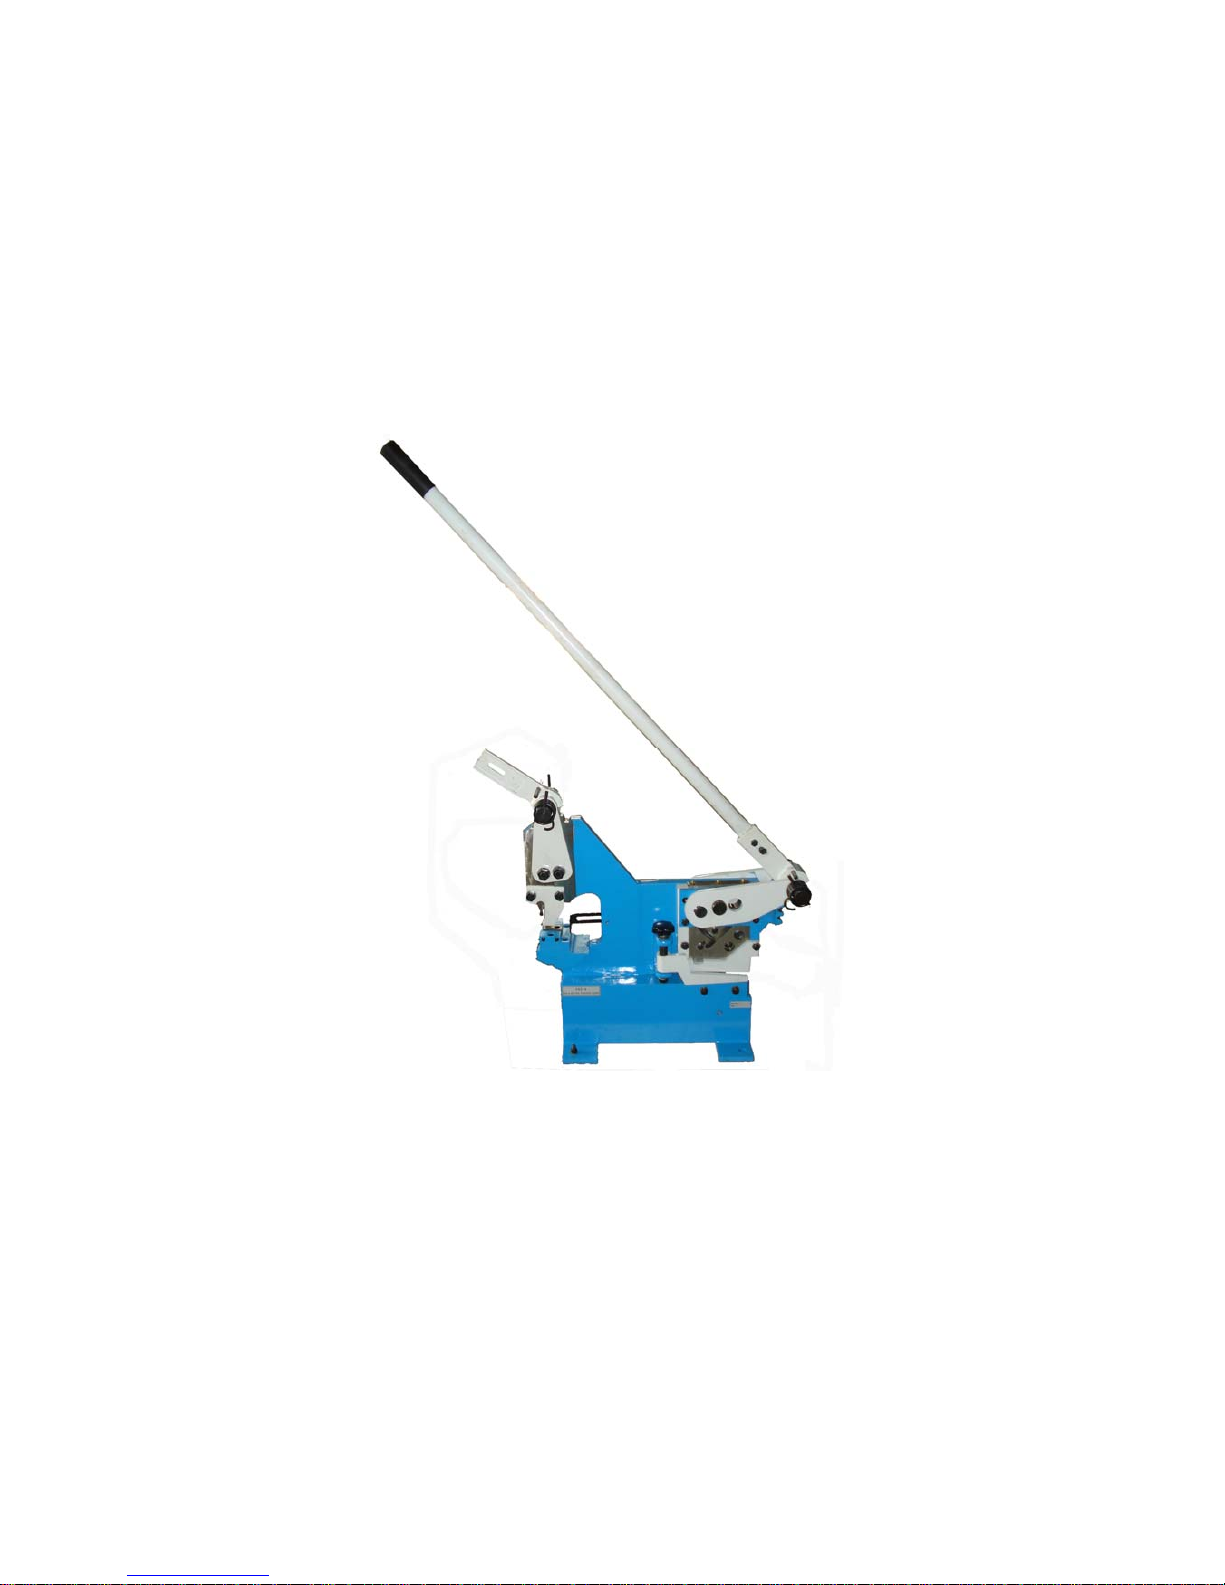
BAR&SECTION PUNCHING SHEAR
PBS-9
MANUAL
Page 2
USAGE
This product can be used to cut the low-carton shaped steel, round-steel,
angle-steel, square-steel, strip-steel and sheet metal. It is especially suitable for
building site machining repairing. And it is suitable for punching holes in plate made
or low-carbon steel, copper, aluminum, plastic etc. With different punches and dies,
you can make holes from dia. 3mm to 22mm or the same holes of special shape on
plate from 0.5mm to 4.5mm thickness. This machine adopts welded steel plate
construction. Light weight allows moving it easily. Operation is easy and simple. So
it is especially suitable for the medium or small workshops and home-use.
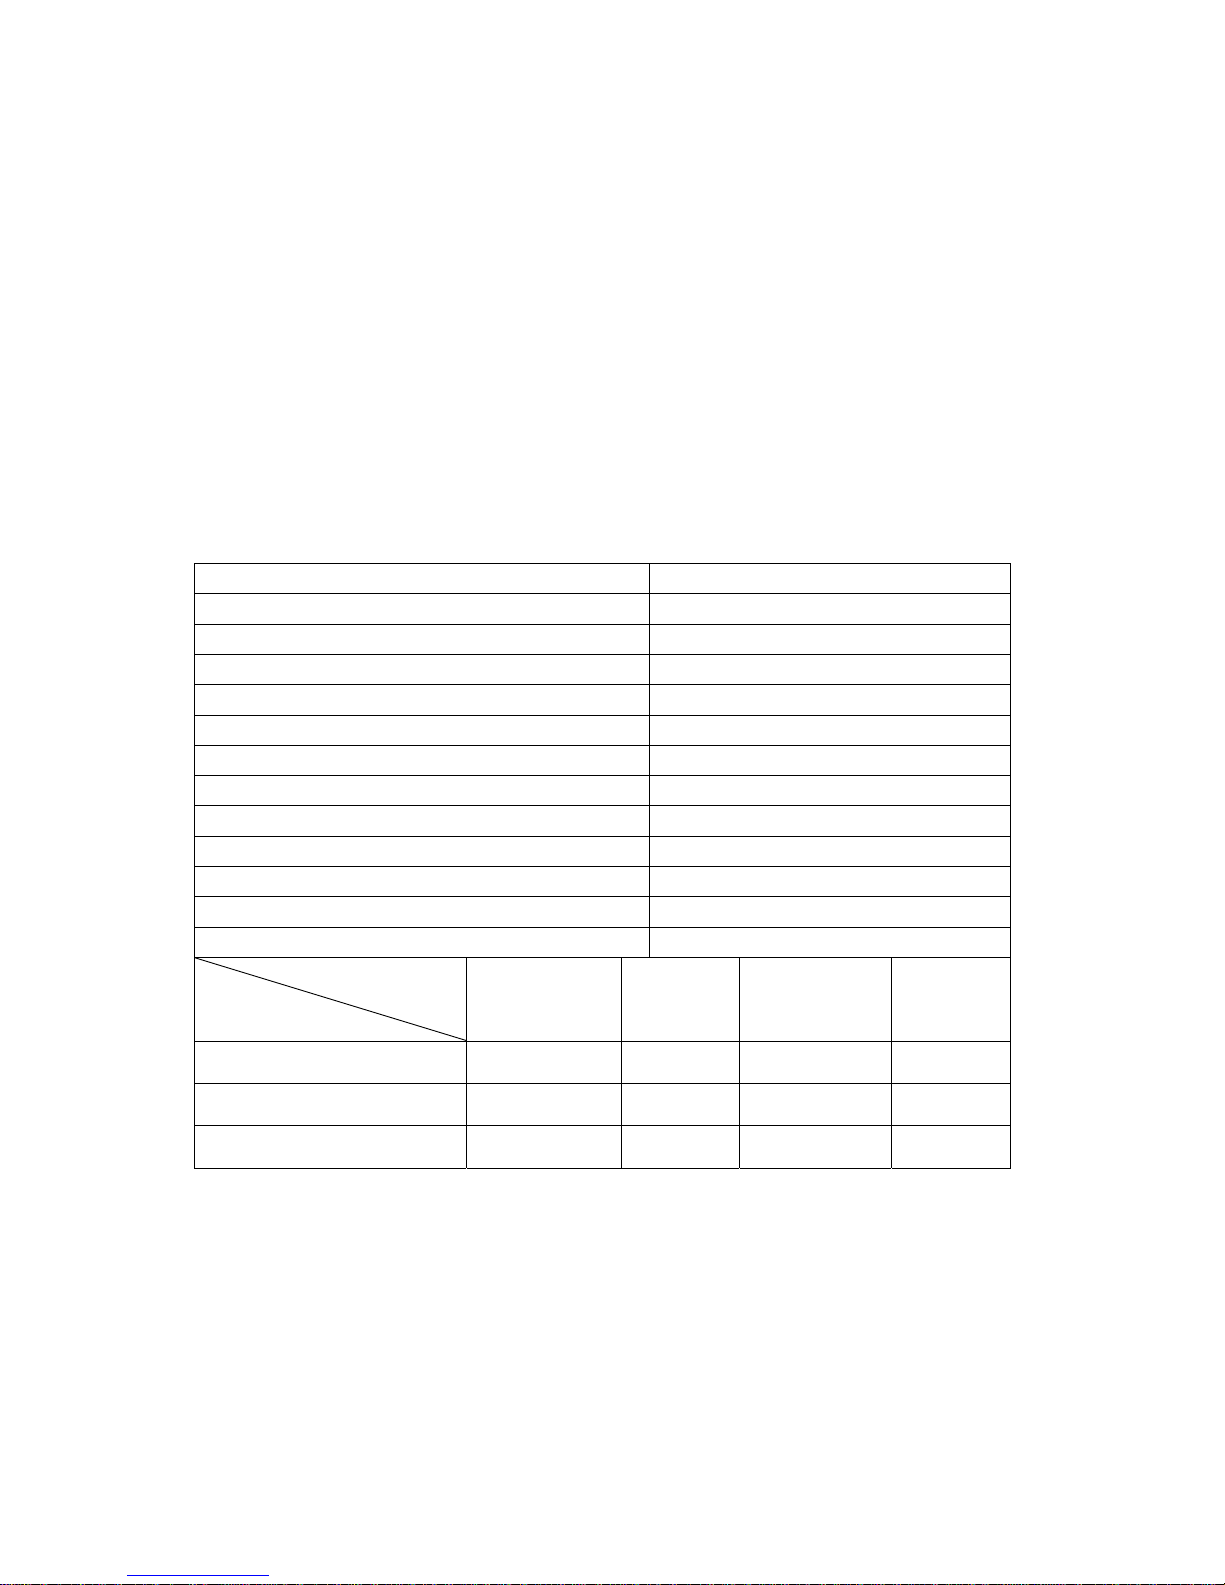
Main technical specifications (mm):
Model
PBS-9
Round steel 22mm
Square Steel 20mm
Flat steel 90x14mm
Angle steel 60x7mm
Plate steel 10mm
T-steel 60x7mm
Max. punching capacity 8.0mm
Throat depth 160mm
Punch mold & die 55x34x18mm
Body packing size 99x40x66cm
Handle packing size 124x3.3x7.4cm
N.W/G.W 99/115kg
Thickness
Material
0.5-1.5 1.5-2.5 2.5-3.5 3.5-5.0
Aluminium 2.5-20 3.0-20 5.0-20 8.0-20
Copper 3.0-30 5.0-20 6.0-20 8.0-20
A3 carbon steel 6.0-30 8.0-18 10-17 ----
NOTE
1. Before using this machine, read this manual carefully at first. Check the
fastening screws of every part and see if they are loose, if loose, please tighten
them.
2. Lubricate the sliding place usually.
3. Before shearing, the work-piece must be fastened in order to avoid harming.
4. Be sure not to put finger under the blade.
5. Keep ones balance, far away from the work-piece, in order to avoid harming.
6. Be care for the handle, in order to avoid harming. The strength of the handle is
Page 3

different because the position of the spring is different.
7. Keep children far away from the machine.
OPERATION
I. CUT STEEL PLATE, STRIP STEEL
1. Raise handle (46), make upper blade and down blade keeping a certain
distance.
2. Put the steel plate on the down blade (33), ensure the suitable size, then
tighten the handle (8), fix the work-piece with the plate (21), turn the handle
(4) downward strongly.
II. CUT ROUND AND SQUARE ST EEL
Raise the handle (47), put the round (square) steel into the round (square)
hole of the blade, and into the round (square) hole of the support plate (3),
turn the handle (47) downward strongly.
III. CUT ANGLE AND T-STEEL
Raise the handle 47) put the work-piece into the groove (its shape is the
same as the work-piece) and into the groove of support plate (3).
IV. There are two holes in the connecting plate (6), operator can select anyone
according to the different position and strength.
MAINTAIN
1. Lubrication
Before using, apply some grease to the teeth, pour lubricating oil into the oil cup
(14).
2. If not using the machine long time, smear blades with antirust oil.
Page 4

PARTS LIST
Item Description Qty Item Description Qty
1 Body 1 38 Spring Pin 4
2 Bolt 1 39 Supporting Shaft 1
3 Support Plate 1 40 Left Spring 2
4 Washer 9 41 Screw 1
5 Nut 7 42 Down Blade 1
6 Connecting Plate 2 43 Shaft 1
7 Ring 2 44 Bolt 1
8 Handle 1 45 Arm 1
9 Screw 1 46 Handle 1
10 Sleeve 1 47 Handle Sleeve 1
11 Screw 1 48 Bolt 1
12 Bar 1 49 Washer 1
13 Plate 1 50 bar 1
14 Blade Base 4 51 Block 1
15 Oil Cup 1 52 Washer 4
16 Tooth Plate 1 53 Bolt 2
17 Shaft 3 54 Supporting plate 1
18 Washer 1 55 Washer 2
19 Moving Blade 1 56 Small shaft 2
20 Screw 2 57 Strength bar 1
21 Press Plate 1 58 Rack arm support 1
22 Support 1 59 Bolt 2
23 Bolt 2 60 Bolt 1
24 Shield 1 61 Punching die 1
25 Fixed Plate 1 62 Bolt 2
26 Moving Piece 1 63 Bolt 2
27 Bolt 3 64 Punching die set 1
28 Spring Washer 5 65 Bolt 4
29 Bolt 4 66 Punch 1
30 Adjustable Down Blade 1 67 Slid set 1
31 V-Upper Blade 1 68 Punch 1
32 Small Shaft 2 69 Pin 1
33 Upper Blade 1 70 Block 1
34 Bolt 1 71 Nut M16 2
35 Right Spring 2 72 Supporting plate 1
36 Sleeve 4 73 Nut M20 3
37 Screw Sleeve 4
Page 5

ASSEMBLY DRAWING
Page 6

Note: This manual is only for your r eference. Owing to the continuous improvement of
the machine, changes may be made at any time without obligation on notice.
 Loading...