

Page 1
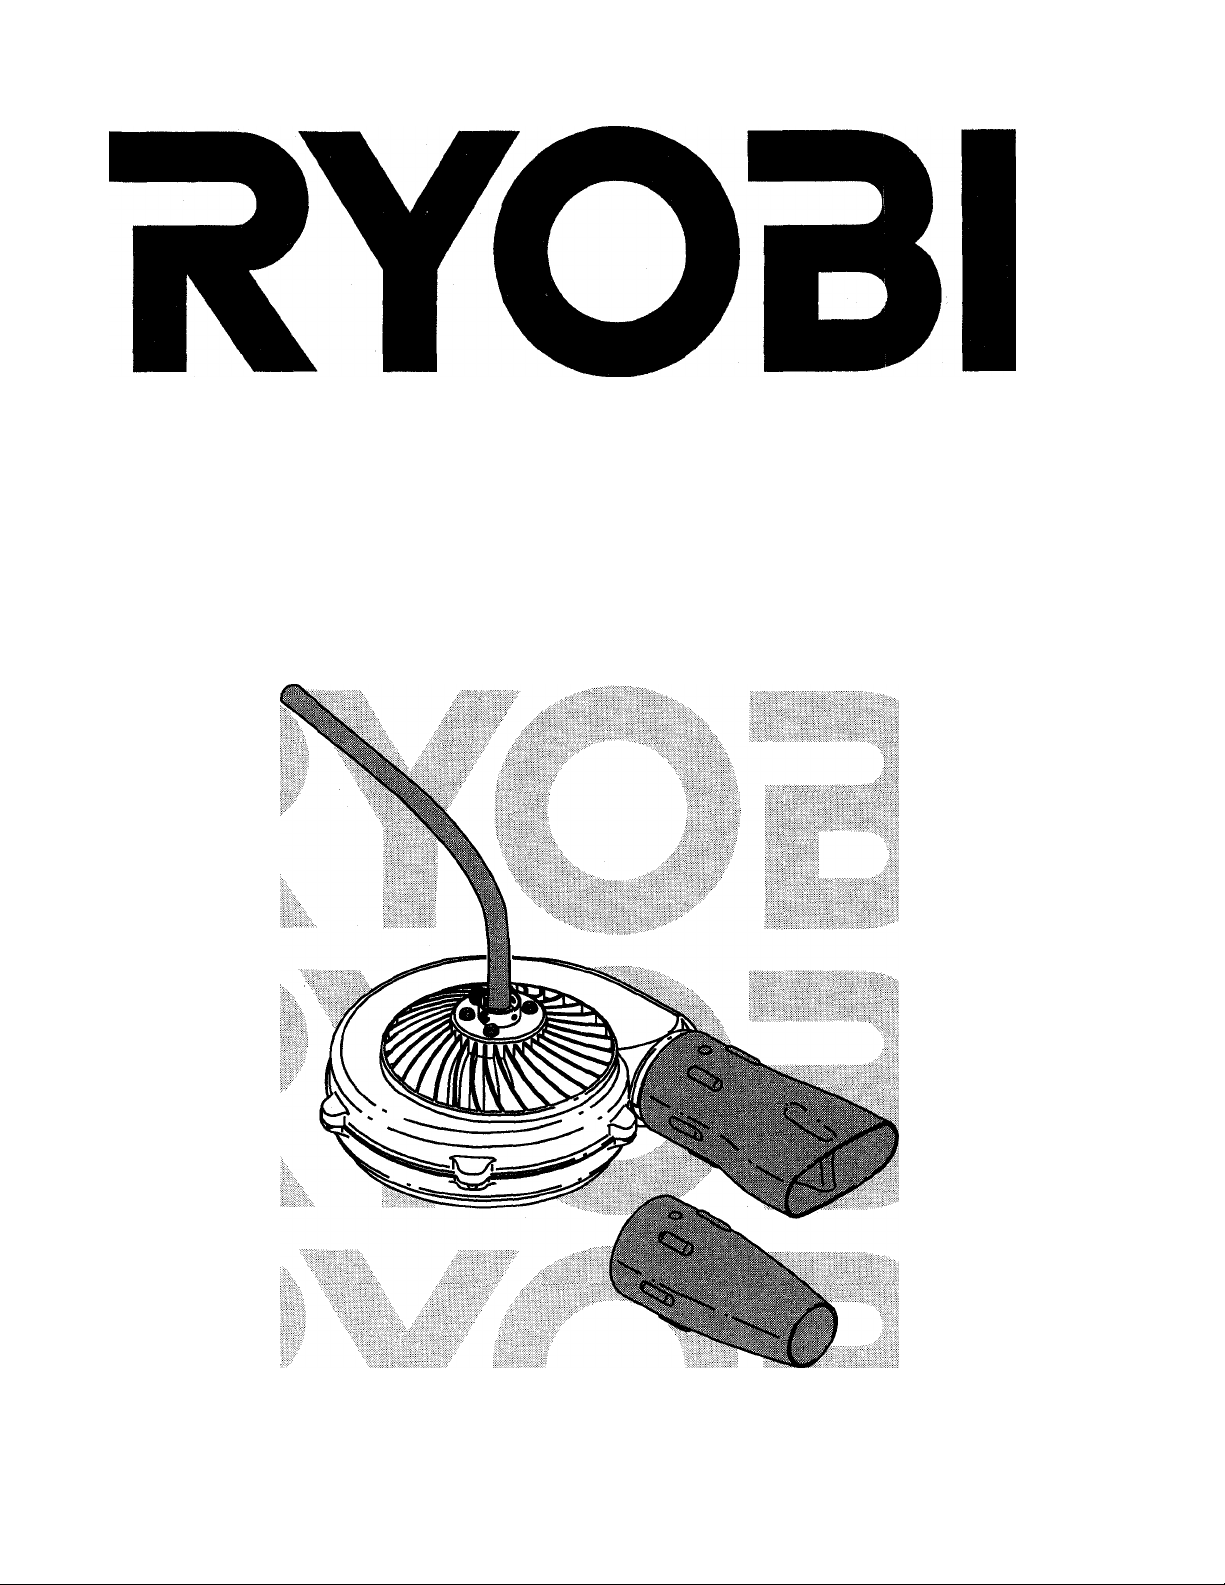
MODEL TB720r
BLOWER
OPERATOR'S MANUAL
FOR QUESTIONS, CALL 1-800-345-8746 IN U.S., OR 1-800-265-6778 in CANADA
FOR HOUSEHOLD USE ONLY
IMPORTANT MANUAL DO NOT THROW AWAY
Page 2

INTRODUCTION
TABLE OF CONTENTS
THANK YOU
Thank you for purchasing this quality product. This
modern outdoor power tool has been fully assembled
and designed to provide you with many hours of useful
service. You will find it to be a great labor-saving device.
This operator's manual provides you with easy-tounderstand operating instructions. Read the entire
manual and follow all of the instructions to keep your
new outdoor power tool in top operating condition.
The other manual that came with your power tool, the
parts manual, contains all of the information that you
need to order parts
PRODUCT REFERENCES, ILLUSTRATIONS AND SPECIFICATIONS
All information, illustrations and specifications in this
manual are based on the latest product information
available at the time of printing. We reserve the right to
make changes at any time without notice.
RULES FOR SAFE OPERATION
THE PURPOSE OF SAFETY SYMBOLS IS TO AHRACT YOUR
AHENTION TO POSSIBLE DANGERS. THE SAFETY SYMBOLS,
AND THE EXPLANATIONS WITH THEM, DESERVE YOUR
CAREFUL AHENTION AND UNDERSTANDING. THE SAFETY
WARNINGS DO NOT BY THEMSELVES ELIMINATE ANY
DANGER. THE INSTRUCTIONS OR WARNINGS THEY GIVE
ARE NOT SUBSTITUTES FOR PROPER ACCIDENT PREVENTION
MEASURES.
SYMBOL MEANING
DANGER: Failure to obey a safety
A
A
warning will result in serious injury to ■
yourself or to others. Always follow the
safety precautions to reduce the risk
of fire, electric shock, and personal
injury.
WARNING: Failure to obey a safety
warning can result in injury to yourself
and others.
I. Rules for Safe Operation.........................................2-4
A. Safety and International Symbols
II. Operating Instructions
A. Interchanging Nozzles
B. Using the Flare Nozzle............................................7
C. Using the Concentrator Nozzle................................7
IV. Blower Parts - Model TB720r.......................................8
V. Warranty
Make sure this manual is carefully read and
understood before starting or operating this
equipment.
Also refer to the operator's manual of the
powerhead for additional safety warnings.
NOTE: Proof of purchase will be required for
...................................................................
warranty service.
.................................................
.........................................
..........................
6-7
IMPORTANT SAFETY INFORMATION
A WARNING: Always follow the
safety precautions to reduce the risk of
fire, electric shock and personal injury.
Make sure this manual is carefully read
and understood before starting or
operating this equipment.
Service Information
Service on this unit both within and after the warranty
period should be performed only by an authorized
and approved service dealer. Dial 1 -800-345-8746
in the United States or 1 -800-265-6778 in Canada
to obtain the listing of the authorized service dealer
nearest you. Do not return the unit to the retailer.
4
5
9
CAUTION: Failure to obey a safety
A
NOTE:
warning may result in property
damage or personal injury to yourself
or to others. Always follow the safety
precautions to reduce the risk of fire,
electric shock, and personal injury.
Advises you of information or
instructions vital to the operation or
maintenance of the equipment.
FOR QUESTIONS, CALL 1 -800-345-8746 IN U.S., OR 1 -800-265-6778 in CANADA
Page 3

RULES FOR SAFE OPERATION
BEFORE OPERATING
Carefully read and understand the operator's
manual of the unit that powers this attachment,
Inspect the area before starting the unit, Remove
all debris, and hard and sharp objects.
Do not allow to be used as a toy,
WHILE OPERATING
Always wear safety goggles/glasses at all times
when using the blower. They provide protection
against flying objects and dust.
Do not operate the unit while under the influence
of drugs, alcohol or medication.
Do not point the unit In anyone's direction or in the
direction of windows. Failure to obey this warning
will result in serious personal injury.
Wear a dust mask if use will create a dust laden
environment.
Dress properly. Do not operate this blower when
barefoot or wearing open sandals. Always wear
sturdy, rubber-soled footwear. The use of gloves,
ear/hearing protection and long pants are
recommended.
Do not wear loose-fitting clothing or articles such
as scarves, strings, chains, ties, etc,, because they
could get drawn into the air intake. Also make sure
long hair does not get drawn into the air intake.
Keep the air intake opening clear of debris.
Keep clothing and body parts away from all
moving parts and the engine exhaust outlet.
Use only as described in this manual. Use only
manufacturer's recommended attachments.
Use extra care when cleaning on steps or stairs.
Operate this blower in a well-ventilated area
outdoors. Carbon monoxide exhaust fumes can
be lethal in a confined area.
Do not blow in anyone's direction. The blower can
propel small objects at high speed.
After striking a foreign object, stop the motor/
engine and inspect the blower for damage.
Repair any damage before further operation is
attempted. Do not operate the blower with loose
or damaged parts.
Keep bystanders, especially children, and pets at
least 30 ft (9,1 m) away.
Look behind and use care when backing up.
• Never operate without good visibility or light,
• Exercise caution to avoid slipping or falling,
AFTER OPERATING
• Only qualified personnel should perform any
repairs or maintenance procedures that are not
described in this manual,
SPECIAL SAFETY WARNINGS FOR ELECTRIC
POWERHEADS AND BLOWER
Do not use in rain.
Avoid dangerous environments - never operate
blower in damp or wet conditions.
Do not handle plug or appliance with wet hands.
To reduce the risk of electric shock, do not expose
the unit to rain or operate unit on wet ground.
Always unplug the unit and allow it to cool before
putting it into storage. Store indoors.
Always unplug the unit when not in use, and
before performing any maintenance or repairs,
SPECIAL SAFETY WARNINGS FOR GAS
POWERHEADS AND BLOWER
• Avoid spilling the fuel when mixing the oil,
• Do not smoke while fueling the power unit,
• Fuel the power unit in a well-ventilated area,
• Move away from the fueling area when starting
the unit,
• Do not smoke while operating the unit,
• Do not wear rubber or other insulated gloves
when operating the unit to avoid static electricity
shock,
• Store in an area free of potential fuel vapor
ignition sources such as open flames (pilot lights)
or electrical sparking devices (switches, electric
motors),
• Turn off the engine and let it cool before refueling
or before putting the unit in storage.
IMPORTANT SAFETY INFORMATION
SAVE THESE INSTRUCTIONS
Page 4

RULES FOR SAFE OPERATION
SAFETY AND INTERNATIONAL SYMBOLS
This operator's manual describes safety and international symbols and pictographs that may appear on this product.
Read the operator's manual for complete safety, assembly, operating and maintenance and repair information.
SYMBOL
A
MEANING
• SAFETY ALERT SYMBOL
Indicates caution, warning or danger. May be used
in conjunction with other symbols or pictographs.
• READ OPERATOR'S MANUAL
Failure to follow operating instructions and safety
precautions in operator's manual can result in
serious injury. Read operator's manual before
starting or operating this unit.
• WEAR EYE AND HEARING PROTECTION
Warning. Thrown objects and loud noise can cause
severe eye injury and hearing loss. Wear eye and
ear protection when operating this unit.
• FOR SERVICE INFORMATION, CALL
USA: 1-800-345-8746
CANADA: 1-800-265-6778
i
1
• BLOWERS
ROTATING BLADES CAN CAUSE SEVERE INJURY.
Place switch in "OFF" position and disconnect from
power source before Installing or changing nozzles.
Do not put hands or any other object into fan
housing.
Page 5

OPERATING INSTRUCTIONS
OPERATING CLICK-LINK® SYSTEM
Your powerhead is equipped with a Ciick-Link®
System, which enabies optional attachments to be
installed on the powerhead unit.
The optional attachments are:
Sweeper/Blower......................................................SB720r
Vacuum..................................................................LV720r
Edger..................................................................... LE720r
Cultivator
Straight Shaft Trimmer
Tree Pruner
Snow Thrower
Hedge Trimmer...................................... HS720r or HD720r
Blower/Vacuum
Removing the Lower (Attachment) Boom
NOTE: To make removing the boom easier,
1. Loosen the knob counterclockwise (Fig. 1).
2. Push the release button in (Fig. 1).
3. Pull the lower boom straight out of the Click-Link
...............................................................
...............................
............................................................
........................................................
......................................................
piece the unit on the ground or on a
tabie.
(Fig. 2).
SS720r or SS725r
GC720r
TP720r
ST720r
BV720r
if your unit is not assembled or you have more than one attachment, use the following instructions:
Installing the Lower (Attachment) Boom
1. Remove the hanger from the lower (attachment)
boom. Hold the release button down while
pushing the lower (attachment) boom into the
Click-Link (Fig. 2).
2. Tighten the knob clockwise before using the unit.
CAUTION: Make sure the release button
A
A
is locked in the primary hole before
operating this unit.
CAUTION: All attachments are designed
to be used in the primary hole unless
otherwise indicated in the specific
attachment's operator's manual. If the
incorrect hole is used, you could
damage your unit.
Clic k-LInk
' Button
Knob
Release
------------
_____
«x Guide
„ecoss
Fig. 1
Fig. 2
Page 6

OPERATING INSTRUCTIONS
INTERCHANGING NOZZLES
Your unit is completely assembled and Installed with a
flare nozzle (Fig. 3). The concentrator nozzle is in the
box (Fig, 4). Use the following instructions to
Interchange the two nozzles.
WARNING: To avoid serious personai
A
A
injury, do not insert hands into nozzles
when removing or instaliing them.
WARNING: To reduce risk of injury,
disconnect power source before
removing nozzies.
Indexing
Button on
Inside of
Nozzle
Flare Nozzle
Fig.3
Removing Flare or Concentrator Nozzle from
Blower Housing
1. Grasp the nozzie and turn it counterclockwise
approximately 45" until the indexing button on the
inside of the nozzle snaps out of the detent in the
blower housing (Fig. 5a for the flare nozzle and
Fig. 5b for the concentrator nozzle). Pull the nozzle
off of the blower housing.
Page 7

OPERATING INSTRUCTIONS
Installing Flare or Concentrator Nozzle onto Blower
Housing
1. Align the indexing button on the inside of the nozzle
with the detent on the housing (Fig, 6a for the
concentrator nozzle, and Fig. 6b for the fiare nozzle),
2. Push the nozzle onto the housing and turn the nozzle
clockwise until it locks (Fig. 7a for the concentrator
nozzle, and Fig, 7b for the flare nozzle).
NOTE: Make sure the nozzles are installed
properly, with indexing button facing up,
before operating the unit.
Fig. 6a
Using the Flare Nozzle
Use the flare nozzle for large, hard surface areas such
as driveways and sidewalks (Fig. 8).
Using the Concentrator Nozzie
Use the concentrator nozzle for hard to reach places
such as corners in a garage or to control dust in a dust
laden environment (Fig. 9).
Indexing Button
Facing Up
Fig. 7a
Storing the Attachment
Your unit is equipped with an accessory hanger to
allow you to hang the blower attachment from
a wall (Fig, 10),
SPECIFICATIONS
Operating Weight of Attachment:.........................................................................................................3.25 lbs (1.46 kg)
Page 8

BLOWER PARTS - MODEL TB720r
(Serial no. 611000001 and greater)
PWCriRfJon
612605
180340
683608
153597
153318
181630
181560
181636
181634
181635
181637
181631
181345
181632
181633
Hanger
Drive Shaft Housing Assembly
Drive Shaft Assembly
Lower Clamp Assembly
Mounting Screw
Upper Housing
Palnut
Housing, Bushing Assembly
Shaft Impeller
Impeller
Nut and Washer
Housing, Lower
Mounting Screw
Flare Nozzle
Concentrator Nozzle
FOR QUESTIONS, CALL 1 -800-345-8746 IN U.S. OR 1 -800-265-6778 In CANADA
8
Page 9

Limited Two-Year Warranty
RYOBI OUTDOOR PRODUCTS warrants each new RYOBI Product for two (2)
years according to the following terms.
This warranty extends to the original retail purchaser only and commences on
the date of original retail purchase.
Any part of fhe RYOBI Product manufactured or supplied by RYOBI and found
in the reasonable judgement of RYOBI to be defective in material or
workmanship will be repaired or replaced by an authorized RYOBI service
dealer without charge for parts and labor.
The RYOBI Product including any defective part must be returned to an
authorized service dealer within the warranty period. The expense of delivering
the RYOBI Product to the dealer for warranfy work and the expense of returning
it back to the owner after repair or replacement will be paid for by the owner.
RYOBI's responsibility in respect to claims is limited to making the required
repairs or replacements and no claim of breach of warranfy shall be cause for
cancellation or rescission of the contract of sale of any RYOBI Product. Proof of
purchase will be required by the dealer to substantiate any warranty claim. All
warranty work must be performed by an authorized RYOBI service dealer.
This warranty is limited to ninety (90) days from the date of original retail
purchase for any RYOBI Product that Is used for rental or commercial purposes,
or any other Income-producing purpose.
This warranty does not cover any RYOBI Product that has been subject to
misuse, neglect, negligence, or accident, or that has been operated In any
way contrary to the operating Instructions as specified In the RYOBI Operator's
Manual. This warranty does not apply to any damage to the RYOBI Product
that Is the result of improper maintenance or to any RYOBI Product that has
been altered or modified so as to adversely affect the products operation,
performance or durability or that has been altered or modified so as to change
Its intended use. The warranty does not extend to repairs made necessary by
normal wear or by the use of parts or accessories which are either incompatible
with the RYOBI Product or adversely affect Its operation, performance or
durability.
in addition, this warranty does not cover;
A, Tune-ups - Spark Plugs, Carburetor Adjustments, Filters
B. Wear items - Bump Knobs, Outer Spools, Cutting Line, Inner Reels, Starter
Pulley, Starter Ropes, Drive Belts
RYOBI reserves the right to change or Improve the design of any RYOBI Product
without assuming any obligation to modify any product previously
manufactured.
ALL IMPLIED WARRANTIES ARE LIMITED IN DURATION TO THE TWO (2) YEAR
WARRANTY PERIOD OR NINETY (90) DAYS FOR PRODUCTS USED FOR ANY
COMMERCIAL PURPOSE. ACCORDINGLY, ANY SUCH IMPLIED WARRANTIES
INCLUDING MERCHANTABILITY, FITNESS FOR A PARTICULAR PURPOSE, OR
OTHERWISE, ARE DISCLAIMED IN THEIR ENTIRETY AFTER THE EXPIRATION OF THE
APPROPRIATE TWO-YEAR OR NINETY DAY WARRANTY PERIOD. RYOBI'S
OBLIGATION UNDER THIS WARRANTY, IS STRICTLY AND EXCLUSIVELY LIMITED TO THE
REPAIR OR REPLACEMENT OF DEFECTIVE PARTS, AND ROP DOES NOT ASSUME OR
AUTHORIZE ANYONE TO ASSUME FOR THEM ANY OTHER OBLIGATION. SOME
STATES DO NOT ALLOW LIMITATIONS ON HOW LONG AN IMPLIED WARRANTY
LASTS, SO THE ABOVE LIMITATION MAY NOT APPLY TO YOU.
RYOBI ASSUMES NO RESPONSIBILITY FOR INCIDENTAL, CONSEQUENTIAL OR OTHER
DAMAGES INCLUDING, BUT NOT LIMITED TO EXPENSE OF RETURNING THE RYOBI
PRODUCT TO AN AUTHORIZED SERVICE DEALER AND EXPENSE OF DELIVERING IT
BACK TO THE OWNER, MECHANIC'S TRAVEL TIME, TELEPHONE OR TELEGRAM
CHARGES, RENTAL OF A LIKE PRODUCT DURING THE TIME WARRANTY SERVICE IS
BEING PERFORMED, TRAVEL, LOSS OR DAMAGE TO PERSONAL PROPERTY, LOSS OF
REVENUE, LOSS OF USE OF THE PRODUCT, LOSS OF TIME, OR INCONVENIENCE.
SOME STATES DO NOT ALLOW THE EXCLUSION OR LIMITATION OF INCIDENTAL OR
CONSEQUENTIAL DAMAGES, SO THE ABOVE LIMITATION OR EXCLUSION MAY NOT
APPLY TO YOU.
This warranty gives you specific legal rights, and you may also have other rights
which vary from stofe to state.
This warranty applies to all RYOBI Products manufactured by RYOBI and sold in
the United States and Canada.
To locate your nearest service dealer dial 1-800-346-8746 in the United States or
1-800-265-6778 In Canada.
RYOBI.
RYOBI OUTDOOR PRODUCTS
550 N. 54th Street
Chandler, AZ 85226 U.S.A.
RYOBI CANADA INC.
275 Industrial Rd
Cambridge, Ontario NIR 6K2 CANADA
FOR QUESTIONS, CALL 1 -800-345-8746 IN U.S. OR 1 -800-265-6778 In CANADA
Page 10

OPERATOR'S MANUAL PART NO. 181638
PRINTED IN USA
REV. A (6847)
11/96
MANUEL DE FONCTIONNEMENT RÉF. 181364
IMPRIMÉ AUX É.U.
MANUAL DEL OPERADOR, No. de serie 181638 REV. A (6847)
IMPRESO EN LOS EE.UU 11/96
RÊV. A (6847)
11/96
 Loading...