

Page 1
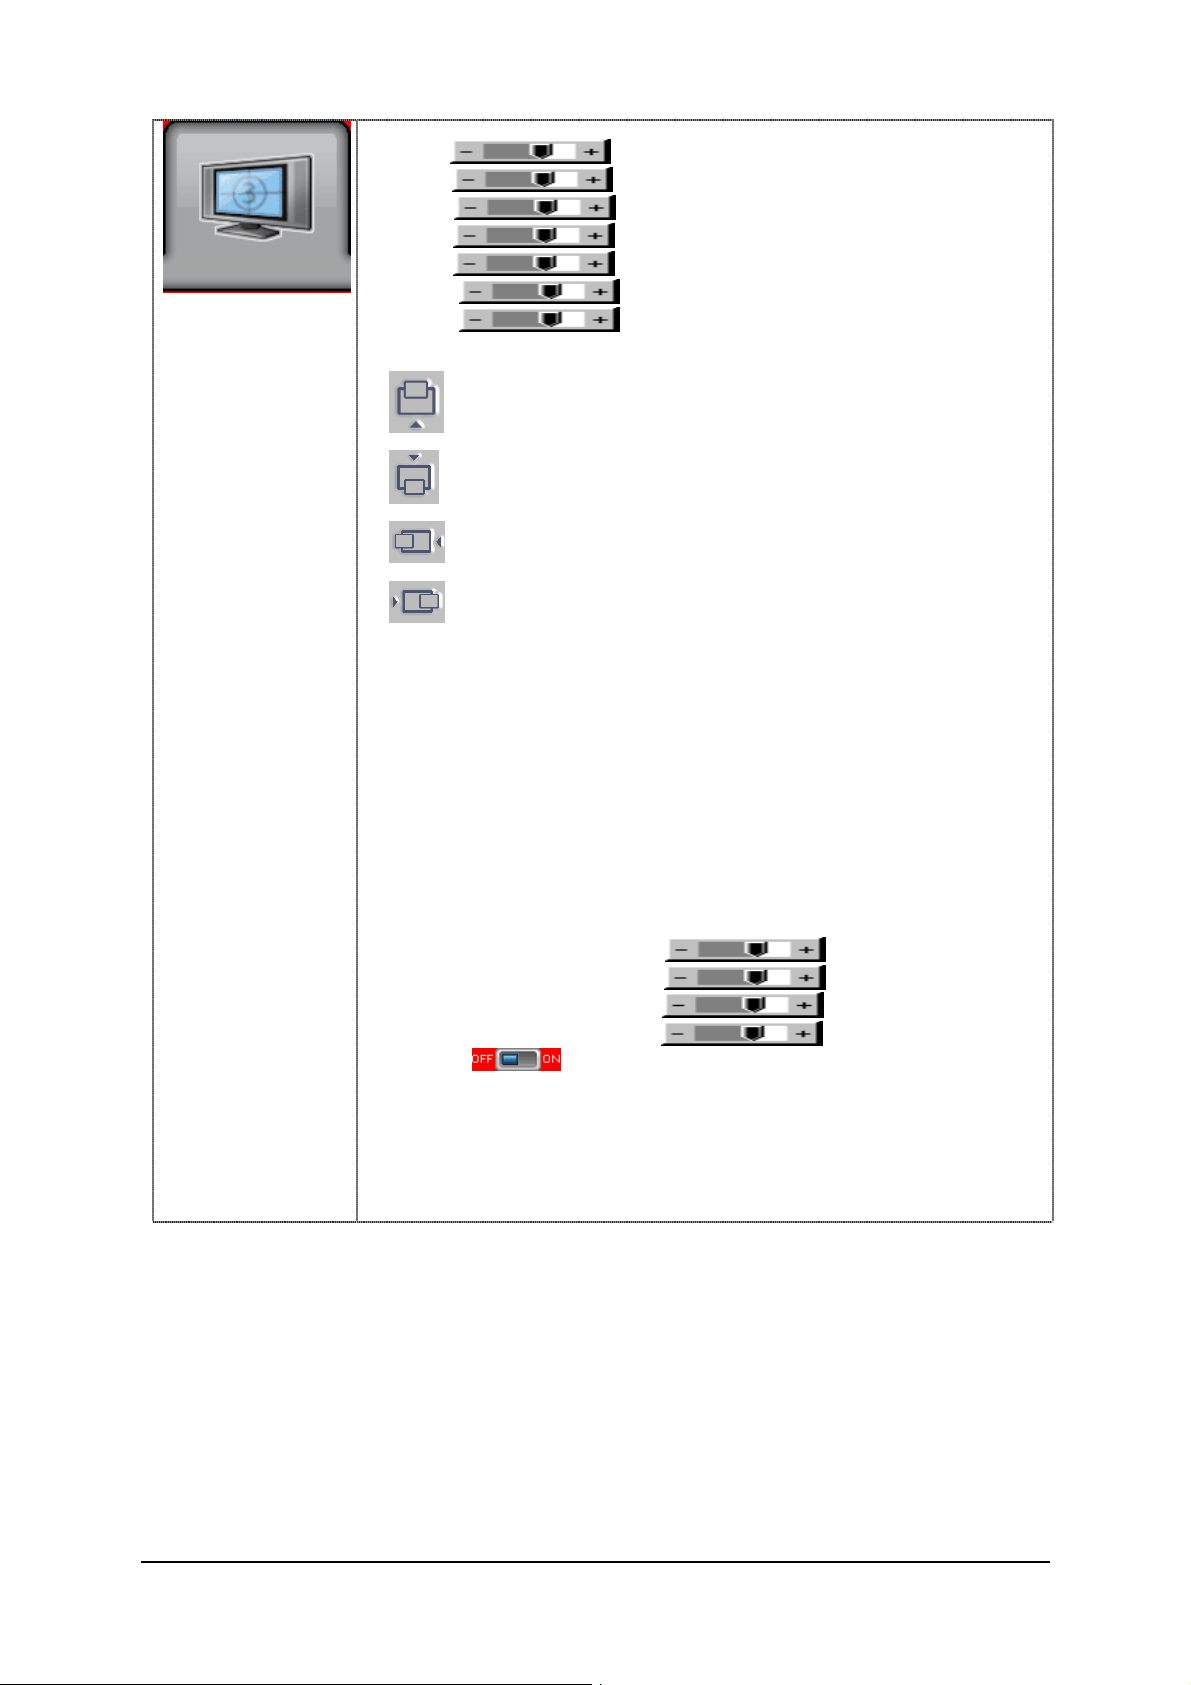
OSD Menu Functions, HD/HDMI Series Models boland
Picture
###
Increase/decrease Volume level, total: 100 steps
Increase/decrease image Blacks level, total: 100 steps
Increase/decrease image Whites (contrast) level, 100 steps
Increase/decrease Color Saturation, total: 100 steps
Increase/decrease Color Hue, total: 100 steps
Increase/decrease image S harpness, total: 30 steps
Backlight brightness value adjustment (glow)
##
(VGA Mode only)
Move the image position on screen upward
Move the image position on screen downward
Move the image position on screen to the left
Move the image position on screen to the right
- Fill to Aspect Ratio : Enables full screen display of lower resolution source
- AFD Enable **
- UMD-IMD Enable
# # # #
(The name will change depends on the scaling mode
- Overscan (overscans the screen about 1%)
- Normal
- Custom/Underscan Sizing (available for some video sources)
H Size
V Size
H Pan
V Pan
images while maintaining original aspect ratio
Allows Source Names from tally system to display (option)
(Displays the exact image source resolution on
the screen without image sizing or expansion.)
selected.)
(broadcast legal blanking just fills the screen)
4
ON / OFF Displays only the Blue content of the displayed video
(turns off the Red & Green channels).
Picture Menu
Volume
Brightness
Contrast
Saturation
Hue * *
Sharpness*
Backlight
light detector sets OFF)
Position
Aspect / Size 4
- Fill Screen : Expands lower resolution source image to full screen
- 4 : 3: scaling format in 4:3 (sizes source image into 4:3 screen shape)
- 16 : 9: scaling format in 16:9 (sizes source image into 16:9 shape)
- 16 : 10: scaling format in 16:10 (sizes source image into 16:10 shape)
- 2.35 : 1: scaling format in 2.35:1 (sizes source image into 2.35:1 shape)
- 2 : 1: scaling format in 2:1 (sizes source image into 2:1 screen shape)
- 1 : 1 : No Scaling
- Custom Sizing
Blue Only
** SMPTE 2016 Active Format Descriptor (Aspect Flag) ENABLE
# # #
DISPLAYS WHEN AUDIO OPTION IS INCLUDED
# # # #
DISPLAYS IN COMPOSITEVIDEO MODE ONLY
#
DISPLAYS IN VGA / DVI MODE ONLY
# #
FUNCTIONS IN VGA MODE ONLY
Specifications subject to change without notice
HD Series OSD Operations Page 1 of 5
* DISPLAYS IN VIDEO MODE ONLY
Page 2
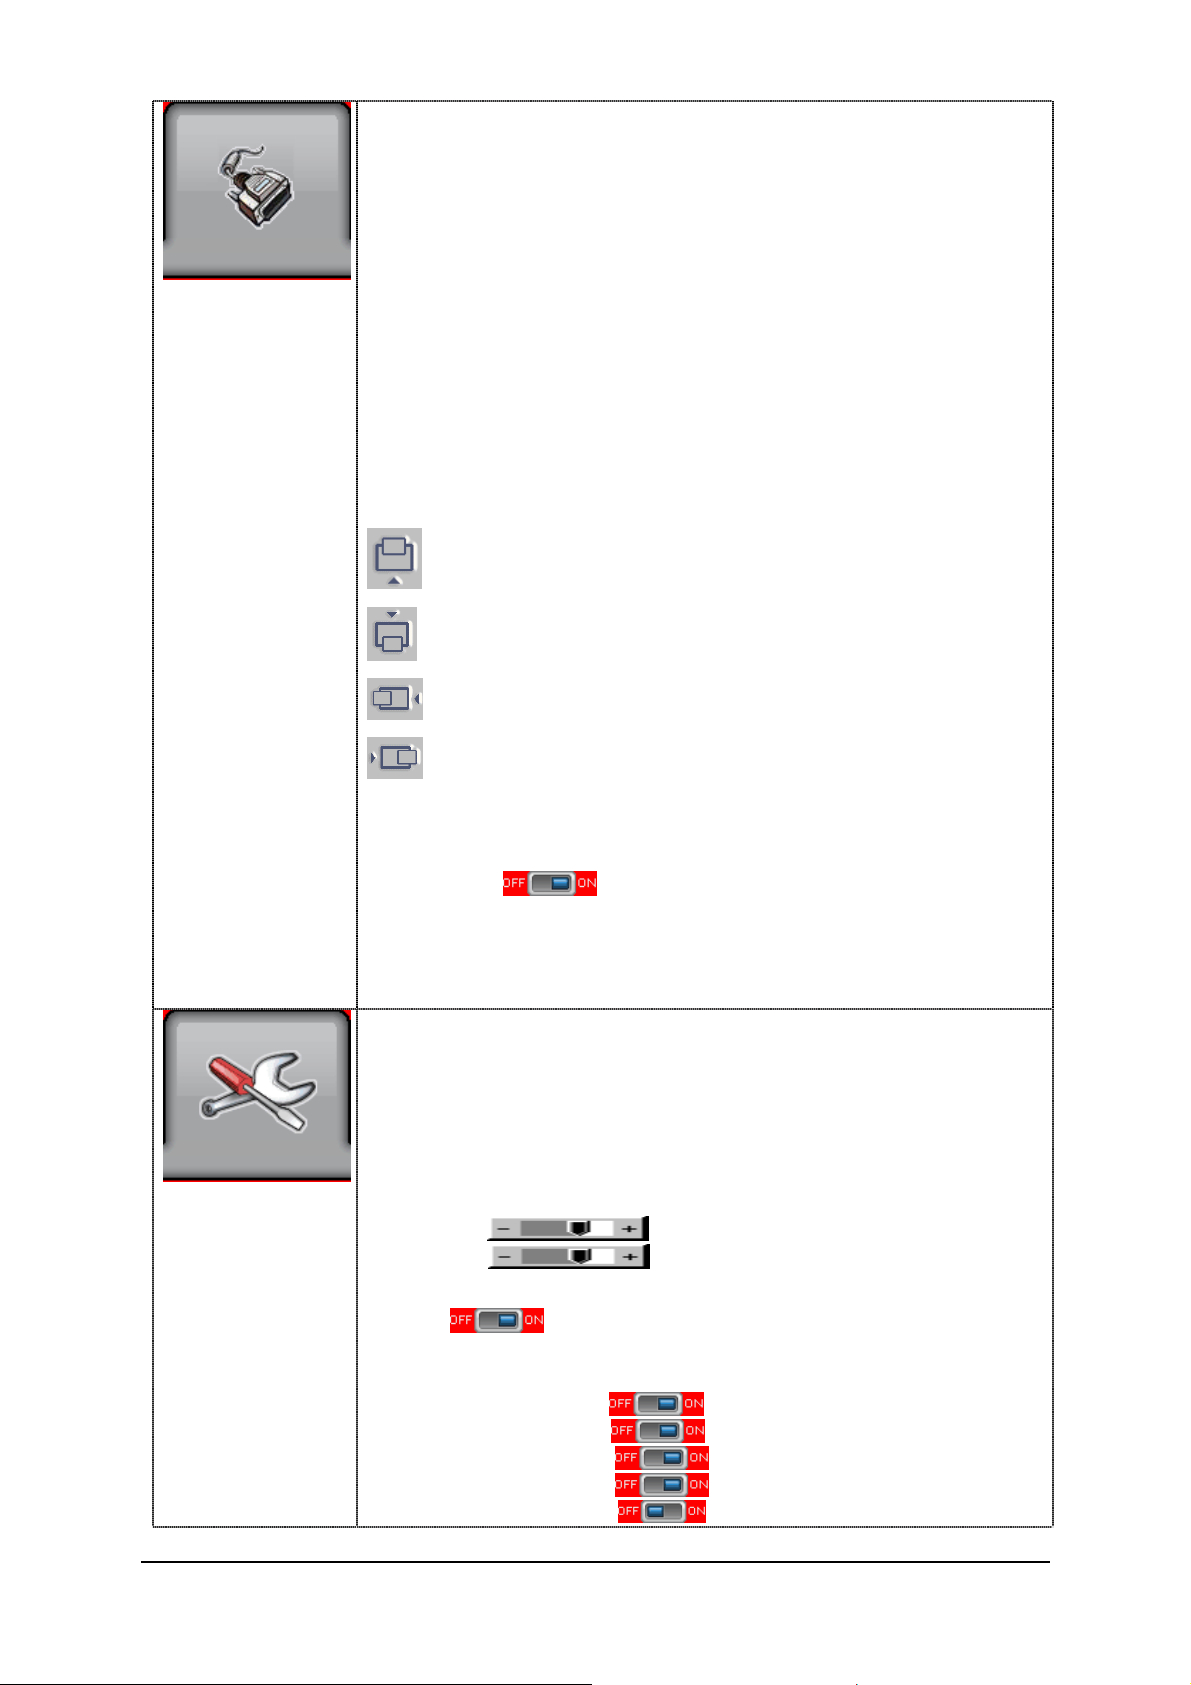
Source Menu
Utilities Menu
Source : Select a video input signal
Main Port Change 4 (Choose:)
HD/SD SDI 1
HD/SD SDI 2
HDMI
DVI
VGA
Composite 1
Composite 2 ***
S-Video 1 ***
Component 1 ***
Component 1
PiP Port Change 4
Component 2***
PIP Off / Composite 1 / S-Video 1***/ Component 1***/ DVI / HDMI+ / HD-SD SDI 1++ / HD-SD SDI 2
++
PiP Setup
)
2
PiP Size : Off / PiP Size/ 1~18 / Size by Size / Size by Size Tall
The PiP display capability depends on choice of input sources refer to PiP mix table
PiP Position :
PiP Blend Level : 6.25% ~ 100%
PiP Swap : Swap between the main window and PIP window
PiP Auto Turn off :
ON : When no PiP source signal is input after 30 seconds, the PiP
window will turn off automatically.
OFF : PiP window keeps on (with inserted blue screen)
*** DISPLAYS WHEN ENABLED UNDER SETUP AUTO SOURCE SEEK (IF FEATURED)
FOR HDMI, CONNECT HDMI TO DVI CONNECTOR WITH ADAPTOR PLUG (HDCP SUPPORTED)
Utilities
Setup
Auto Picture Setup
Auto Color Gain
Wide Screen Mode detection
Manual Clock
Manual Phase
quality)
Auto Source Seek :
- Auto : : OFF / ON
ON
OFF – Disable auto source select function
- Setup4 Select to display on Menu and to Auto Seek (detect) these input sources
VGA
DVI
HDMI
HD/SD SDI 1
HD/SD SDI 2
++
++
+
***
Move the PiP position upward
Move the PiP position downward
Move the PiP position to the left
Move the PiP position to the right
4
#
: Auto adjust the image position, phase and size
#
: Auto Color Calibration (75% Color Bars or 3/4 white-1/4 black in VGA)
- Off (4:3)
- 1280x768
- 1360x768
- 1366x768
#
:
#
:
– Auto Source Seek always enabled (look for sync on Setup chosen inputs below)
#
4 : Choose the normal or wide screen mode of a VGA source
+
++
++
: OFF / ON
+ HDMI NOT INCLUDED ON SDI MODELS, USE:
VESA VGA standards do not support an identification
method or flag, so this must be chosen manually.
}
Adjust the image horizontal size
Fine tune the data sampling position (adjust image
++
Specifications subject to change without notice
HD Series OSD Operations Page 2 of 5
Page 3
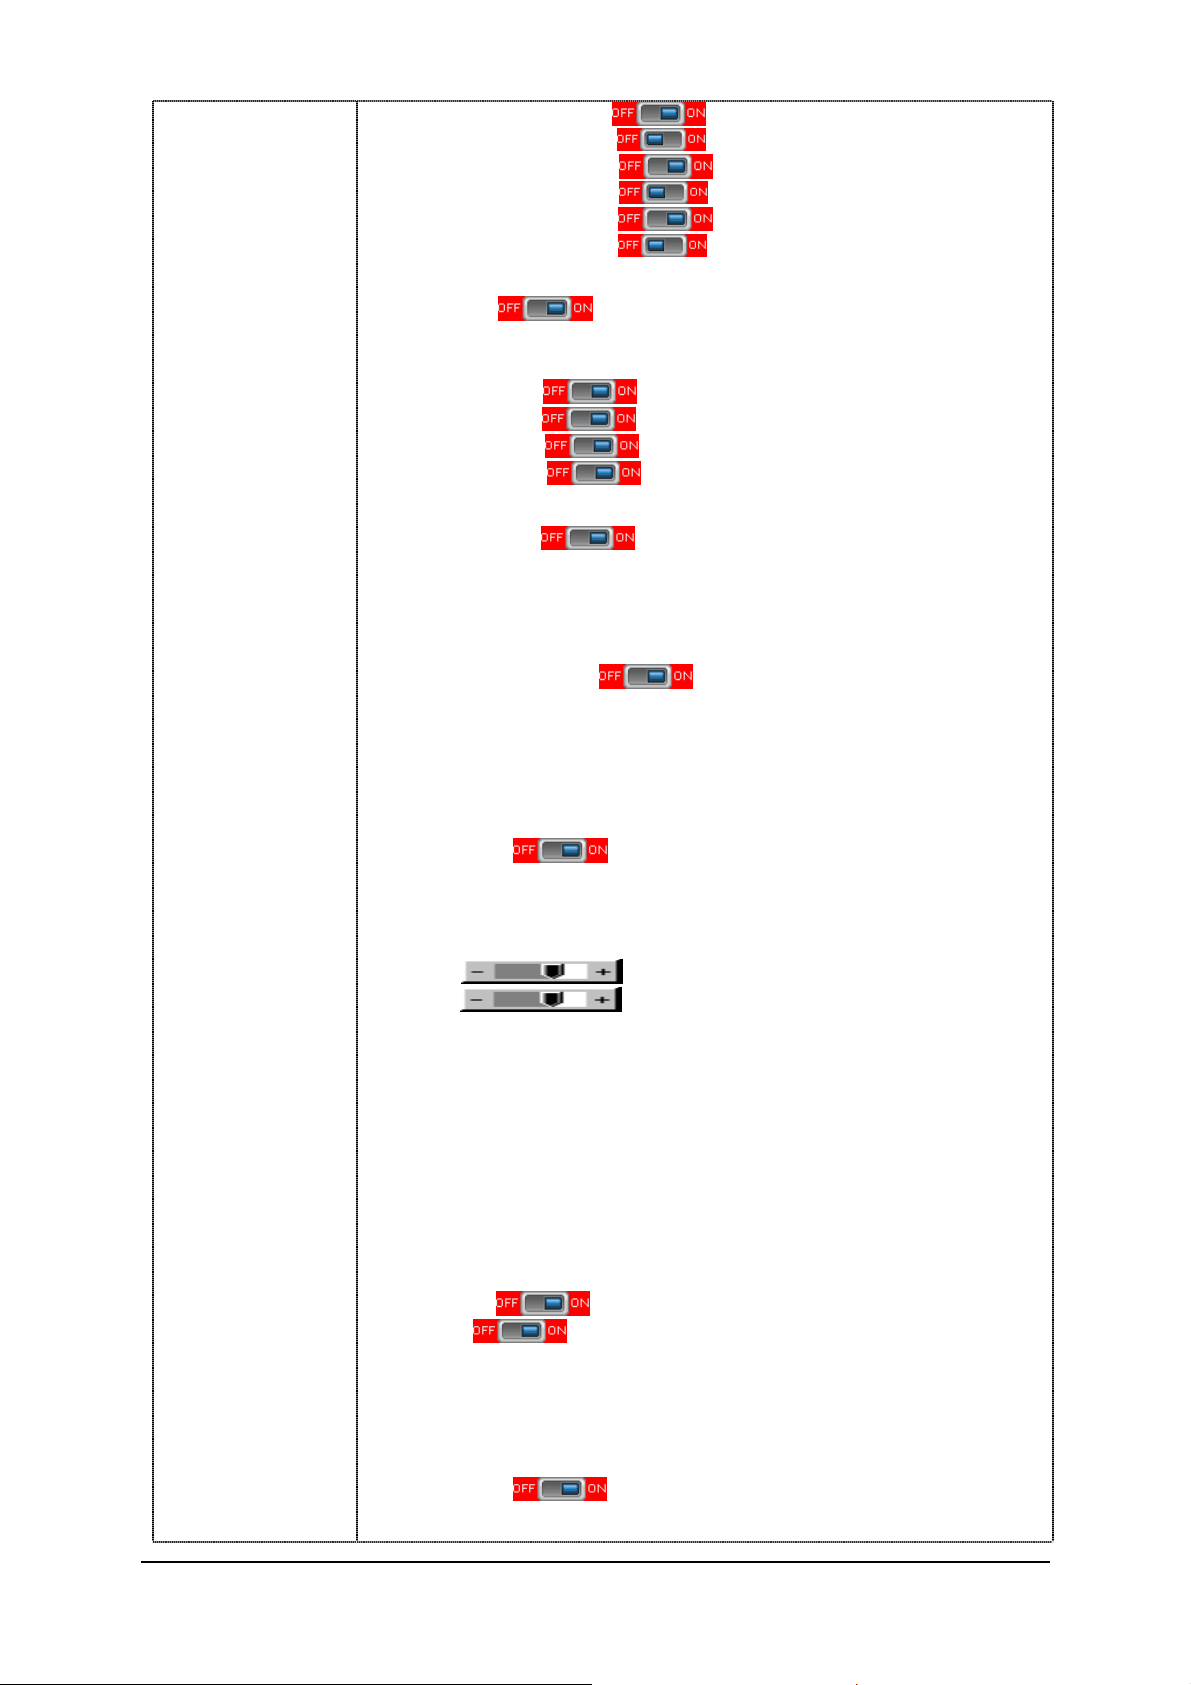
Composite 1
Composite 2 ***
S-Video 1 ***
S-Video 2 ***
Component 1 ***
Component 2 ***
The source name above will disappear off the OSD menus when an above switch is set to Off.
Auto Power : OFF / ON
De-interlacing Mode* 4
AFM
TNR
MADI
DCDi
[See Appendix for descriptions of AFM, TNR, MADI, DCDi]
Enable RGB SOG
Video Standard (SD)* : Auto / NTSC / NTSC 4.43 / PAL / PAL M / SECAM (Auto is default)
Gamma : 0.6 / 0.7/ 0.8 / 1.0 / 1.6 / 1.8 / 1.9 / 2.0 / 2.1 / 2.2 / 2.3 / 2.4 / 2.5 / 2.6 / User Setting (2.2 is nominal)
OSD
OSD Position :
H POS
V POS
ON
– Enable soft power off function (monitors powers Off in absence of input signals)
OFF – Powering Off function is disabled (monitor stays powered On even if signal is lost)
: Auto Film Mode (auto detection of 3:2 film pull-down)
: Temporal Noise Reduction (normally OFF)
: Motion Adaptive De-Interlacing
: Directional Correlation De-Interlacing* (Low Angles)
OFF / ON
(Enable detection of Sync signal On Green channel (VGA))
: Move the OSD menu image horizontally on screen
: Move the OSD menu image vertically on screen
*Faroudja Laboratories
4
(On Screen Display Menu System)
OSD Timeout : ON – 60 (sec) : Adjust the OSD menu timeout period in 5 second steps
Markers 4
Screen Markers : On/Off (all)
Center Marker : On/Off
Safe Area Enable : On/Off
Aspect Marker Enable : On/Off
Safe Area Marker : 80%~99%
Aspect Marker : 4:3/16:9
Transparency Level : 0% / 25% / 50% / 75% / 100%
Exit menu
Language : English / Spanish / French / German / Chinese : Select OSD menu language display
Transparency :
Display Input :
Real time clock 4 Show and edit the internal clock (this function is valid when “Display Input”,
DATE : DD/MM/YYYY : Day/Month/Year
TIME : HH/MM/SS (AM/PM) : Hour/Minute/Second
SETUP
Display Clock:
Specifications subject to change without notice
HD Series OSD Operations Page 3 of 5
Month / Day / Year
4
Hour / Minute / AM/PM
OFF / ON Menu OSD is opaque or semi-transparent on screen
OFF / ON Display input source name briefly after switching sources.
Disables or enables real time clock display while displaying
the video source's name after switching video input.
(max 60 seconds)
ON = Display OSD menu continuously (use Menu key to exit).
60
= Menu clears 60 seconds after last button push.
just above, is set to ON.)
Page 4
Freeze : Freeze the current image on screen (use > and < buttons to freeze and unfreeze)
Zoom 4
Zoom Level
Enlarge (zoom in) (magnify) the displayed image
Use “>” button to increase the image size
Use “<“ button to decrease the zoomed image size
Horizontal Pan
Vertical Pan
Factory Reset Clear the Zoom settings made above
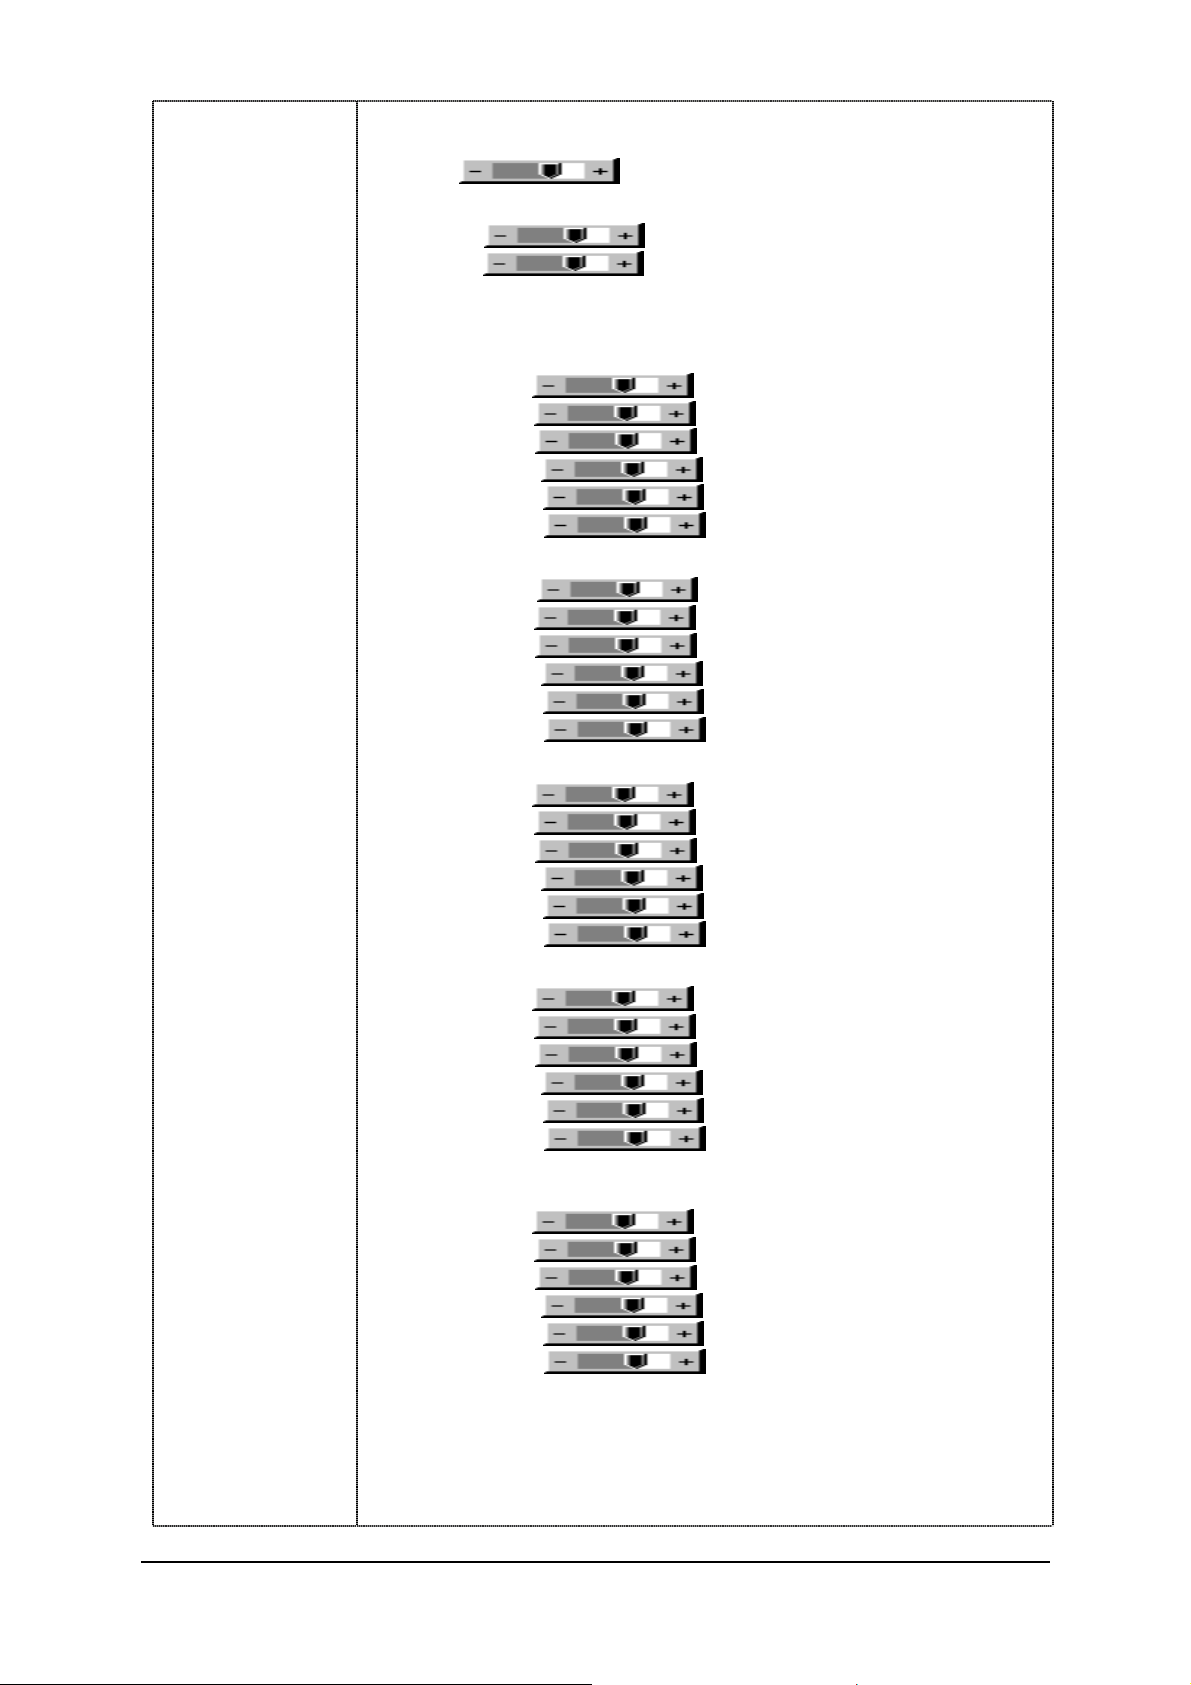
Color Temperature 4
5000K
Red Gain :
Green Gain :
Blue Gain :
Red Offset :
Green Offset :
Blue Offset :
6500K
Red Gain :
Green Gain :
Blue Gain :
Red Offset :
Green Offset :
Blue Offset :
8000K
Red Gain :
Green Gain :
Blue Gain :
Red Offset :
Green Offset :
Blue Offset :
9300K
Red Gain :
Green Gain :
Blue Gain :
Red Offset :
Green Offset :
Blue Offset :
User Setting
Red Gain :
Green Gain :
Blue Gain :
Red Offset :
Green Offset :
Blue Offset :
Reset All to Defaults : Restore all Color Temperature settings to the default values (all tables).
Hot Keys 4 (HK1: Choose the short-cut function of the < > arrow keys [if Menu not displayed])
HotKey1: Volume / Brightness / Contrast / Inputs / Aspect Ratio/ Zoom / Freeze / PIP Size /
Reset to Defaults : Restore to nominal preset values (this table only)
Reset to Defaults : Restore to nominal preset values (this table only)
Reset to Defaults : Restore to nominal preset values (this table only)
Reset to Defaults : Restore to nominal preset values (this table only)
Reset to Defaults : Restore to nominal preset values (this table only)
PIP Swap / Saturation / Hue / Backlight / Auto Picture Setup / No Function (disabled)
Note : Freeze state will be cleared when you use the zoom function.
Pan (move) through the image horizontally
Pan the image viewing window vertically
Specifications subject to change without notice
HD Series OSD Operations Page 4 of 5
Page 5
HotKey2: Volume / Brightness / Contrast / Inputs / Aspect Ratio / Zoom / Freeze / PIP Size /
PIP Swap / Saturation / Hue / Backlight / Auto Picture Setup / No Function (disabled)
Monochrome Mode 4
- Color
- Red Monochrome
- Green Monochrome
- Blue Monochrome
- Red Only
- Green Only
- Blue Only
Backlight Setup4
- B/L Invert :
: Invert for the backlight brightness
- B/L Control : D/A / PWM : Selection for voltage level dimming control / PWM
dimming control
- Backlight Frequency :
- Light Detector :
: Enable ambient light detector function by using KIT
100 ~ 440Hz in a step of 20
70220-3
Default Setting 4
Reset to Factory Defaults 4 (Activate when JC1 position 4 sets open)
Save Current Settings as Calibrated Values
Are you sure ? Yes/N
Recall Stored Calibrated Values 4
Are you Recalls above stored settings to all Menus
Return (to previous menu)
Are you sure ? Yes/No
Are you sure ? Yes/No
Saves current Menu setings to internal memory
4
(Use to save settings after Color Calibration)
(Use to recall Color Calibration settings)
* DISPLAYS IN VIDEO MODE ONLY
#
DISPLAYS IN VGA MODE ONLY
+ FUNCTION DISABLE WHEN KIT 70600-3 CONNECTED
++ DISPLAY WHEN KIT 70600-3 CONNECTED
Firmware V0.45.00.01 or up
Specifications subject to change without notice
HD Series OSD Operations Page 5 of 5
 Loading...