

Page 1
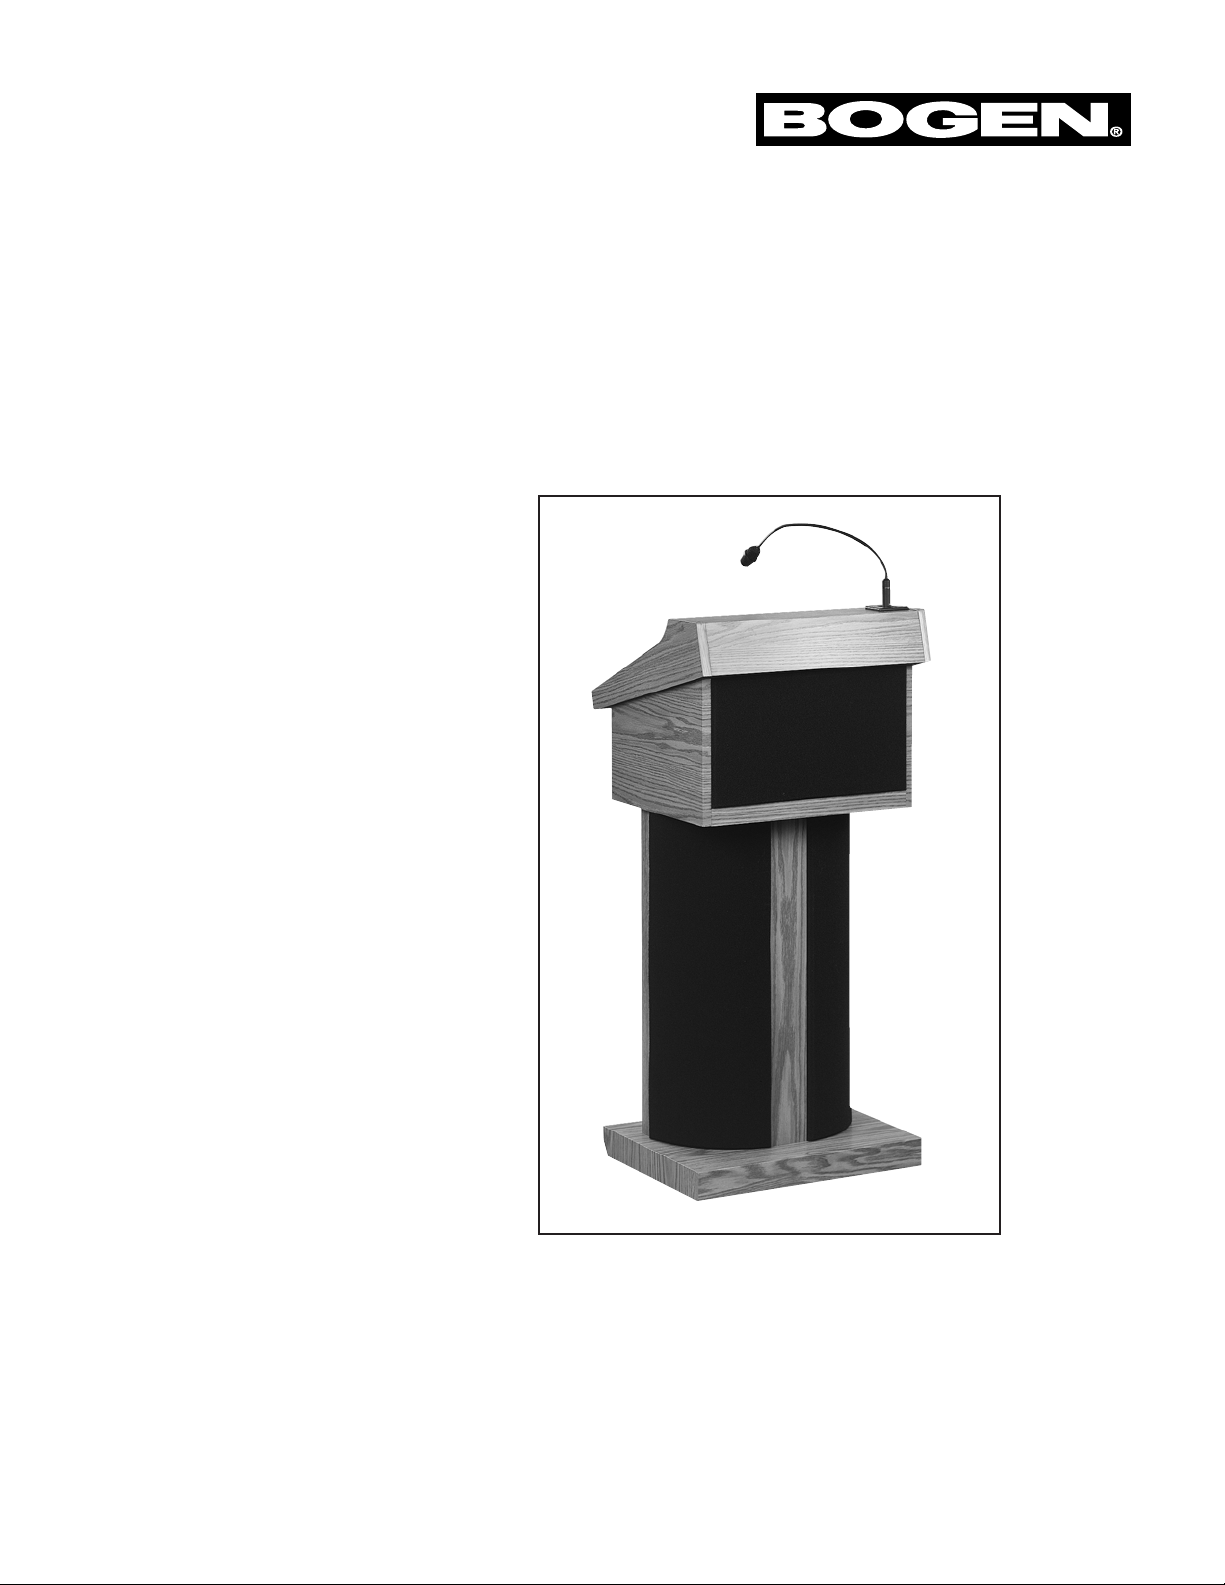
Modular Lectern Array
Models MLA40, MLA40T (Top)
Instruction Manual
© 2000 Bogen Communications, Inc.
All rights reserved.
54-5001-02R2 0007
Printed in U.S.A.
Page 2

Notice
Every effort was made to ensure that the information in this
guide was complete and accurate at the time of printing.
However, this information is subject to change.
Important Safety Information
Always follow these basic safety precautions when installing
and using the unit:
1. Read all instructions.
2. Follow all warnings and instructions marked on the
product.
3. DO NOT block or cover the ventilation slots and
openings. They prevent the product from overheating.
DO NOT place the product in a separate enclosure or
cabinet, unless proper ventilation is provided.
4. Never spill liquid on the product or drop objects into the
ventilation slots and openings. Doing so may result in
serious damage to the components.
5. Repair or service must be performed by a factory
authorized repair facility.
6. The product is provided with a UL-CSA approved, 3-wire
ground type plug. This is a safety feature. DO NOT defeat
the safety purpose of the grounding type plug. DO NOT
staple or otherwise attach the AC power supply cord to
building surfaces.
7. DO NOT use the product near water or in a wet or
damp place (such as a wet basement).
8. DO NOT use extension cords. The product must be
installed within 6 feet of a grounded outlet receptacle.
9. DO NOT install telephone wiring during a lightning
storm.
10. DO NOT install telephone jacks in a wet location unless
the jack is specifically designed for wet locations.
11. Never touch uninsulated wires or terminals, unless the
line has been disconnected at the paging or controller
interface.
12. Use caution when installing or modifying paging or
control lines.
Maintenance & Service
Caution
There are no user-serviceable parts within the unit. Have all
internal servicing performed by a qualified technician. The warranty will become void if repairs are made by other than the
Bogen Service Department or an authorized service agency.
Our Applications Engineering Department is available to help
you troubleshoot problems with your Bogen equipment.
Engineers are available from 8:30 AM to 6:00 PM, Eastern
Standard Time. Phone 1-800-999-2809.
Service can be obtained from our factory service department.
No merchandise may be returned for repair without prior
written authorization. Please contact our factory service
department at 1-800-999-2809 for a RA number. Only merchandise specified in the return authorization form can be
returned to obtain warranty or non-warranty repair. When
shipping your unit, pack your system well using the original
shipping carton or a similar container and filler material to
prevent damage in transit. Send the unit fully insured and prepaid via UPS or other responsible carrier.
Domestic and International Listings
UL and CSA Listed.
Page 2 of 8
Page 3

Introduction
Bogen’s MLA lecterns represent an innovative approach to podium and table-top lectern design. The multi-speaker array concept offers wider horizontal dispersion than traditional podium style lecterns. The modular design ensures flexibility.
Performance advantages make it well suited for demanding applications in schools, churches, hotel and rental situations.
Please take the time to read the instructions. You will receive the greatest benefit if you understand how the system operates.
System Overview
The MLA40 consists of two modular components: the table-top portion and the podium base.
The MLA40T is a table-top only lectern.
The MLA40 contains the amplifier and a 2 speaker array.
The podium base contains a 4 speaker array. It connects electrically to the MLA40T table-top section. The MLA40T consists
of the amplifier and a 2-speaker array. Note: The MLA40 can be unassembled so that it can also be used as a table-top only
lectern, when needed. The amplifier is specifically designed to meet virtually all applications needs.
It includes:
• 2 microphone inputs (Mic 1 and Lectern Mic)
• Aux input for a music source
• Tape out to a tape recorder or secondary amplifier
• Phantom power (DC power for certain types of microphones)
• Automatic Level Control (ALC)
• Speech filter (reduces low-frequency feedback)
• Bass and Treble controls
• Switched and unswitched outputs for external systems.
The product is shipped unassembled. Before attempting to assemble or operate the system, please read through these
instructions to familiarize yourself with the unit.
Assembly
Begin assembly by removing contents from cartons. Handle all parts carefully to avoid damage to finished surfaces.
Carton 1 Contents (MLA40T/Top for table-top version, this is the only carton you will receive.):
• MLA40T lectern top section
• Gooseneck microphone
• Power cords (2)
• 4 plastic feet
• 4 Mounting bolts (1/4” x 20, round head)
• Instruction manual
Carton 2 Contents (MLA40B/Base):
• Base with casters
• Speaker column
• Connecting plate
• 4 round head bolts (1/4” x 20)
• 4 flat head bolts (1/4” x 20)
Page 3 of 8
Page 4

Follow the instructions below and refer to Figure 1 to assemble the lectern.
1. Attach the column(s) to the base plate using 4 round head mounting bolts. The casters go toward the rear of the
assembly.
2. Attach the connecting plate to the top of the speaker columns with 4 flat head bolts. Make sure the electrical connectors
pass through the connecting plates and are not crimped or pinched.
3. Connect the electrical connectors from the column into the jacks on the underside of the tabletop portion.
4. Set the table top section onto the connecting plate and secure with 4 round head bolts.
5. If using the MLA40 tabletop section alone or the MLA40T, attach the 4 plastic feet to the underside of the tabletop using
the 4 round head bolts.
Figure 1
Page 4 of 8
TABLE TOP UNIT
ELECTRICAL
CONNECTORS
4 MOUNTING BOLTS
1/4 x 20 FLAT HEAD
PLASTIC FOOT
(SEE STEP 5)
CONNECTING
PLATE
4 MOUNTING BOLTS
1/4 x 20 ROUND HEAD
SPEAKER COLUMN
BASE (CASTERS IN BACK)
4 MOUNTING BOLTS
1/4 x 20 ROUND HEAD
Page 5

Operation
Install Lectern Microphone
The gooseneck lectern microphone plugs into the three-pin receptacle located on the top of the lectern.
Connect Power
Use the power cord supplied. Plug one end of the cord into the receptacle on the lectern labeled AC LINE INPUT. Plug the
other end of the cord into a properly grounded three-wire AC receptacle.
Caution: For safe operation, it is important to ground the amplifier properly. Do not attempt to defeat the grounding pin of
the 3-wire plug. If you use a “pigtail” adapter to connect the plug to a two-wire outlet, you must ensure that the adapter is
connected properly and that the outlet is properly grounded.
Apply Power
1. Rotate the MIC and LECTERN MIC controls to their full counterclockwise positions.
2. Place the POWER switch in the ON (illuminated) position.
Adjust Volume, Bass and Treble
While speaking into the lectern gooseneck microphone, rotate the LECTERN MIC control to a comfortable listening level.
Rotate the BASS and TREBLE controls as necessary to enhance audio output.
Adjusting Reading Lamp
The lamp is controlled by the amplifier POWER switch. Use the switch on the lamp line cord to set the lamp to always on or
always off.
Page 5 of 8
Page 6

Additional Amplifier Functions
Install Additional Microphone
The lectern amplifier supports an external microphone. Plug the additional microphone into the 3-pin receptacle labeled MIC
1. Use the MIC 1 control to adjust the level.
Aux Input
The lectern amplifier can accommodate input from an auxiliary (music) source, such as a cassette deck. Connect the source
via a mono RCA plug to the jack labeled AUX. Use the AUX control to adjust the level.
Tape Out
The lectern amplifier includes a Tape Out jack to permit recording. Connect a tape recorder using an RCA plug to the jack
labeled TAPE OUT. Note that the level at this output is not affected by the volume controls.
Phantom Power
The lectern provides phantom power to condenser microphones. When shipped from the factory, phantom power is
enabled. To turn off phantom power, use a phillips head screwdriver to remove the locking tab(s) from the switches labeled
PHANTOM. Place the switch in the OFF position. Replace the locking tab(s) to lock the switch in place.
Speech Filter
The Speech Filter can be used to reduce low-frequency feedback, most often caused by speaking too close to the microphone.
Place the switch labeled SPEECH FILTER in the ON position to enable the filter. Place the switch in the OFF position to
bypass the filter.
ALC
The Automatic Level Control keeps the amplifier output constant when different people use the system. Place the switch
labeled ALC in the IN position to enable the circuit. Place the switch in the OUT position to bypass the circuit. You should
set the volume control for the person who speaks the quietest. The amplifier will then reduce the volume for louder persons.
External Speakers
The lectern permits the connection of an external speaker system. The external system should be terminated in a 1/4” mono
phone plug. To add an external system in addition to the lectern speakers, insert the phone plug into the jack labeled EXTERNAL SPEAKER UNSWITCHED. To bypass the lectern speakers and use only the external system, insert the plug into the jack
labeled EXTERNAL SPEAKER SWITCHED.
Important Note: The total external speaker impedance should not be less than 16 ohms.
Accessory Outlet
Caution: The POWER switch does not control the auxiliary receptacle.
An unswitched three-wire outlet (AUX POWER) is provided to power accessory equipment (tape recorder, auxiliary source,
etc.). Ensure that the equipment does not require more than 300 watts maximum. Use the accessory power cord to connect
external equipment.
Page 6 of 8
Page 7

Feedback Control
Feedback can occur when part of the output signal returns back to the input side of the amplifier. It is often caused by the
microphone being too close or in front of the speakers. It can also result from the proximity effect, that is, when a person
speaks too closely to a microphone. If you encounter feedback while using the lectern, try these techniques:
If using the Lectern Microphone (gooseneck mic):
• Reposition the microphone
• Reduce volume level
• Reduce the Treble level
• Enable the Speech Filter
If using another microphone (Mic 1):
• Make sure that the person using the microphone stays in back of the lectern
• Reduce the volume level
• Reduce the Treble level
• Enable the Speech Filter
Maintenance
The exterior surfaces should be cleaned with a soft cloth moistened with a mild soap solution. Do not use abrasives or
solvent-based cleaners. Do not allow liquid to enter the black grille material.
Service
Caution: There are no user serviceable parts within the amplifier. To avoid an electric shock, do not remove any of the
amplifier covers.
Have all internal servicing performed by a qualified technician. The warranty will become void if repairs are made by
other than the Bogen Service Department or authorized service agency. In the event of difficulty, contact our technical support group, 1-800-999-2809, 8:30 AM until 6:00 PM, Eastern Standard Time, Monday through Friday.
Page 7 of 8
Page 8

Specifications
Rated Power Output: 40 watts RMS
Frequency Response: 20Hz to 20kHz ±1dB @ -2dB < rated power
THD: Less than 0.5%, 20Hz to 20kHz @ -2dB <
rated power
Hum & Noise (20Hz to 20kHz): MIC: -55dB below rated output
Aux: -70dB below rated output
Input Connections: MIC 1/Lectern Mic: 3-pin
AUX: RCA jack (mono)
Input Sensitivity: MIC: Lo-Z (250 ohms), balanced, 800mV
AUX: Hi-Z (10 Kilohms), unbalanced > 85mV
Microphone: High-quality cardioid condenser microphone
Tone Control Action: Treble ±11dB @ 10kHz, Bass ±11dB @ 100Hz
ALC: Switch IN/OUT
Speech Filter: -15dB @ 80Hz
Volume Controls: MIC 1, Lectern Mic, Aux
Tone Controls: Bass and Treble
Switches: Phantom Power, ALC, Speech Filter, Power
External Speaker Impedance: 16 ohms (minimum)
Tape Output: 500mV
Output Connections: Tape Out — RCA jack
Speaker Out (2) — 1/4” mono phone jack
Auxiliary AC Power: 300 watts max., unswitched
Dimensions: MLA40 — 21-5/8” W x 48” H x 19-1/2” D
MLA40T — 21-5/8” W x 17” H x 19-1/2” D
Shipping Weight: MLA40T (carton 1) — 53 lbs.
MLA40B (carton 2) — 70 lbs.
50 Spring Street, Ramsey, NJ 07446
Tel. 201-934-8500, Fax: 201-934-9832
Web Site: www.bogen.com / E-mail: info@bogen.com
 Loading...