

Body Solid T10HRC User Manual

T10
Endurance
®
T10 Treadmill
User Manual
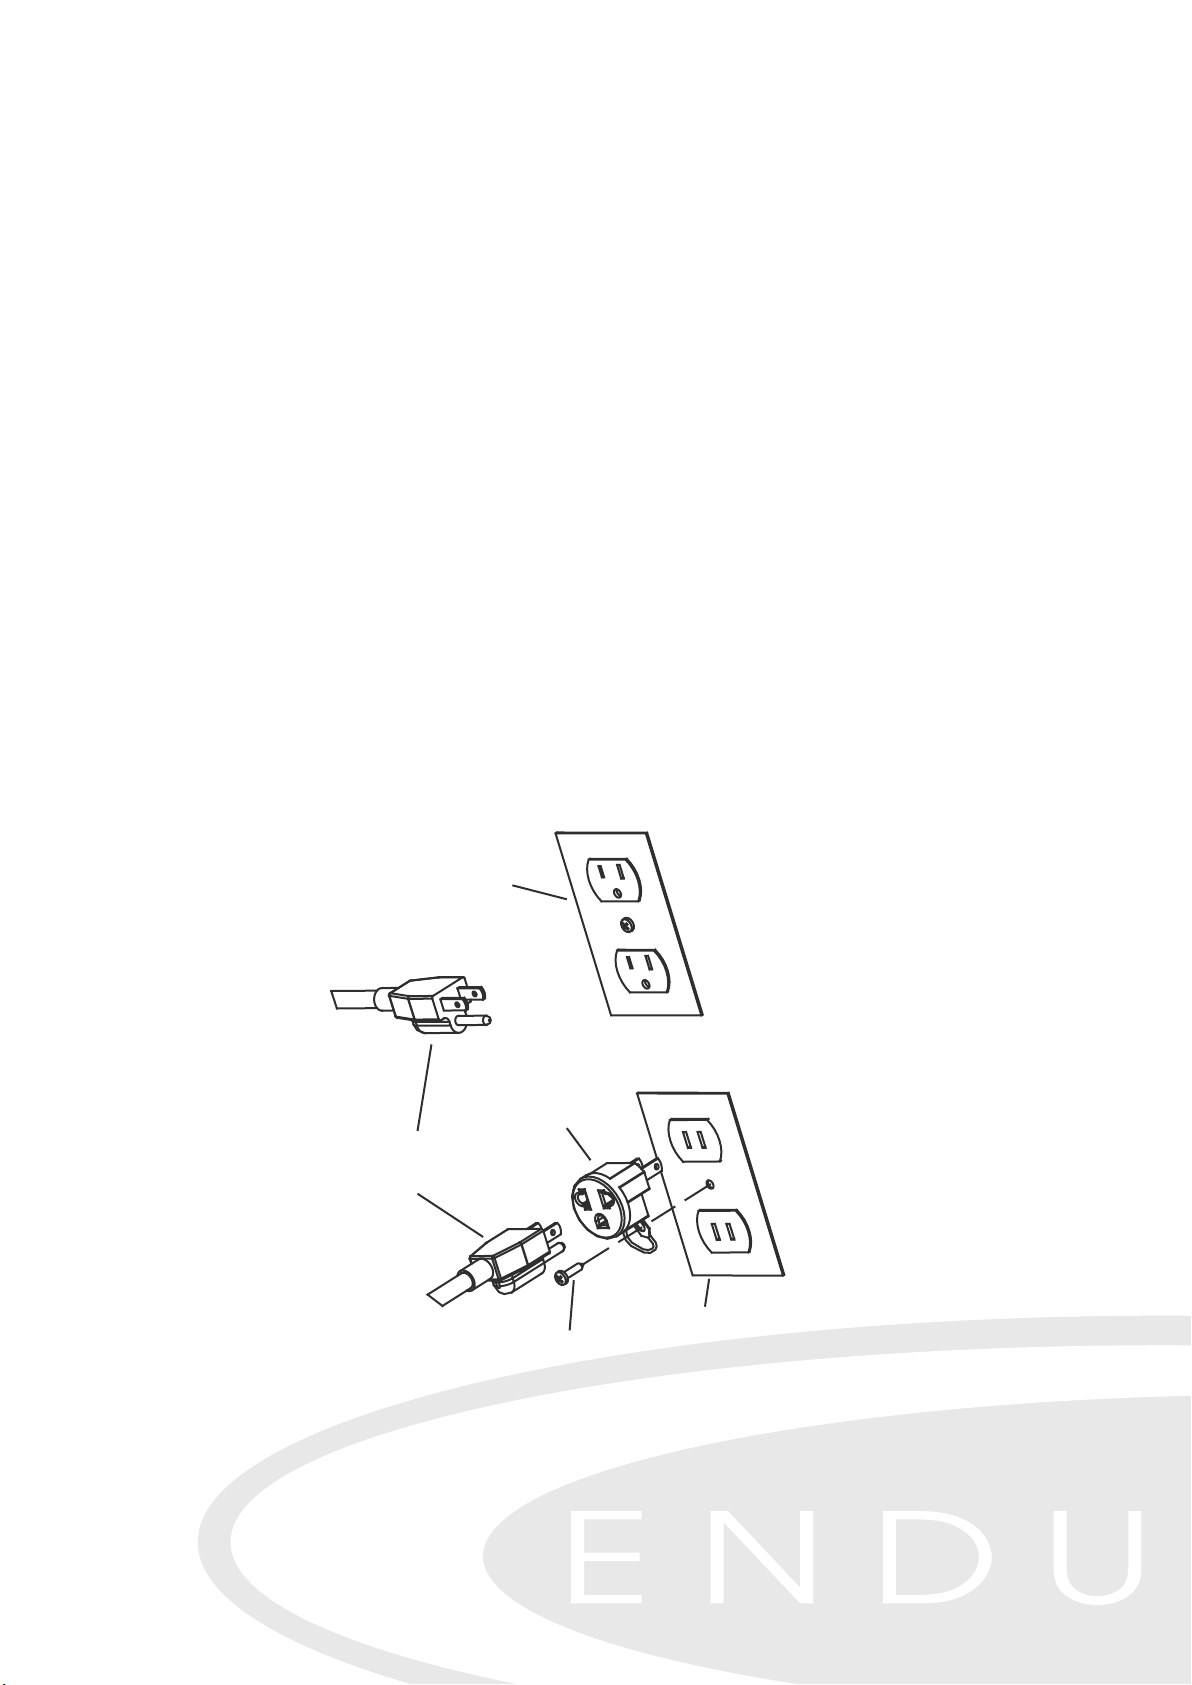
GROUNDING INSTRCTION'S
This product must be grounded. A temporary adapter such as the one illustrated
below may be used to connect this plug to a 2-pole receptacle as shown, if a
properly grounded outlet is not available. If it should malfunction or breakdown,
grounding provides a path of least resistance for electric current to reduce the
risk of electric shock. This product is equipped with a cord having an equipmentgrounding conductor and grounding plug. The plug must be plugged into an
appropriate outlet that is properly installed and grounded in accordance with all
local codes and ordinances.
DANGER- Improper connection of the equipment-grounding conductor can
result in a risk of electric shock. Check with qualified electrician or serviceman if
you are in doubt as to whether the product is properly grounded. Do not modify
the plug provided with the product - if it will not fit the outlet, have a proper outlet
installed by a qualified electrician.
This product is for use on a nominal 120-volt circuit and has a grounding plug
that looks like the plug illustrated in the figure. Make sure that the product is
connected to an outlet having the same configuration as the plug. No adapter
should be used with this product.
3-POLE
GROUNDED
OUTLET
GROUNDED
TREADMILL
PROWER CORD
ADAPTOR
METAL
GROUND ING
SCREW
2-POLE
OUTLET
GROUNDED BOX
● The appliance must be positioned so that the plug is accessible
● If the power cord is damaged, it must be replaced by the manufacture or its
service agent or a similarly qualified person in order to avoid a hazard
1

FCC WARNING - POSSIBLE RADIO /
TEVEVISION INTERFERENCE
NOTE: This equipment has been tested and found to comply with Part 15 of the
FCC rules. These limits are designed to provide reasonable protection against
harmful interference in a residential installation. Any changes or modifications not
expressly approved by the party responsible for the compliance could void the
user's authority to operate the equipment. This equipment generates, uses and
can radiate radio frequency energy and, if not installed and used in accordance
with the instructions, may cause harmful interference to radio communications.
However, there is no guarantee that the interference will not occur in a particular
installation. If this equipment does cause harmful radio interference to radio or
television reception, which can be determined by turning the equipment off and
on, you are encouraged to try to correct the interference by one or more of the
following measures:
● Reorient or relocate the receiving antenna
● Increase space between the equipment
● Plug the equipment into two electrical outlet located on separate circuits
● Consult an exercise equipment dealer or an experienced radio/TV technician
for help
Class R (Residential): Private or non-commercial use
2

TABLE OF CONTENTS
Introduction . . . . . . . . . . . . . . . . . . . . . . . . . . . . . . . . . . . . . . . . . . . . . . . .
Using This Manual . . . . . . . . . . . . . . . . . . . . . . . . . . . . . . . . . . . . . . .
Important Safety Instructions . . . . . . . . . . . . . . . . . . . . . . . . . . . . . . . .
Power Sources . . . . . . . . . . . . . . . . . . . . . .. .. . . . . . . . . . . . . . . . . . .
Ventilation . . . . . . . . . . . . . . . . . . . . . . .. .. . . . . . . . . . . . . . . . . . . . . .
Location . . . . . . . . . . . . . . . . . . . . . . . . . . . . . . . . . . .. .. .. . . . . . . . . . .
Proper Use . . . . . . . . . . . . . . . . . . . . . . . . . . . .. .. .. . . . . . . . . . . . . . .
Installation . . . . . . . . . . . . . . . . . . . . . . . . . . . . . . . . . . . . . . . . . . . . . . . .
Electrical Requirement . . . . . . . . . . . . . . . . . . . . . . . . . . . . . . . . . ... .
Location . . . . . . . . . . . . . . . . . . . . . . . . . . . . . . . . . . . . . . . . . . . . . . .
Grounding Instructions . . . . . . . . . . . . . . . . . . . . . . . . . . . . . . . . . . . .
Leveler Legs . . . . . . . . . . . . . . . . . . . . . . . . . . . . . . . . . . . . . . . . . . . .
Treadmill Overview . . . . . . . . . . . . . . . . . . . . . . . . . . . . . . . . . . . . . . . . .
Power Switch . . . . . . . . . . . . . . . . . . . . . . . . . . . . . . . . . . . . . . . . . . .
Circuit Breaker Reset . . . . . . . . . . . . . . . . . . . . . . . . . . . . . . . . . . . . .
Powercord . . . . . . . . . . . . . . . . . . . . . . . . . . . . . . . . . . . . . . . . . . . . . .
The Display Console . . . . . . . . . . . . . . . . . . . . . . . . . . . . . . . . . . . . . . . .
The Information Windows . . . . . . . . . . . . . . . . . . . . . . . . . . . . . . . . . . .
LED Matrix Window . . . . . . . . . . . . . . . . . . . . . . . . . . . . . . . . .. . . . . .
The Speed And Incline Arrows Buttons . . . . . . . . . . . . . . . . . . .. .. . .
The Start Button . . . . . . . . . . . . . . . . . . . . . . . . . . . . . . . . . . . .. .. .. ..
The Select Button . . . . . . . . . . . . . . . . . . . . . . . . . . . . . . . . . . . . . . . .
The Enter Button . . . . . . . . . . . . . . . . . . . . . . . . . . . . . . . . . . . .. .. . . .
The Stop Button . . . . . . . . . . . . . . . . . . . . . . . . . . . . . . . . . . . . . .. .. .
The Cool Down Button . . . . . . . . . . . . . . . . . . . . . . . . . . . . . . . .. . ... .
The MPH Bar . . . . . . . . . . . . . . . . . . . . . . . . . . . . . . . . . . . . . . . . .. ...
The Safety Key . . . . . . . . . . . . . . . . . . . . . . . . . . . . . . . . . . . . . . . . . .
Belt & Running Surface . . . . . . . . . . . . . . . . . . . . . . . . . . . . . . . . . . .
The Basics Of Operation . . . . . . . . . . . . . . . . . . . . . . . . . . . . . . . . . . . . .
Getting Started . . . . . . . . . . . . . . . . . . . . . . . . . . . . . . . . . . . . . . . . . .
Set Weight . . . . . . . . . . . . . . . . . . . . . . . . . . . . . . . . . . . . . . . . . . . . .
Starting A Workout . . . . . . . . . . . . . . . . . . . . . . . . . . . . . . . . . . . . . . .
Changing The Running Belt Speed . . . . . . . . . . . . . . . . . . . . . . . . . .
Changing The Incline . . . . . . . . . . . . . . . . . . . . . . . . . . . . . . . . . . . . .
Pausing The Workout . . . . . . . . . . . . . . . . . . . . . . . . . . . . . . . . . . . . .
The Lap Counter . . . . . . . . . . . . . . . . . . . . . . . . . . . . . . . . . . . . . . . .
Cool Down . . . . . . . . . . . . . . . . . . . . . . . . . . . . . . . . . . . . . . . . . . . . .
The Workouts . . . . . . . . . . . . . . . . . . . . . . . . . . . . . . . . . . . . . . . . . . . . . .
5
5
6
7
7
7
7
8
8
8
8
9
10
10
10
10
11
12
12
13
14
14
15
15
15
15
16
16
17
17
17
17
17
18
18
18
18
19
3

Manual . . . . . . . . . . . . . . . . . . . . . . . . . . . . . . . . . . . . . . . . . . . . . . . . . . . . . . . .
Set Time (Manual Workout Withe Time Goal). . . . . . . . . . . . . . . . . . . . . . .
Set Caiories (Manual Workout Withe Time Goal). . . . . . . . . . . . . . . . . . . .
Set Distance (Manual Workout Withe Time Goal) . . . . . . . . . . . . . . . . . . .
Custom Learn (1 & 2) . . . . . . . . . . . . . . . . . . . . . . . . . . . . . . . . . . . . . . . . .
Walking Courses (3). . . . . . . . . . . . . . . . . . . . . . . . . . . . . . . . . . . . . . . . . .
Running Courses (3). . . . . . . . . . . . . . . . . . . . . . . . . . . . . . . . . . . . . . . . . .
Cardio 15 Minutes . . . . . . . . . . . . . . . . . . . . . . . . . . . . . . . . . . . . . . . . . . ..
Interval 20 Minutes. . . . . . . . . . . . . . . . . . . . . . . . . . . . . . . . . . . . . . . . . . .
Fat Burn 25 Minutes . . . . . . . . . . . . . . . . . . . . . . . . . . . . . . . . . . . . . . . . . .
Endurance 30 Minutes. . . . . . . . . . . . . . . . . . . . . . . . . . . . . . . . . . . . . . . .
Heart Rate Control . . . . . . . . . . . . . . . . . . . . . . . . . . . . . . . . . . . . . . . . . . .
Maintenance. . . . . . . . . . . . . . . . . . . . . . . . . . . . . . . . . . . . . . . . . . . . . . . . . . . . .
Cleaning . . . . . . . . . . . . . . . . . . . . . . . . . . . . . . . . . . . . . . . . . . . . . . . . . .
Customer Service. . . . . . . . . . . . . . . . . . . . . . . . . . . . . . . . . . . . . . . . . . . .
Flexibility. . . . . . . . . . . . . . . . . . . . . . . . . . . . . . . . . . . . . . . . . . . . . . . . . . . . . . .
Exercise Guidlines. . . . . . . . . . . . . . . . . . . . . . . . . . . . . . . . . . . . . . . . . . .
Achieving Your Fitness Goals. . . . . . . . . . . . . . . . . . . . . . . . . . . . . . . . . . .
Sample Goals. . . . . . . . . . . . . . . . . . . . . . . . . . . . . . . . . . . . . . . . . . . . . . .
Keeping an Exercise Dairy. . . . . . . . . . . . . . . . . . . . . . . . . . . . . . . . . . . . .
Heart Rate Conversion Chart. . . . . . . . . . . . . . . . . . . . . . . . . . . . . . . . . . . . . . .
19
20
21
21
22
23
23
24
25
26
27
28
30
30
30
32
35
36
36
36
38
4

INTRODUCTION
Thank you for purchasing the ENDURANCE treadmill.
With proper use and maintenance this product will last for years of great workouts!
Using this Manual
Please read this entire manual to become familiar with your treadmill. This will
ensure proper and comfortable use of the product.
Throughout the manual you will find items of importance highlighted. These items
range from helpful tips to dangerous situations to be avoided.
The following is a list of the notes you will encounter and what they represent.
TIP: Helpful information, not mandatory. A helpful shortcut.
NOTE: Informational, not mandatory.
CAUTION: May cause possible personal injury or damage to product or property,
possible problem with usability of product or product warranty.
WARNING: May cause personal severe or fatal injury or damage to product or
property.
DANGER: Will cause personal severe or fatal injury or severe damage to product
or property.
The manual is divded into thirteen section:
●Introduction - A quick overview of this manual.
●Important Safety Instructions - Important information you MUST read.
●Installation - How to install treadmill properly.
●Treadmill Overview - A quick description of thetreadmill.
●The Basics Of Operation - How to operate the treadmill.
●The Workouts - A description and step-by-step explanation of the
preprogrammed work.
●Maintenance - How to care for the treadmill.
●Glossary - Explanations of the vocabulary used in this manual.
Please take the time to read this manual at it is ver important for the proper use
of the product and your safety.
5

IMPORTANT SAFETY INSTRUCTIONS
NOTE: Before attempting to use this product, it is essential that you read this
ENTIRE Manual and any accompanying material.
THE USE OF THIS PRODUCT IN ANY WAY NOT DESCRIBED IN THIS
MANUAL IS NOT RECOMMENDED, MAY CAUSE SERIOUS OR FATAL
INJURY AND MAY VOID YOUR WARRANTY.
CAUTION: Any changes or modifications to this equipment could void your
product warranty!
CAUTION: Any service, other than basic cleaning or user maintenance, must be
performed by an authorized service agent. There are no user
serviceable parts.
CAUTION: ENDURANCE firmly recommends that you have a complete medical
exam by a qualified physician before beginning any exercise program,
particularly if you have a family history of high blood pressure or heart
disease, are over the age of 45, or if you smoke, have high
cholesterol, are obese or have not exercised regularly in the past year.
CAUTION: If, at any time while exercising, you feel faint, dizzy, pain or a
shortness of breath, stop exercising immediately.
WARNING!
To reduce the risk of burns, fire, electrical shock or injury, this product MUST be
plugged into a properly grounded electrical outlet.
WARNING!
To reduce the risk of electrical shock, UNPLUG THIS PRODUCT'S POWERCORD
before attempting any maintenance or cleaning.
To disconnect this product, first depress the power switch to the OFF position.
Next unplug the powercord from the electrical outlet by grasping the plug. DO
NOT pull the power cord from the outlet by grasping the cord.
6

Power Sources
●DO NOT pull the power cord to move this product.
●Keep the power cord away from heated surfaces.
●Supervision of children, invalid or disabled persons is mandatory when they are
using or are near this product.
●Connect this product only to a properly grounded electrical outlet.
Ventilation
●Always keep the ventilation slots located on this product clear of obstruction.
●DO NOT insert objects into any slot or orifice on this product.
●If an object falls into the product, unplug this product immediately and call
Customer Support for assistance.
Location
●DO NOT operate this product if it has a damaged power cord/plug, if it has been
dropped, damaged or even partially immersed in water or other liquid. Contact
Customer Support for further assistance.
●DO NOT use this product in areas of high humidity (e.g. saunas or swimming
pools) nor outdoors.
●DO NOT locate or use this product in areas where aerosol spray products are
being used or where oxygen is being administered. Due to electrical
components a risk of combustion may be present.
●DO NOT place the obstructions near this product.
●DO NOT operate this product unless it is located on a level, flat surface and
NEVER operate this product while it is tipped on its side.
Proper Use
●DO NOT use this product unless proper attire is worn.
Rubber-soled training, running, or tennis shoes must be worn to provide proper
traction and protection while using this product.
●DO NOT use cleats, spikes or any other non-athletic style shoes.
●DO NOT use this product while barefoot or wearing only socks.
7
INSTALLATION
ELECTRICAL REQUIREMENT
Your ENDURANCE treadmill is intended for use in the country to which it was
shipped. Electrical supplies outside of this country may differ and may not be
compatible with the product. Please consult Customer Support before using the
treadmill in a different country.
Location
When choosing a location for the treadmill, pick a location that is unobstructed.
The treadmill must have the following clearance.
●Non-entry side of treadmill - Minimum of 8 inches (20cm)
●Entry side of treadmill - Minimum of 36" (90cm)
●Front of the treadmill - Minimum of 12 inches (30cm)
●Behind treadmill - Minimum of 6 feet (180cm)
These spacing requirements are mandatory for the safe use of the treadmill. If an
accident should occur, you must have sufficient space to move away from the
treadmill.
Grounding Instructions
The treadmill must be properly grounded prior to use. Proper grounding reduces
the risk of shock or damage to the treadmill. The powercord's plug is equipped
with a grounding conductor that must be used with an electrical outlet installed in
accordance to all local codes and ordinances.
DO NOT use a temporary adapter that bypasses this function. This will stop
the safety equipment from functioning properly and may void your warranty.
8
DANGER!
A risk of electrical shock may result from improper connection of the equipmentgrounding conductor. Check with a qualified electrician if you are in doubt as to
proper grounding technique.
DO NOT MODIFY the plug provided with this product. If it will not fit an electrical
outlet, have a proper outlet installed by a qualified electrician.
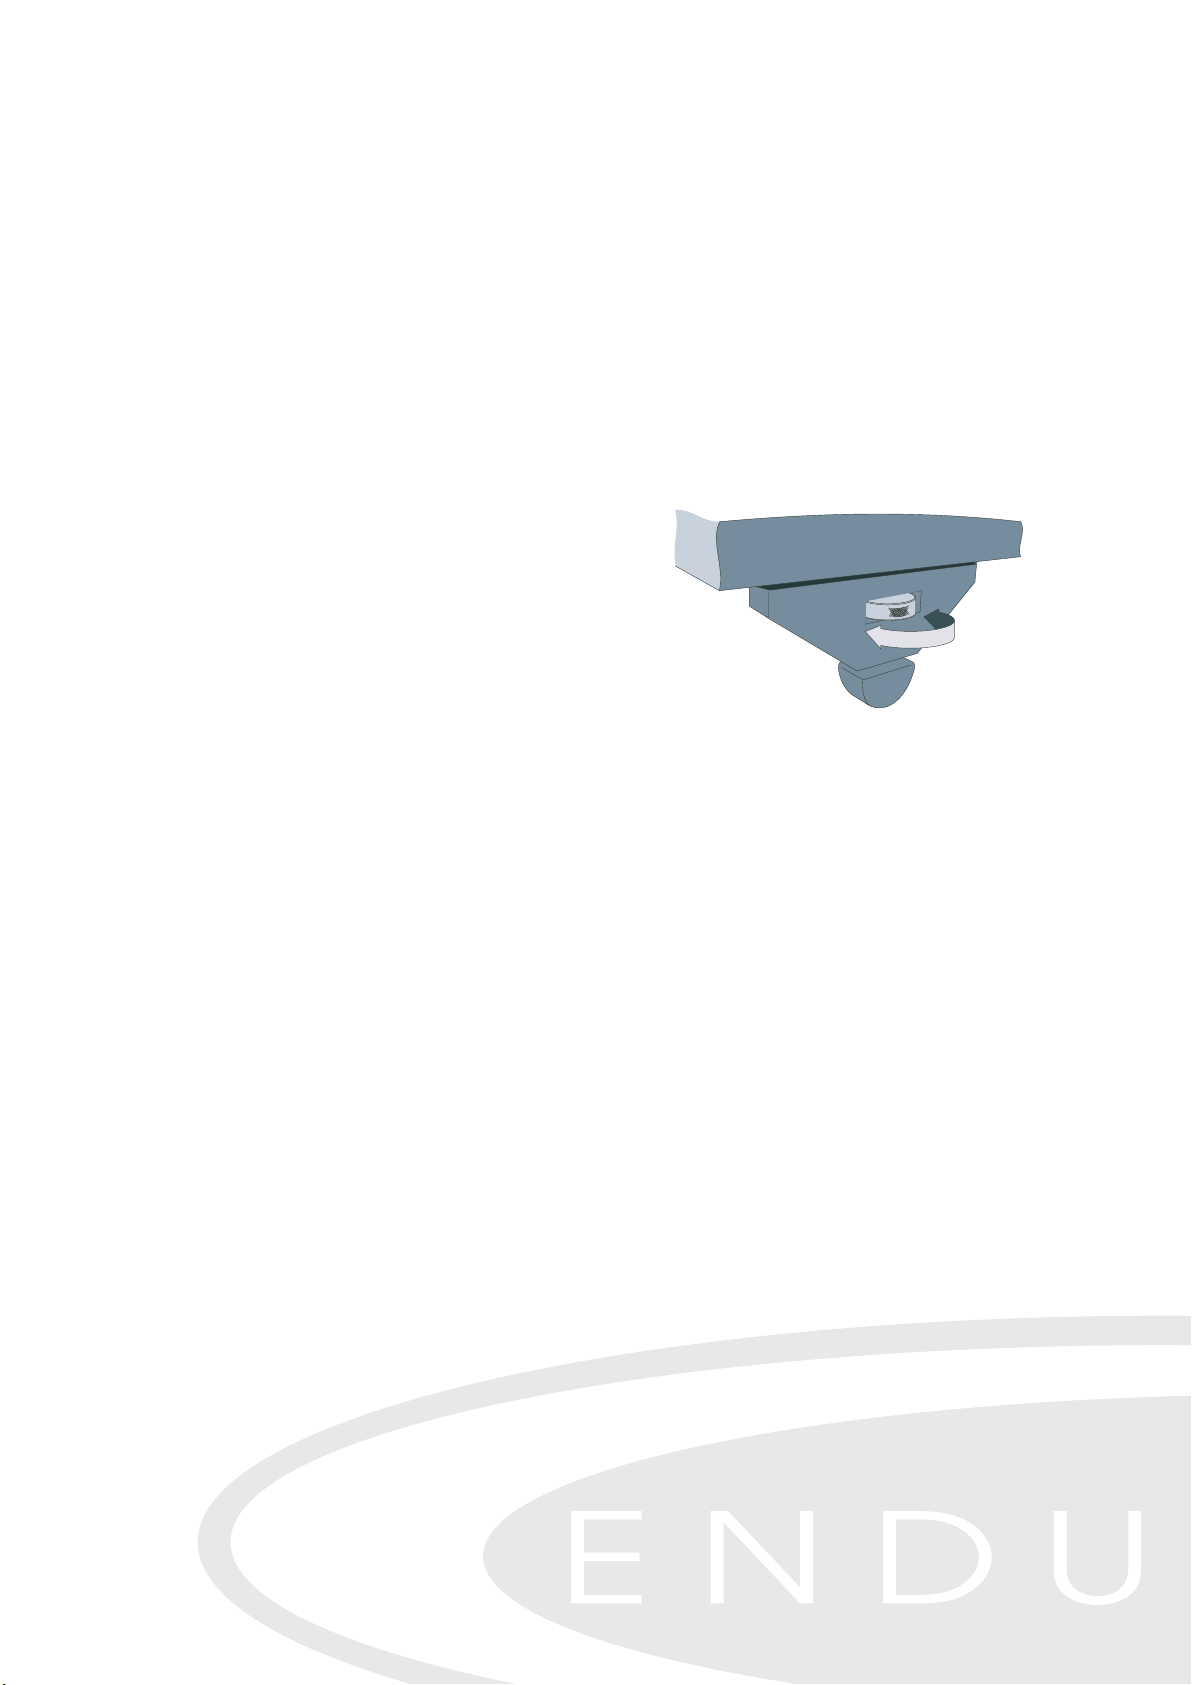
Leveler Legs
After finding a location that is suitable for
the treadmill, the rear legs must be adjusted
to provide stable support. Located on the
side of each leg is a thumb-wheel that will
allow you to lower or raise the leg until it is
properly seated on the floor.
WARNING: DO NOT adjust legs while the treadmill is on. Turn the power switch
to the OFF position.
While kneeling behind the treadmill, place the heal of your hands on each side of
the treadmill directly above the running-belt adjustment bolts. Attempt to rock the
treadmill by alternately pressing downward on each side. If you feel even a slight
movement on one side adjust that side until the movement has stopped.
For example, if you feel a slight rocking on the right side, start by turning the
thumb-wheel on the right leg counter-clockwise to lower the leg until the
movement stops.
9

TREADMILL OVERVIEW
POWER SWITCH
The power switch is located in the front of
the treadmill near the powercord.
The power switch has two positions -ON
and OFF. The display console will beep
when the treadmill is plugged in and the
power switch is pressed ON.
CIRCUIT BREAKER RESET
The circuit breaker is located next to the power switch. If there should be an
electrical overload due to a surge in electricity or other situation, the circuit
breaker will disconnect and attempt to prevent any damage from occurring to the
treadmill.
If the treadmill suddenly stops with no lights visible nor beep heard, the circuit
breaker may need to be reset. To reset the circuit breaker press the button firmly.
The display console should restart and a beep should be heard.
CAUTION: Feel the powercord with your hands. If the powercord is warm to the
touch a problem may exist with the electrical outlet in which the
treadmill is plugged. It may be necessary to plug the treadmill into a
different outlet.
POWERCORD
The powercord, located in the front of the treadmill must be plugged into a properly
grounded electrical outlet.
Locate the powercord so it will not come in contact with the wheels of the treadmill
during operation. This may cause the powercord to become pinched or damaged.
Damage to the powercord could result in a fire hazard or cause personal injury
through electrical shock.
10

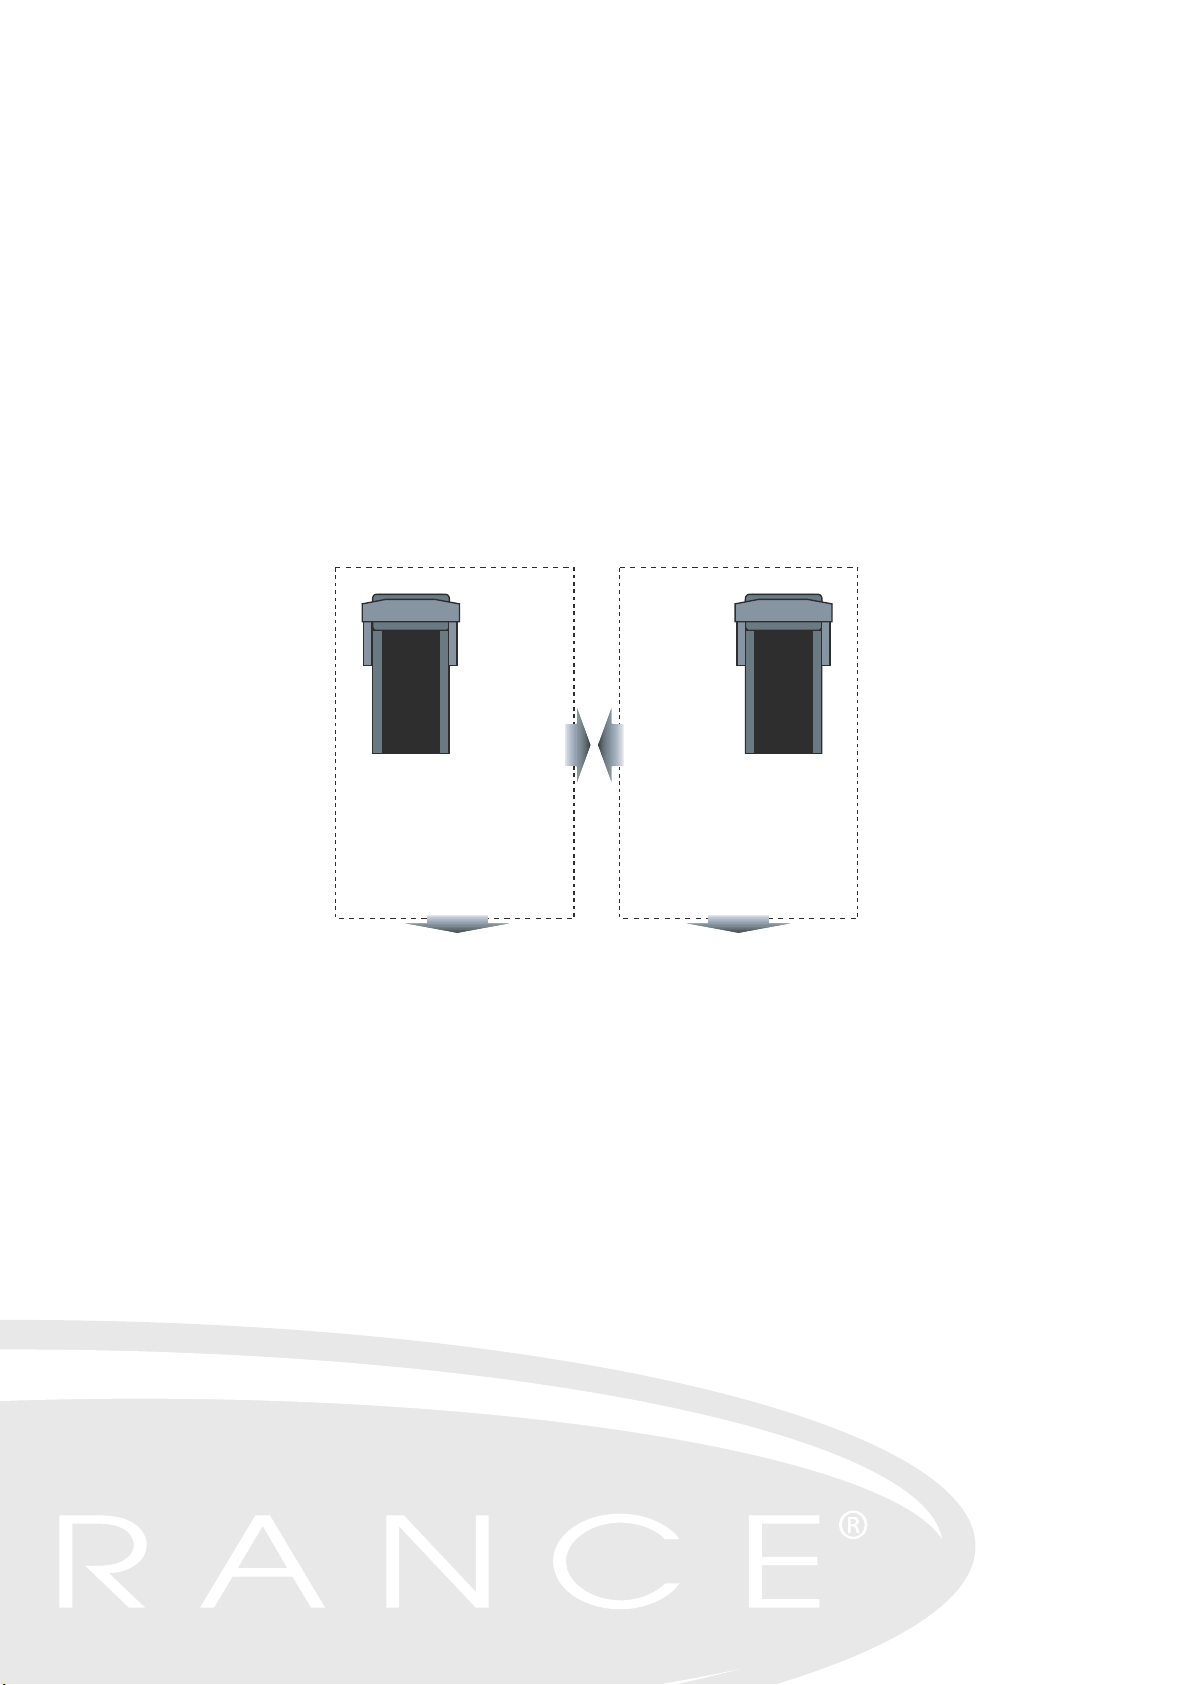
THE DISPLAY CONSOLE
Dimentions
A
A. The Information Windows
B. The Speed and Incline Arrows Buttons
C. The Select Button
D. The Start Button
E. The Enter Button
F. The Stop Button
G. The Cool Down Button
H. The Safety Key
I. The MPH Bar
GH C D E F
IB B
11
 Loading...