

Bobrick AirCraft B-7507, AirCraft B-750 Installation Instructions Manual
INSTALLATION INSTRUCTIONS
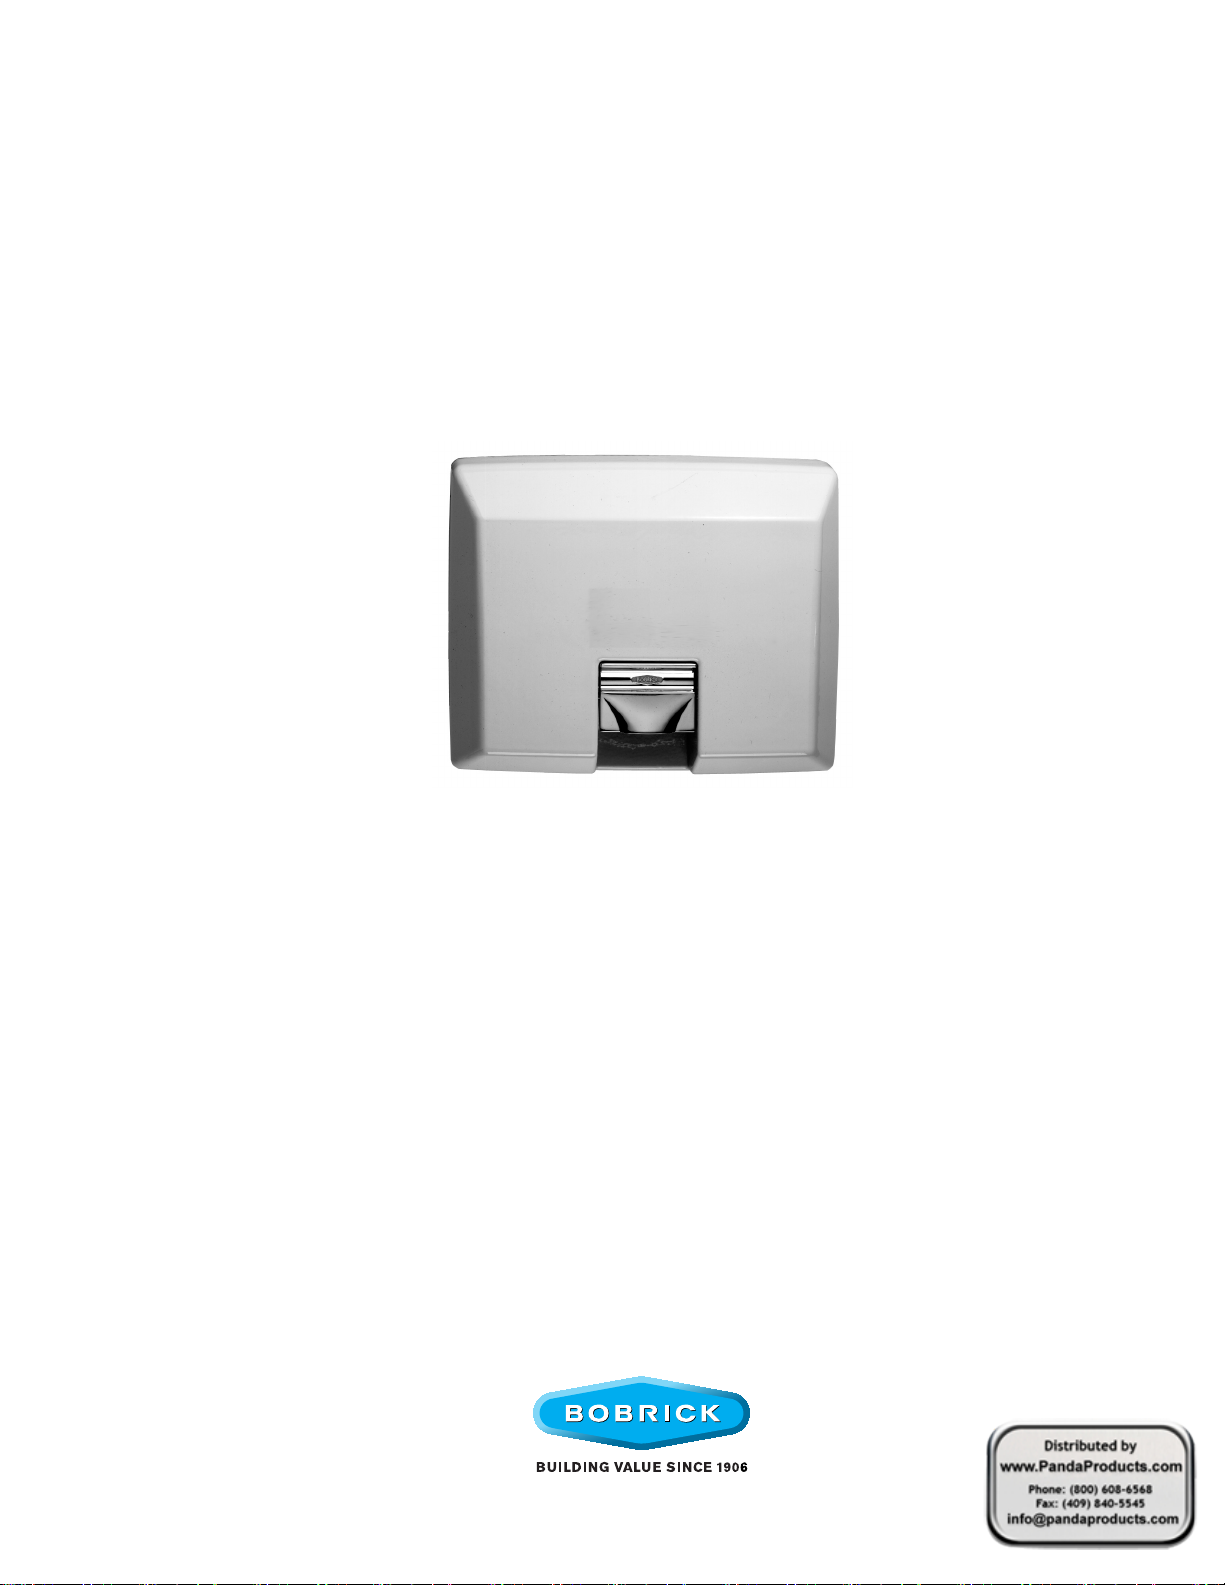
B-750 & B-7507
AirCraft
RECESSED-MOUNTED
AUTOMATIC HAND DRYER
®
Installation Instructions AirCraft® Recessed-Mounted Hand Dryer ............................Pages 2 & 3
Instrucciones De Instalación Secadores De Manos Bobrick
®
Para Empotrar Tipo AirCraft
Einbauanleitung Bobirck AirCraft
Für Wandeinbau .............................................................................................................. Pages 6 & 7
Notice D’Installation Sèche-Mains A Boîtier Encastré
Bobrick AirCraft
Istruzioni Per L’installazione Asciugamani Incassati
Bobrick AirCraft
®
.............................................................................................................Pages 8 & 9
®
........................................................................................................Pages 10 & 11
.........................................................................................Pages 4 & 5
®
-Hände- Und Haartrockner
表面安自动感应干手机/干发机安装说明书 .........................................................Pages 12 & 13
Warranties ...................................................................................................................Pages 14 & 15

S
S
S
9-1/2''
240mm
High
Opening
13-3/4''
350mm
Wide Opening
S
S
2-13/16''
70mm
Typ.
7/8'' 22mm & 1-1/8'' 30mm
(3) Knockouts for Conduit
S
S
13/64''
5mm
(8) Holes
for Mounting
3/4''
19mm
Bore Wood
to Clear Fittings
1-1/4''
30mm
Typ.
2''
50mm
Typ.
Finish Face of Floor
2-1/2''
65mm
2''
50mm
3-1/2''
90mm
Dimension
A
1/2''
13mm
Electrical Characteristics
Hand dryer models B-750 and B-7507, 115V AC, 20 Amp, 50/60 Hz, Single Phase, cULus listed.
Hand dryer models B-750 and B-7507, 208–240V AC, 9–10 Amp, 50/60 Hz, Single Phase; cULus listed, VDE approved, CE marked.
Recommended Mounting Heights
Distance from floor to bottom of framed wall opening. (Dimension A)
Men's Dressing Rooms ................................................................................................................................................................................73'' (186cm)
Women's Dressing Rooms ...........................................................................................................................................................................64'' (163cm)
Children's Dressing Rooms, ages 3-9 .........................................................................................................................................................46'' (117cm)
Children's Dressing Rooms, ages 9-12 ........................................................................................................................................................53'' (135cm)
Children's Dressing Rooms, ages 12-15 ......................................................................................................................................................59'' (150cm)
Children's Dressing Rooms, ages 15-18 ......................................................................................................................................................64'' (163cm)
* Bobrick automatic hand dryers should be installed 15" (380mm) above any projection or horizontal surface which may interfere with the
operation of the automatic sensor.
Important
* Warm air hand dryer. Intended for use in a household environment by non-expert users. Not suitable for outdoor use.
** This appliance can be used by children aged from 8 years and above and persons with reduced physical, sensory or
mental capabilities or lack of experience and knowledge if they have been given supervision or instruction concerning
use of the appliance in a safe way and understand the hazards involved. Children shall not play with the appliance.
Cleaning and user maintenance shall not be made by children without supervision.
*** If a fault develops disconnect the electrical supply, a qualified electrician should be called.
Removal of Cover
1. Start installation of aluminum
base unit into recessed
mounting box by removing
cover. To loosen two cover
bolts insert Allen Wrench,
provided with dryer, into holes
located on bottom of cover on
each side of air intake grille.
Make sure wrench fits into
head of cover bolts and turn
CLOCKWISE until bolts stop
turning. When both cover bolts
are screwed in all the way,
cover can be removed.
2. To remove cover, place a hand
on each side of cover and
push up toward top of dryer
releasing cover from studs at
top of aluminum base unit. Lift
cover off mounting base by
pulling forward at the bottom
and upward at the same time.
3. Insert aluminum base unit into
recessed mounting box and
fasten to top and bottom
flanges of mounting box with
the four 1/4-20 UNC (MG-1)
screws provided.
Installation of Aluminum Base Limit Into Recessed Mounting Box
FOR PROPER ELECTRICAL CONNECTIONS, CHECK LOCAL BUILDING CODE. UNIT MUST BE INSTALLED BY
A QUALIFIED LICENSED ELECTRICIAN
1. Provide framed opening in wall 13-3/4'' wide x 9-1/2'' high x 3-3/4''
deep (349 x 241 x 95mm) at the desired location of the installed
dryer. See recommended mounting heights above.
2. Frame the opening as shown in diagram to support recessed
mounting box.
3. Place the recessed mounting box in wall and cut an opening in the
framing to allow clearance for electrical conduit and fittings at one of
the three conduit knockout locations.
4. Fasten recessed mounting box to framing with minimum of four No.
10 (M4.8mm) sheet metal screws (not furnished by Bobrick). Make
sure flanges of mounting box are completely flat against finished
wall surface. If necessary, use shims or spacers between mounting
Form No. 750-69 Multi Language (Rev. 7-12-13) © 2013 Bobrick Washroom Equipment, Inc. Printed in U.S.A.
box and framed wall opening to prevent distortion to box as it is
fastened to framing.
5. Install electrical conduit from nearest distribution panel to recessed
mounting box. Attach conduit fittings to mounting box. Use wire as
required by local electrical code. In the United States and Canada,
use No. 12 wire or larger. Allow a minimum of 24'' (610mm) of wire to
remain in recessed mounting box for connection to dryer terminals.
2
WARNING: TURN ELECTRICAL POWER SUPPLY OFF
BEFORE MAKING ELECTRICAL CONNECTIONS.
DRYER MUST BE GROUNDED (EARTHED).
 Loading...