

BMR Suspension XSB004 User Manual

CAMARO XTREME REAR ANTI-ROLL BAR INSTALLATION
XSB004 – 2010-PRESENT CHEVROLET CAMARO
RECOMMENDED TOOLS:
15mm wrench
13mm socket
3/8” drive ratchet
5mm Allen wrench
INSTALLATION:
1. Lift the vehicle and safely support it under the frame
rails.
2. Using a 15mm wrench or socket, remove the nuts from
the sway bar end links at the control arm. The sway bar
can be removed with the end links still attached.
(IMAGE 1) NOTE: A 5mm Allen wrench may be
necessary to prevent the center stud of the end link from
spinning while removing this nut.
3. Using a 13mm socket, remove the bolts that hold the
sway bar to the rear suspension cradle. (IMAGE 1)
4. Remove the rear sway bar. NOTE: Most exhausts will
allow the sway bar to be removed without lowering the
exhaust. Sometimes it is possible to remove a wheel and
slide the sway bar out from the side.
5. Slide the provided polyurethane bushings over the sway
bar on the outside of the thrust washers as shown in
IMAGE 2.
6. Position the BMR sway bar into place and install the
provided saddles over the bushings. Insert the provided
bolts and tighten to 15 FT/LBS. (IMAGE 3) NOTE:
Depending on the brand of exhaust, it may be necessary
to lower the exhaust in order to install the BMR Xtreme
Sway Bar.
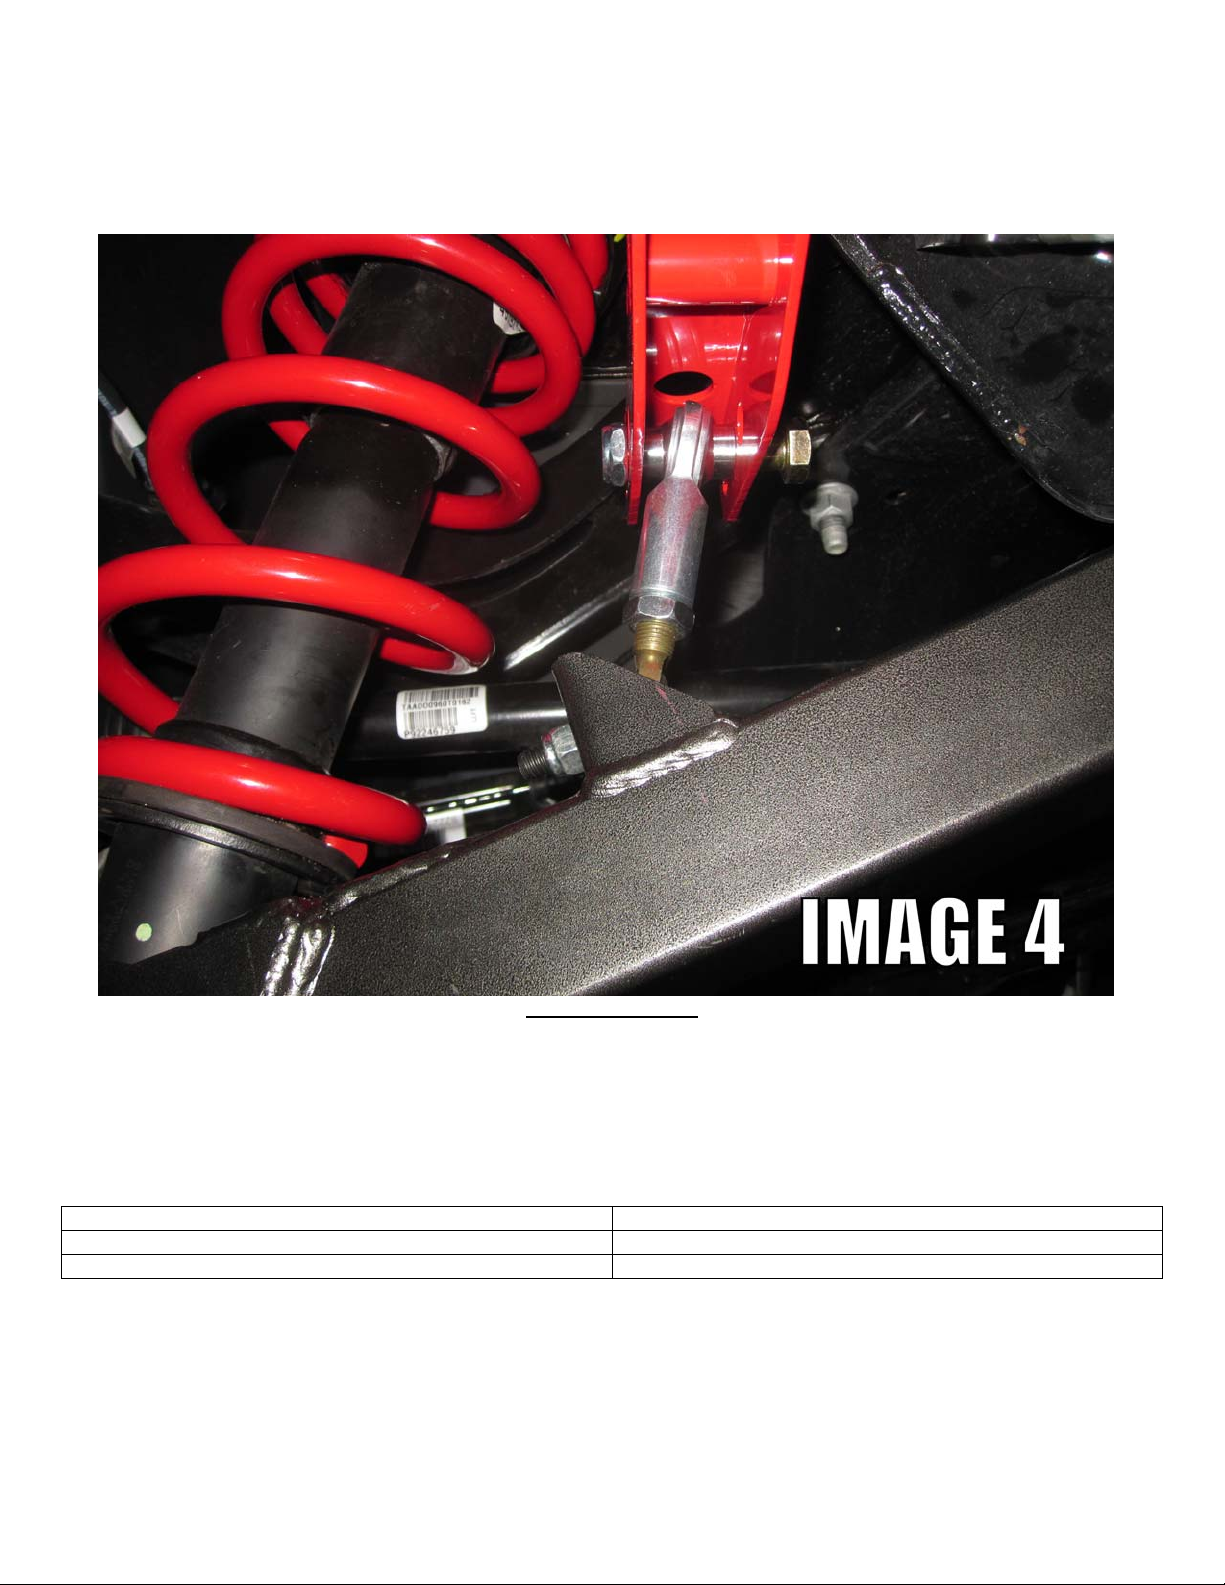
7. Insert the end links into the desired sway bar hole with
the female rod end mounted to the sway bar as shown in
IMAGE 4 on the next page. Insert the provided ½” x 2”
bolt, washer and nut then tighten. See following page for sway bar hole recommendations.
8. Insert the provided rod end spacer/reducer into the other rod end with the spacer side towards the control arm. Insert the
provided 3/8” x 1.75” bolts and tighten usi n g a 9/1 6” wren ch a nd socket .
9. Lube both bushings with a synthetic bushing lube.
10. Lower vehicle.
SWAYBAR SETUP ON NEXT PAGE
1
CAMARO XTREME REAR ANTI-ROLL BAR INSTALLATION
(Continued)
XSB004 – 2010-PRESENT CHEVROLET CAMARO
SWAYBAR SETUP
Because every vehicle is different there’s no one setup that will work for every application. Weight bias, tire choice, driving style and
horsepower will dictate which setting works best for you but as a general rule of thumb you may follow the proceeding guidelines:
• Furthest hole: This is the lightest setting and can easily be driven on the street, although the rate is very similar to
the stiffest setting of our street swaybar. Use on OE to mild power level applications with or without drag tires.
• Middle hole: Mild to moderate horsepower levels with drag tires. Not recommended for street use.
• Closest hole: Moderate horsepower with drag tires. Control arm reinforcement or BMR control arm
recommended.
Furthest hole (farthest away from main portion of bar) 432% stiffer than OE
Middle hole 573% stiffer than OE
Closest hole (closest to main portion of bar) 780% stiffer than OE
WWW.BMRFABRICATION.COM
This product is an aftermarket accessory and not designed by the vehicles manufacturer for use on this vehicle. As such, buyer assumes all risk of
any damage caused to vehicle/person during installation or use of this product.
2
 Loading...