

1
CONTROL ARM RELOCATION BRACKETS
2005-Present Ford Mustang
Tools required:
Wrenches: 15mm, 18mm, 22mm
Sockets: 18mm, 22mm
Jack and Jack Stands
Pry-bar, Hammer
Installation:
1. Lift rear of vehicle and place stands under the rear axle.
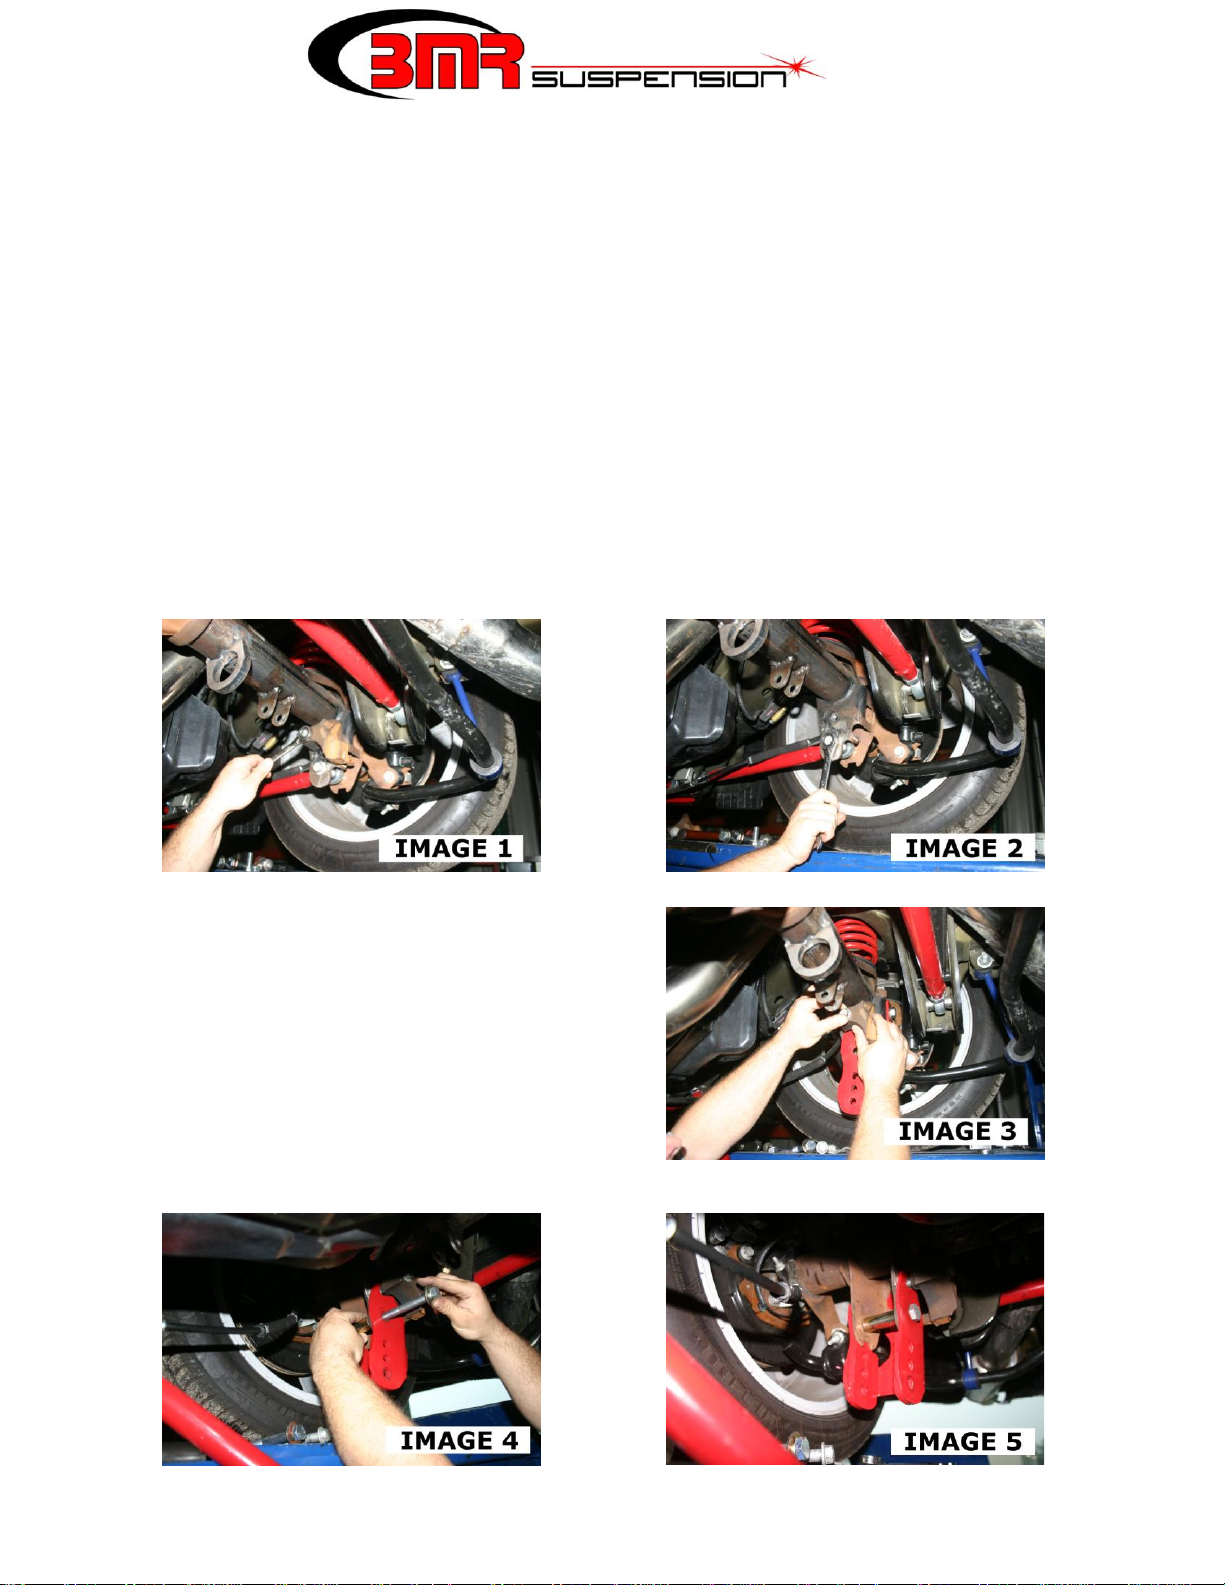
2. Begin with the passenger side. Using a 15mm wrench, loosen the axle damper weight
mounting bolt and remove the damper as shown in IMAGE 1. NOTE: please disregard
this step if your vehicle did not come with these weights.
3. Using an 18mm socket or wrench, remove the lower control arm bolt as shown in
IMAGE 2. Lower control arm to gain access to mount area.
4. Slide the passenger side BMR Relocation Bracket over the OE mount and align the holes.
Re-install the axle damper weight but do not
tighten the bolt yet. (IMAGE 3) NOTE: if
your vehicle did not come with damper
weights installed, use the provided 12mm x
30mm bolts for this mounting position.
5. Locate the gold colored bolt spacer and a
14mm x 100mm bolt from the provided
hardware pack and install it into the OE
mounting hole as shown in IMAGE 4. Do
not tighten yet. When installed, it should
look like IMAGE 5.
2
CONTROL ARM RELOCATION BRACKETS (Cont.)
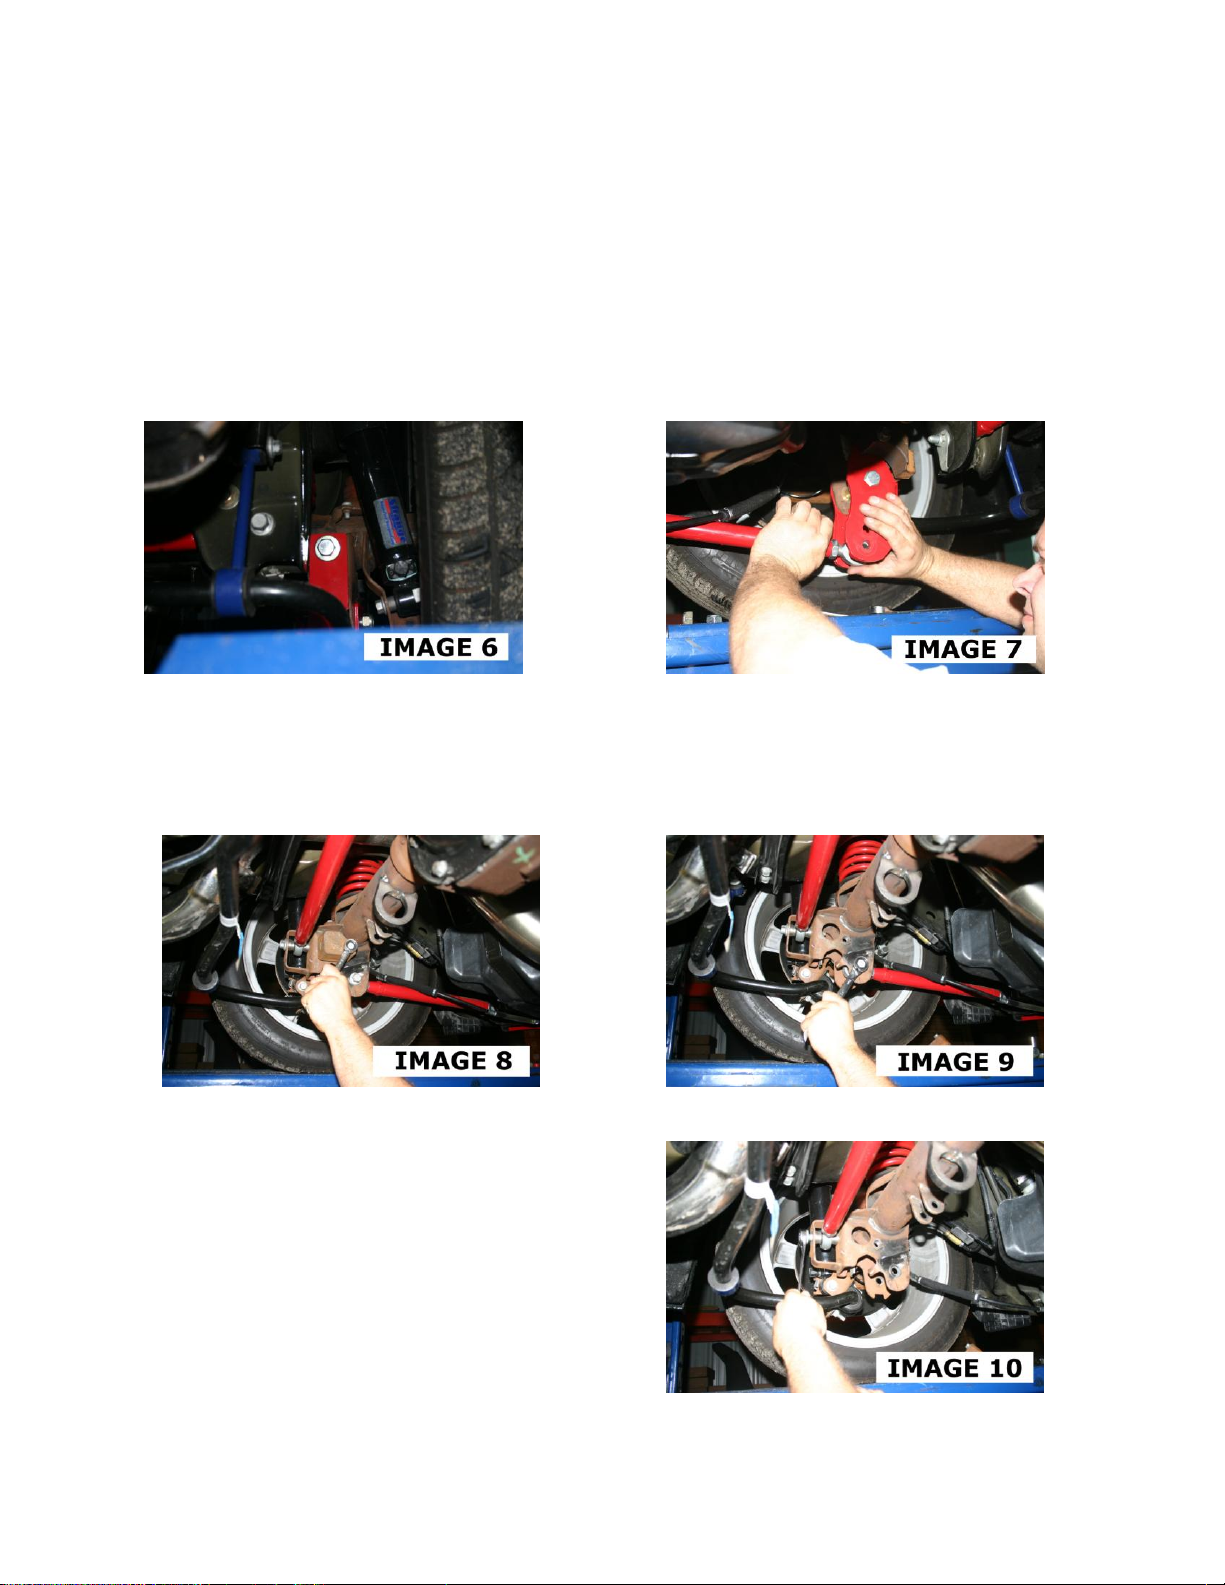
6. Locate the short 14mm bolt, washer and nut in the hardware packet and insert it into the
upper mount of the relocation bracket as shown in IMAGE 6. Slide a 22mm wrench up
into the control arm mount and onto the nut. Tighten the bolt to 129 ft/lbs. using a 22mm
socket.
7. Tighten the sleeve and cross-bolt to 129 ft/lbs. then tighten the upper damper bolt to 45
ft/lbs. using a 22mm socket and wrench.
8. Position the control arm into the desired hole as shown in IMAGE 7 and insert a new
14mm x 100mm bolt and nut. Tighten the bolt to 129 ft/lbs.
9. Move to the drivers’ side next and remove the axle damper weight using a 15mm wrench
as shown in IMAGE 8. NOTE: please disregard this step if your vehicle did not come
with these weights.
10. Using the 18mm wrench, loosen the control arm mounting bolt and lower the control arm
out of the way. See IMAGE 9.
11. Using an 18mm wrench, remove the
Panhard rod bolt as shown in IMAGE 10.
 Loading...