

Rear Upper Control Arm Bushing
BK005
Required Tools:
• Hydraulic jack and 2 stands (lift optional but recommended)
• Wrenches – 18mm, 21mm
• Sockets – 10mm, 13mm, 18mm, 21mm
• Pry-bar
Installation:
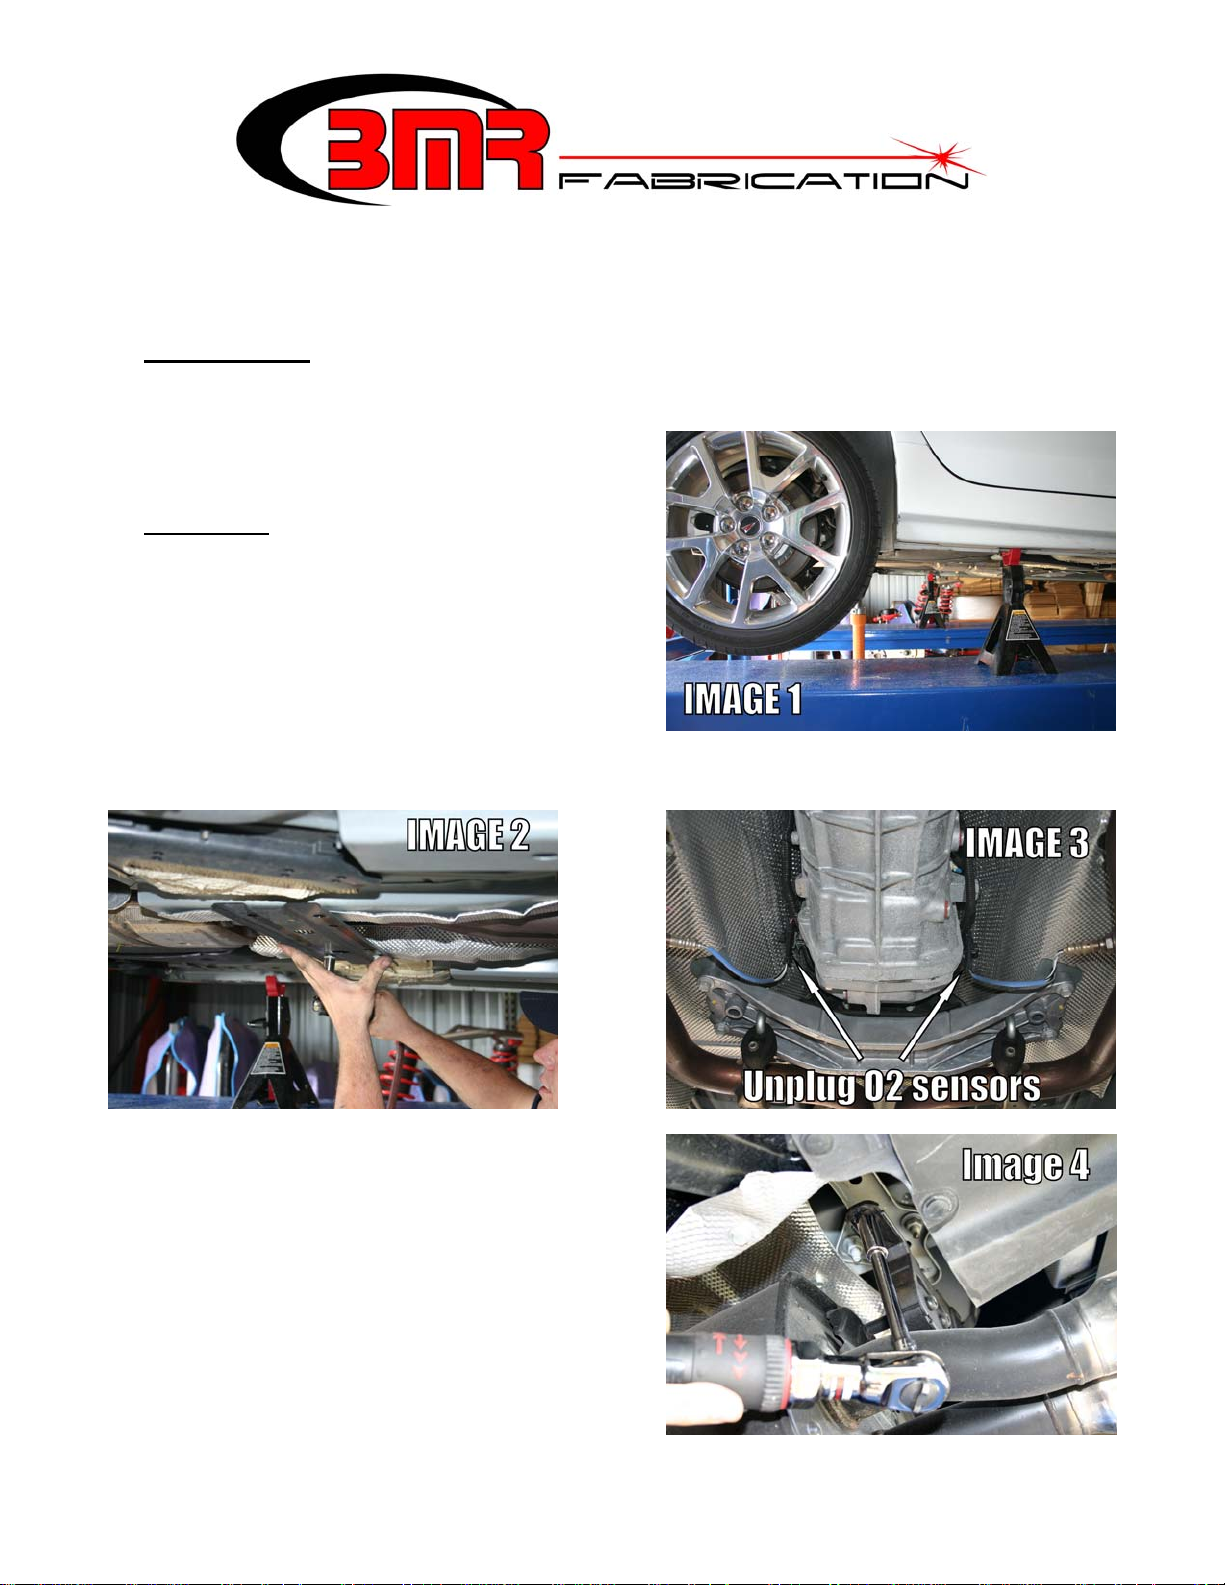
1. Lift vehicle and support with stands
under the rocker jack points shown
in Image 1.
2. Remove both rear wheels.
3. Using a 15mm socket, remove the driveshaft tunnel brace. See Image 2.
4. Unplug the rear O2 sensors as shown
in Image 3.
5. Using a 13mm socket, remove the
two bolts that hold the rear two
muffler brackets in place. Remove 4
bolts total, 2 per side. See Image 4.
1
Rear Upper Control Arm Bushing
BK005 (Continued)
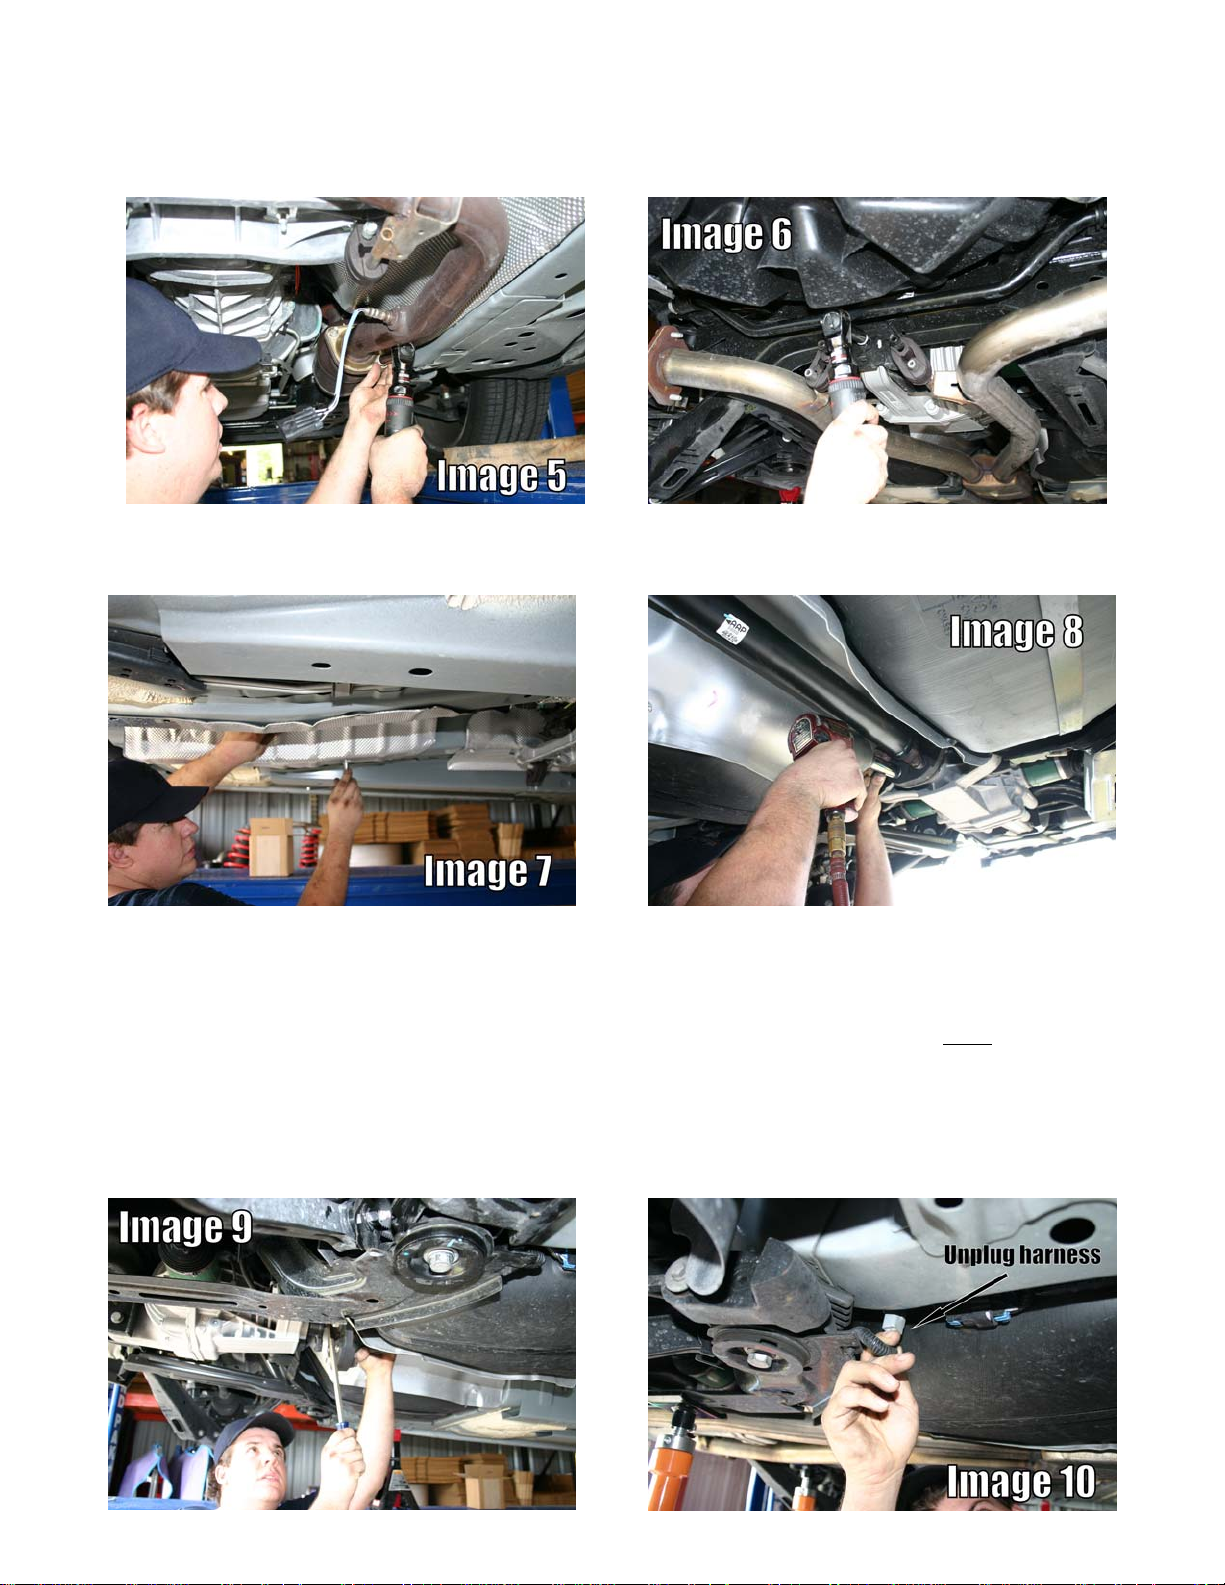
6. Using a 15mm socket, remove the 4 front flange bolts on the exhaust (2 per side).
See Image 5.
7. Remove center 15mm exhaust hanger bolt in rear. See Image 6.
8. Using a helper, remove the entire exhaust assembly.
9. Using a 10mm socket, remove the front driveshaft tunnel exhaust shield. See
Image 7 above.
10. Using an 18mm wrench and socket, remove the 3 bolts that connect the driveshaft
flex joint to the differential. See Image 8 above. NOTE: Remove the appropriate
bolts so that the rubber flex joint remains attached to the driveshaft, NOT the
differential. Using a pry-bar, pry the joint off the alignment dowel (Image 9
below).
11. Un-plug the fuel pump wiring harness located on the passenger side of the car
next to the front cradle bushing. See Image 10 below.
12. Support the cradle with a hydraulic jack or adjustable frame stands.
13.
14.
15.
16.
2
 Loading...