

Page 1
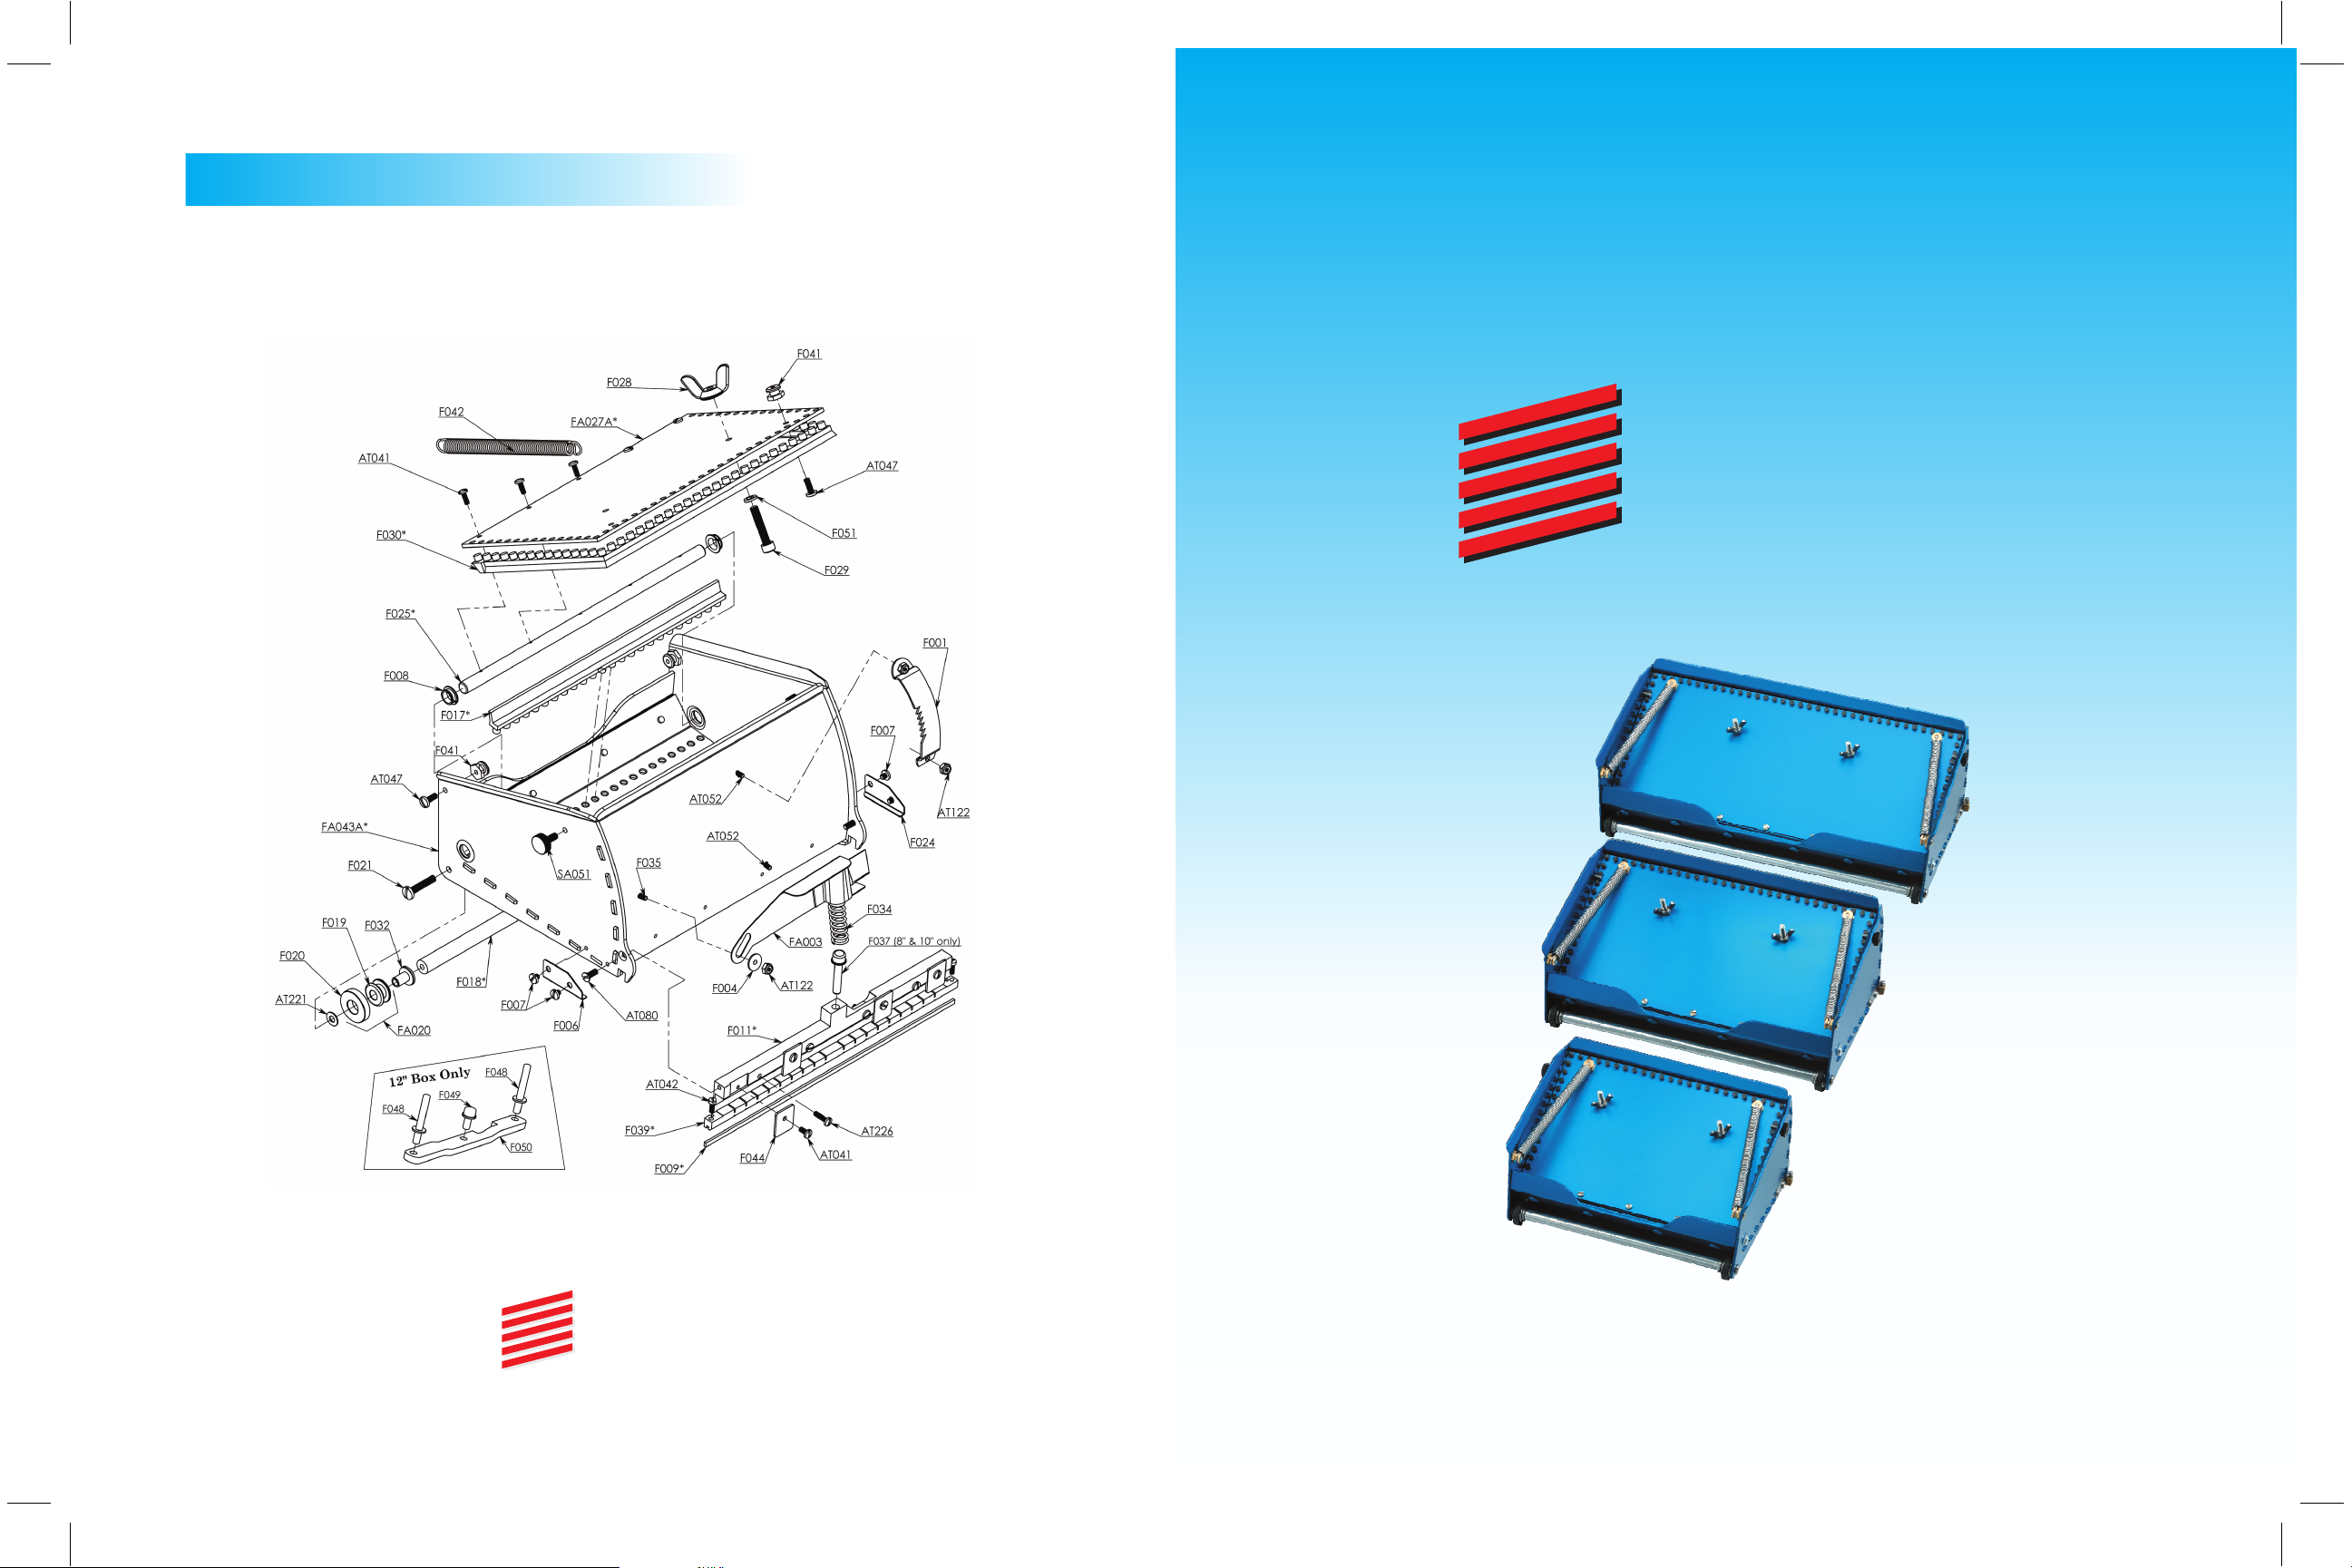
TROUBLESHOOTING
Problem
- The Box is leaving edges.
Cause
- The Flat Box blade is not correctly adjusted.
Solution
- Check the Flat Box blade is set just above the skid. This setting can be done by
tightening the AT042 on the side of the brass blade holder.
Problem
- The joint compound has a pothole effect.
Cause
- The coat is too thick.
Solution
- Adjust the blade setting by increasing the tension on the ratchet. This will
remove the excess compound and leave a smooth finish for minimal sanding.
Problem
- The Box is leaving hollow joints.
Cause
- The coat is too thin.
Solution
- Adjust the blade setting by
decreasing the tension on the ratchet.
BLUE LINE
BLUE LINE
USA
BLUE LINE
BLUE LINE
USA
USA
For more information, call the order desk at (800) 423-1806
www.bluelineusa.com
1250 South Wilson Way, Suite B-10 • Stockton, California 95205 • (800) 423-1806 • (209) 942-1351 • Fax (209) 942-2817
BLUE LINE FLATBOX
Page 2
BLUE LINE
BLUE LINE
BLUE LINE FLATBOX
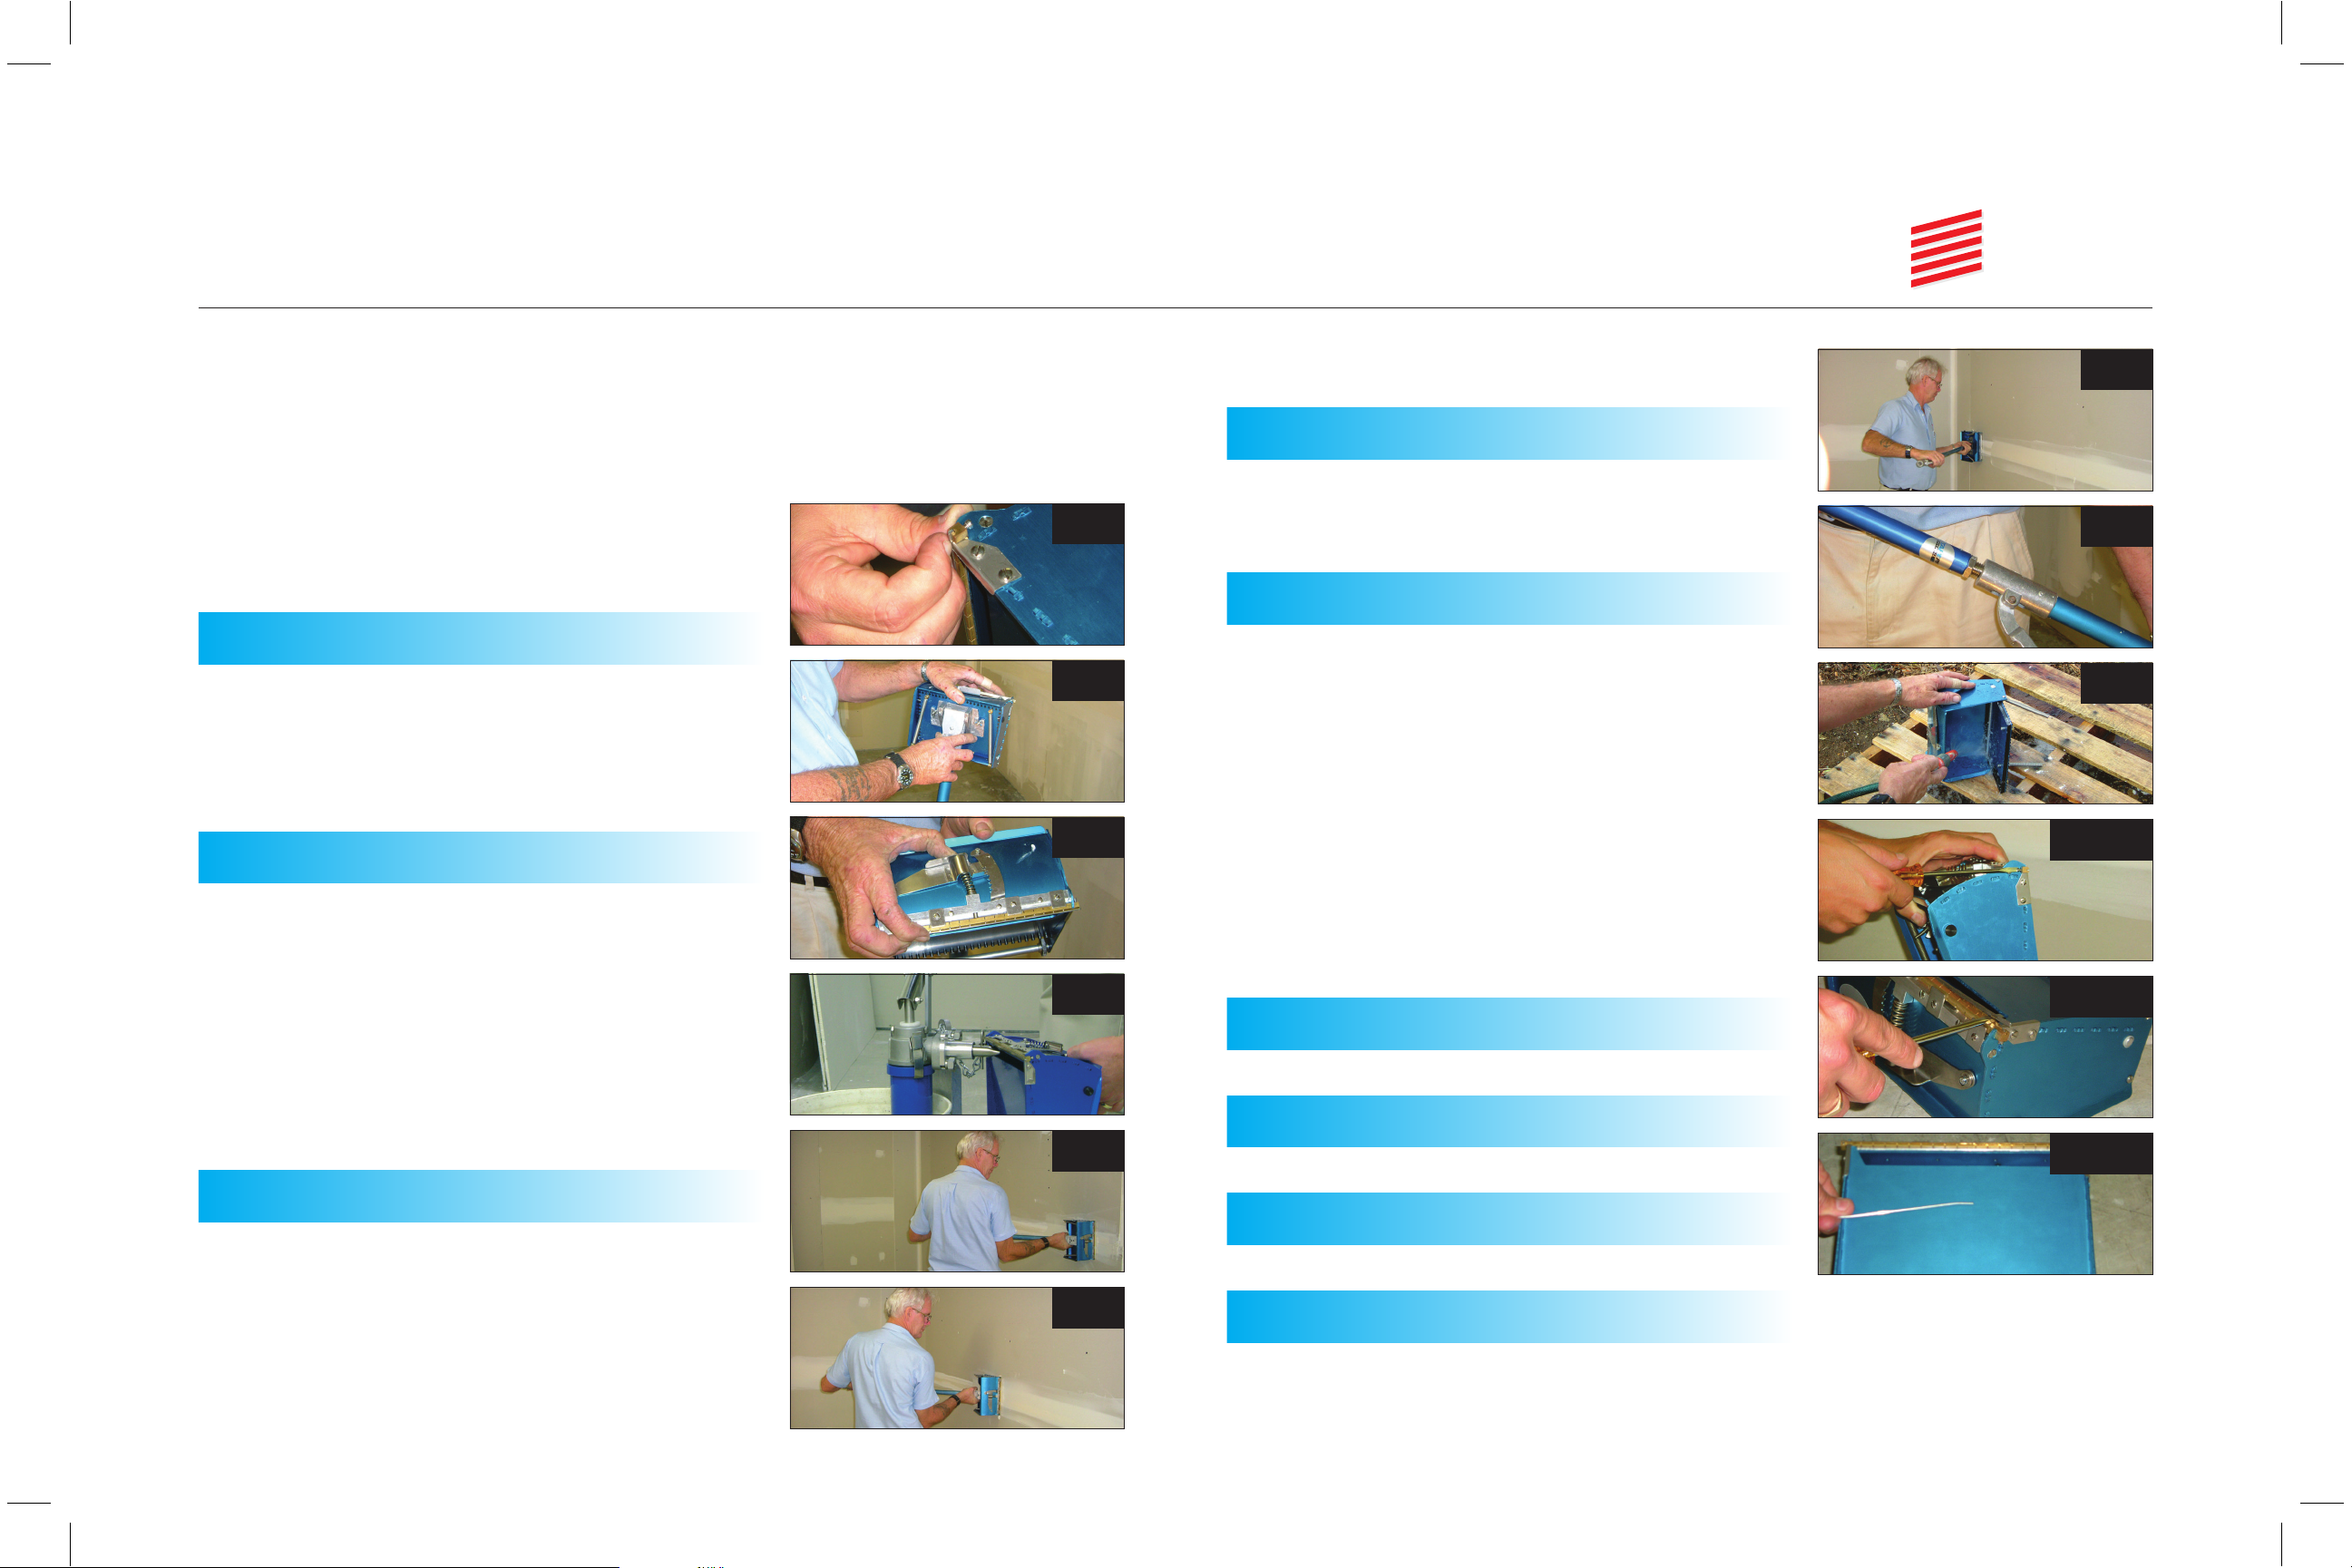
The Blue Line Flatboxes are designed to apply the correct amount of joint compound over taped, flat
joints when used in conjunction with a Blue Line Flatbox Handle. The Blue Line Loading Pump and Flat
Box Filler Nozzle are also available to make filling your Flatbox quicker and easier.
The Blue Line Flatbox range includes:
> 8” Blue Line Flatbox (second coat)
> 10” Blue Line Flatbox (finish coat)
> 12” Blue Line Flatbox (finish coat)
BEFORE USE
> Make sure the Tapepro Flatbox blade is the thickness of a fingernail above the
skids. The blade can be adjusted using screws on the blade holder to obtain the
necessary height.
> Test that the blade holder can move up and down freely.
> Attach your Blue Line Flatbox Handle by sliding it onto the box and tightening the
two wing nuts.
> Adjust the tension on the blade holder to suit the gauge of compound which is to
be used in the machine.
(FB-1)
(FB-2)
(FB-3)
LOADING
Compound can be loaded into the Blue Line Flatbox either with the aid of a Loading Pump
and appropriate filler nozzle or by hand.
Loading with Pump
1. Attach the filler nozzle to pump.
2. Fit the nozzle into the slot on the bottom of the Blue Line Flatbox.
3. Pump the compound in to the Blue Line Flatbox, moving the box from side to side
while pumping to ensure the compound is evenly distributed. Do not overfill.
4. Remove any excess compound from around the slot.
Loading by Hand
1. Open the lid.
2. Evenly fill the Blue Line Flatbox with compound using a joint knife. Do not overfill.
3. Close the lid.
4. Remove any excess compound.
(FB-4)
USING THE BLUE LINE FLATBOX
1. Set the box at a slight angle from the handle and apply the brake so the head
remains stationary.
2. Place the Blue Line Flatbox on the joint and while applying pressure, release the
brake allowing the box and the handle to find is own natural position.
3. Run the Flatbox along the joint applying pressure evenly to ensure a consistent
finish.
4. Reapply the brake toward the end of the joint.
5. Remove the box from the wall in a sweeping motion about 12” from the end of the
6. Using the same technique, turn around, and coat the remaining 12” of the joint.
(FB-6)
joint.
(FB-7)
(FB-5)
FB-1
FB-2
FB-3
FB-4
FB-5
FB-6
Tip: The Blue Line Flatboxes can reach even higher with the addition of a
Handle Extension. The Blue Line Handle Extensions are threaded and fit easily in to
both Blue Line and Premier Flatbox Handles.
(FB-8)
Blue Line
CLEANING
Your Blue Line Flatbox should be cleaned after every use to maximize lifespan and maintain
optimal performance.
Remove any compound from your Blue Line Flatbox with a hose and stiff brush. The Blue
Line Flatbox can be dismantled for a more thorough clean when required.
(FB-9)
MAINTENANCE
General Maintenance
To maintain smooth unrestricted movement, once a week spray with a silicone spray.
Avoid spraying the rubber seals as this may reduce their lifespan due to perishing.
Regular wear parts should be replaced as needed.
Flatbox Blade
If the Blue Line Flatbox Blade cannot be adjusted to the required height it will need to be
replaced by following these simple steps.
1. Tighten the screws on the blade holder so that the blade is forced out of the blade
holder groove.
2. Remove the blade from the blade holder. If there is resistance, a screwdriver can
be used to gently lever it out.
3. Remove all dry joint compound from under the blade and in and around the blade
holder using a wire brush.
4. Bend the new blade into a slight ‘w’ shape, this keeps the blade secure.
5. Adjust the screws on the blade holder so the blade is the thickness of a fingernail
above the skids. (refer to illustration from 'before use' regarding the width of the
Tapepro Flatbox Blade).
(FB-10A)
(FB-10B)
(FB-10C)
WARRANTY REPAIRS
We have established a network of authorized warranty repair facilities in the western,
central and eastern United States as well as Canada.
SERVICING
Your Blue Line Drywall Tools LLC authorized warranty repair facility has a professional
workshop with trained staff to carry out all your servicing needs.
SPARE PARTS
Easy to install maintenance kits are available from your Blue Line Drywall Tools LLC
distributor. All parts are available, some may require ordering.
CARE OF YOUR TOOLS
We recommend Readymix Jointing Compounds. Chemically fast setting compounds may
only be used in the Blue Line Drywall Tools Pump, Flat Boxes, Nail Spotters, and Corner
Box. Chemically fast setting compounds must not be used in the Automatic Taper. Always
clean and lubricate your Blue Line Drywall Tools to maintain maximum efficiency.
USA
USA
FB-7
FB-8
FB-9
FB-10A
FB-10B
FB-10C
 Loading...