

Page 1

STUDIO MEGA
U
SER MANUAL
LTE
Page 2

T
able of Contents
Appearan
Introduction ....................................................................................................................................... 5
Call Functions .................................................................................................................................... 6
Notifications Bar ................................................................................................................................ 9
Contacts ............................................................................................................................................ 11
Google Messaging ............................................................................................................................ 15
Bluetooth & Wi-Fi ........................................................................................................................... 19
Downloads ........................................................................................................................................ 22
ce ........................................................................................................................................ 3
Gmail ................................................................................................................................................ 26
Play Store .......................................................................................................................................... 28
Camera ............................................................................................................................................. 29
1
Page 3

Play Musi
FM Radio .......................................................................................................................................... 36
Sound Recorder ............................................................................................................................... 38
File Manager .................................................................................................................................... 40
Google Calendar .............................................................................................................................. 42
Google Alarm Clock ........................................................................................................................ 43
Power Save ....................................................................................................................................... 44
Settings ............................................................................................................................................. 45
c ........................................................................................................................................ 35
Storage .............................................................................................................................................. 51
T roubleshooting ............................................................................................................................... 53
Taking Care of your device ............................................................................................................. 56
Safety Precautions ........................................................................................................................... 57
2
Page 4

arning: ........................................................................................................................................... 60
W
Recycle your Phone ......................................................................................................................... 60
For detailed information of LIGHT ONE: ................................................................................... 61
Ap
pearance
3
Page 5

4
Page 6

Intr
nstallation of the SIM Card
I
Wa
damaged due to scratching or bending. Please use caution when carrying, installing or taking out the SIM
card. NB: Please contact your cellular phone service provider directly to obtain your SIM card.
To insert SIM card:
1.Remove the card tray to insert the SIM card
2. Insert the SD card. (For additional storage capacity)
Power On and Off
On -
switch the phone on.
Off - In standby mode, long press on Power key until an options menu appears. Select Power Off in the
menu and confirm in the pop-up prompt to switch off the phone.
oduction
rning: Please keep the SIM card out of the reach of children. The SIM card and its contact are easily
Please ensure the SIM card has been properly inserted into the phone. Long press the Power key to
Security
ou may set a security lock feature as a security measure for the phone. For further information regarding
Y
password locks, password revision and other functions please enter into the security option in system
settings.
5
Page 7

Call
the dial keyboard, enter the phone number and then click the dial key. If diali ng an extension, you may
At
click the dial pad icon in the bottom of the screen to open the interface and enter the number of the
extension. You may also press and hold the 0 key to add a (+) sign when adding an international dialing
prefix.
Functions
6
Page 8

New Phone i
7
con
Page 9

ll Log History
Ca
8
Page 10

C
all Logs
Ever
can be dialed directly by clicking the dial icon on the screen. When the number appears on the list, click it to
view details. To clear the call logs, press the menu key and select delete. You may remove one or multiple
calls.
y telephone number called and received will be saved in the phones call log. All numbers in the call log
C
all Options
Ther
key while in the dial interface and adjust call settings. In the call logs, you may press browse through
contacts list or set default contact resources.
Notifications Bar
e are different options that can be used in the call log and dialing in terface. You may press the m enu
The noti
regarding your phone and the applications that are installed. On the notification bar, several icons will
appear such as signal bar, battery indicator, data indicator, Bluetooth and Wi-Fi. You may slide the
notification bar down with your finger to display any pending notifications or actions.
fication bar is located on the top of the screen which contains useful and important information
9
Page 11

Quick Settings
ttons
bu
menu
Notificcations
Pe
nding
Quick
Notification
Settings
10
Page 12

otification Settings
N
The noti
any of the shortcut notification icons to power on or off.
Note: To clear the notification, drag the notification bar down and click the Clear notification tip at the
bottom right of the screen
fication settings window provides shortcuts to different phone settings for quick access. Click on
Contacts
Ent
er: Click on the applications menu and select contacts.
The def ault display is the phone contacts and SIM card contacts.
The contacts are organized alphabetically by default.
11
Page 13

Search
A
dd Contact
12
Page 14

lick the Search icon to enter the contact search interface. Any numbers or letters associated with any of
C
the contacts saved in the list will be shown in the search results.
Add New Contact
Click the add contact icon (+) to add contact.
Select to save your contacts to your Google account, the phone or the SIM card.
You may enter dif ferent contact details which include adding a picture, name, telephone number,
group, address, and email among other options.
Cl i ck to save contact.
13
Page 15

Cont
act information
entry field
14
Page 16

elete Contact
D
Click on the Contacts icon to enter the phonebook.
Click the menu key to access the Contacts menu.
Click on Delete Contact and scroll to select which contact(s) you wish to delete.
Note: Yo u may also search for an individual contact in the phonebook. Once the contact is found click the
contact name to enter the contact profile, press the menu key to bring up the contact menu and select
delete to eliminate from the phonebook.
Import / Export Contacts
The phone a
types that include the SIM card, Gmail account and your phone.
To import or export contacts:
1. Press the Contacts icon to enter the phonebook.
2. Press the menu key and select Import / Export
3. Select the source you want to copy the contac ts from. Once selected click nex t and se lect the destination
where you want the contact to be copied to then select the desired contacts to be copied.
oogle Messaging
G
ou may use this function to exchange text messages and multimedia messages with your family and
Y
friends. The messages to and from the same contact or phone number will be saved into a single
llows you to import and export contacts to synchronize information between different storage
15
Page 17

conversa
tion so you may see the entire message history conveniently.
New M
essenger icon
16
Page 18

Send an SMS
Appl
Send an MMS
W
MMS when adding an attachment or when surpassing 10 pages of SMS messages.
ication Menu » Messaging » New message (or shortcut icon)
Click the contact icon to enter text message recipient
Compose Text Message and click Send
hen creating message, the default message style is SMS. The message will automatically convert to
Click the attachment icon in the messaging interface.
Click to add attachments and create an MMS message.
17
Page 19

Add Recipient
ext message
T
entry field
18
Page 20

uetooth & W i-Fi
Bl
uetooth is a short-range wireless communications technology that devices can use to exchange
Bl
information and connect to different types of devices which include headsets and other devices.
Power on Bluetooth
Sett
ings » Bluetooth and select to power on Bluetooth.
The Bluetooth icon will appear in the notification bar. The Bluetooth will then start to scan for all
devices within its range and will display all available devices in a list.
In Bluetooth settings, all the devices found will displayed in a list.
19
Page 21

List of a
Note: The maxi mum detecting
vailable Bluetooth
devices
time of the phone is 2
minutes.
20
Page 22

ower on Wi-Fi
P
tings » Wi-Fi and select ON to power on Wi-Fi
Set
Click on the desired Wi-Fi network to be connected.
Note: Unsecured networks can be connected to directly - secured networks require a password or
credentials prior to connection.
t of available networks
Lis
and the network
connection screen
21
Page 23

Downloads
The downl
The section can display the download by date or by s ize. To clear the f i le fro m th e li st , c lic k on th e bo x to the
left of the file and then select the delete icon.
oad section of the phone keeps sorted all of the files that have been downloaded on the phone.
ownloads may be
D
sorted by name,
date, and size
22
Page 24

In
ternet Browser
Menu
W
indows
• V
Functions
iew all windows open by clicking the windows icon in the browser.
Cl
ick the “+” button to
open a new tap
23
Page 25

M
ore
Find on
page: Search current page.
Share page: Select to share the current page.
Bookmarks/History: Show your bookmarks/browsing history.
Add to Home screen:Add the current page for the home screen.
Settings: Contains a variety of browser settings.
Downloads:Downloaded from the page
24
Page 26

25
Click m
access the
Google
enu to
Ch
™
rome
Page 27

Gma
Gmai
the Gmail icon and either sign in with your existing account or create a new one.
Note: In order to keep accounts streamlined with Google services, your Gmail account user name and
password will be used for some Google programs which include: Google
Google +, Google Photos, and Google Wallet.
il
l is Google’s free email service. To access the Gmail program, click the app lications menu and c lick on
™
Pl
ay Store, Google Drive,
26
Page 28

he Gmail inbox is separated by default in three
T
different categories.
These categories include pri mary inbox, social
inbox where all your Facebook, Twitter, and
social media emails are separated to and your
Promotions inbox where all your commercial
emails are separated.
You may add or delete other categories in Gmail
settings
27
Page 29

Play S
Googl
Google Play Store, click on the applications menu and then the Play Store icon.
tore
e Play allows you to download music, movies, and games directly to your device. To access the
Search an
different Play Store
d select between
categories
28
Page 30

Camera
rior to use: Insert SD card before using the camera or video camera. All photos or videos taken by the
P
phone are typical ly st ored in th e m e mory card for large stor age capacity of i m ages and videos.
Open Camera
Click the Applications Menu » Camera
Switch to video mode if you want to record videos.
Note: You may place a camera shortcut icon on any of the screens
Take Pictures
Aim the ob ject that t he pic tur e will be taken.
Pr ess the Shutter button on the screen to capture image.
After taking the picture, the file will be saved in the cameras gallery folder.
You can view the photos by clicking the preview box button.
You may adjust various settings for the camera by pressing Menu while in the camera interface. When in
the standard camera mode, you can switch to video to record or click the gallery preview box.
29
Page 31

Camera Options
Select b
Camera & Video
30
etween
Page 32

G
oogle Photos
Now use Googl
Open Images
Appl
ications Menu » photos
e photos instead of gallery
ictures and videos
P
are stored in
separate albums
Googl
e photos icon
31
Page 33

hare Pictures
S
ou may share pictures by sending them through different types of installed applications. You may also
Y
send pictures through the MMS message function by attaching a picture and also via Bluetooth.
Sh
are
photos/videos
32
Page 34

djust Image
A
lick on the menu and select edit to adjust images. You may select from different effects that may include:
C
Light,Color,Pop,Vigenette,Mars,Photos,Deimos,Ceres,Juno,Saturn,Mimas,Rhea,Dione,Ariel,Triton,Venus,
Pluto,Eris
Ed
it menu
33
Page 35

rop Pictures
C
ick edit menu and crop to adjust the size of the picture.
Cl
op menu
Cr
34
Page 36

Play Mus
pen Music
O
Appl
ication Menu » Play Music
ic
Playback
Options
T
rack Controls
Song S
tatus
35
Page 37

earch Music
S
Y
ou may choose to search for music from media folder through artist name, song name, album name.
The following formats are available: AMR, MIDI, MP3, WAV, and OGG.
FM R
F
M Radio
Thr
ough this function, you may listen to FM Radio on the device. The FM Radio uses the wired headphones
as an antenna in order to receive signal. Before using this function, connect the original equipment
headphones that came with the phone.
Open FM Radio
ess the FM Radio icon to open the application.
Pr
adio
36
Page 38

adio Options
R
37
Page 39

M Radio as Background
F
ick on the Home key to move the FM Radio to the background.
Cl
Sound Recorder
Y
ou may send any recorded audio via Bluetooth or MMS and also have the option to make any recorded
audio the phones default ring tone. The recorder uses AM R, 3GPP and OGG format.
Record
Keep t he phone’s microphone near the sound source.
Click the record bu tton to record th e audio.
Click the stop button to stop recording the audio.
38
Page 40

Rec
ording Time
ecording
R
Controls
39
Page 41

te: All recordings are typically saved in the SD card folder.
No
Please ensure the SD card is installed prior to recording.
File M
The fi
through one program.
le manager allows you to search and organize your stored phone files conveniently and efficiently
anager
40
Page 42

Scroll and
the File Manager for
stored phone files.
You may also search or
add new folders from the
41
File Manager interface
search through
Page 43

oogle Calendar
G
The cal
endar helps keep track of your life’s most important moments in one application.
ick and add the new
Cl
event
42
Page 44

Google Alarm
ick on the Clock icon then click the alarm tab to enter the alarm clock interface.
Cl
Thi s option allo ws you to add and edit alarms.
Clock
Click
to add, edit or
delete alarms
43
Page 45

Power
Press a button to save power, enter the power saving mode, and then press out to exit the power
After entering the power saving mode, the default can only call the phone or send
Save
saving mode. Click to connect device.
information,and can be added to the power saving mode interface by itself.
44
Page 46
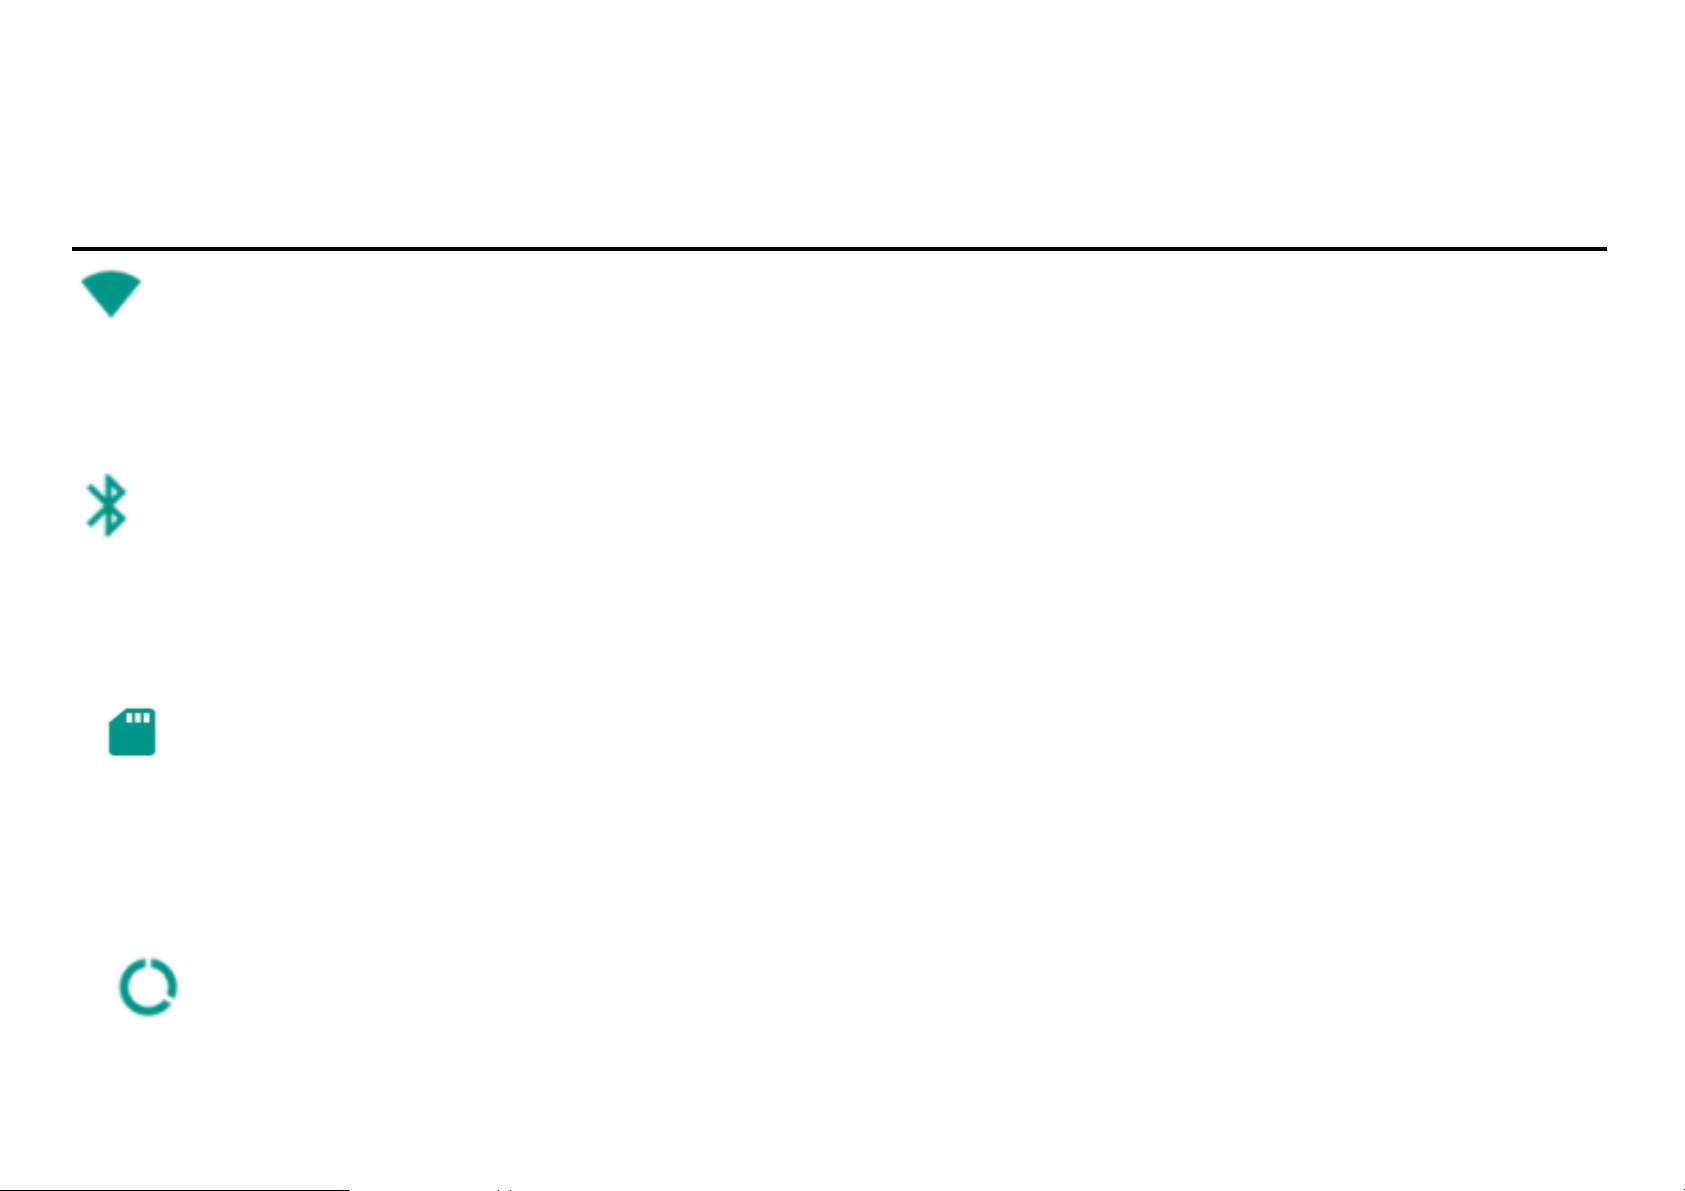
Settings
Wi
-Fi
Settings » Wi-Fi to power on. When on , the Wi -F i w ill au tom at ically sear c h for ava ilab le netwo rks .
Any unsecured network can be used directly and any secured network requires a password
or credentials prior to connection.
Bl
uetooth
Power on Bluetooth. Once on, Bluetooth will automaticall y scan for any nearby open devices.
Click to connect device.
M cards
SI
Wireless & Networks
Lets you turn on or turn off your SIM card and configure your SIM card to be used to voice call, video
call, SMS send and data connection.
Dat
a Usage
45
Page 47

Mobile and Wi-Fi Data Usage
More Wireless & Networks
Tetheri ng & Portable Hotspot
VPN
Airplane Mode
Cellular networks
Note: When in flight mode, all network connections will turn off automatically.
Device
splay
Di
Brightness, Auto rotating screen, Wallpape r, Screen Timeout
Sound & not
This option sets the phone ring tone settings for receiving calls and notifications. Some of the settings
include:
Vibrate, volume, ring tones, ring tones notification, dial touchpad, and haptic feedback and tones
torage
S
ification
46
Page 48

View the phone memory usage.
Batt
meno
App
Personal
ery
General power usage
ry
View the phone memory usage.
s
Manage applic ati ons - Manage and delete installed applications
Running Applications- Press the ‘Force Stop’ button to stop any of the applications listed and
removes from the runnin g apps list.
Loca
High Accuracy – Use GPS, Wi-Fi and Mobile Networks
Bat t ery Savi ng – Use Wi-Fi and Mobile Networks
Device Only – Use GPS only to determine location
tion
47
Page 49

te: GPS is dependent on phone hardware.
No
Securi
Set up basic screen locks: Use slide, pattern, PIN or password to lock the screen.
Pattern: The first time there will be simple unlock instructions and examples. Click “next step” to
PIN: Enter PIN number to unlock the screen
Passwor d: Use password to unlock the screen
You may stop the security feature at any time.
Set up SIM card PIN lock
SIM card PIN (Personal Identification Number) is used to prevent unauthorized use of SIM card.
To change a blocked PIN code, you will need to unlock the SIM lock then go to the Change Password
screen. The phone will automatically prompt you enter the old PIN code and ask to enter a new PIN code
twice. The phone will then prompt you that the change wa s su cce ss ful. If y ou ente r the P IN in cor rec tly th ree
ty
continue the security pattern step
times, the SIM and PIN codes will be automatically locked. You will need the PUK code to un lock the phone
which is available through your service provider. If you enter the PUK code incorrectly 10 times, the SIM
card will be permanently locked. Please see your service provider for a new SIM card
P assword visible – Make the passw ord visibl e when it’s ty ped
Use security credenti als - Allow applications to visit security credentials or other credential
48
Page 50

ngerprint
Fi
Fingerprint can be unlocked using fingerprint
Account
Lets you add, remove and manage your Google and other supported accounts.
Goo
Set the google services
Language
Language – Change the language of the phone
Custom Dictionary - Add or delete words to the custom dictionary
Keyboard Settings – Haptic vibration, Haptic tones, Capitalizing, Speech Input, Inputting words,
gle
s
and Input
Predictive text function, Auto-Text, Input keyboard method
Backup & Reset
Backup Data – Will back up all application data, WLAN passwords, and other settings to Google's
49
Page 51
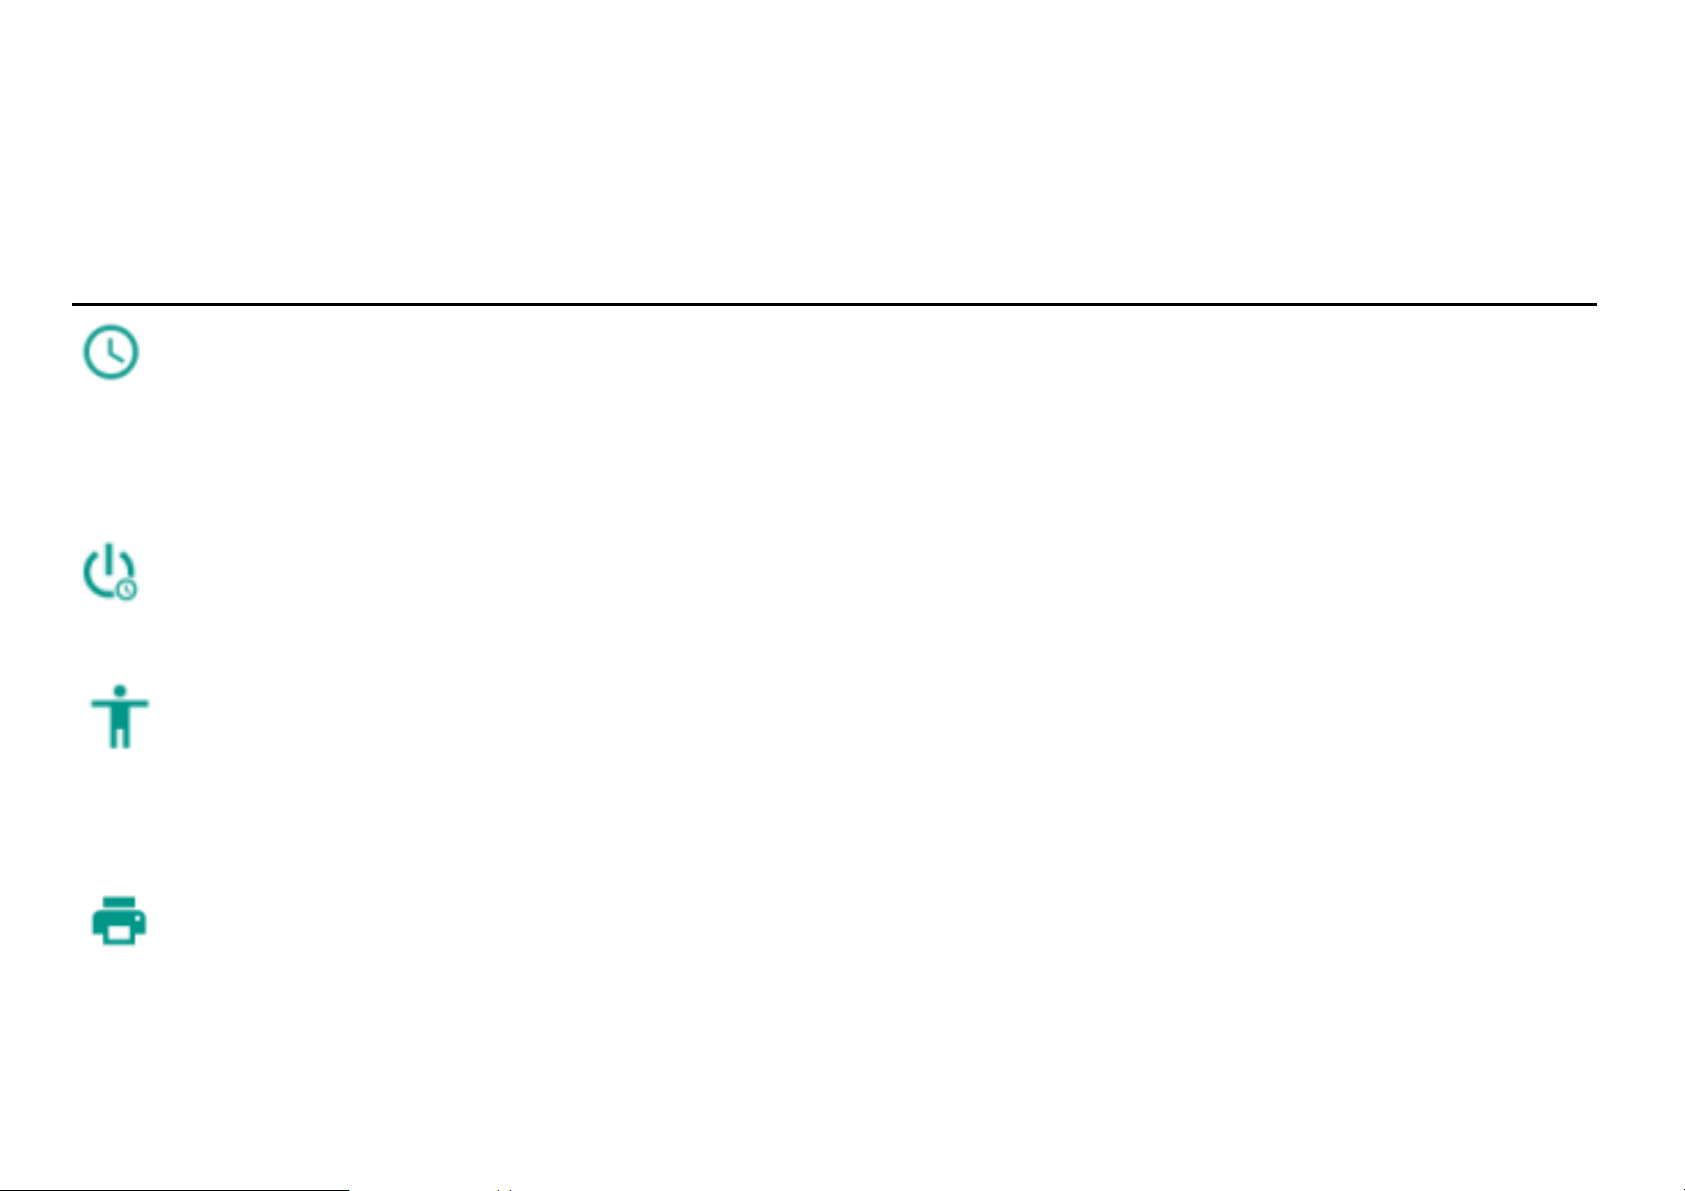
vers
ser
Rest or e to Factory Settings - Clear all data stored
System
Date & Time
Date and Time adjustment.
Sel e ct Dat e Format - There are 3 kinds of formats you can choose from: Month-Day-Year,
Day-Month-Year and Year-Month-Day, and Year-Month-Day which is the default setting
Schedule Power On & Off
Schedule power on and off
Acc
Power button ends call and auto rotate screen
Speak Passwords and large text
You may print files via Cloud Ready printers.
essibility
nting
Pri
50
Page 52

(Please check Google Cloud Print website for printer compatibility information)
Devel
If the phone does not display Developer options press “build number” seven (5) times in the about phone
tab in settings.
The developer option gives access to USB Debugging and other developer options
About
Phone i nformati on status and firmware updates
St
orage
Connect
connection mode interface, select one of the available options to transfer files to your computer.
the phone with the USB cable pro vided. Once connected, a conn ection interface will appear. In the
oper Options
Device
51
Page 53

ges,
Y
ou may select to
transfer files through
MTP. For pictures or
lect PTP
ima
se
52
Page 54

roubleshooting
T
elow is a list of common problems that may occur when using your mobile phone. Try these easy
B
troubleshooting steps to resolve any type of issues you may encounter.
The phone does not power on
Press and hold the power key until the startup sequence appears on the display.
Check the battery level and ensure there is sufficient charge.
The phone does not respond after several minutes
Remove and insert the battery – If the phone has an internal battery, please press and hold the
power button.
The phone powers off by itself
Check if the screen lock of the phone is enabled.
Check if the phone needs to be charged.
The battery won’t charge
Check if the battery is already fully charged.
Make sure that the battery is inserted correctly.
Ensure that the battery being used is a VIWA approved battery.
Double check if the charger connector is properly connected to the phone.
Note: Connect charger only after the battery has been inserted.
53
Page 55

The
The phone cannot connect to the network (Voi ce or Data)
The phone displays a SIM Error
The PIN code was entered incorrectly three times
standby time is too short
Please keep in mind that standby time relates directly to phone usage (Internet, Text, Voice Calls,
Maps, etc.).
Batteries typically have to be replaced after a year of use.
Verify if you have active service with your service provider.
Contact your local network service provider and verify if you are within its network coverage area.
Make sure the SIM is properly inserted and in its intended slot.
Make sure that the SIM card is not damaged or scratched.
The SIM card will lock and you will need to enter the PUK code (PIN Unlock Code). Please contact
your local service provider to obtain the PUK.
I cannot make calls
Make sure that the number you dialed is correct and the dial key has been pressed.
Use the full national area code when dialing out of your area or when abroad, use country-specific
international access codes.
I cannot receive calls
Make sure that your phone is connected to a network.
Check the phones Call Divert and Call barring settings (Check with your service provider for these
54
Page 56

tings and codes)
set
The caller ID does not display on incoming calls
Contact your local network service provider and verify you have the caller ID feature enabled on
your account or verify if the caller may have blocked his number from appearing.
The caller cannot leave a voicemail message
Contact your local network service pr ovider and verify if the voicemail service is active on your
account or check if the network is busy.
The phone does not connect to the internet
Ensure with your service provider that your account has the appropriate internet/data plan
enabled.
Ensure internet APN settings are configured (Carrier dependent).
Text Messages cannot be Sent / Received
Ensure text messaging is enabled with your service provider.
Ensure APN settings are configured (Carrier dependent).
The i
reserves the right to modify the manual at any given time. VIWA Products has made every effort to ensure
that this user manual is accurate and disclaims responsibility and liability for any inaccuracies or om issions.
Note: Some software, user interface, and internal elements may vary depending on final version.
nformation provided in this user manual is subject to change without notice and VIWA Products
55
Page 57

aking Care of your device
T
Y
our device is a product of superior design and craftsmanship and should be handled with care in the
following ways:
• Keep the device dry. Precipitation, humidity , and all types of liquids can rust the electronic circuits. If your
device gets wet, remove the battery, wipe it with a dry cloth and take it to an authorized service center.
• Do not store the device in high or cold temperature. Extreme temperatures can shorten the life of
electronic devices and damage batteries.
• Do not use or store the device in dusty, dirty areas. Its moving parts and electronic components can get
damaged.
• Do not attempt to open the device other than as instructed in this guide.
• Do not drop, knock, shake or bend the device. Rough handling can break internal circuit boards and fine
mechanics.
• Do not use harsh chemicals, cleaning solvents, or strong detergents to clean the device. Only use a sof t,
clean, dry cloth to clean the surface of the device.
• Do not store or bring your device near magnetic fields for extended period of time.
56
Page 58

Safety Pr
ecautions
Swi
tch off your device in any area with potential explosive atmosphere such as
refueling stations, fuel depots, chemical plants or places where blasting operation is in
progress. Sparks arising out of radio frequency may cause fire or explosion.
Remember to comply with legal requirements and local restrictions when using the
phone.
our Phone’s radio waves may interfere with medical devices. Preferably maintain a
Y
distance of 15.3 cm (6 inches) between a wireless device and implanted medical
devices such as pacemaker or cardiverter defibrillator. Switch off your device when
regulations require you to do so.
ways keep the phone and accessories out of reach of small children. Small parts
Al
such as the SIM card can be dismantled and swallowed by small children.
57
Page 59

Do not p
Information stored on them could be lost.
Per
manent damage to hearing may occur if you use earphones at high volume for
prolonged periods. Set your volume to a safe level.
The m
prevent damage to the charging device. The power supply must be plugged into an
easily accessible AC power socket when charging the battery.
lace the phone near electromagnetic data carriers such as credit/Debit cards.
ains voltage (V) specified on the power supply unit must not be exceeded to
ou may only open the phone to replace the battery (if not inbuilt), SIM card. All other
Y
changes to this device are strictly prohibited and will invalidate the warranty.
58
Page 60
The phone m
Do not
Do not put it onto any spot from which it may fall down during collision or emergency
braking.
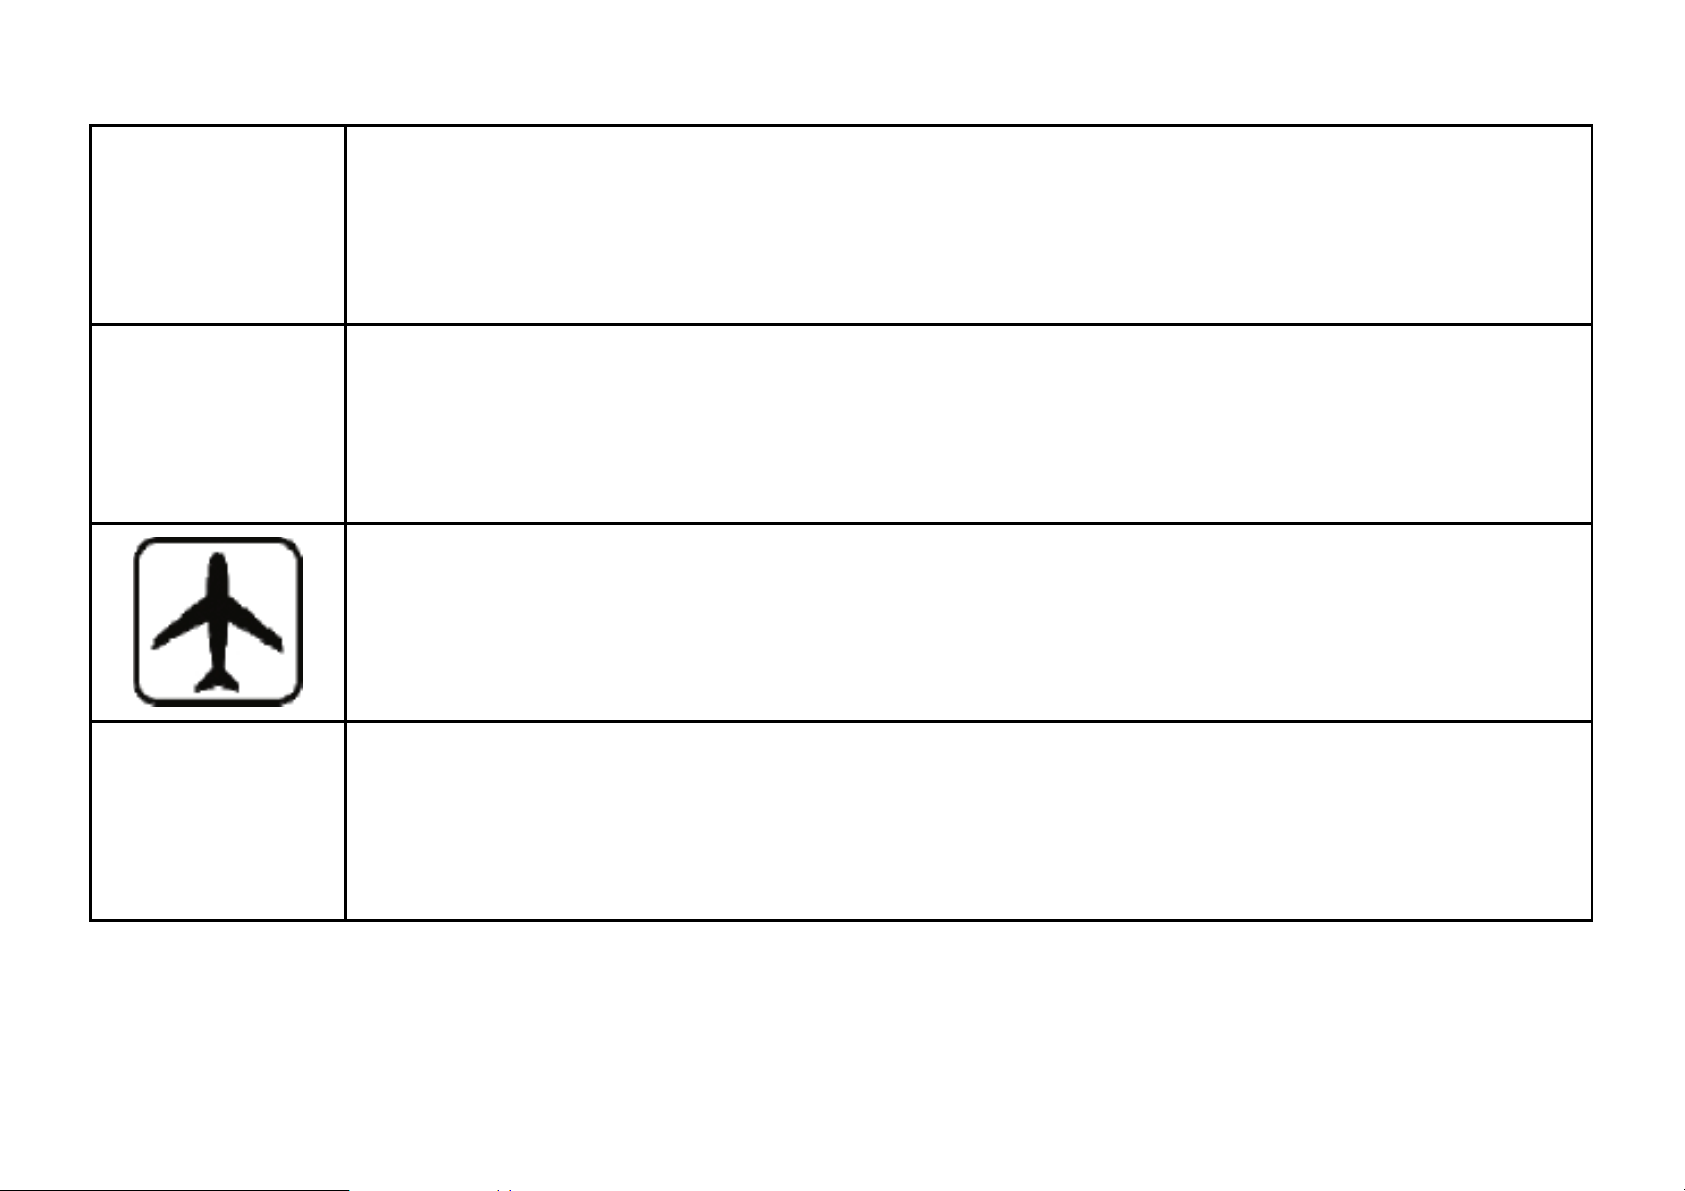
Fl
ight is influenced by interference caused by the phone. It is not advised to switch on
a phone during flight.
ease repair the device at the authorized service center only. Rep airing the device by
Pl
use the phone while driving. Please put the phone safely in the phone stand.
ay cause interference in the vicinity of TV sets, radios and PCs.
yourself invalidates the warranty rules.
59
Page 61

Wa
1.
INCORRECT TYPE. DISPOSE OF USED BATTERIES ACCORDING TO THE
INSTRUCTIONS.
2. TO PREVENT POSSI BLE HEARING DAMAGE, DO NOT LISTEN AT HIGH
VOLUME LEVELS FOR LONG PERIODS
Recycle your
rning:
CAUTION RISK OF EXPLOSION IF BATTERY IS REPLACED BY AN
Phone
The
indicate that this product must not be disposed of or dumped with your other household
wastes. You are liable to dispose of all your electronic or electrical waste equi pment by
relocating over to the specified collection point for recycling of such hazardous waste.
WEEE logo (shown at the left) appears on the product (batt e r y, handset, and charger) to
Collection and proper recovery of your electronic waste equipment at the time of disposal will
allow us to help preserve the environment. Recycling of the electronic waste equipment will ensure safety
of human health and environmengt. For more information on best practices for disposal of electronic and
electrical waste, please visit to our website.
60
Page 62

Fo
r detailed information of LIGHT ONE:
ease visit website “ http://viwa-smart .com/Produts/fa5e3213-dabf-48c2-af9c- dd7a49530c67.html ” t o
Pl
download LIGHT ONE Manual in the below .
Google, Google Play and other marks are trademarks of Google Inc.
FCC RF Exposure Information and Statement:
Specific Absorption Rate (SAR) information
SAR tests are conducted using standard operating positions accepted by the FC C with the phone transmitting
at its highest certified power level in all tested frequency bands, although the SAR is determined at the highest
certified power level, the actual SAR level of the phone while operating can be well below the maximum value.
Before a new model phone is a available for sale to the public, it must be tested and certified to the FCC that it
does not exceed the exposure limit established by the FCC, Tests for each phone are performed in positions
and locations (e.g. at the ear and worn on the body)as required by the FCC.
For body worn operation, this model phone has been tested and meets the FCC RF exposure guidelines when
used with an accessory designated for this product or when used with an accessory that contains no metal and
that positions the device a minimum of 10mm from the body.
This device complies with part 15 of the FCC Rules. Operation is subject to th e following two conditions: (1)
This device may not cause harmful interference, and (2) this device must accept any interference received,
61
Page 63

ncluding interference that may cause undesired operat ion. Any Changes or modifications not expressly
i
approved by the party responsible for compliance could void the user’s authority to operate the equipment.
Note: This equipment has been tested and found to comply with the limits for a Class B digital device,
pursuant to part 15 of the FCC Rules. These limits are designed to provide reasonable protection against
harmful interf erence in a resid e ntia l ins tal lation. T his equipm en t gene rat es uses and can radia te ra dio
frequency energy and, if not installed and used in accordance with the instructions, may cause harmful
interference to radio communications. However, there is no guarantee that interference will not occur in a
particular installation. If this equipment does cause harmful interference to radio or television reception,
which can be determined by turning the equipment off and on, the user is encouraged to try to correct the
interference by one or more of the following measures:
--Reorient or relocate the receiving antenna.
--Increase the separation between the equipment and receiver.
--Connect the equipment into an outlet on a circuit different from that to which the receiver is connected.
--Consult the dealer or an experienced radio/TV technician for help.
62
 Loading...