

Blizzard Lighting TRI LED ProPar User Manual Rev A
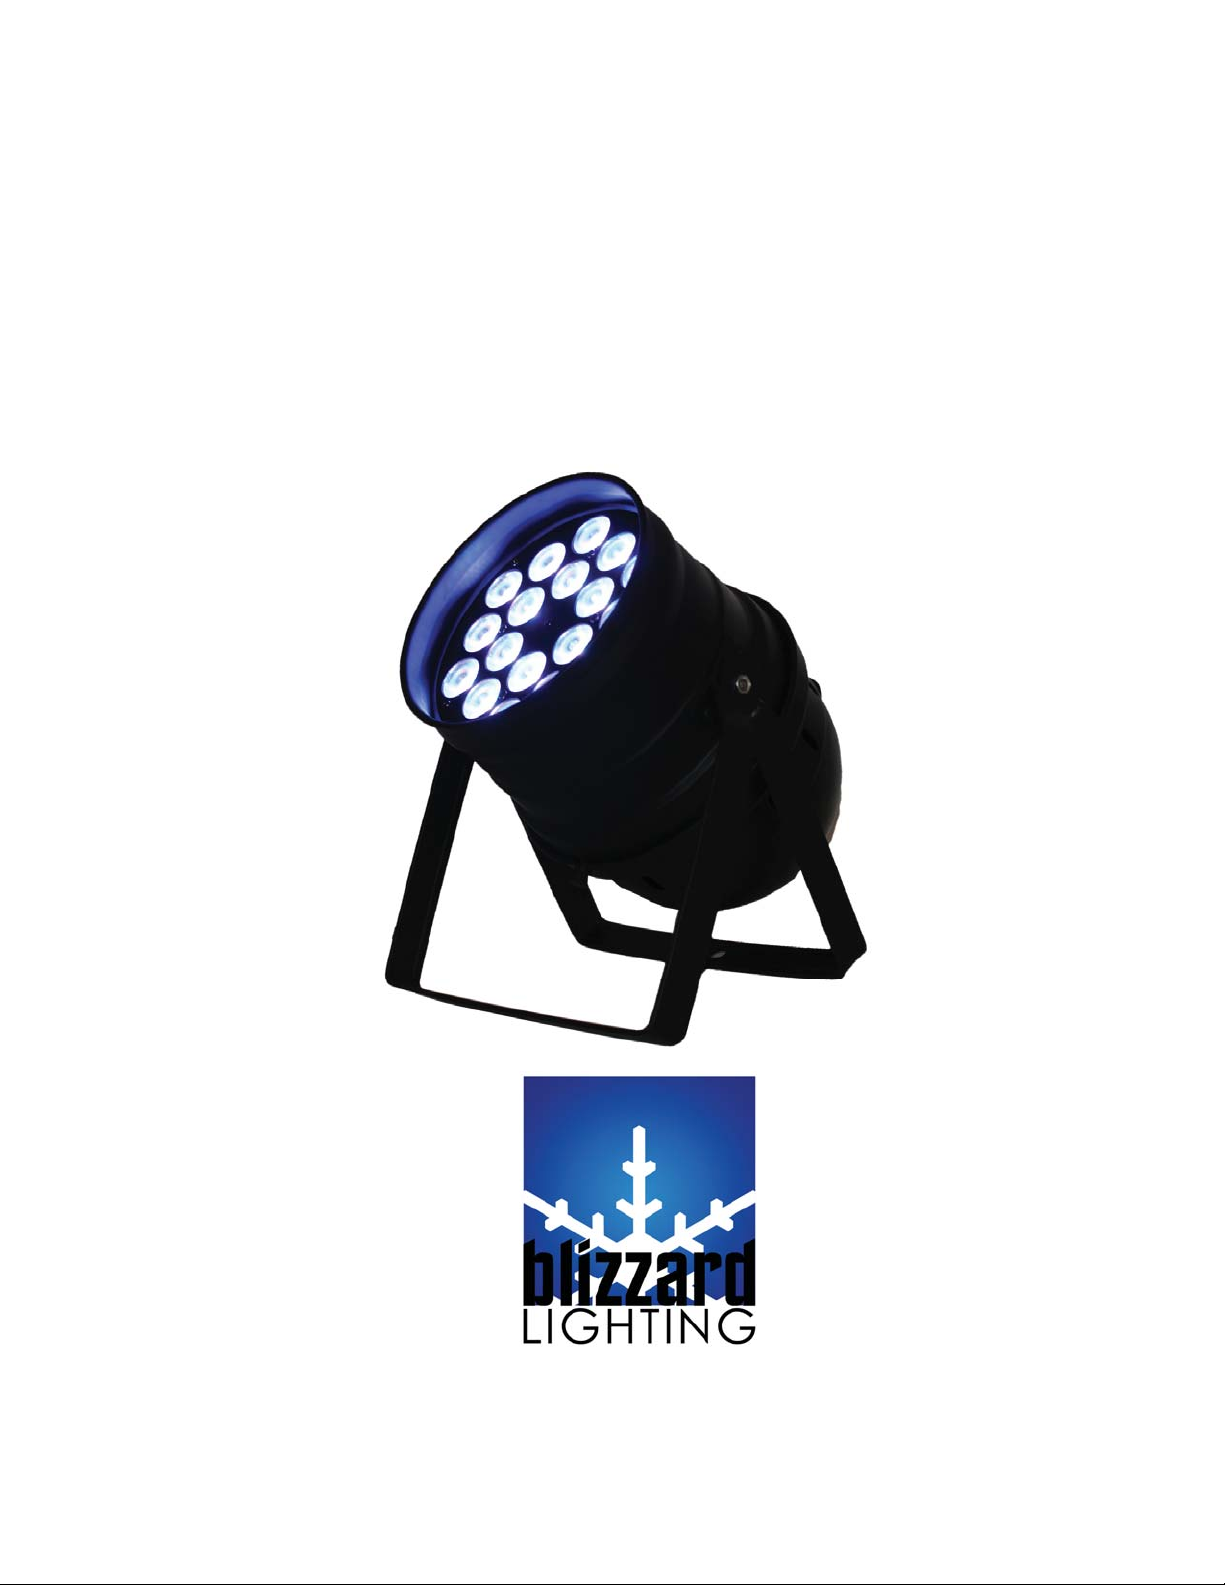
ROCKLITE TRI
Blizzard Lighting, LLC
www.blizzardlighting.com
Brookfi eld, WI USA
Copyright (c) 2011

TABLE OF CONTENTS
ROCKLITE™ TRI LED 1
1. Getting Started 3
What’s In The Box? 3
Getting It Out Of The Box 3
Powering Up! 3
Getting A Hold Of Us 3
Safety Instructions (Don’t Stick Your Hand In The Toaster!) 4
2. Meet The ROCKLITE™ TRI LED 5
Features 5
DMX Quick Reference 5
The ROCKLITE
3. Setup 7
Fuse Replacement 7
Connecting A Bunch Of ROCKLITE™ TRI LED PAR Cans 7
Data/DMX Cables 7
Cable Connectors 8
3-Pin??? 5-Pin??? Huh? 8
Take It To The Next Level: Setting up DMX Control 8
Fixture Linking (Master/Slave Mode) 9
Mounting/Rigging 9
™ Pin-up Picture 6
4. Operating Adjustments 10
Navigating The Control Panel 10
Control Panel Menu Structure 11
DMX Mode 12
Master/Slave Mode 12
Sound Active Mode 12
Standalone (Program) Mode 12
Manual (Color Preset) Mode 12
DMX Channel Values In-Depth 13
Troubleshooting 14
5. Appendix 15
A Quick DMX Lesson 15
Keeping Your ROCKLITE™ LED As Good As New 16
Returns (Gasp!) 16
Shipping Issues 16
Tech Specs 17
ROCKLITE TRI LED Manual Rev. A Copyright (c) 2011 Blizzard Lighting, LLC
Page 2

1. GETTING STARTED
What’s In The Box?
• 1 x ROCKLITE™ TRI Professional LED PAR Fixture
• This Lovely User Manual
Getting It Out Of The Box
Congratulations on purchasing one of the brightest, best-built PAR
fi xtures anywhere! Now that you’ve got your ROCKLITE™ (or hopefully, ROCKLITEs!), you should carefully unpack the box and check the
contents to ensure that all parts are present and in good condition. If
anything looks as if it has been damaged in transit, notify the shipper immediately and keep the packing material for inspection. Again,
please save the carton and all packing materials. If a fi xture must be
returned to the factory, it is important that the fi xture be returned in
the original factory box and packing.
Powering Up!
All fi xtures must be powered directly off a switched circuit and cannot
be run off a rheostat (variable resistor) or dimmer circuit, even
if the rheostat or dimmer channel is used solely for a 0% to
100% switch.
AC Voltage Switch - Not all fi xtures have a voltage select switch, so
please verify that the fi xture you receive is suitable for your local pow-
er supply. See the label on the fi xture or refer to the fi xture’s specifi -
cations chart for more information. A fi xture’s listed current rating is
its average current draw under normal conditions. Check the fi xture or
device carefully to make sure that if a voltage selection switch exists
that it is set to the correct line voltage you will use.
Warning! Verify that the voltage select switch on your unit
matches the line voltage applied. Damage to your fi xture may
result if the line voltage applied does not match the voltage
indicated on the voltage selector switch. All fi xtures must be
connected to circuits with a suitable Ground (Earthing).
Getting A Hold Of Us
If something is wrong, just give us a call or send an email.
We’ll be happy to help, honest.
Blizzard Lighting
W220 N1531 Jericho Ct. Suite E, Waukesha, WI 53186 USA
support@blizzardlighting.com
www.blizzardlighting.com
866-493-6025
ROCKLITE TRI LED Manual Rev. B Copyright (c) 2011 Blizzard Lighting, LLC
Page 3

SAFETY INSTRUCTIONS
• Please keep this User Guide for future use. If you sell the unit to someone
else, be sure that they also receive this User Guide.
• ALWAYS make sure that you are connecting to the proper voltage, and that
the line voltage you are connecting to is not higher than that stated on the decal or rear panel of the fi xture.
• This product is intended for indoor use only.
• To prevent risk of fi re or shock, do not expose fi xture to rain or moisture.
• Make sure there are no fl ammable materials close to the unit while operating.
• The unit must be installed in a location with adequate ventilation, at least
20in (50cm) from adjacent surfaces. Be sure that no ventilation slots are
blocked.
• ALWAYS disconnect from the power source before servicing or replacing fuse
and be sure to replace with same fuse size and type.
• ALWAYS secure fi xture using a safety chain. NEVER carry the fi xture by its
cord. Use its carrying handles.
• DO NOT operate at ambient temperatures higher than 104°F (40°C).
• In the event of a serious operating problem, stop using the unit immediately.
NEVER try to repair the unit by yourself. Repairs carried out by unskilled people
can lead to damage or malfunction. Please contact the nearest authorized technical assistance center. Always use the same type spare parts.
• NEVER connect the device to a dimmer pack.
• Make sure the power cord is never crimped or damaged.
• Never disconnect the power cord by pulling or tugging on the cord.
• Avoid direct eye exposure to the light source while it is on.
Caution! There are no user serviceable parts inside the unit. Do not
open the housing or attempt any repairs yourself. In the unlikely event
your unit may require service, please contact Blizzard Lighting at support@blizzardlighting.com.
ROCKLITE TRI LED Manual Rev. A Copyright (c) 2011 Blizzard Lighting, LLC
Page 4
2. MEET THE ROCKLITE™ TRI LED PAR
CONTROL FEATURES
• RGB color mixing via 18 high power 9W Tri-Color LEDs
• 3/7 DMX Channel Switchable
• Variable electronic strobe
• Variable electronic dimmer
• Built-in color & chase macros via DMX
• Built-in automated programs via master/slave
• Built-in sound active programs
• RGB color mixing ability in standalone mode
ADDITIONAL FEATURES
• Rugged and well-built (It hits the gym regularly)
• Light source: 18x 9-watt Tri-Color LEDs
• Internal Fan Cooling
• Dual mounting brackets for positioning fl exibility
DMX Quick Reference (3-Channel Mode)
Channel What It Does
1 Red Intensity
2 Green Intensity
3 Blue Intensity
DMX Quick Reference (7-Channel Mode)
Channel What It Does
1 Dimmer
2 Red Intensity
3 Green Intensity
4 Blue Intensity
5 Strobe
6 Program Speed (Channel 7)
7 Built-In Programs
ROCKLITE TRI LED Manual Rev. B Copyright (c) 2011 Blizzard Lighting, LLC
Page 5
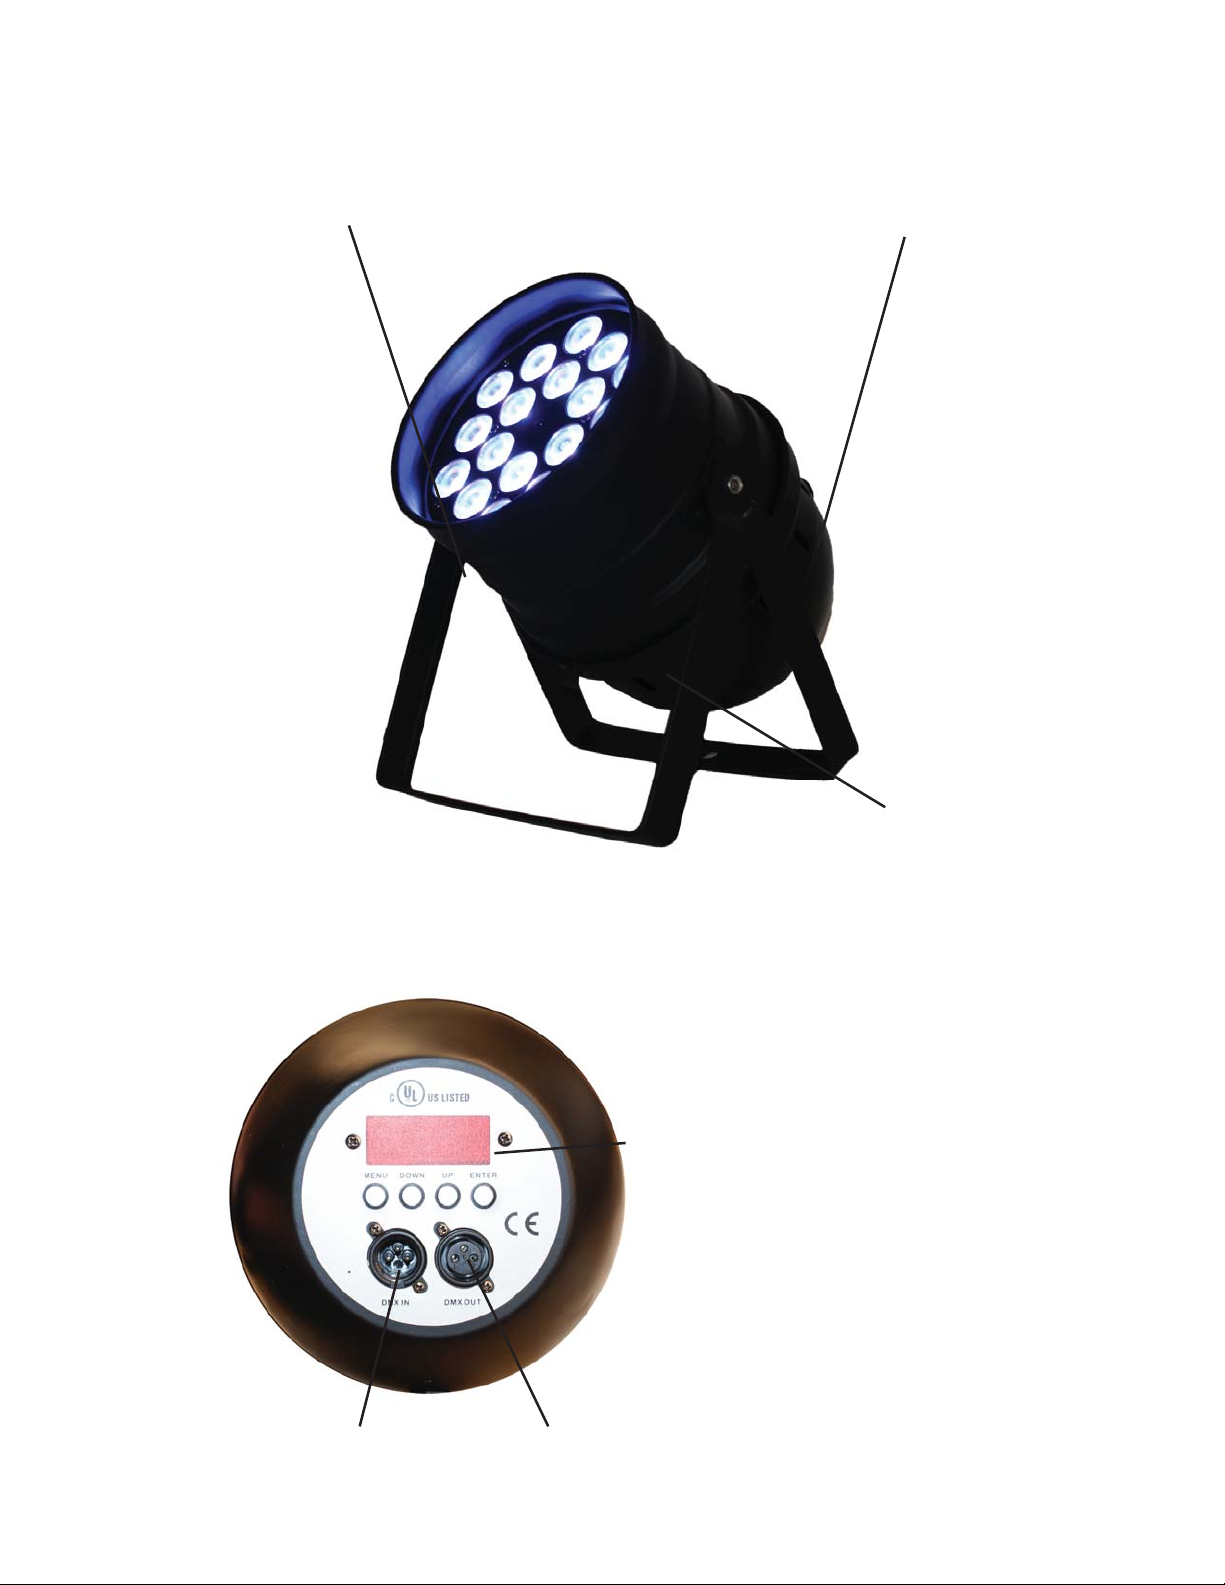
Figure 1: The ROCKLITE™ Pin-Up Picture
High Power
TRI-Color
LEDs
Mounting Yoke &
Adjustment/Locking Knobs
Figure 2: The Rear Connections
Spun Aluminum
Enclosure
LED Control Panel
DMX In DMX Out
ROCKLITE TRI LED Manual Rev. A Copyright (c) 2011 Blizzard Lighting, LLC
Page 6
 Loading...