

Page 1
INSTALLATION
& OPERATING
INSTRUCTIONS
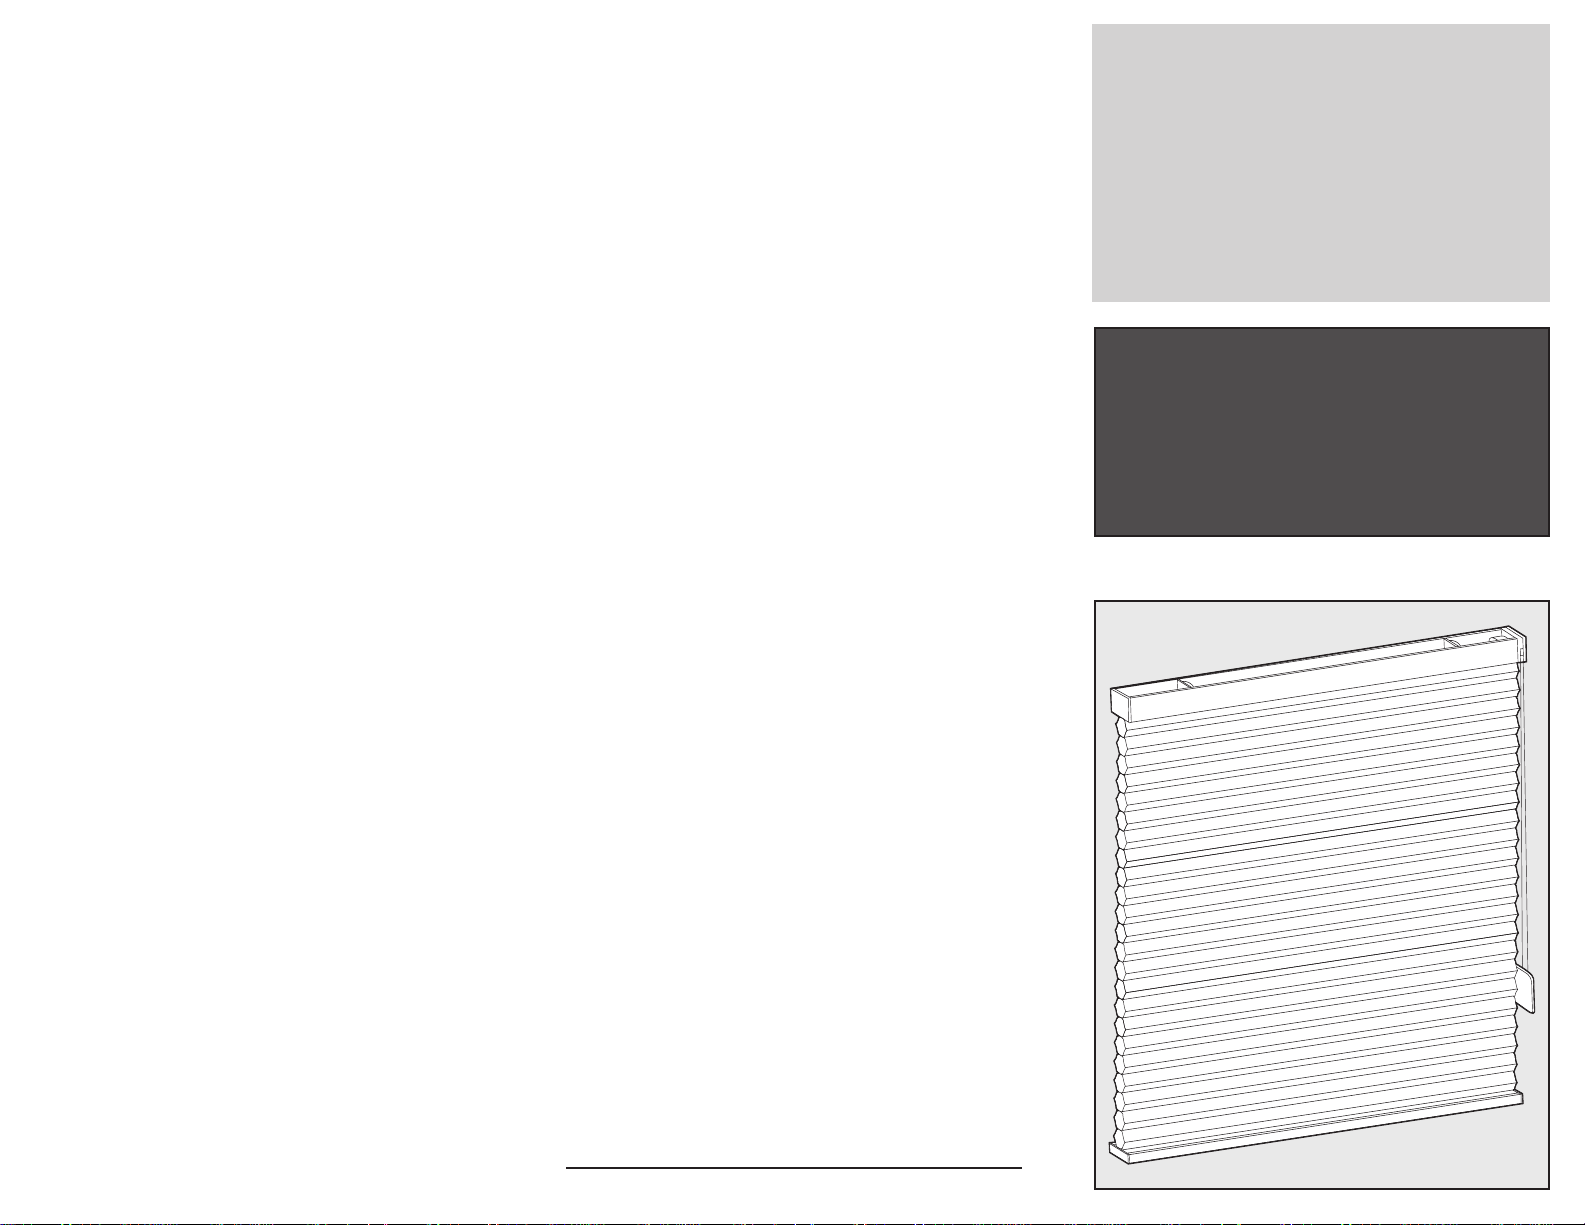
HONEYCOMB
CONTINUOUS
CORD LOOP SHADES
Rev. 03/09 T09-105
The Honeycomb fabric is easy to care for. Regular dusting
with a feather duster or vacuum cleaner brush is
recommended. Most stains can be blotted with a damp
sponge and mild detergent. For problem stains, the shade can
be removed from the Installation brackets and soaked in
warm water.
Important: DO NOT immerse headrail in water. When
damp, raise shade tightly to re-crisp pleats. Before using
anything stronger than mild detergent and lukewarm water,
test an unobtrusive corner of the shade. If you have any
questions, call your dealer for advice.
CLEANING AND CARE
www.installyourblinds.com
STANDARD
CONTINUOUS
CORD LOOP
SHADES
Page 2

Inside Mount
Mount brackets to top or back of
window frame, 1” – 6” in from
edge of frame. Make sure brackets
are aligned with one another.
Outside Mount
Center shade over window
opening at desired height. Mark the
position of the headrail ends on the
wall. Attach mounting brackets to
the wall, 1” – 6” in from the marks,
making sure brackets are aligned
with one another.
Mounting with Extension Brackets
If you need to project the shade out
from the mounting surface, use the
supplied nuts and bolts to attach
mounting brackets to the desired
position in the extension bracket.
With pliers, bend and break the
unused part of the extension bracket.
Attach extension brackets to
mounting surface, making sure
brackets are spaced as noted above.
OPERATION
To lower shade, pull down on the back loop of the cord loop.
The shade will stop when fully lowered. To raise, pull on the
front loop of the cord loop.
Adjust length or equalization on shades
NOTE: Only adjust one cord at a time. Disconnecting more
than one cord may allow the cords to retract into the headrail.
If the shade length and
equalization is satisfactory,
simply trim the excess cord
hanging below the bottom
rail.
If adjustments are
necessary, pull the excess
cord at the bottom of the
shade down until the
Bottom Rail Plug is
released (fig. A). Push the
cord up or down through
the Bottom Rail Plug
(figs. B & C).
If the cord needs to be
longer, slide the top end
of the cord up into the wedge and slide the wedge down to
take up slack.
If the cord needs to be shorter, slide the top end of the cord
down into the wedge and slide the wedge up to take up slack.
Adjust the position of the plug as necessary (fig. D). Feed the
cord back through the Bottom Rail Pocket.
When bottom rail adjustments have been made, trim the
excess cord hanging below the bottom rail.
B
C D E F
Bottom
Rail
Pocket
Bottom
Rail Plug
Bottom
Rail Plug
CONTINUOUS CORD LOOP SHADE BASICS
Larger shades may require
additional brackets. Space
additional brackets equally
and align with the end brackets.
Note placement of components
inside headrail. Brackets must
be placed in the open areas
between components to avoid
interfering with the operating
mechanism. Mark these
locations on top of window frame for inside mount or on wall
for outside mount.
ATTACHING THE BRACKETS
Mounting Bracket
Inside Mount
Outside Mount
Center shade in window opening. Insert the front clip of the
bracket into the front groove of
the rail. Push the rail back and up
until the back clips of the bracket
snap into the back groove of the
rail.
ATTACHING THE BRACKETS
ATTACHING THE OPTIONAL
HOLD-DOWN BRACKETS
To lower shade, pull down on the back loop of the cord loop.
The shade will stop when fully lowered. To raise, pull on the
front loop of the cord loop.
OPERATING YOUR SHADE
Using your fingers or a screwdriver,
press tab on back of each bracket to
release the shade.
REMOVING YOUR SHADE
Locking tab
Optional Hold Down Brackets are mounted with the
supplied screws. With the shade at its proper drop, place the
pin of each Hold Down into the hole
in each End Cap and mark the screw
holes. Make sure the pins are level and
aligned. Raise the shade, then screw the
Hold Down Bracket into the mounting
surface.
Fig. A
INSTALLATION
HONEYCOMB
CONTINUOUS
CORD LOOP SHADES
The Honeycomb fabric is easy to care for. Regular dusting
with a feather duster or vacuum cleaner brush is
recommended. Most stains can be blotted with a damp
sponge and mild detergent. For problem stains, the shade can
be removed from the Installation brackets and soaked in
warm water.
Important: DO NOT immerse headrail in water. When
damp, raise shade tightly to re-crisp pleats. Before using
anything stronger than mild detergent and lukewarm water,
test an unobtrusive corner of the shade. If you have any
questions, call your dealer for advice.
CLEANING AND CARE
www.installyourblinds.com
 Loading...