

Page 1
User Guide of HD Endoscope
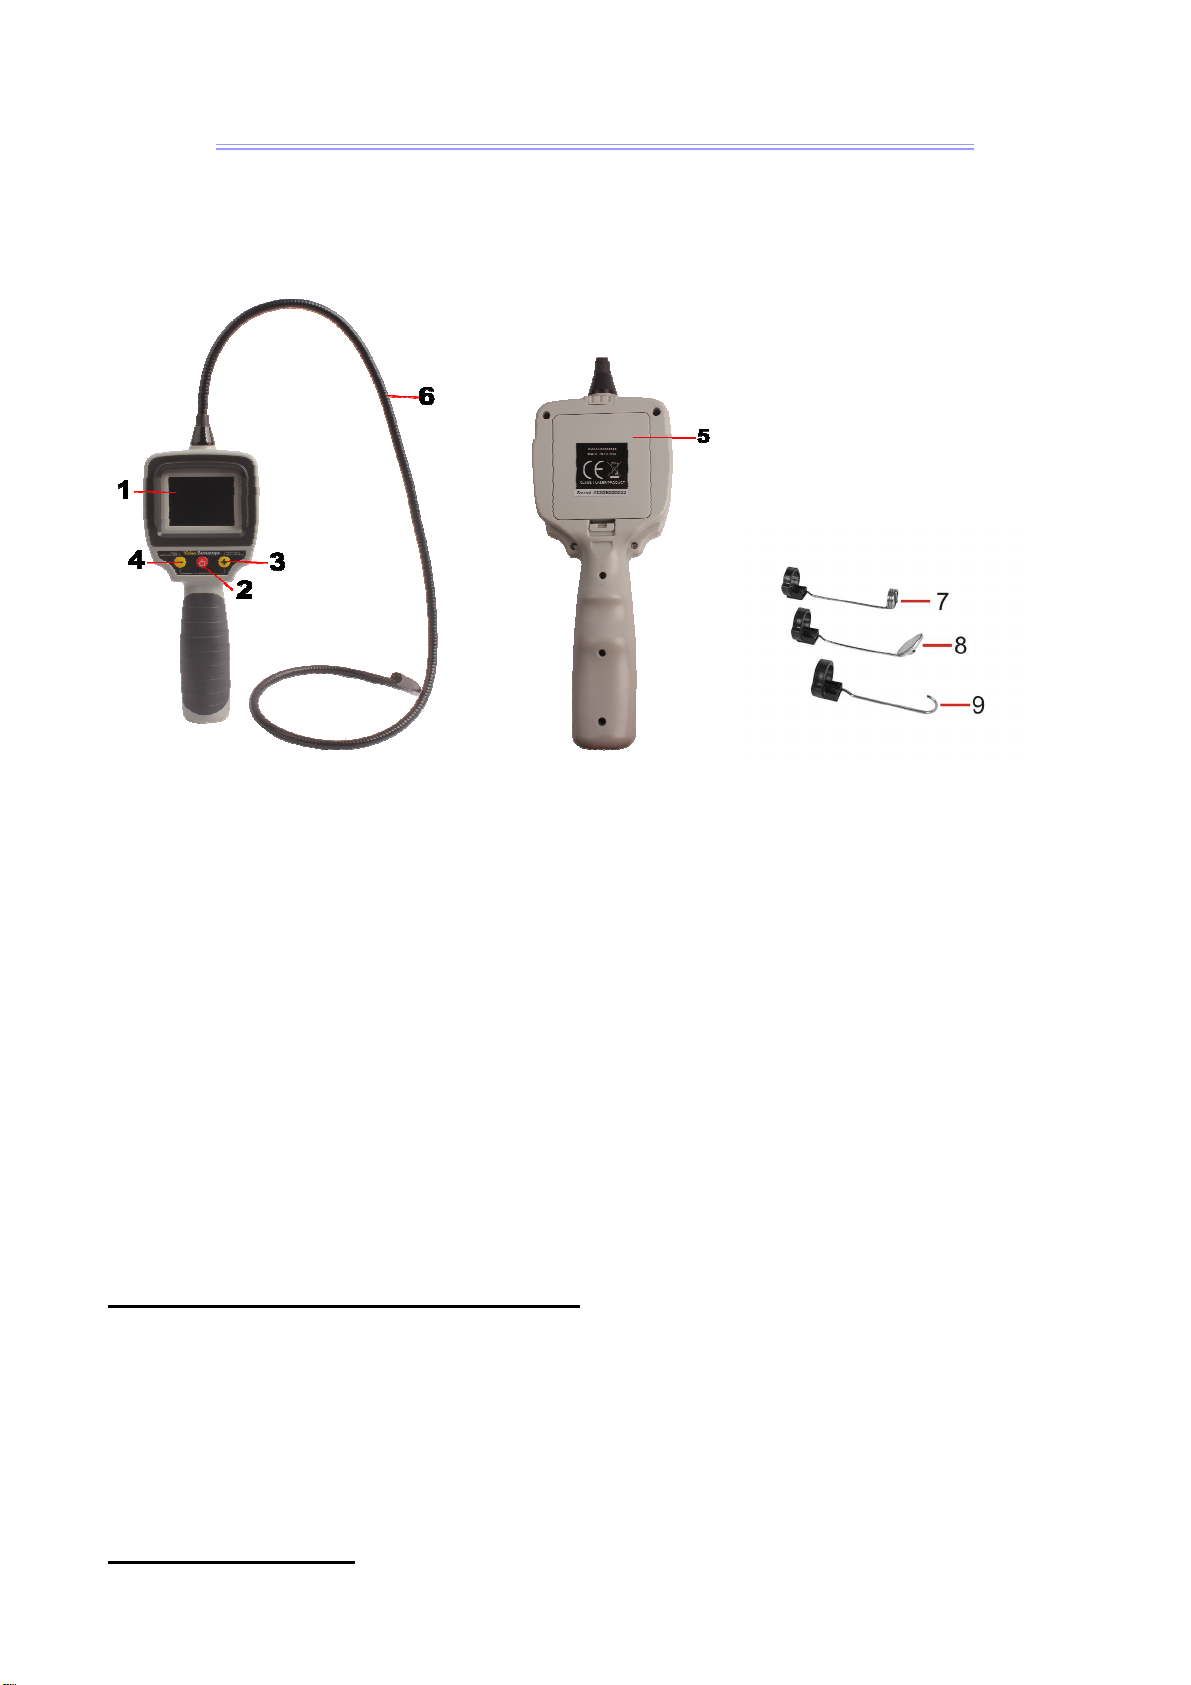
MAIN &ACCESSORIES PART LIST
1. 2.4”color LCD monitor
2. Power on/off button
3. Brightness up button (rotation)
4. Brightness down button(zoom)
5. Battery compartment (4 x 1.5V AA)
6. Flexible tube
7. Magnet
8. Mirror
9. Hook
Information About The Product
The product is designed as a remote inspection device. It can be
used to look into tight spots and beam back real-time video to its LCD
monitor. Typical applications might include HVAC, termite and other
insect or building inspections, cable routing, automotive/boat/aircraft
inspections etc.
Before First Use
Page 2
Remove all packaging materials and check the scope of delivery for
completeness
Please install the batteries before using the product, choose the
accessory according to the actual situation. Steps of installation as
following:
To Install Batteries
1.Remove cover
2.Insert 4 new AA (1.5 V) batteries into the proper slots in the battery
compartment. Proper battery orientation is indicated on the battery
compartment.
3. Reinstall battery cover.
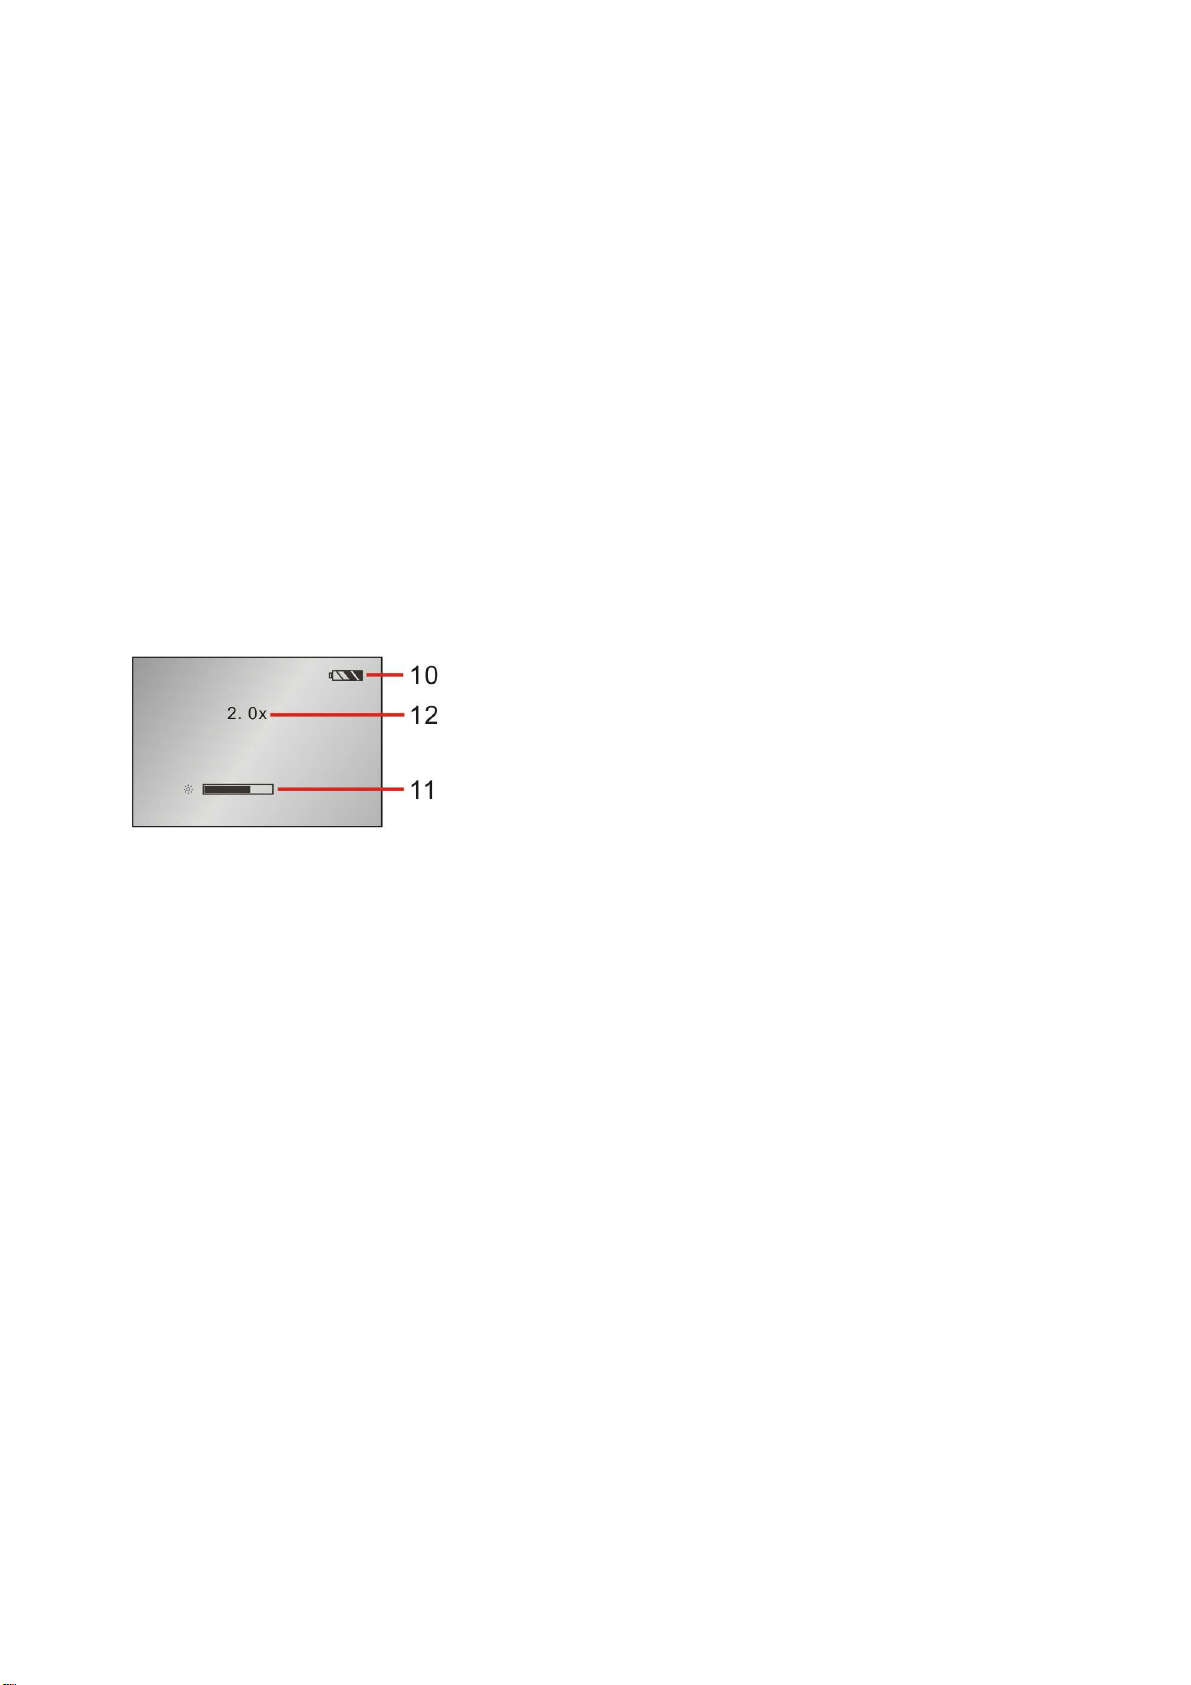
Signal on the screen
10 Power indicator
11. Brightness indicator
12.
Zoom
indicator
OPERATION
Switching On/Off
P
ress the ON/OFF middle button to switch the device on.
The c image will appear on the screen.
Brightnes
s
Press right button to increase the brightness
Press left button to reduce the brightness
Auto back light adjustment
Press left and right button together can turn on
Auto back light
adjustment
System, there are three level for you to choose, press the two buttons
together again can go to another level.
Page 3
Rotating the display
Press the right button for 1.5 seconds to rotate the display by 180˚
Zoom function
Press the left button for 1.5 seconds to be increased in size from x1, x 1.5 to
x2.0
ACCESSORIES
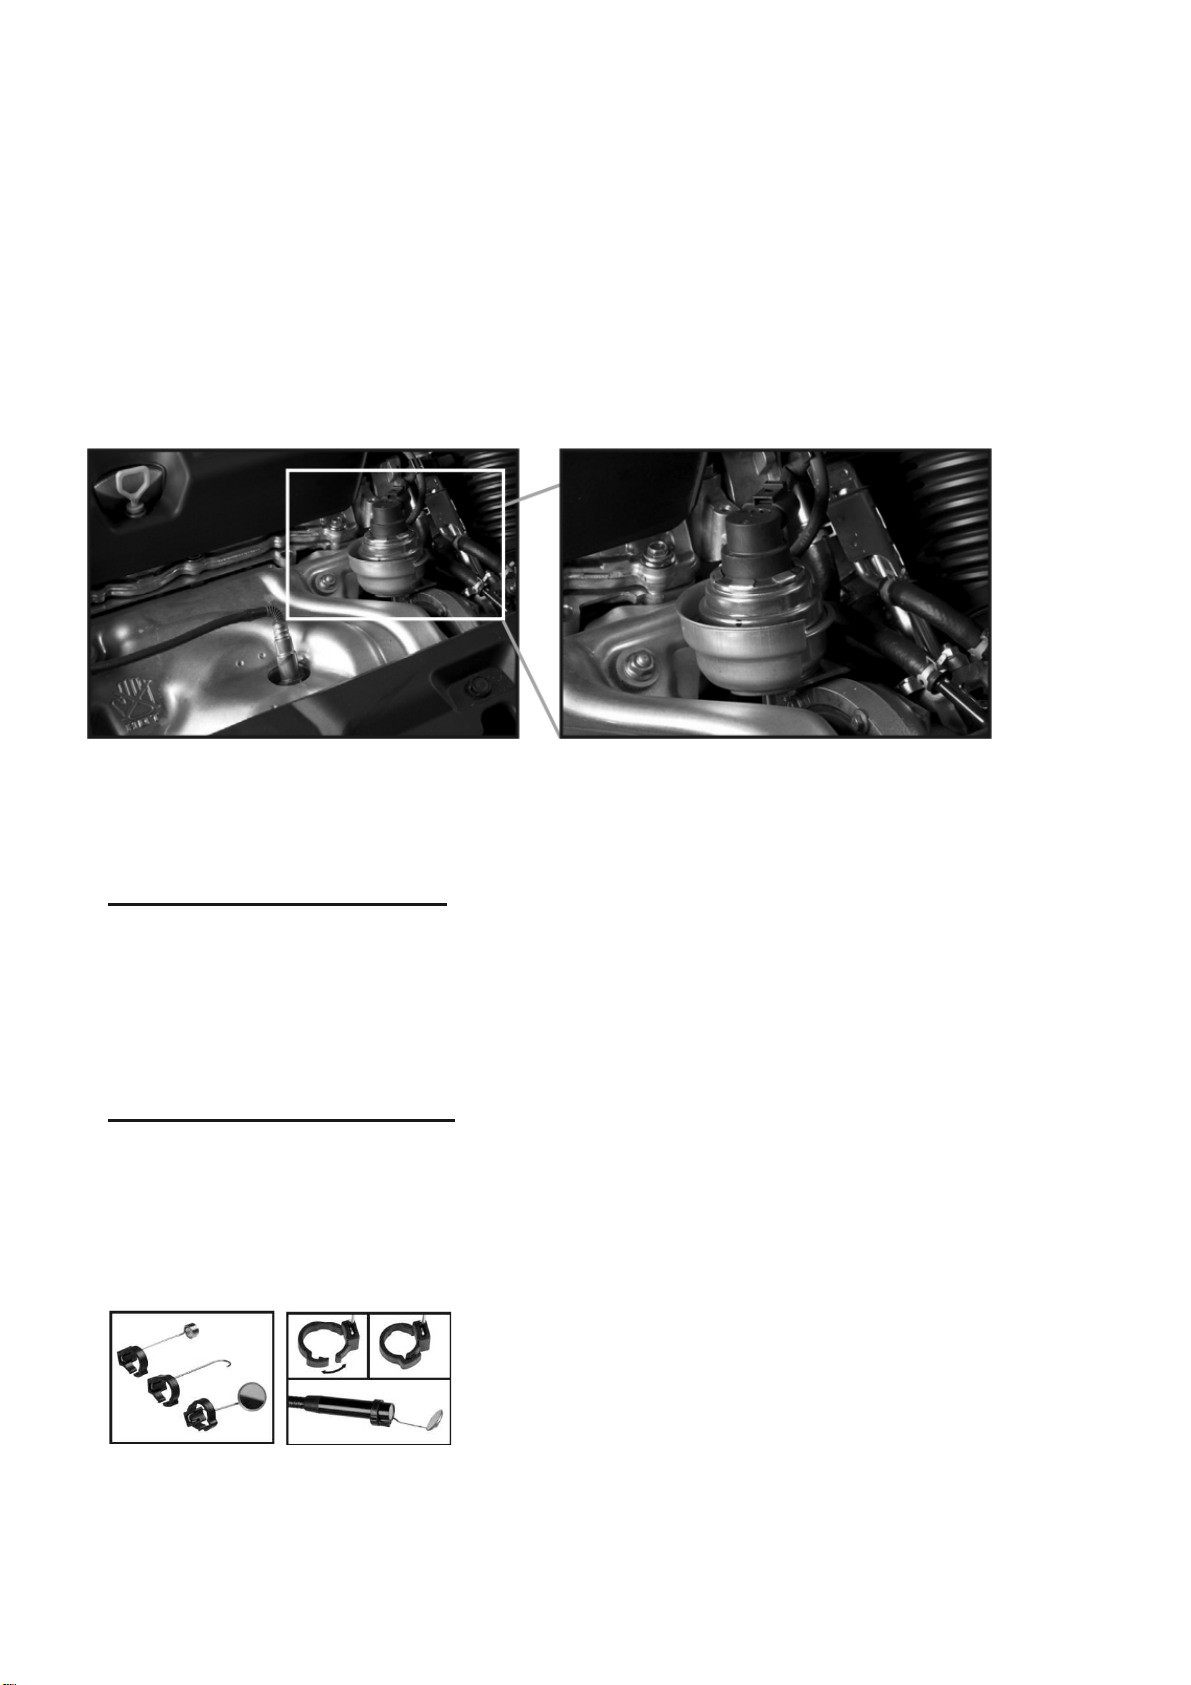
To attach an accessory:
1. Hold its metal stem with your thumb and index finger.
2. Slide the accessory—plastic clasp first—past the camera head at the
probe tip until the clasp is in the channel 1/4 in. from the end of the probe.
3. Squeeze the clasp until you hear a click (see right photos on previous
page), indicating that the two halves have joined.
To detach an accessory:
1. Use the nail of your index finger to unhook the clasp, opening it up.
2. Hold the accessory’s metal stem with your thumb and index finger and
slide the accessory and clasp past the camera head.
Page 4

Specification
2.4” TFT resolution
Lens sensor resolution
Display 2.4” TFT LCD
Diameter of camera head
White comparison n
Exposure to light
Camera illumination
Power by
lens coverage
Operation temperature
Focal distance
Flexible gooseneck length
Minimum bending radius
960 x 240 Pixels
640 x 480 Pixels
8.0 mm
Automatic
Automatic
4 LEDs, white
4 X 1.5V AA Batteries(not included)
∘
54
0 to 45 ℃
6 cm-infinite
88.0 + - 2.0 cm
4.5 cm
Storage Temperature: -10-50 degree C
Storage Humidity
PE covered metal tube diamter
Weight without accessories
15-85% RH
6.5 mm
Approx. 330 gm
 Loading...