

Blaze BLZ-5NG, BLZ-3LP, BLZ-4NG, BLZ-4LP, BLZ-5LP Use & Care Manual
...
USE & CARE GUIDE
WARNING
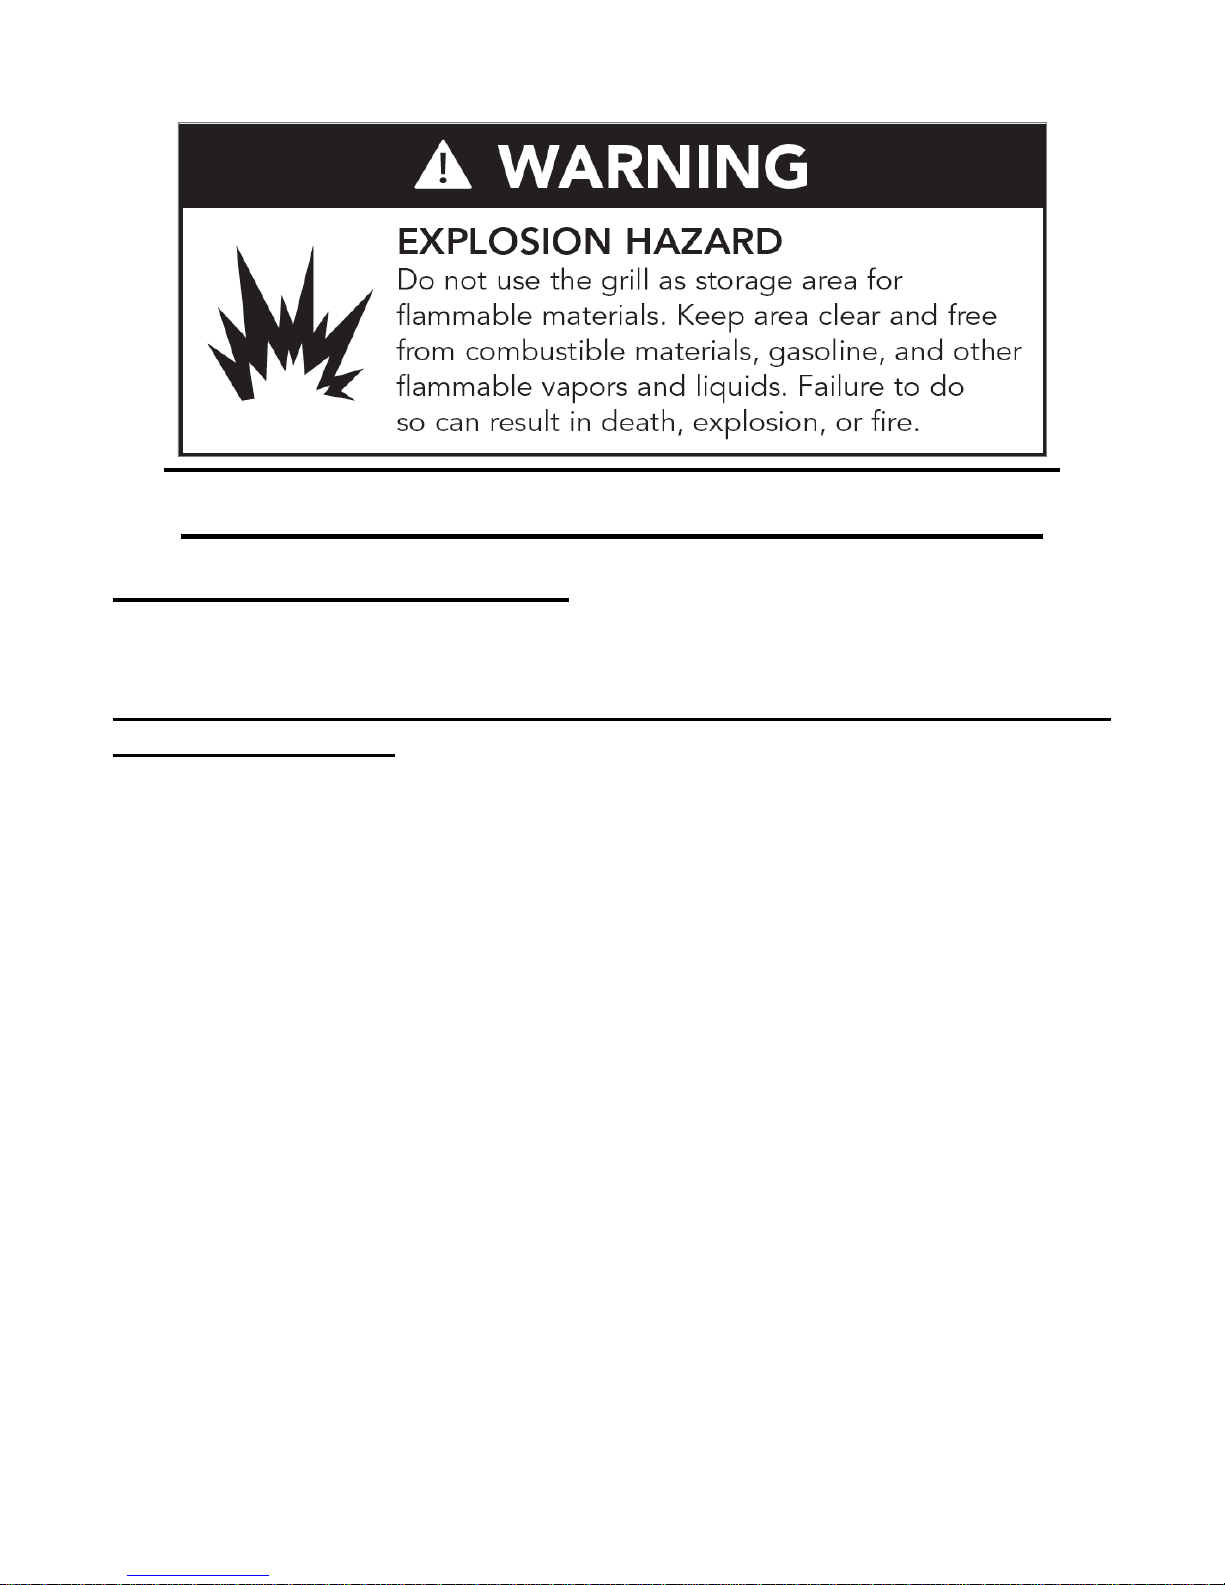
I) Do not store or use gasoline or other flammable
liquids or vapor in the vicinity of this or any other
appliance
2) A LP cylinder not connected for use shall not be
stored in the vicinity of this or any other appliances.
DANGER - IF YOU SMELL GAS:
I) Shut off the gas supply to the appliance at its source.
2) Extinguish any open flames.
3) Open grill hood to release any accumulation of gas
vapor.
4) If a gas odor persists, Keep away from your
appliance and contact your gas supplier or fire
department immediately.
GAS GRILLS BLZ-3(NG/LP), BLZ-4(NG/LP), BLZ-5(NG/LP),
SIDE BURNERS BLZ-SB1 (NG/LP), BLZ-SB2 (NG/LP)
ATTENTION INSTALLER:
PLEASE LEAVE THESE INSTRUCTIONS WITH THE CONSUMER.
ATTENTION CONSUMER:
PLEASE READ & RETAIN THESE INSTRUCTIONS FOR FUTURE REFERENCE AND BEFORE INSTALLING
OR OPERATING.
Blaze Outdoor Products: 10920 Coursey Blvd, Baton Rouge, LA 70816 USA
Version 1.0
Phone: 866-976-9510 email: CustomerService@BlazeGrills.com
Blaze Outdoor Products Instructional Book
- CONTACT INFORMATION -
BLAZEGRILLS.COM
Page | 1
THIS MANUAL APPLIES TO THE FOLLOWING BLAZE GRILLS & SIDE BURNERS:
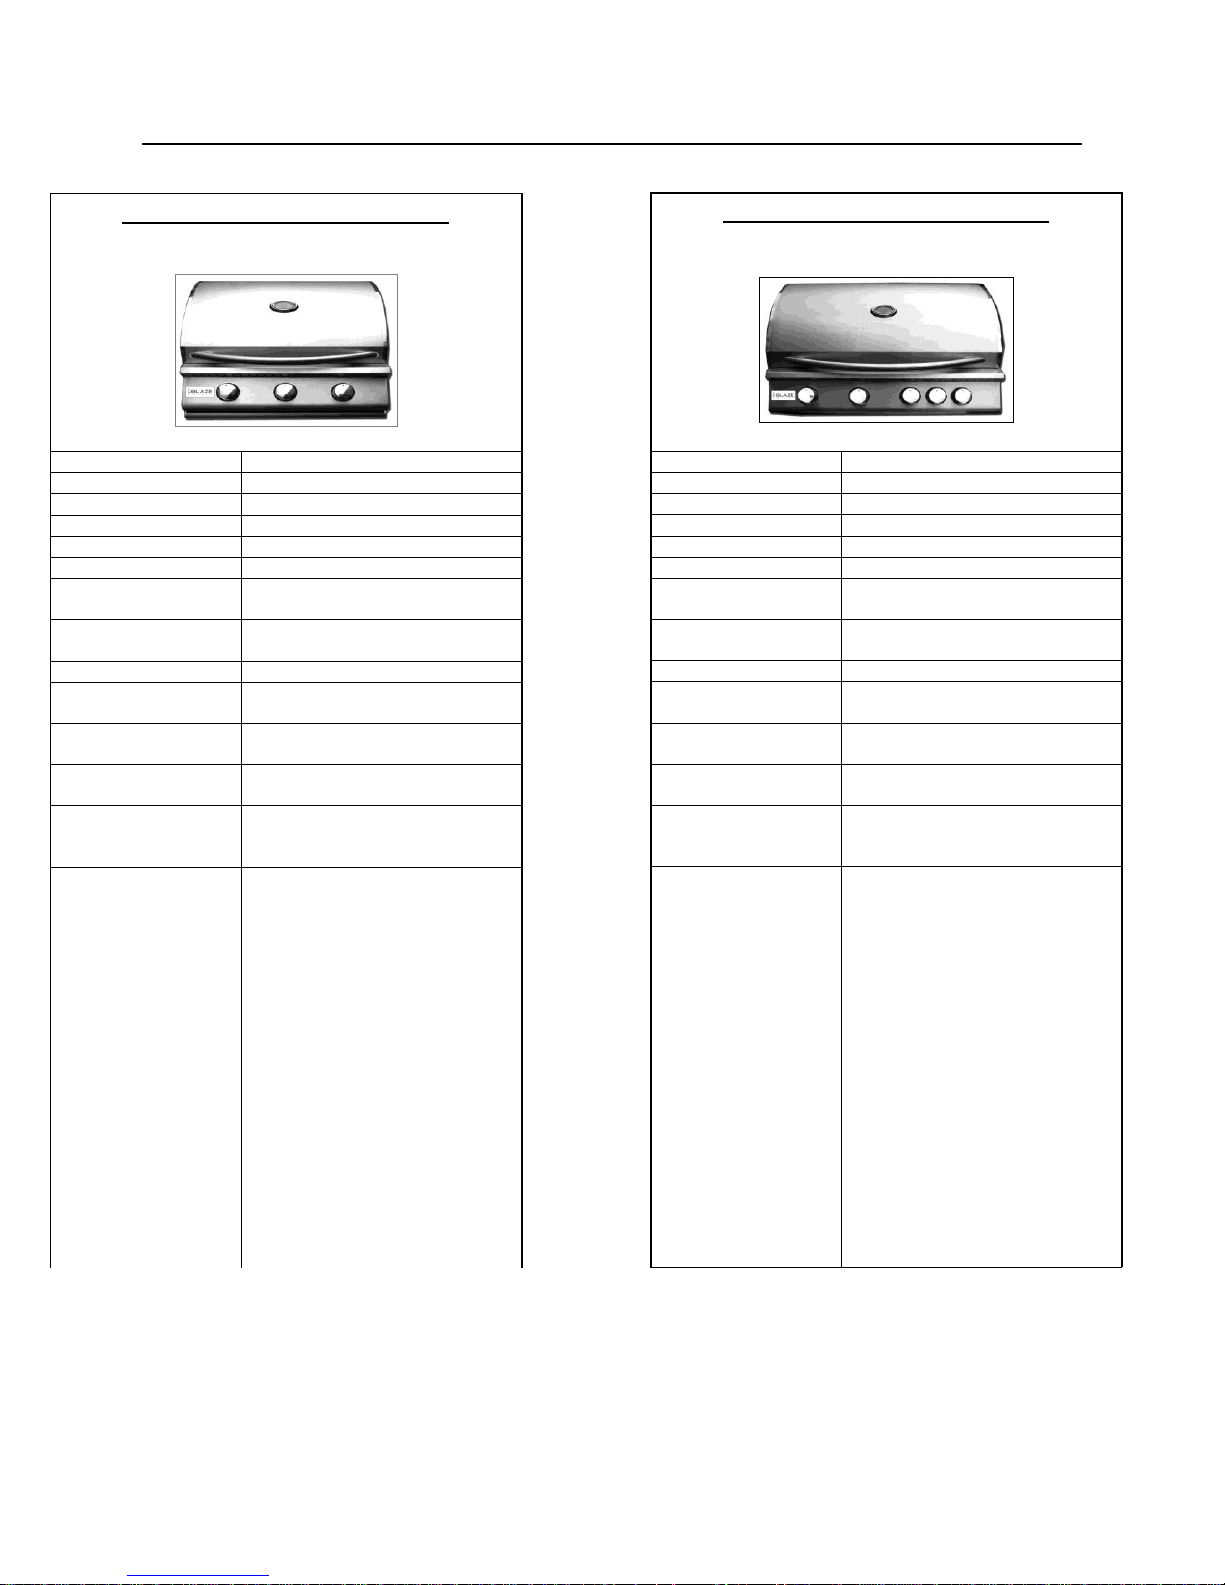
Model: BLZ-4LP / BLZ-4NG 4 BURNER
Cutout Dimensions
30 5/8”W x 21 1/4”D x 8 1/2”H
BTU Output
12,000 BTU per Burner x4
Infrared Back Burner
12,000 BTU
Total BTU
60,000
Primary Ignition
Push N’ Turn Flame Thrower
Secondary Ignition
Flash Tube
Cooking Grid
Dimensions
30 1/4" x 18 1/4"
Total Cooking Area
740sq.in
(includes warming rack)
Flame Tamer
Flame Stabilizer Grid
Zone Cooking
Removable Heat Zone
Separators
Rotisserie Kit
(Motor & Forks)
Optional
Burner
Commercial Quality Cast
Stainless Steel
Gas Type
All grills are shipped NG.
Each shipment contains an LP
Conversion Kit
Warranty
*Lifetime – Defects in
manufacturing and
workmanship. Cooking grids,
stainless housing as well as the
stainless burners against rustthrough.
*15 Years – Control valves
*1 Year – all other components
*Grills must be registered within
30 days of purchased to
validate this warranty.
*See page 28 for full warranty
details.
Model: BLZ-3LP / BLZ-3NG 3 BURNER
Cutout Dimensions
23 1/4”W x 21 1/4”D x 8 1/2”H
BTU Output
12,000 BTU per Burner x3
Infrared Back Burner
None
Total BTU
36,000
Primary Ignition
Push N’ Turn Flame Thrower
Secondary Ignition
Flash Tube
Cooking Grid
Dimensions
22 1/2" x 18 1/4"
Total Cooking Area
560sq.in
(includes warming rack)
Flame Tamer
Flame Stabilizer Grid
Zone Cooking
Removable Heat Zone
Separators
Rotisserie Kit
(Motor & Forks)
Optional
Burner
Commercial Quality Cast
Stainless Steel
Gas Type
All grills are shipped NG.
Each shipment contains an LP
Conversion Kit
Warranty
*Lifetime – Defects in
manufacturing and
workmanship. Cooking grids,
stainless housing as well as the
stainless burners against rustthrough.
*15 Years – Control valves
*1 Year – all other components
*Grills must be registered within
30 days of purchased to
validate this warranty.
*See page 28 for full warranty
details.
Version 1.0
Blaze Outdoor Products Instructional Book
Page | 2

Model: BLZ-5LP / BLZ-5NG 5 BURNER
Cutout Dimensions
38 5/8”W x 21 1/4"D x 8 1/2”H
BTU Output
12,000 BTU per Burner x5
Infrared Back Burner
12,000 BTU
Total BTU
72,000
Primary Ignition
Push N’ Turn Flame Thrower
Secondary Ignition
Flash Tube
Cooking Grid
Dimensions
37 1/4" x 18 1/4"
Total Cooking Area
950sq.in
(includes warming rack)
Flame Tamer
Flame Stabilizer Grid
Zone Cooking
Removable Heat Zone
Separators
Rotisserie Kit
(Motor & Forks)
Optional
Burner
Commercial Quality Cast
Stainless Steel
Gas Type
All grills are shipped NG.
Each shipment contains an LP
Conversion Kit
Warranty
*Lifetime – Defects in
manufacturing and
workmanship. Cooking grids,
stainless housing as well as the
stainless burners against rustthrough.
*15 Years – Control valves
*1 Year – all other components
*Grills must be registered within
30 days of purchased to
validate this warranty.
*See page 28 for full warranty
details.
Version 1.0
Blaze Outdoor Products Instructional Book
Page | 3
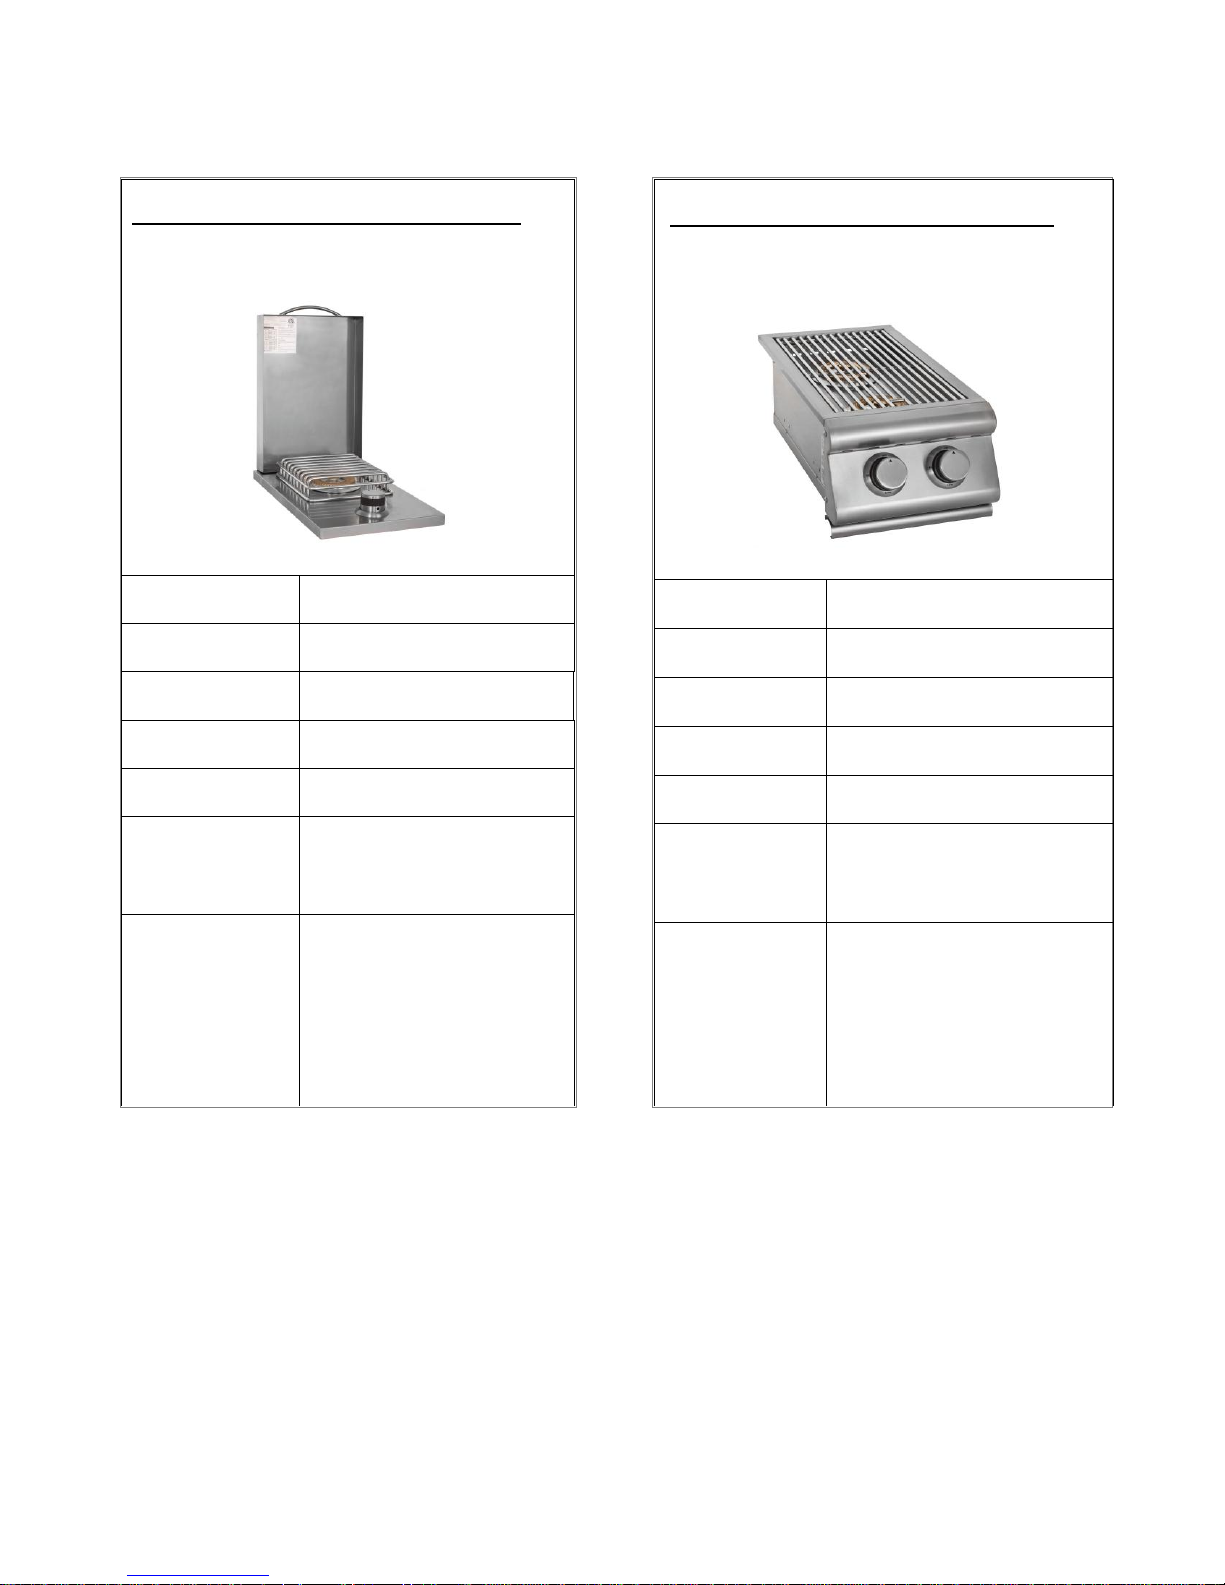
Model: BLZ-SB1-LP / BLZ-SB1-NG 1 BURNER
Cutout Dimensions
11”W x 17 3/4"D x 4 1/2"H
Total BTU Output
12,000BTU(1Bnr)
Number of Burners
1
Burner
Aluminum & Brass
Ignition
Peizo Ignition System
Warranty
1 year
Gas Type
Burners are shipped NG.
Each shipment contains an LP
Conversion Kit
Model: BLZ-SB2-LP / BLZ-SB2-NG2 BURNER
Cutout
Dimensions
10 3/4"W x 20 3/4"D x 8 1/2"H
Total BTU Output
24,000BTU(2Bnr)
Number of
Burners
2
Burner
Aluminum & Brass
Ignition
Peizo Ignition System
Warranty
1 year
Gas Type
Burners are shipped NG.
Each shipment contains an LP
Conversion Kit
Version 1.0
Blaze Outdoor Products Instructional Book
Page | 4
Safety and Installation Instructions
When using your Blaze grill, please read and follow these basic precautions:
GRILL INSTALLATION
This gas grill must be installed in accordance with all local codes.
If installation is planned in an area with no local codes, the gas grill must be installed in
accord with the National Fuel Gas Code ANSI Z223.1 and storage and handling of liquefied
petroleum gases, ANSI/NFPA 58 or CSA B149.1 natural gas and propane installation code.
CALIFORNIA PROPOSITION 65 WARNING
The burning of gas cooking fuel generates some by-products which are on the list of
substances which are known by the State of California to cause cancer or reproductive harm.
California law requires businesses to warn customers of potential exposure to such
substances. To minimize exposure to these substances, always operate the unit according to
the use and care manual, ensuring you provide good ventilation when cooking.
WARNING: Improper installation, adjustment, alteration, service or maintenance can cause
injury or property damage. Read the installation, operating and maintenance instructions
thoroughly before installing or servicing this equipment.
Version 1.0
Blaze Outdoor Products Instructional Book
Page | 5
Safety and Installation Instructions
Location of your Barbecue
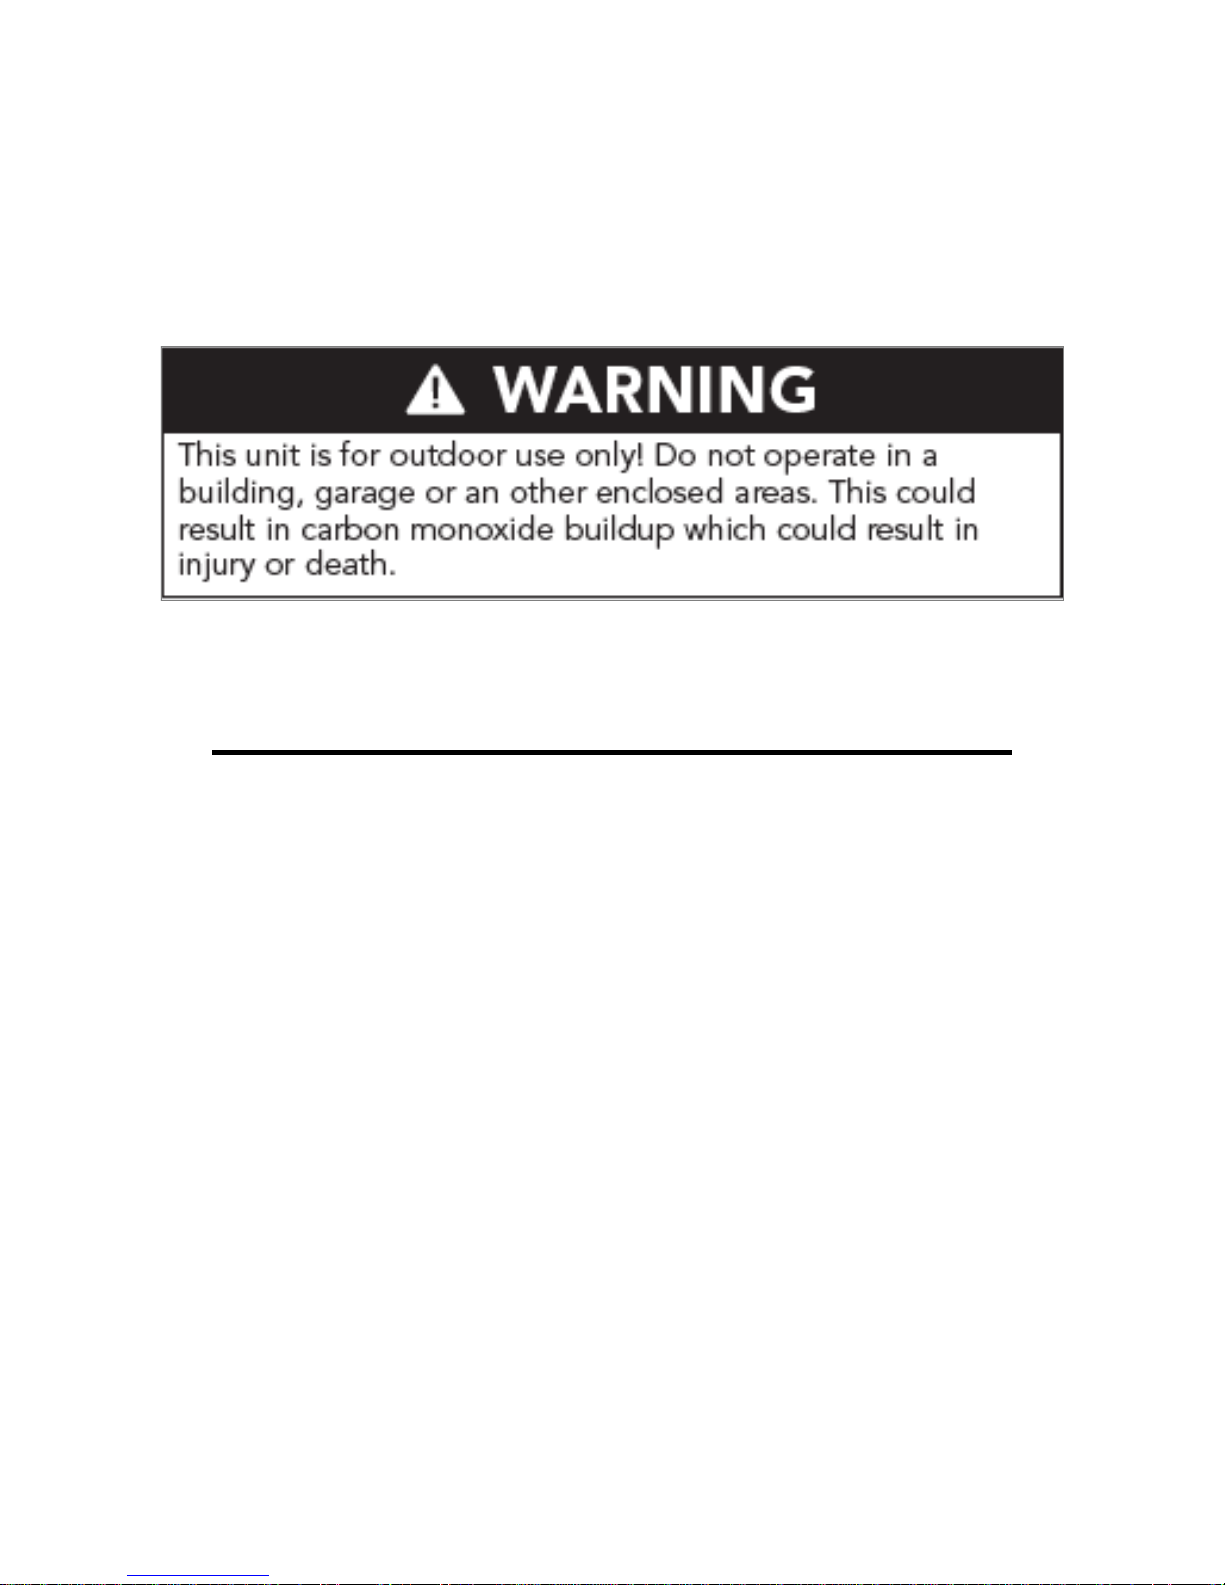
Most importantly, this is an outdoor appliance. Ensure your barbecue is positioned
safely away from anything that can catch fire.
Under no circumstance is this barbecue to be used indoors. This includes garages or
any other enclosed area.
Clearance from Combustibles: Ensure your barbecue remains at a distance of at least 18”
from any combustible material such as wood, gyprock, paper and plants. Do not store
combustible materials, gasoline or flammable liquids or vapors around the barbecue.
Adequate Ventilation: Ensure there is adequate ventilation for both the barbecue and
cylinder. This is required not only for proper combustion, but also to prevent gas build up.
Firm Level Surface: Use your barbecue only on a firm level surface. This barbecue is not
designed for recreational vehicles, and should not be installed on a boat or marine craft.
Protection from Weather: Keep the barbecue protected from adverse weather, including rain
and high winds. Polyvinyl covers are available that have been specially designed for this
range of barbecues. Allow clear access to the entire gas supply hose and regulator.
Maintenance Access: When your barbecue is installed, you should be able to access the
gas supply line including the gas piping or hose, gas regulator, gas cylinder and any shut off
valves.
Version 1.0
Blaze Outdoor Products Instructional Book
Page | 6
Partial Enclosures: Many backyards have areas that are partially closed off, such as
balconies and pergolas. In some cases, it is hard to decide whether these partially enclosed
areas should be classified as indoor areas, particularly in terms of permanent (non-closable)
ventilation. The gas safety authorities have agreed on the definition of partial enclosures
below.
IMPORTANT: Consult the AHJ (Authority Having Jurisdiction) or local contractor of any
uncertainty.
Safety and Installation Warnings
Please read all instructions before installing or operating your gas grill to prevent injury and
appliance damage.
Before installation or service, disconnect the power supply to the work area by removing the
fuse, "tripping" the circuit breaker, or unplugging the unit.
All gas grills will get hot during use. Use extreme caution when operating the grill.
Do not touch hot surfaces. Always use the handle to open or close the grill.
Close supervision is necessary when this or any appliance is used near children. Keep
children away from the grill during operation and until the grill has cooled off.
Do not store any LP cylinder or tank not connected for use with the grill, in the area of this grill
or any other appliance. Never store an LP cylinder or tank indoors, or within the reach of
children.
Keep any electrical supply cord and fuel supply hose away from any heated surfaces, sharp
Version 1.0
Blaze Outdoor Products Instructional Book
Page | 7
edges and dripping grease.
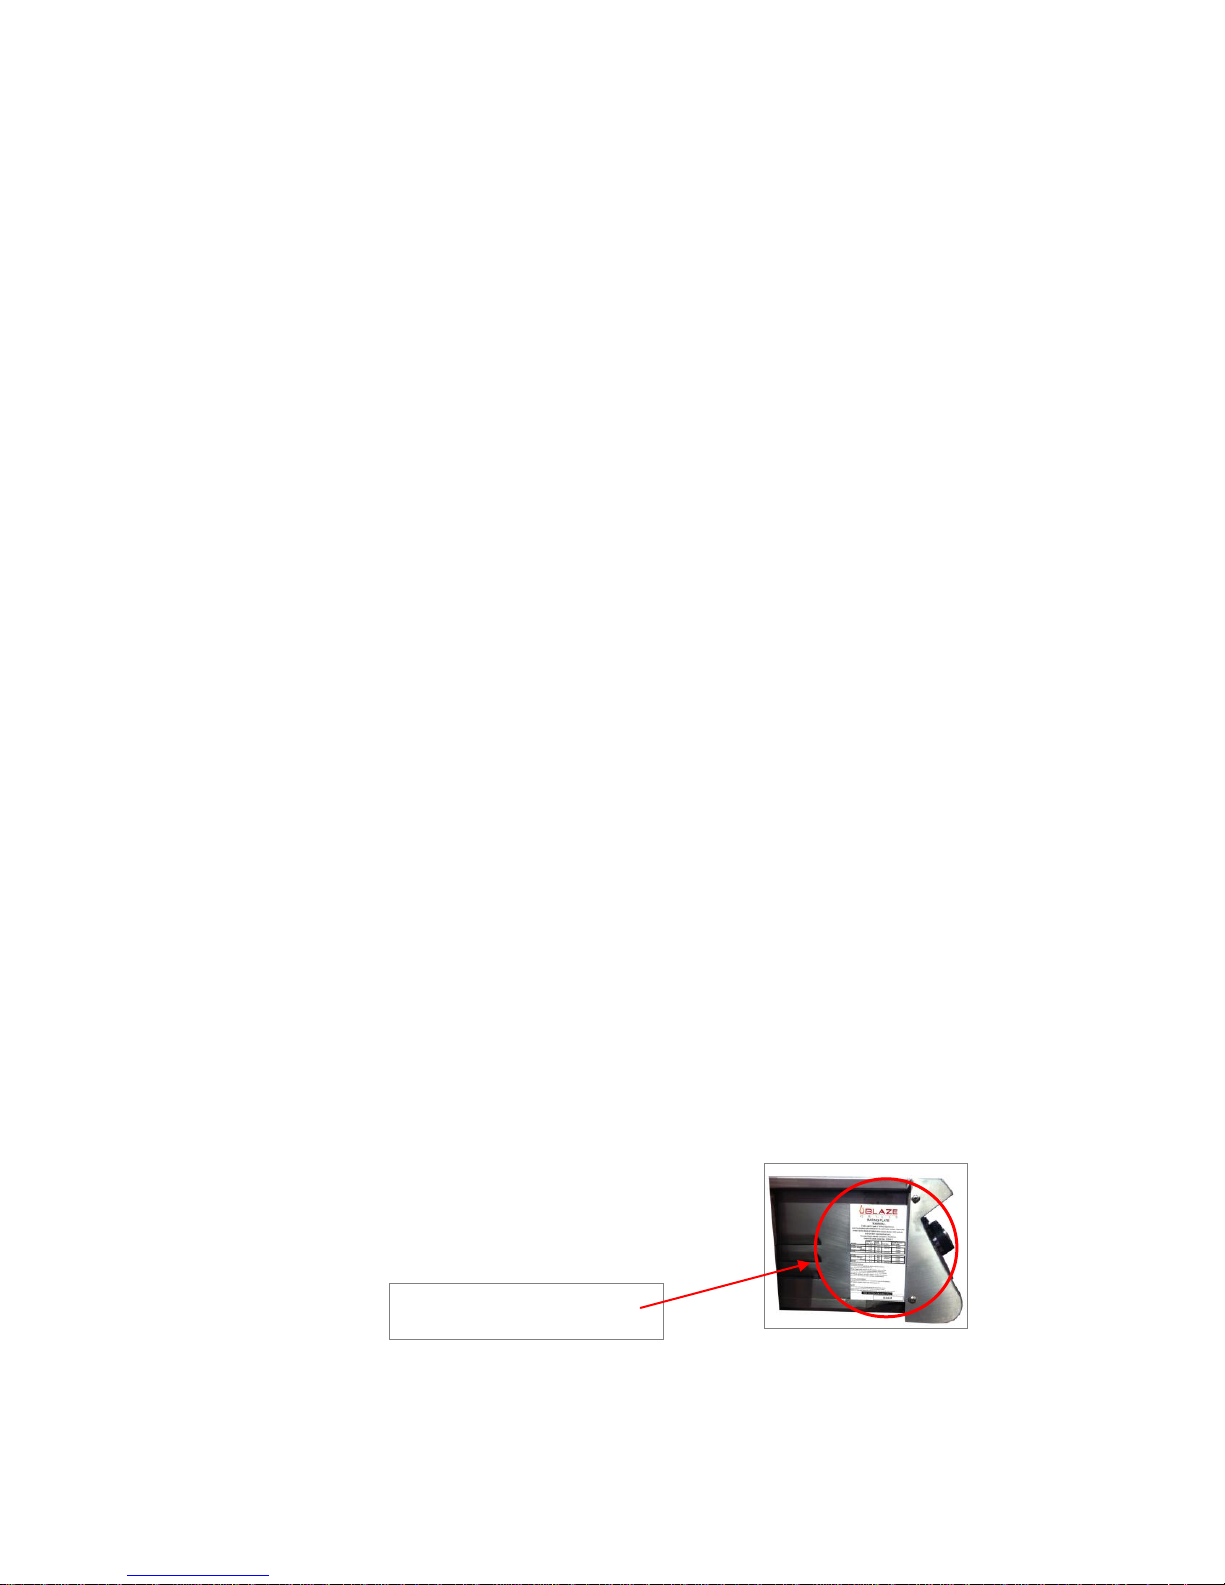
RATING PLATE LOCATION
Be certain your appliance is properly installed and grounded by a qualified technician in
accordance with applicable codes. To guarantee the electrical safety of this appliance,
continuity must exist between the appliance and an effective grounding system. It is
imperative that this basic safety requirement be met. The manufacturer cannot be held
responsible for damages caused by the lack or inadequacy of an effective grounding system.
Do not twist the gas supply hose.
Before each use, visually inspect the gas supply hose for cracks, cuts or excessive wear.
Replace the hose if necessary.
Never test the grill for gas leaks using a lighted match or any other open flame; see leak test
procedures using soap/water solutions - included in following pages of this manual.
The use of accessories, regulators, or components not recommended by the appliance
manufacturer may cause injuries and will void warranty.
Never light the grill with the hood closed and be certain that the burners are positioned and
seated over the gas valves and on the burner support.
Never lean over the cooking surface when lighting or operating the grill.
Use barbecue tools with wood handles and insulated oven mitts when operating the grill.
Gas Specifications: Be sure that the gas supplied to the grill conforms to the model you
purchased. A Natural Gas grill requires natural gas to operate; an LP grill requires liquid
propane gas to operate.
Check the rating label on the left hand side of the unit.
Never connect the appliance to an unregulated gas supply line. Grills operated without a
regulator are unsafe and will not be serviced until installed properly and safely. Unsafe
Version 1.0
Blaze Outdoor Products Instructional Book
Page | 8

operation without a gas regulator will void warranty of the grill.
Grills operated with NG (natural gas) gas must be installed with the NG regulator supplied
with the unit and set to 4.0" water column pressure.
Grills operated with LP (liquid propane) gas must be installed with an LP regulator not
supplied with the unit and set to 11" water column pressure.
The gas valves used in the grills are preset at the factory for Natural Gas operation. Please
contact your dealer and use a licensed contractor or installer to convert your grill to the
different gas type.
The self-contained LP system barbeque grill is design certified to be used with a standard 20
lb., 12 1/4" diameter; 18" high cylinder with right handed connection threads and this is the
maximum size LP tank to be used. The cylinder must be marked in accordance with the latest
U.S. Department of Transportation specifications for LP gas cylinders. (DOT. CFR49 or
National Standards of Canada CAN/CSA-B359 Cylinders, Spheres and Tubes for the
Transportation of Dangerous Goods) a Propane Tank with an ODP) Overfill Prevention
Device) must be used at all times.
Natural Gas Requirements
Always check the Rating Plate to make sure the gas supply you are hooking up to is the gas
type the grill is manufactured for.
IMPORTANT: Never connect the grill to an unregulated gas supply.
The installation of this appliance must conform with local codes or in the absence of local
codes, to the national fuel gas code, ANSI Z223.1a-1998. Installation in Canada must be in
accordance with the standard CAN/CGA-B149.2, Propane Installation Code.
A licensed contractor or local gas company representative must perform all natural gas
connections.
Ensure that the service supplying the grill is fitted with a shut off valve conveniently positioned
near the grill and giving ease of access.
The grill must be isolated from the gas supply piping system by closing its individual manual
shutoff valve during any pressure testing of the gas supply piping system at test pressures
equal to or less than 0.5 psi (3.5 kPa).
Version 1.0
Blaze Outdoor Products Instructional Book
Page | 9
The grill and its individual shutoff valve must be disconnected from the gas supply piping
system during any pressure testing of that system at test pressure in excess of 0.5 psi (3.5
kPa).
Connection
Slide the grill forward to gain access to the regulator and gas connection point in the rear.
Connect a suitable natural gas flex connector to the grill regulator.
Check the grill controls to ensure all control valves are in the full OFF position.
Turn on the main gas supply and check all connections for leaks using soapy water as
described in the leak testing procedure section.
Warning: If you see bubbles in the soapy solution at any of the connections, turn off
the gas supply and tighten the connection. If tightening the connection does not seal
the leak, it may be necessary to replace the flex hose.
Checking for Gas Leaks
Perform a leak test at least once a year whether the gas supply cylinder has been
disconnected or not. In addition, whenever the gas cylinder is connected to the regulator or
whenever any part of the gas system is disconnected or replaced, perform a leak test.
As a safety precaution, remember to always leak test your grill outdoors in a well-ventilated
area. Never smoke or permit sources of ignition in the area while doing a leak test. Do not
use a flame, such as a lighted match to test for leaks. Use a solution of soapy water.
Prepare a leak testing solution of soapy water by mixing in a spray bottle one part liquid soap
to one part water.
Make sure all the control knobs are in the OFF position .
Blaze Outdoor Products Instructional Book
Page | 10
Version 1.0
Turn on the gas
On Natural Gas systems, turn the main feed valve to the grill.
On LP systems, turn the cylinder valve knob counter clockwise one turn to open.
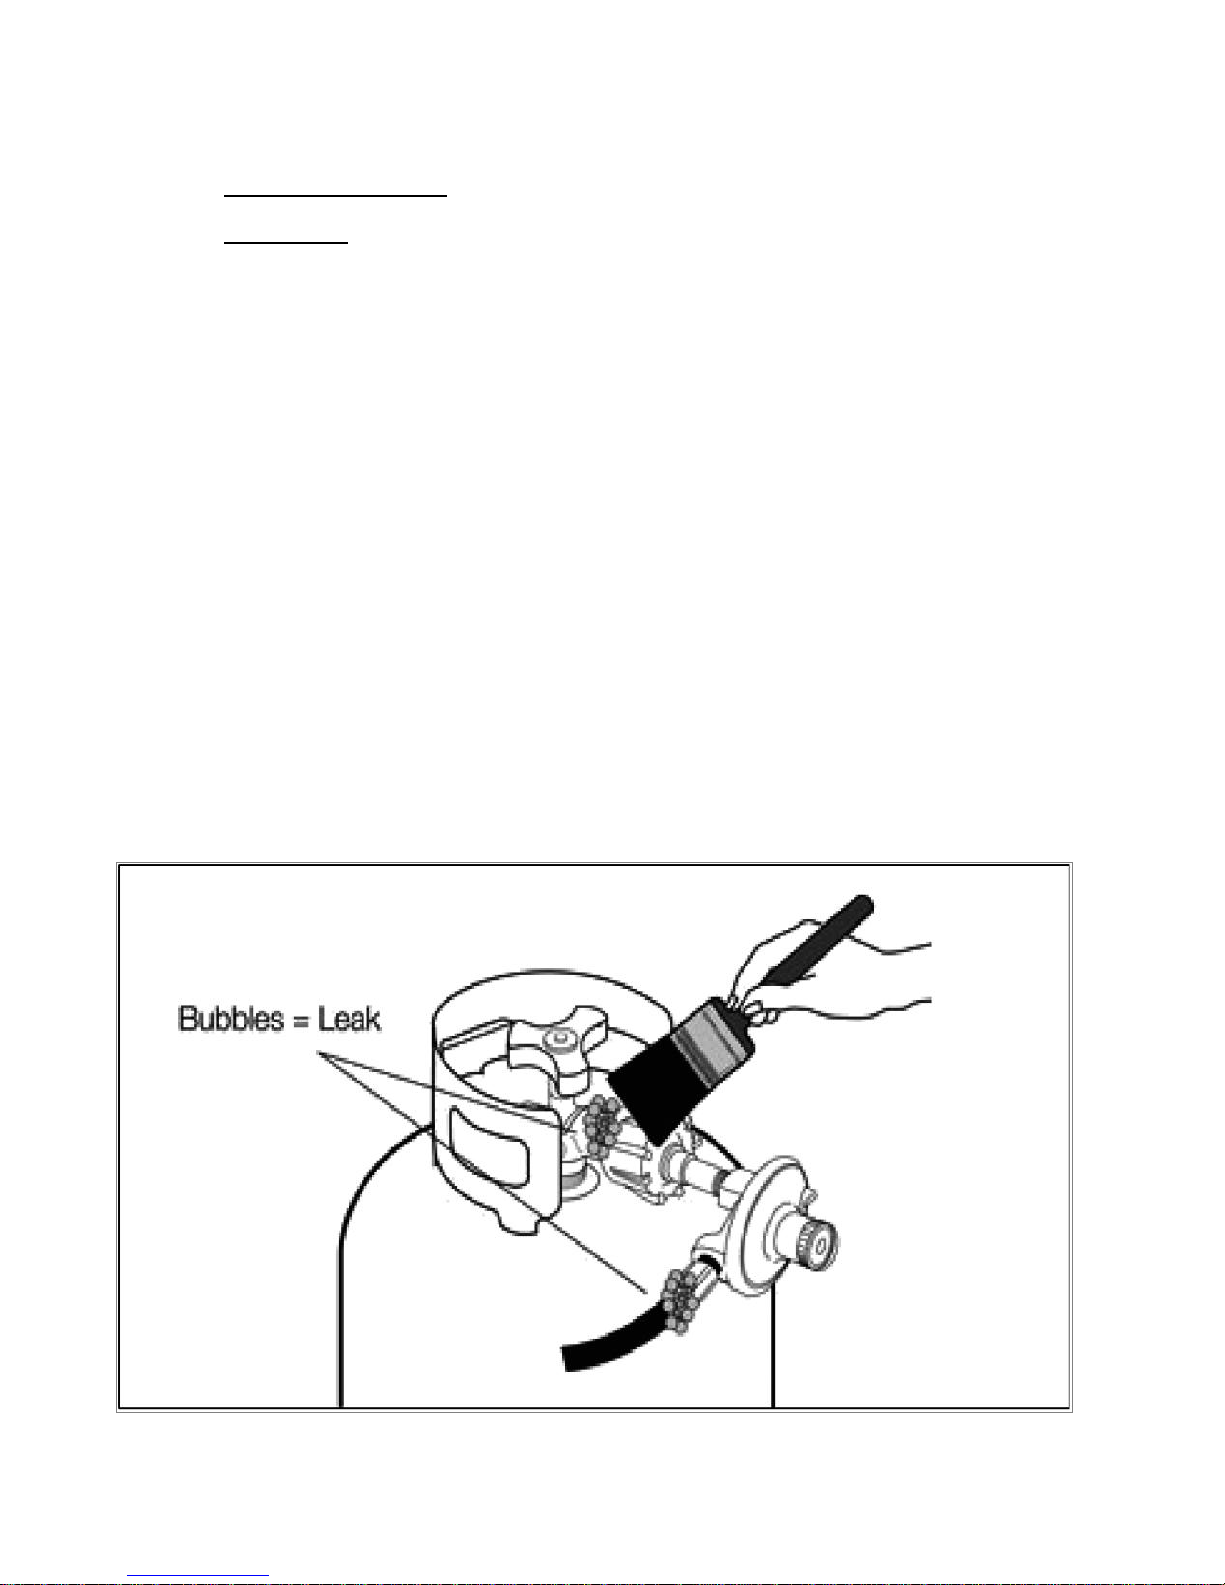
Apply the leak-testing solution by spraying it on joints of the gas delivery system.
Blowing bubbles in the soap solution indicates that a leak is present.
Stop a leak by tightening the loose joint or by replacing the faulty part with a replacement part
recommended by the manufacturer. Do not attempt to repair the cylinder valve if it is
damaged. The cylinder must be discarded to a proper LP tank location and then replaced.
Turn all control knobs back to the full OFF position.
If you are unable to stop a leak turn all control knobs back to the full OFF position, shut off the
gas supply to the grill and release pressure in the hose and manifold by pushing in and
turning any of the control valves one quarter turn counter-clockwise.
On LP systems, remove the cylinder from the grill.
Call an authorized gas appliance service technician or an LP gas dealer.
Do not use the appliance until the leak is corrected.
Version 1.0
Blaze Outdoor Products Instructional Book
Page | 11
 Loading...