

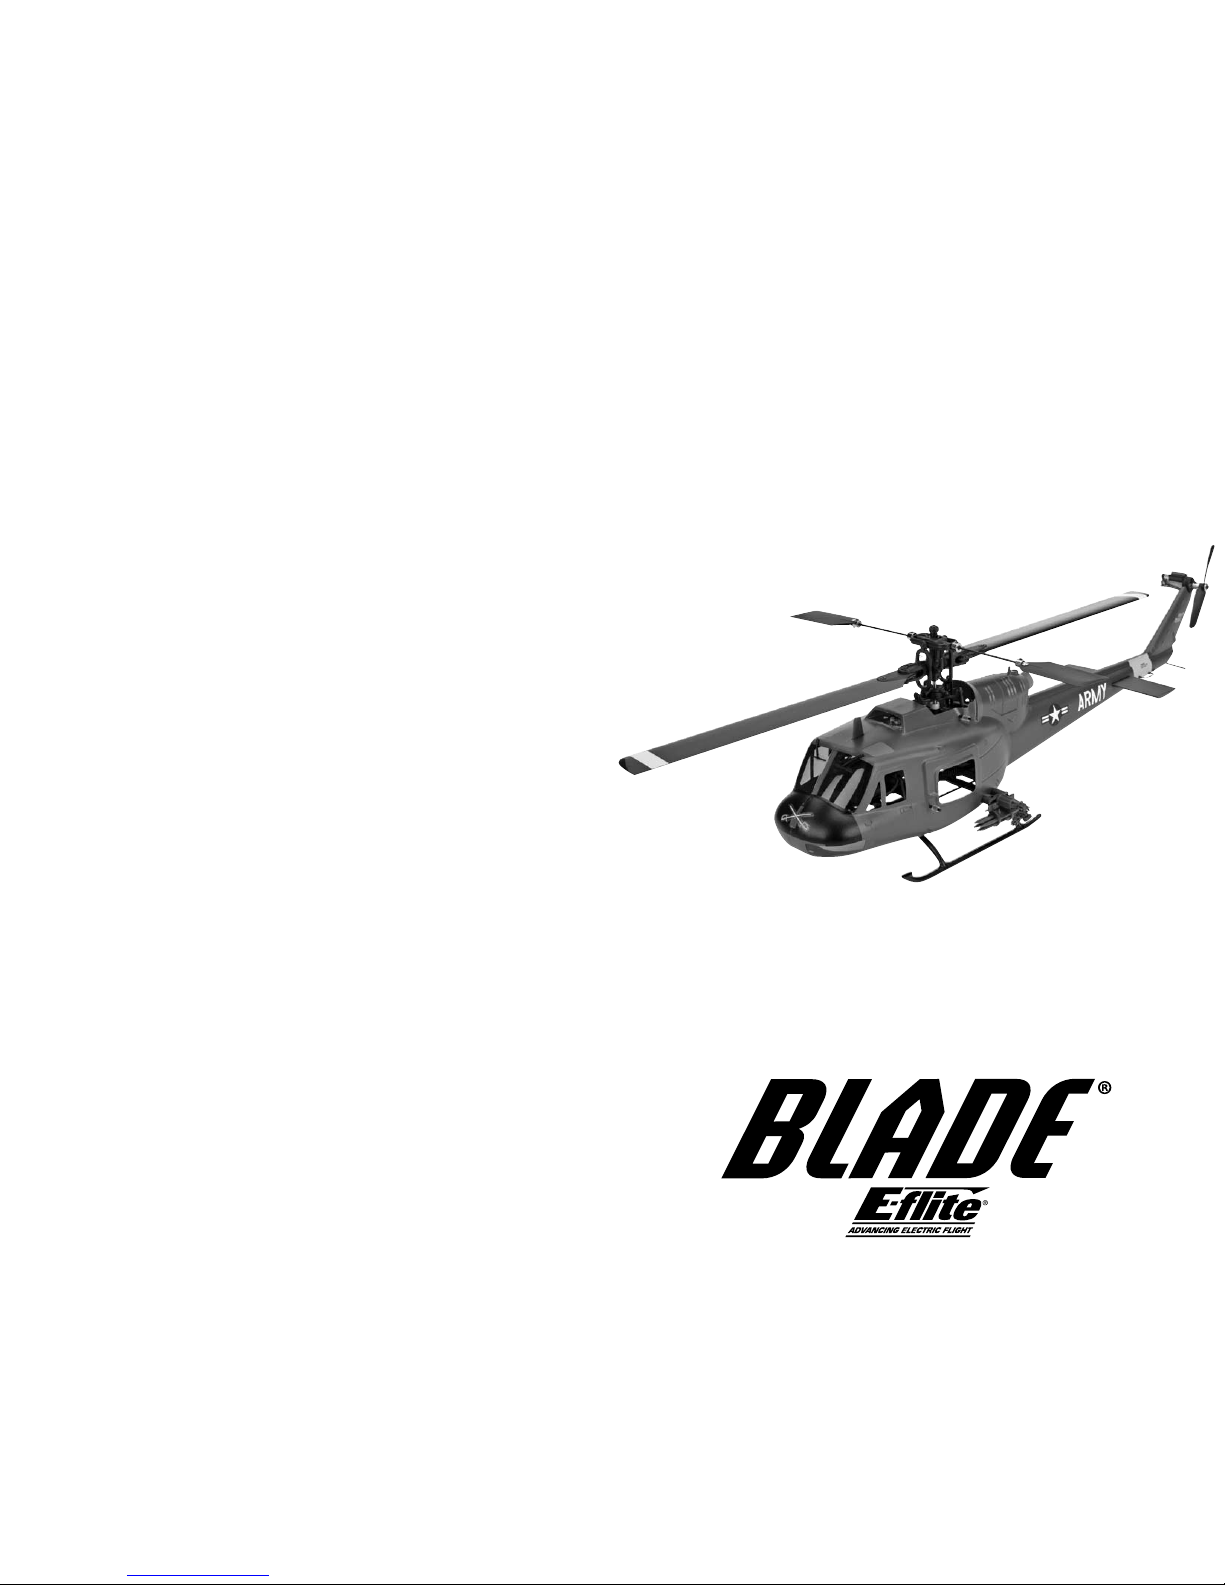
Blade UH-1 Huey Body Assembly Manual
© 2010 Horizon Hobby, Inc.
4105 Fieldstone Road
Champaign, IL 61822
USA
Horizon Hobby UK
Units 1-4 Ployters Rd
Staple Tye
Harlow, Essex
CM18 7NS
United Kingdom
Horizon Hobby Deutschland GmbH
Hamburger Strasse 10
25335 Elmshorn
Germany
E-flite® products are distributed exclusively by Horizon Hobby, Inc.
Bell, Huey, and UH-1 Iroquois emblems, logos, and body designs are
trademarks of Textron Innovations Inc. and are used under license by Horizon
Hobby, Inc.
Printed 11/09 www.E-fliteRC.com 16453
Blade® UH-1 Huey Body
Assembly Manual
Note: Attempting to fly the helicopter without completely reading the
manual may cause injury to yourself and people in the vicinity, as well
as damaging the helicopter.
Kit will fit any CP series helicopter.

2
3
Warning
An RC helicopter is not a toy! If misused, it can cause serious bodily harm and
damage to property. Fly only in open areas, preferably at AMA (Academy of
Model Aeronautics) approved flying sites, following all instructions.
Keep items that can get entangled in the rotor blades away from the main and
tail blades, including loose clothing, pencils and screwdrivers. Especially keep
your hands away from the rotor blades.
Age Recommendation: 14 years or over. This is not a toy. This product
is not intended for use by children without direct adult supervision.
Note on Lithium Polymer Batteries
Lithium Polymer batteries are significantly more volatile than alkaline
or Ni-Cd/Ni-MH batteries used in RC applications. All manufacturer’s
instructions and warnings must be followed closely. Mishandling of
Li-Po batteries can result in fire. Always follow the manufacturer’s
instructions when disposing of Lithium Polymer batteries.
Table of Contents
Warning ...............................................2
Note on Lithium Polymer Batteries . . . . . . . . . . . . . . . . . . . . . . . . . . . 2
Additional Safety Precautions and Warnings . . . . . . . . . . . . . . . . . . . . 3
UH-1 Huey Gunship Contents . . . . . . . . . . . . . . . . . . . . . . . . . . . . . . . 3
Additional Equipment . . . . . . . . . . . . . . . . . . . . . . . . . . . . . . . . . . . . . 3
Tools Required ..........................................4
Assembly ..............................................4
Flying and Tuning .......................................14
Replacement Parts List ...................................14
Optional Parts List . . . . . . . . . . . . . . . . . . . . . . . . . . . . . . . . . . . . . . 14
Warranty Information . . . . . . . . . . . . . . . . . . . . . . . . . . . . . . . . . . . . 15
Compliance Information for the European Union . . . . . . . . . . . . . . . . 19
Additional Safety Precautions and Warnings
As the user of this product, you are solely responsible for operating it in a
manner that does not endanger yourself and others or result in damage to the
product or the property of others.
This model is controlled by a radio signal that is subject to interference from
many sources outside your control. This interference can cause momentary
loss of control so it is advisable to always keep a safe distance in all directions
around your model, as this margin will help to avoid collisions or injury.
• Never operate your model with low transmitter batteries.
• Always operate your model in an open area away from cars, traffic, or people.
• Avoid operating your model in the street where injury or damage can occur.
• Never operate the model out into the street or populated areas for any reason.
• Carefully follow the directions and warnings for this and any optional support
equipment (chargers, rechargeable battery packs, etc.) you use.
• Keep all chemicals, small parts and anything electrical out of the
reach of children.
• Moisture causes damage to electronics. Avoid water exposure to all equipment
not specifically designed and protected for this purpose.
• Never lick or place any portion of your model in your mouth as it could cause
serious injury or even death.
UH-1 Huey Gunship Contents
Item Description
EFLH1380 . . . . . . . . . . . . . . . . . . . . . . . . . . . . . . . . . . . . . . . . . . . UH-1 Huey Gunship
EFLH1381 . . . . . . . . . . . . . . . . . . . . . . . . . . . . . . . . . . . . . . . . Landing Gear Set, Huey
EFLH1382 . . . . . . . . . . . . . . . . . . . . . . . . . . . . . . . Landing Gear/Battery Mounts, Huey
EFLH1383 . . . . . . . . . . . . . . . . . . . . . . . . . . . . . . . . . Tail Motor Mount Assembly, Huey
EFLH1384 . . . . . . . . . . . . . . . . . . . . . . . . . . . . . . . . . . . . . . . . . . .Tail Motor Set, Huey
EFLH1385 . . . . . . . . . . . . . . . . . . . . . . . . . . . . . . . . . . . . . . . . . . . . Main Blades, Huey
EFLH1386 . . . . . . . . . . . . . . . . . . . . . . . . . . . . . . . . . . Body Mounts & Gun Pods, Huey
EFLH1387 . . . . . . . . . . . . . . . . . . . . . . . . . . . . . . . . . . . . .Tail Rotor Blade Black, Huey
Additional Equipment
The Huey body comes with all you need to make your Blade® CP series
helicopter into a semi scale replication of the Huey Gunship. If you have an older
CP helicopter, we do suggest that you upgrade to the newer Li-Po battery for
improved power—800mAh 3S 11.1V 15C LiPo, 20GA JST/Balance (EFLB0996).
4
5
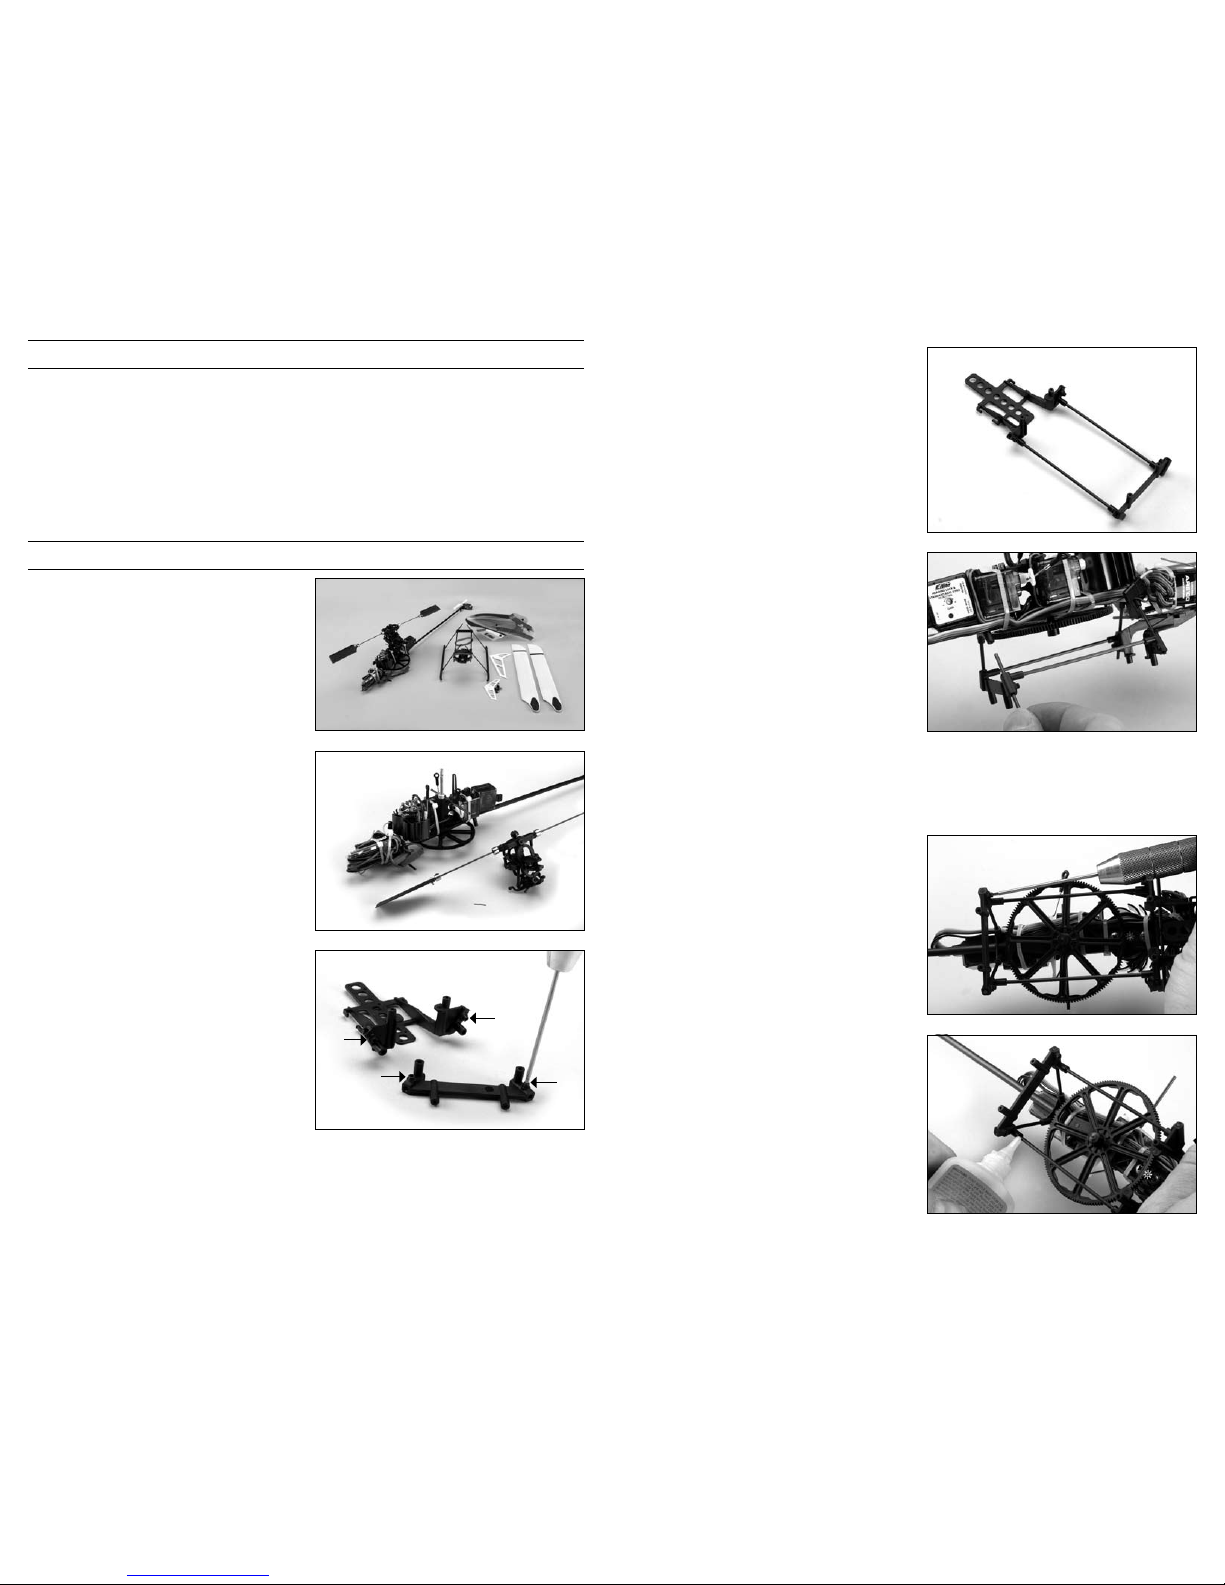
1. Remove the body, main blades, tail
fins and landing gear from the main
fuselage of the helicopter. You will
have to unwrap the antenna if your
helicopter has one.
2. Remove the 3 ball links from the
swashplate. Push the center pin out
of the main shaft and head assembly.
Remove the head assembly.
3. Use a 1.5mm hex driver to start the
2mm (0.07-inch) setscrews into the
bosses of each leg on the front and
rear landing gear/battery mounting
plate. Do not thread these all the way
in yet.
4. Install the 84mm (3.3-inch) long
carbon rods between the front
and rear landing gear/battery
mounting plate.
5. Use the 40mm (1.57-inch) carbon
rods to mount the front and rear
landing gear/battery mounting plate
assembly to the frame. Install one
side at a time. Once all four rods
are installed on the frame, slide the
landing gear/battery mounting plate
assembly all the way down on the
40mm rods so they are flush at the
bottom. Make sure the battery
tray is pointed towards the front of
the helicopter.
6. While holding the rods flush with the
bottom of the mounts, tighten the
setscrews down using the 1.5mm hex
driver.
7. Apply a small amount of thin CA to
the joints of the 84mm (3.3-inch)
carbon rods and the landing gear/
battery mounting plates. The joints
of the 40mm (1.57-inch) rods do not
need gluing.
Assembly
Tools Required
1.5mm hex driver
#0 Phillips Screwdriver
Needle-Nose Pliers
Ruler
Razor Saw
Clear Tape
Small Cable Ties
Thin CA
Side Cutters
Threadlock
Scissors
Silicone or Contact Cement
 Loading...