

Page 1
QUICK START INSTRUCTION FOR BLADE IPTV RECEIVER
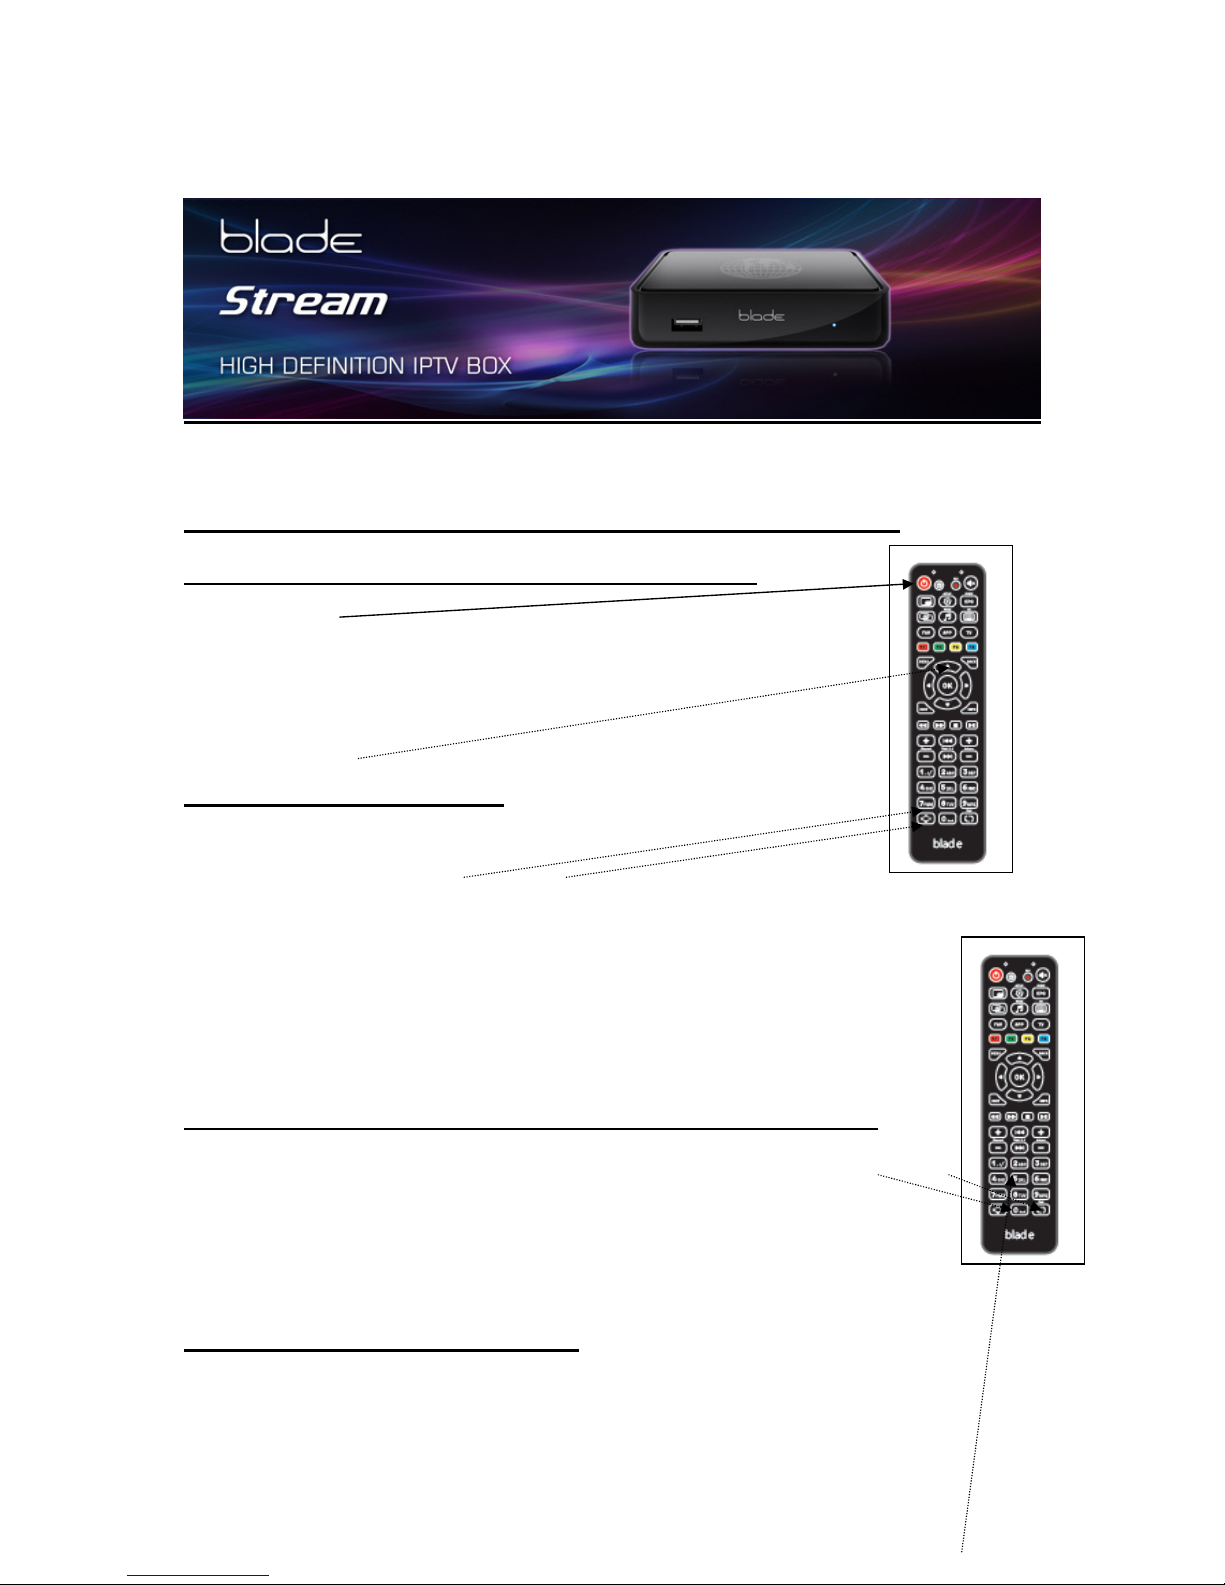
TURNING ON THE RECEIVER FROM STANDBY
Using the red “power” button at the top right of the remote
control to switch on from standby.
(The blue light at the front of
the receiver will change from a bright blue (standby) to a dim
blue which is on).
SELLECTING A CHANNEL
Press the “OK” button on the remote; this will bring up 14
names of the first page of the channel list. Use the “UP” or
DOWN” button of the remote control to move through the channel list. (You
can also move up or down a page at a time with the “PgUp or
PgDown buttons. When you have the channel you wish to view,
then press the OK button on the remote. You can also change
channels using the “channel + or – buttons, OR just enter the
channel number.
CHANGING FROM TV CHANNELS TO RADIO CHANNELS
To go to the Radio channels, select “MENU” then use the “<” or “>”
buttons and move to the Icon RADIO. Then press OK button,
and use up or down button to select.
To return to the TV channels, MENU – “<” or “>” until you see
the Icon TV, and select ALL.
EPG (Electronic Program Guide)
Page 2
You can check what programs are coming to view buy using
the “EPG guide” go to the channel you want the information, and press “>”
on the remote. This takes you to the TV Guide.
Push OK, then push “F1 (red button on the remote) then select down to
“LIST” – for full EPG press right on selected channel.
You can set a “reminder” for a program to view later. Press the “GREEN”
button on the remote, and then select the program you wish to view later.
When the time of the selected program is reached, a message will inform
you that it is about to start, you can press OK and this will change the
viewing to this program and channel.
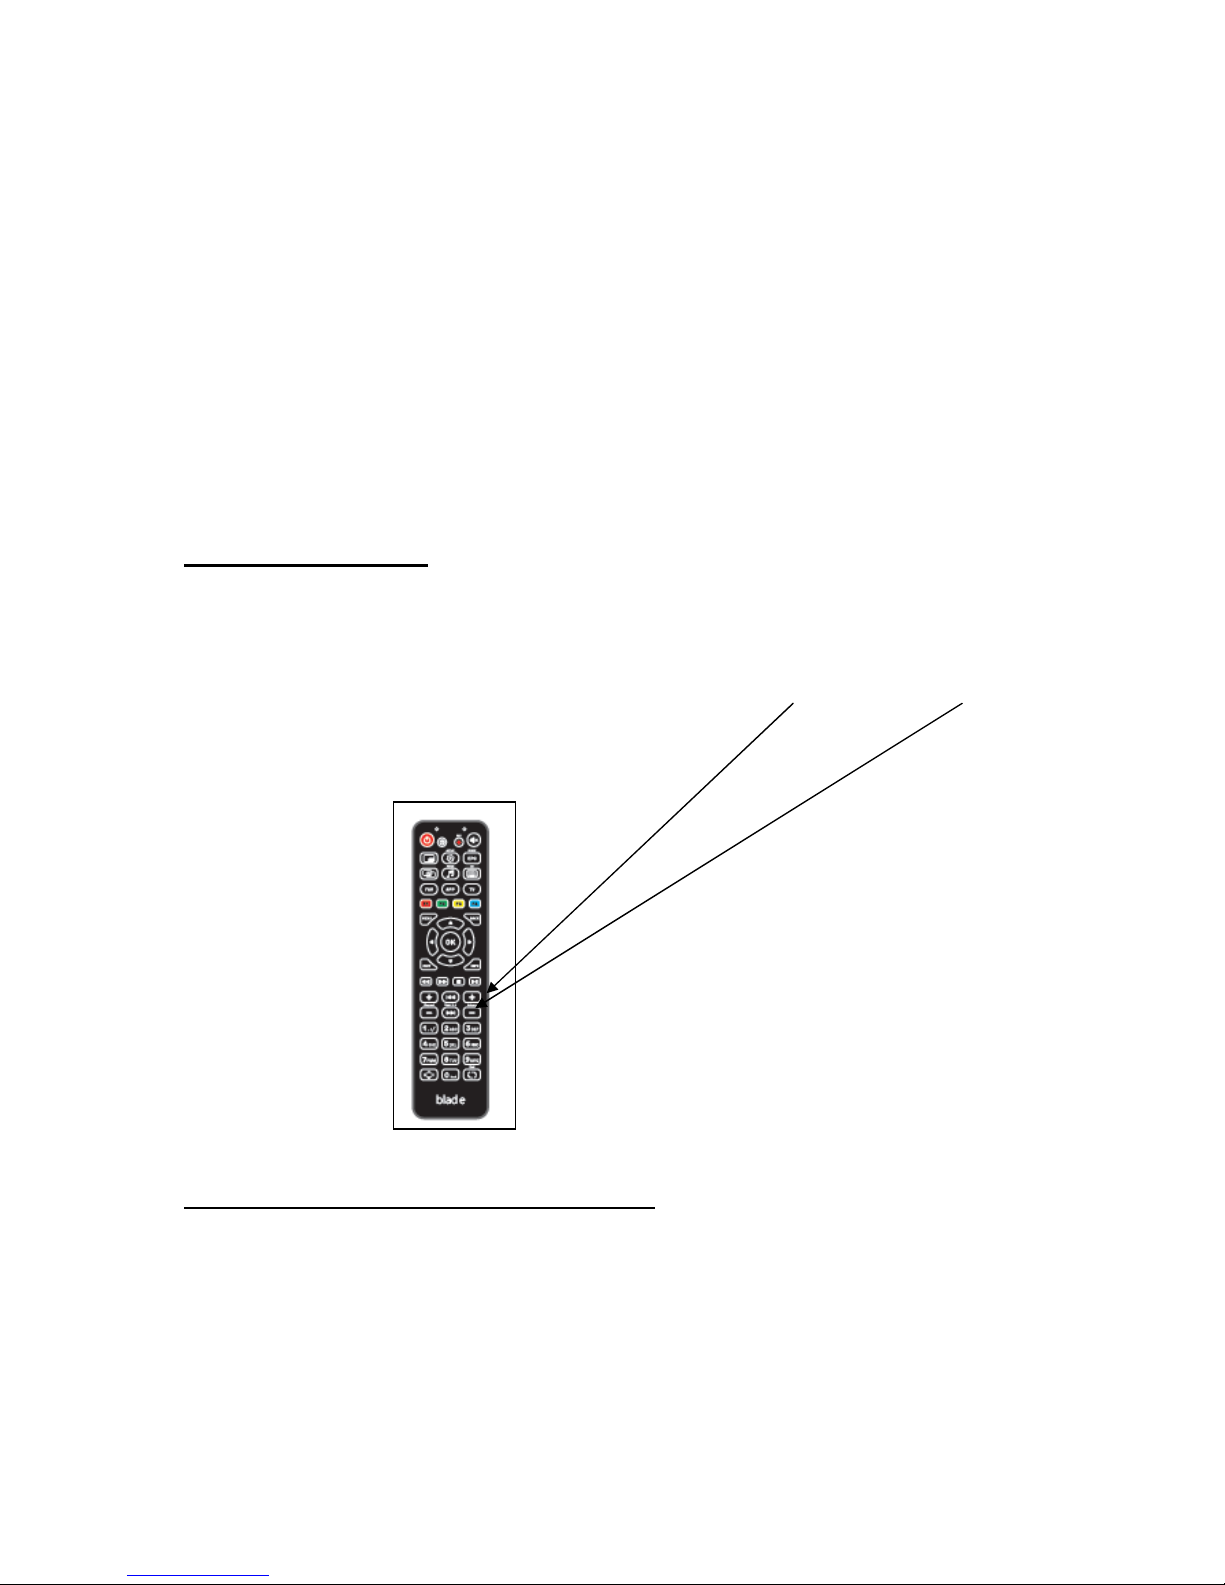
VOLUME CONTROL
As well as being able to adjust the volume on the TV you can also adjust
the volume on the Blade receiver.
To increase or decrease the sound level, use the “volume +” or “volume – “
on the remote.
POSSIBLE LOW INTERNET SOLUTION
It is possible at peak times that your internet speed goes very low.
This receiver has the ability to still work down below 1meg. If you are
experiencing "buffering" press the menu button and you will see 3
options. ALL/ENGLISH/LOW SPEED if you select the low speed option
Page 3

you will have all the channels showing which should work with a low
internet speed. The disadvantage of selecting this option is that the
picture quality is reduced.
At any time you can go back to viewing in normal picture quality by
pressing the menu button and selecting "ALL"
RECORDING A PROGRAM
To be able to record, you will need a "USB" memory stick or a media
storage device. Insert a USB into the front LHS of the receiver. If you
have any pre recorded films or pictures you can play or view your
recordings by pressing MENU and you will see at the bottom of the tv
options. Use the x or x buttons to step though these options.
(TV/VIDEOCLUB/YOU TUBE/RADIO/SETTINGS/APPS
INFOPORTAL/INTERNET/ACCOUNT/MEDIA BROWSER
Move to and select "MEDIA BROWSER" with the OK buttons. This
menu should show you the name of the USB you have inserted at the
front of the receiver, move down to the USB and press OK if you have
anything pre recorded you will see the name, go to the recording and
Press OK, the recording will start to play. You can pause/fast
forward/rewind using the buttons on the remote. At any time Press
exit on the remote.
To record a program ( you must have a USB inserted in the receiver)
press OK then INFO to the EPG TV guide ( go to a channel, use
up/down/left/right and select a program you want to record ( high
lighted in yellow) now press the red "F1" button, check that this is the
program and time you are wanting and move down to "START" then
"OK" you will see a marking in red showing that you have set a
recording. Once recorded, it can be viewed by following the
instructions in the paragraph above. You can also set a "reminder" by
using the green button. This will show on your TV that the program
Page 4

you have set is about to start.
You can also at any time start to record a channel you are watching
simply by pressing by pressing the F1 (red) button, ( you will be
asked to confirm the recording, move down to "START" and press
"OK" you will see the record symbol at the top RHS of the TV and
showing the record time, you now have the possibility of viewing an
alternative channel at the same time you are recording something
else
TV CATCH-UP
TV-Catch-up allows you to view a program which you may have missed
during the previous days. (Only channels which have the purple clock
showing by the side of the channel number have catch-up)
Press OK to show the channels, then press "INFO" use the left button of
the remove to move back to previously shown programs, you can move up
or down the channel list, go to the channel for the day and time you want to
view ( you will see the channel being selected highlighted in yellow) when
you have chosen your program to view press the "OK" button, the program
will start to play, you can fast forward or rewind or pause the viewing, press
xx button to continue to view.
SELLECTING “FAVORITE” CHANNELS
You may want to create your "favourite channel list. Press the centre
OK button to show channels, move to a channel you want to be in
your favourite list and press the "yellow" button
PLEASE NOTE:
The connection to the TV is by the “HDMI” cable. It is important that
you select on the TV input “HDMI” if you select any other input on the
TV, you will not have any picture or sound
 Loading...