

Blade Blade 350 QX2 3.0 User guide

®
Instruction Manual
NOTICE
All instructions, warranties and other collateral documents are subject to change at the sole discretion of Horizon Hobby, LLC. For up-to-date product literature,
visit horizonhobby.com and click on the support tab for this product.
Meaning of Special Language
The following terms are used throughout the product literature to indicate various levels of potential harm when operating this product:
NOTICE: Procedures, which if not properly followed, create a possibility of physical property damage AND a little or no possibility of injury.
CAUTION: Procedures, which if not properly followed, create the probability of physical property damage AND a possibility of serious injury.
WARNING: Procedures, which if not properly followed, create the probability of property damage, collateral damage, and serious injury OR create a high prob-
ability of superfi cial injury.
WARNING: Read the ENTIRE instruction manual to become familiar with the features of the product before operating. Failure to operate the product
correctly can result in damage to the product, personal property and cause serious injury.
This is a sophisticated hobby product. It must be operated with caution and common sense and requires some basic mechanical ability. Failure to operate this
Product in a safe and responsible manner could result in injury or damage to the product or other property. This product is not intended for use by children without
direct adult supervision. Do not use with incompatible components or alter this product in any way outside of the instructions provided by Horizon Hobby, LLC.
This manual contains instructions for safety, operation and maintenance. It is essential to read and follow all the instructions and warnings in the manual, prior to
assembly, setup or use, in order to operate correctly and avoid damage or serious injury.
Age Recommendation: Not for children under 14 years. This is not a toy.
General Safety Precautions and Warnings
• Always keep a safe distance in all directions around your model to avoid collisions or injury. This model is controlled by a radio signal subject to interference
from many sources outside your control. Interference can cause momentary
loss of control.
• Always operate your model in open spaces away from full-size vehicles, traffi c
and people.
• Always carefully follow the directions and warnings for this and any optional
support equipment (chargers, rechargeable battery packs, etc.).
• Always keep all chemicals, small parts and anything electrical out of the reach
of children.
• Always avoid water exposure to all equipment not specifi cally designed and
protected for this purpose. Moisture causes damage to electronics.
• Never place any portion of the model in your mouth as it could cause serious
injury or even death.
CAUTION: The ESCs for the 350 QX2 are not compatible with any other product, and the 350 QX2 is not compatible with any other ESCs. Use of any other
ESCs on the 350 QX2 will cause a crash, which may result in property damage and/or personal injury.
WARNING AGAINST COUNTERFEIT PRODUCTS: If you ever need to replace a Spektrum component found in a Horizon Hobby product, always purchase
from Horizon Hobby, LLC or a Horizon Hobby authorized dealer to ensure authentic high-quality Spektrum product. Horizon Hobby, LLC disclaims all sup-
port and warranty with regards, but not limited to, compatibility and performance of counterfeit products or products claiming compatibility with DSM or Spektrum.
The Blade 350 QX2 has many more features than other Blade quadcopters. Please take the time to read this manual and understand the functions this aircraft
contains before fl ying.
• Never operate your model with low transmitter batteries.
• Always keep aircraft in sight and under control.
• Always move the throttle fully down at rotor strike.
• Always use fully charged batteries.
• Always keep transmitter powered on while aircraft is powered.
• Always remove batteries before disassembly.
• Always keep moving parts clean.
• Always keep parts dry.
• Always let parts cool after use before touching.
• Always remove batteries after use.
• Never operate aircraft with damaged wiring.
• Never touch moving parts.
EN
2
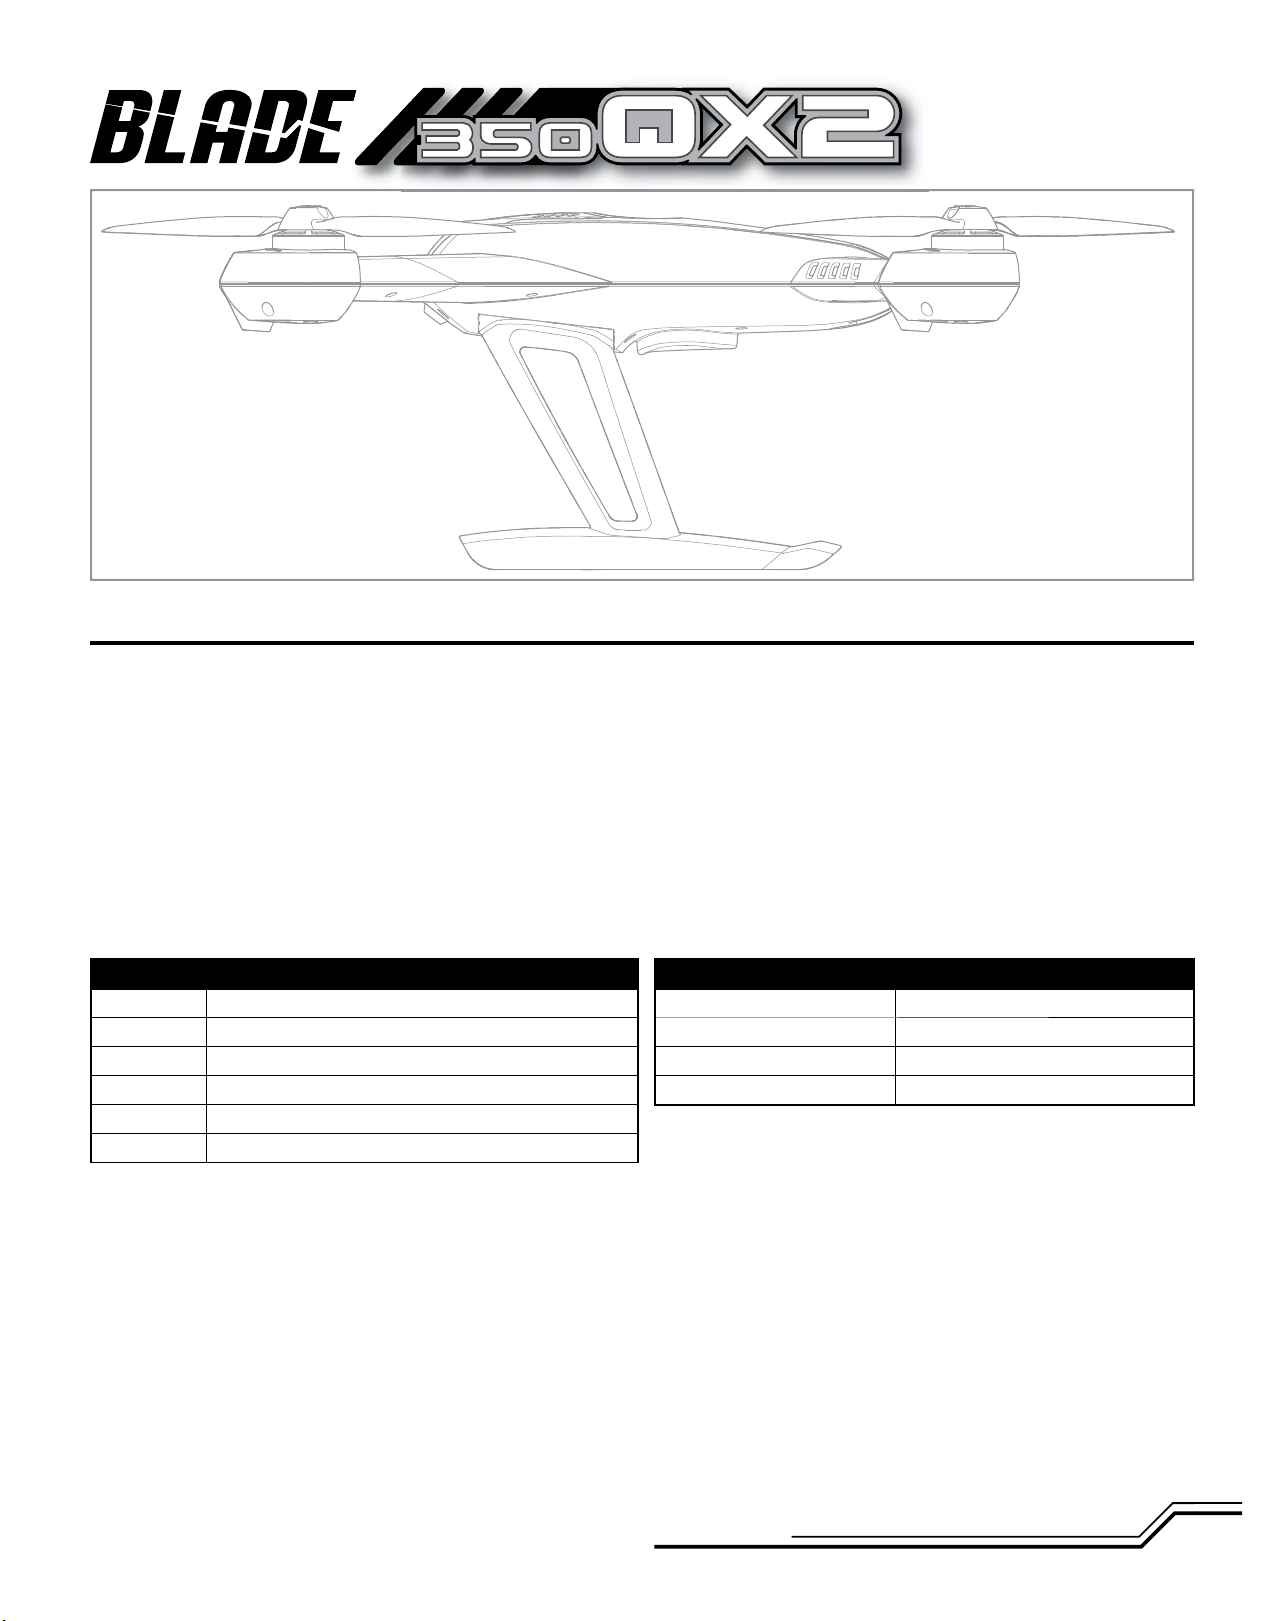
Table of Contents
®
®
Box Contents ......................................................................................................4
Charging Warnings..............................................................................................4
Low Voltage Cutoff (LVC) .....................................................................................4
Charging the Flight Battery .................................................................................5
Transmitter Setup (BNF) ......................................................................................5
Mounting a Camera ............................................................................................6
Connecting the Flight Battery ..............................................................................7
Transmitter Control Layout (RTF) .........................................................................7
Power On ............................................................................................................7
Binding ...............................................................................................................8
Flight Mode Switches (RTF) .................................................................................9
Flight Modes Explained .......................................................................................9
Components
Airframe
Motors
ESCs
Battery
Charger
Transmitter
Blade 350 QX2 Quadcopter
4x Brushless Outrunner Motor, 1100Kv
4x 10-Amp Brushless ESC
3000mAh 3S 11.1V 20C Li-Po Battery
3S DC Li-Po Balancing Charger with 5A AC Power Supply
Spektrum™ DX4 DSMX® 4-Channel Transmitter
Audible Alerts and LED Codes ...........................................................................10
GPS Functionality of the 350 QX2 ......................................................................12
Flight Guidelines and Warnings .........................................................................13
Preparing the 350 QX2 for Flight .......................................................................13
Flying the 350 QX2 ...........................................................................................14
Airframe Maintenance.......................................................................................15
Compass Calibration .........................................................................................16
Pressure Sensor Calibration ..............................................................................16
Accelerometer Calibration .................................................................................16
ESC and Motor Assignment Procedure ..............................................................17
Troubleshooting ................................................................................................17
Specifi cations
Length
Height
Main Rotor Diameter
Flying Weight
18.30 in (465mm)
7.48 in (190mm)
22.80 in (580mm)
35.5 oz (760 g)
To register your product online, visit www.bladehelis.com
3
EN
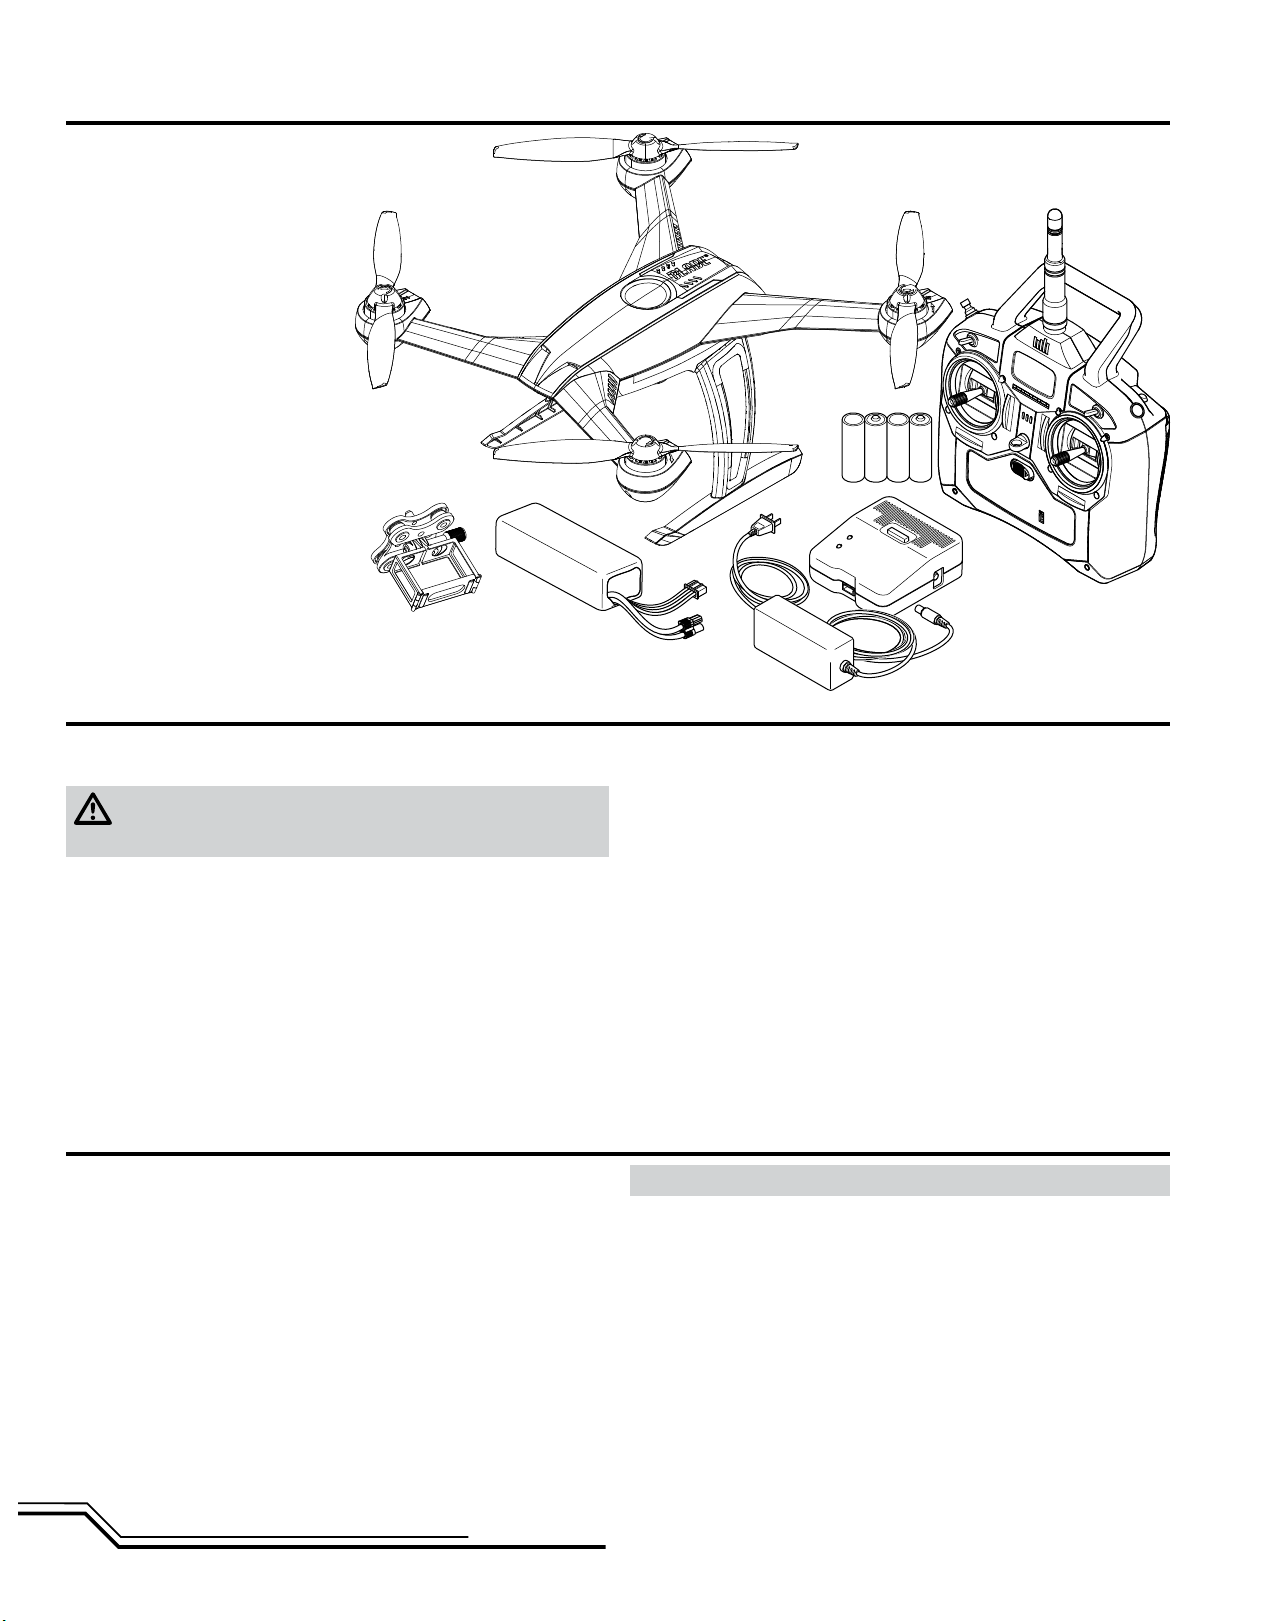
Box Contents
• Blade® 350 QX2
• 3000mAh 3S 11.1V 20C Li-Po Battery
• 3S DC Li-Po Balancing Charger with 5A AC Power Supply
• Spektrum™ DX4 DSMX
• 4 AA Batteries (RTF)
• Camera Mount
®
4-Channel Transmitter (RTF)
Charging Warnings
The Battery Charger (EFLC3016) included with your quadcopter has been
designed to safely charge the Li-Po battery.
CAUTION: All instructions and warnings must be followed exactly.
Mishandling of Li-Po batteries can result in a fi re, personal injury and/or
property damage.
• By handling, charging or using the included Li-Po battery, you assume all risks
associated with lithium batteries.
• If at any time the battery begins to balloon or swell, discontinue use immediately. If charging or discharging, discontinue and disconnect. Continuing to
use, charge or discharge a battery that is ballooning or swelling can result in
fi re.
• Always store the battery at room temperature in a dry area for best results.
• Always transport or temporarily store the battery in a temperature range of
40–120º F (5–49° C). Do not store battery or model in a car or direct sunlight.
If stored in a hot car, the battery can be damaged or even catch fi re.
• Always charge batteries away from fl ammable materials.
Low Voltage Cuto (LVC)
Low voltage cutoff (LVC) protects the Li-Po battery from over-discharge in fl ight
and activates when the battery reaches a preset value. When the battery is
discharged to the cutoff point, the aircraft will display rapidly fl ashing red, green
and blue LEDs to warn you it’s time to land. When you see this LED code, land
immediately to prevent over-discharge and damage to the battery.
When the LVC is activated, you have approximately 2 minutes until the battery is
depleted and can no longer maintain a hover. Repeated fl ying to LVC will damage
the battery.
• Always inspect the battery before charging.
• Always disconnect the battery after charging, and let the charger cool between
charges.
• Always constantly monitor the temperature of the battery pack while charging.
• ONLY USE A CHARGER SPECIFICALLY DESIGNED TO CHARGE LI-PO BATTERIES. Failure to charge the battery with a compatible charger may cause a fi re
resulting in personal injury and/or property damage.
• Never discharge Li-Po cells to below 3V under load.
• Never cover warning labels with hook and loop strips.
• Never leave charging batteries unattended.
• Never charge batteries outside recommended levels.
• Never charge damaged batteries.
• Never attempt to dismantle or alter the charger.
• Never allow minors to charge battery packs.
• Never charge batteries in extremely hot or cold places
(recommended between 40–120° F) or (5–49° C) or place in direct sunlight.
NOTICE: Crash damage and battery damage are not covered under warranty.
IMPORTANT: Always disconnect and remove the Li-Po battery from the aircraft
after each fl ight. Charge your Li-Po battery to about half capacity before storage.
During storage, make sure the battery charge does not fall below 3V per cell.
A connected battery will result in trickle discharge.
EN
4
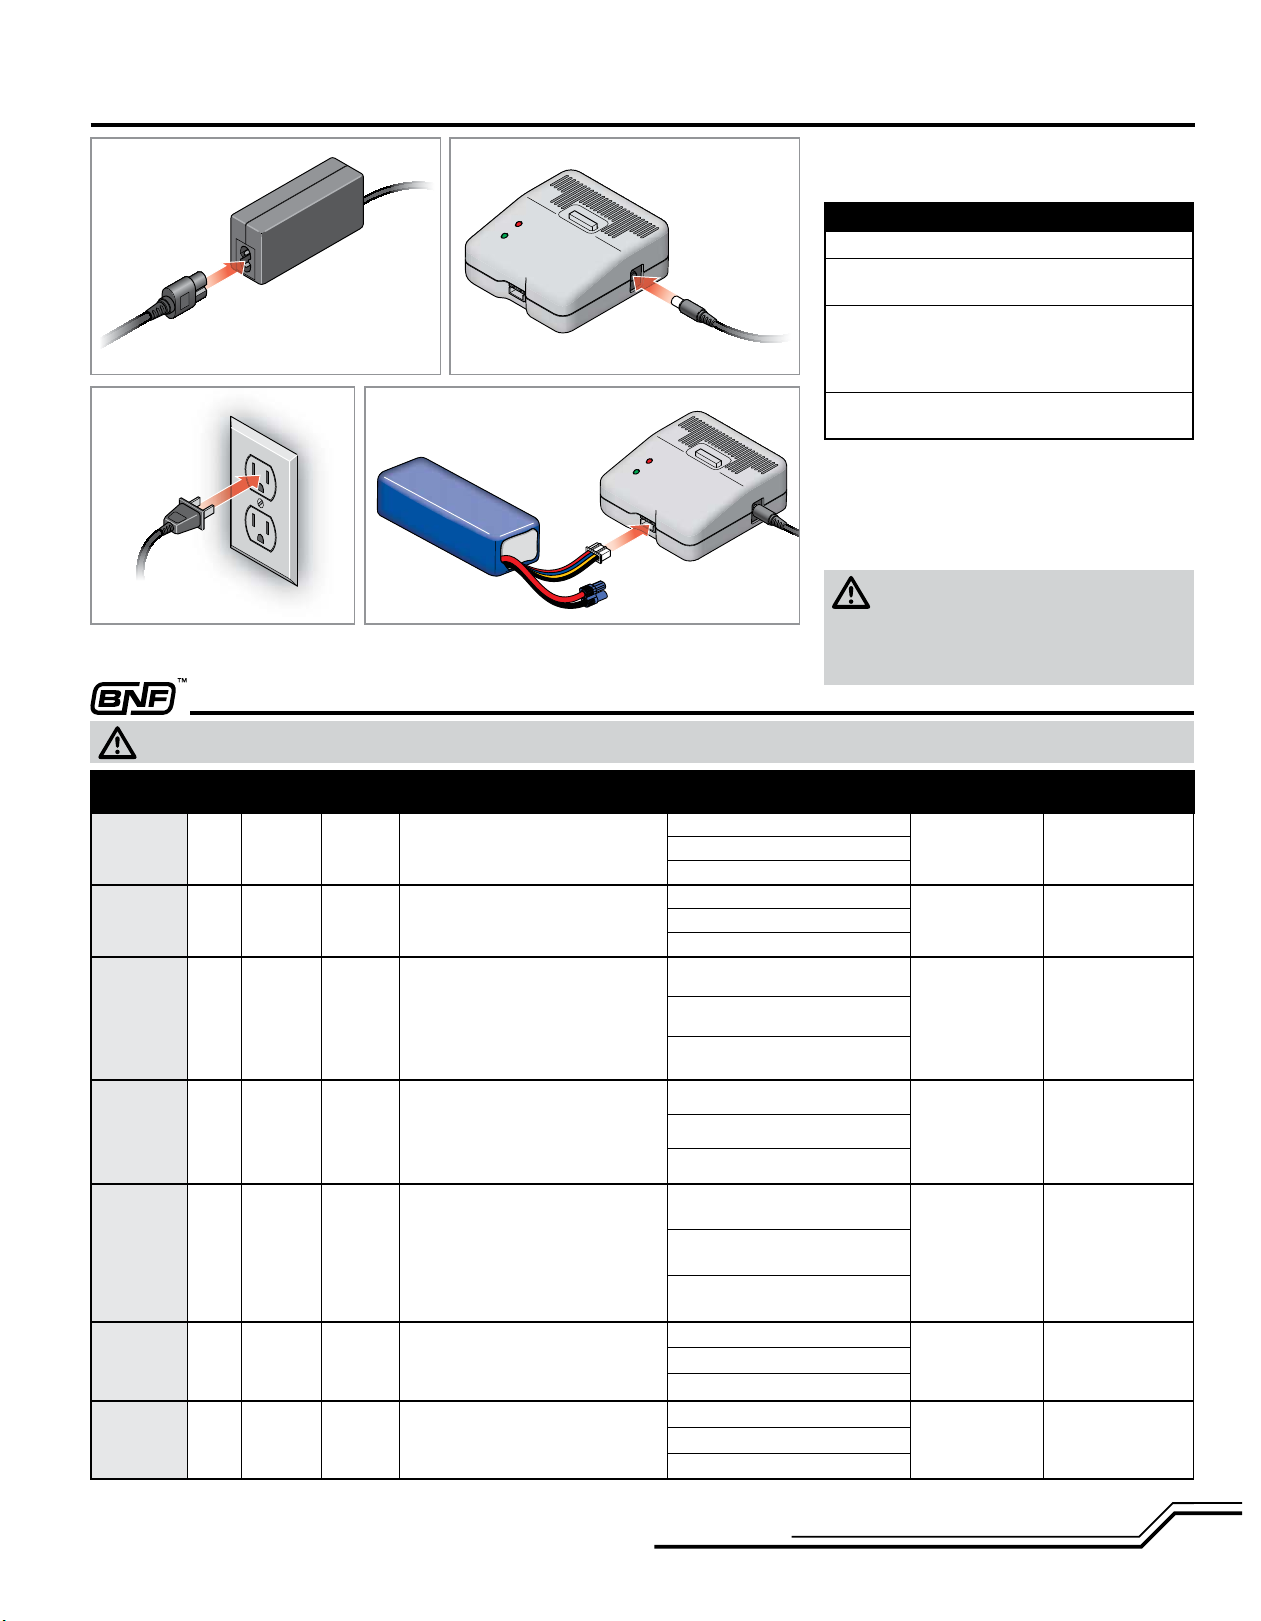
Charging the Flight Battery
1a 1b
23
Transmitter Setup
Charger Specifi cations
• Input Voltage: 10.5–15V DC
• Charge Current: 3.5A
The Battery Charging Process
1. Connect the AC power supply to the charger.
2. Connect the AC power supply to an AC power source.
The green LED blinks.
3. Connect the battery to the charger. The red LED
blinks, indicating charging. When the battery nears
full charge, the red and green LEDs blink, indicating
cell balancing.
4. Disconnect the battery when the green LED glows
solid.
LED Indications
Green Blinking: Ready to Charge
Red Blinking: Charging
Red & Green Blinking: Cell Balancing
Green Solid: Charging Complete
Red Solid: Error
CAUTION: Overcharging a battery can cause
a fi re.
NOTICE: If using a battery other than the included
Li-Po battery, refer to your battery manufacturer’s
instructions for charging.
CAUTION: When using a Futaba transmitter with a Spektrum DSM module, you must reverse the throttle channel and rebind. Refer to your Spektrum module manual for binding
and failsafe instructions. Refer to your Futaba transmitter manual for instructions on reversing the throttle channel.
Transmitter Model
DX4e (New)*
w/3-position
switch
DX5e (New)*
w/3-position
switch
DX6i Acro
DX7/7SE Acro
DX7S Acro
DX8 Acro
DX6/DX9/DX18 Acro
* Old versions of the DX4e and DX5e (with 2-position channel 5 switches) are not recommended for the 350 QX2. Only Smart Mode and Stability Mode will be available with GPS On.
Reverse
Type
Setup
N/A N/A N/A N/A
N/A N/A N/A N/A
THRO-N
ELEV-N
GEAR-R
AILE-N
RUDD-N
FLAP-N
FLAP-R (6)
Others-N
AUX1-R
Others-N
AUX1-R
Others-N
AUX1-R
Others-N
Throttle Cut
Setup
ACT
N/A
Set To:
Trainer
Set To:
Trainer
Set To:
I (BIND)
Mode Setup Switch Positions Throttle Cut Return Home
Travel Adj: GEAR POS (0) GEAR: ↑100%;
GEAR/F MODE POS (1) GEAR: ↓40%
FLAPS: Norm ←↑100; LAND ↓100
MIX 1: ACT; GEAR → GEAR ACT
RATE D 0%; U + 100%
SW MIX TRIM INH
SUB TRIM THRO ↑ 15-20%
Travel Adj: GEAR (0)↑100%;
GEAR (1) ↓40%
MIX 1: FLAP → Gear OFF/ON
RATE → -50%
0%
SW: MIX OFFSET: 0
Switch Select:
Move Gear to F MODE (F MODE:GEAR)
Leave FLAPS as AUX1
Set All Others to INH
MIX 1: GER > GER
RATE: 0%
-100%
OFFSET: 0%; TRIM: INH; SW: Mix0
Switch Select: F-Mode to Gear;
Flap to Aux 1
All Others to INH
Channel Assign: NEXT
1-4: N/A 5 Gear: B
6 AUX1: H 7-10: INH
Position 0 = SMART Mode
Position 1 = AP Mode
Position 2 = Stability Mode
Position 0 = SMART Mode
Position 1 = AP Mode
Position 2 = Stability Mode
GEAR 0; Mix 0 = SMART Mode
GEAR 1; Mix 0 = AP Mode
GEAR 1; Mix 1 = Stability Mode
GEAR (0); Mix (0) = SMART Mode
GEAR (1); Mix (0) = AP Mode
GEAR (1); Mix (1) = Stability Mode
F MODE (0) = SMART Mode
F MODE (1) = AP Mode
F MODE (1); HOLD (1) = Stability Mode
F MODE (0) = SMART Mode
F MODE (1) = AP Mode
F MODE (2) = Stability Mode
B (0) = SMART Mode
B (1) = AP Mode
B (2) = Stability Mode
Lower throttle trim
until motors stop
turning
Lower throttle trim
until motors stop
turning
Press throttle cut
Lower throttle trim
until motors stop
turning
Press
Trainer
Press Trainer/Bind
Press I (BIND)
Press and Hold TRAINER/
BIND Release to EXIT
Press and Hold TRAINER/
BIND Release to EXIT
FLAP Position 0 = OFF
FLAP Position 2 = Return
Home
FLAP Pos 0
= OFF
FLAP Pos 1
= Return Home
FLAP Pos 0 = OFF
FLAP Pos 2 = Return
Home
FLAP Pos 0
= OFF
FLAP Pos 2
= Return Home
D (FLAP) Pos 0 = OFF
D (FLAP) Pos 2 = Return
Home
5
EN
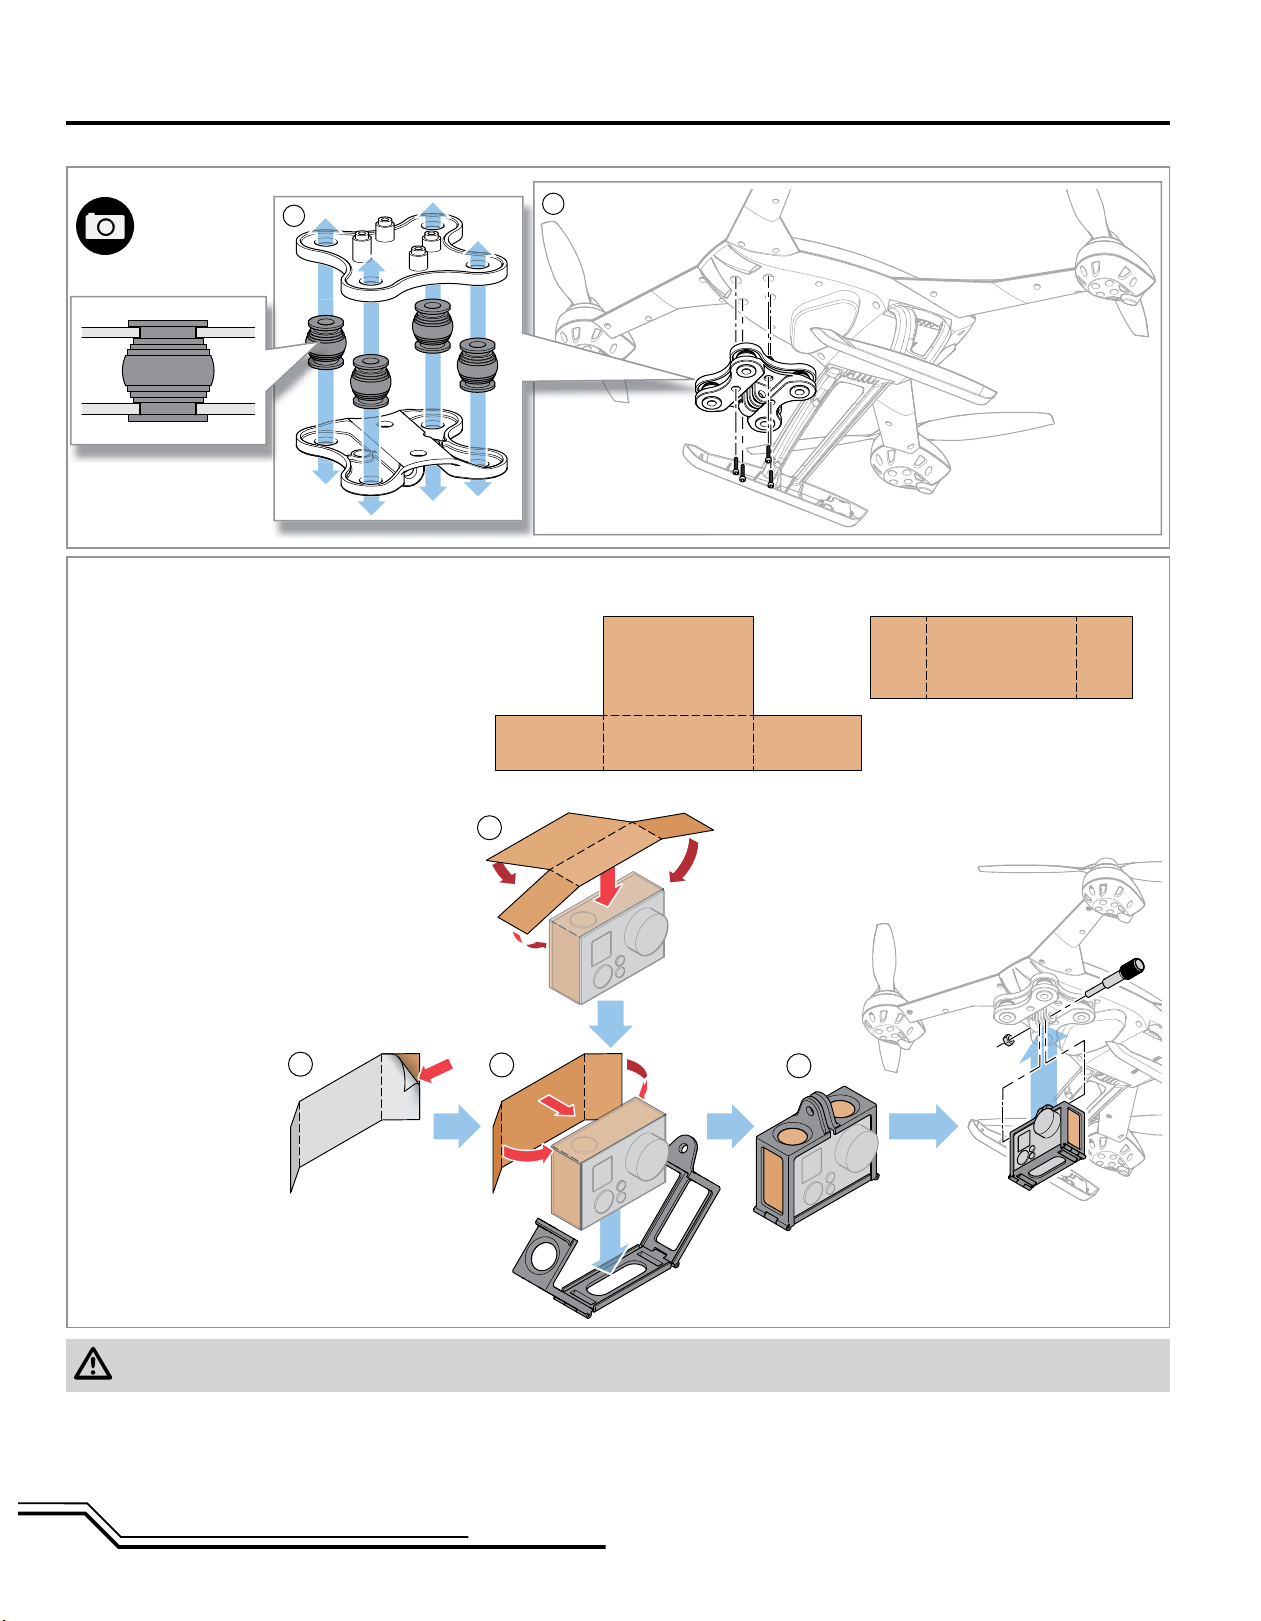
Mounting a Camera
IMPORTANT: Consult local laws and ordinances before installing and operating any type of photograph-capable or video recording device in this product.
Assembling the Isolation Mount
1
Installing the Included Camera Frame to the Isolation Mount
* Camera not included
Copper Foil Sheilding Instructions
The Blade
metal-foil sheets to provide GoPro
extra measure of RF-shielding.
1. Fold the inner “T” sheet (A) around the
2. Peel the backing off the rectangular sheet (B).
3. Wrap sheet B around the back of sheet A,
4. The shield is removable and is held in place
The front and bottom of the camera are left
unshielded to allow any RF noise to radiate out
and away from the 350 QX2.
®
350 QX2 includes two adhesive-backed,
camera with the metallic side facing away
from the camera so it covers the top, sides
and back.
sealing all the rear edges and holding
everything together.
by the 350 QX2 camera mount.
DO NOT peel off the backing.
®
users with an
1
2
AB
A
DO NOT peel off
the backing
*
EN
2
B
WARNING: Always disable Wi-Fi before fl ying the Blade 350 QX2 with a GoPro camera. If Wi-Fi is not disabled, interference may cause loss of control,
which could result in a crash.
3
B
A
4
6
 Loading...