

Blackstar ARTISAN 10 AE Owner's Manual

1
Owner’s Manual
Designed and Engineered by
Blackstar Amplication UK
ARTISAN 10 AE

2
3
IMPORTANT SAFETY INSTRUCTIONS
1. Read these instructions.
2. Keep these instructions.
3. Heed all warnings.
4. Follow all instructions.
5. Do not use this apparatus near water.
6. Clean only with a dry cloth.
7. Do not block any ventilation openings.
8. Install in accordance with the manufacturer’s instructions.
9. Do not install near any heat sources such as radiators, heat registers, stoves, or
other apparatus (including ampliers) that produce heat.
10. Do not defeat the safety purpose of the polarized or grounding-type plug. A
polarized plug has two blades with one wider than the other. A grounding type
plug has two blades and a third grounding prong. The wide blade or the third
prong are provided for your safety. If the provided plug does not t into your outlet,
consult an electrician for replacement of the obsolete outlet.
11. Protect the power cord from being walked on or pinched particularly at plugs,
convenience receptacles, and the point where they exit from the apparatus.
12. Only use attachments/accessories specied by the manufacturer.
13. Unplug this apparatus during lightning storms or when unused for long periods of
time.
14. Refer all servicing to qualied service personnel. Servicing is required when the
apparatus has been damaged in any way, such as power-supply cord or plug is
damaged, liquid has been spilled or objects have fallen into the apparatus, the
apparatus has been exposed to rain or moisture, does not operate normally, or
has been dropped.
“TO COMPLETELY DISCONNECT THIS APPARATUS FROM THE AC MAINS,
DISCONNECT THE POWER SUPPLY CORD PLUG FROM THE AC RECEPTACLE”.
“WARNING: TO REDUCE THE RISK OF FIRE OR ELECTRIC SHOCK, DO NOT
EXPOSE THIS APPARATUS TO RAIN OR MOISTURE AND OBJECTS FILLED WITH
LIQUIDS, SUCH AS VASES, SHOULD NOT BE PLACED ON THIS APPARATUS”.
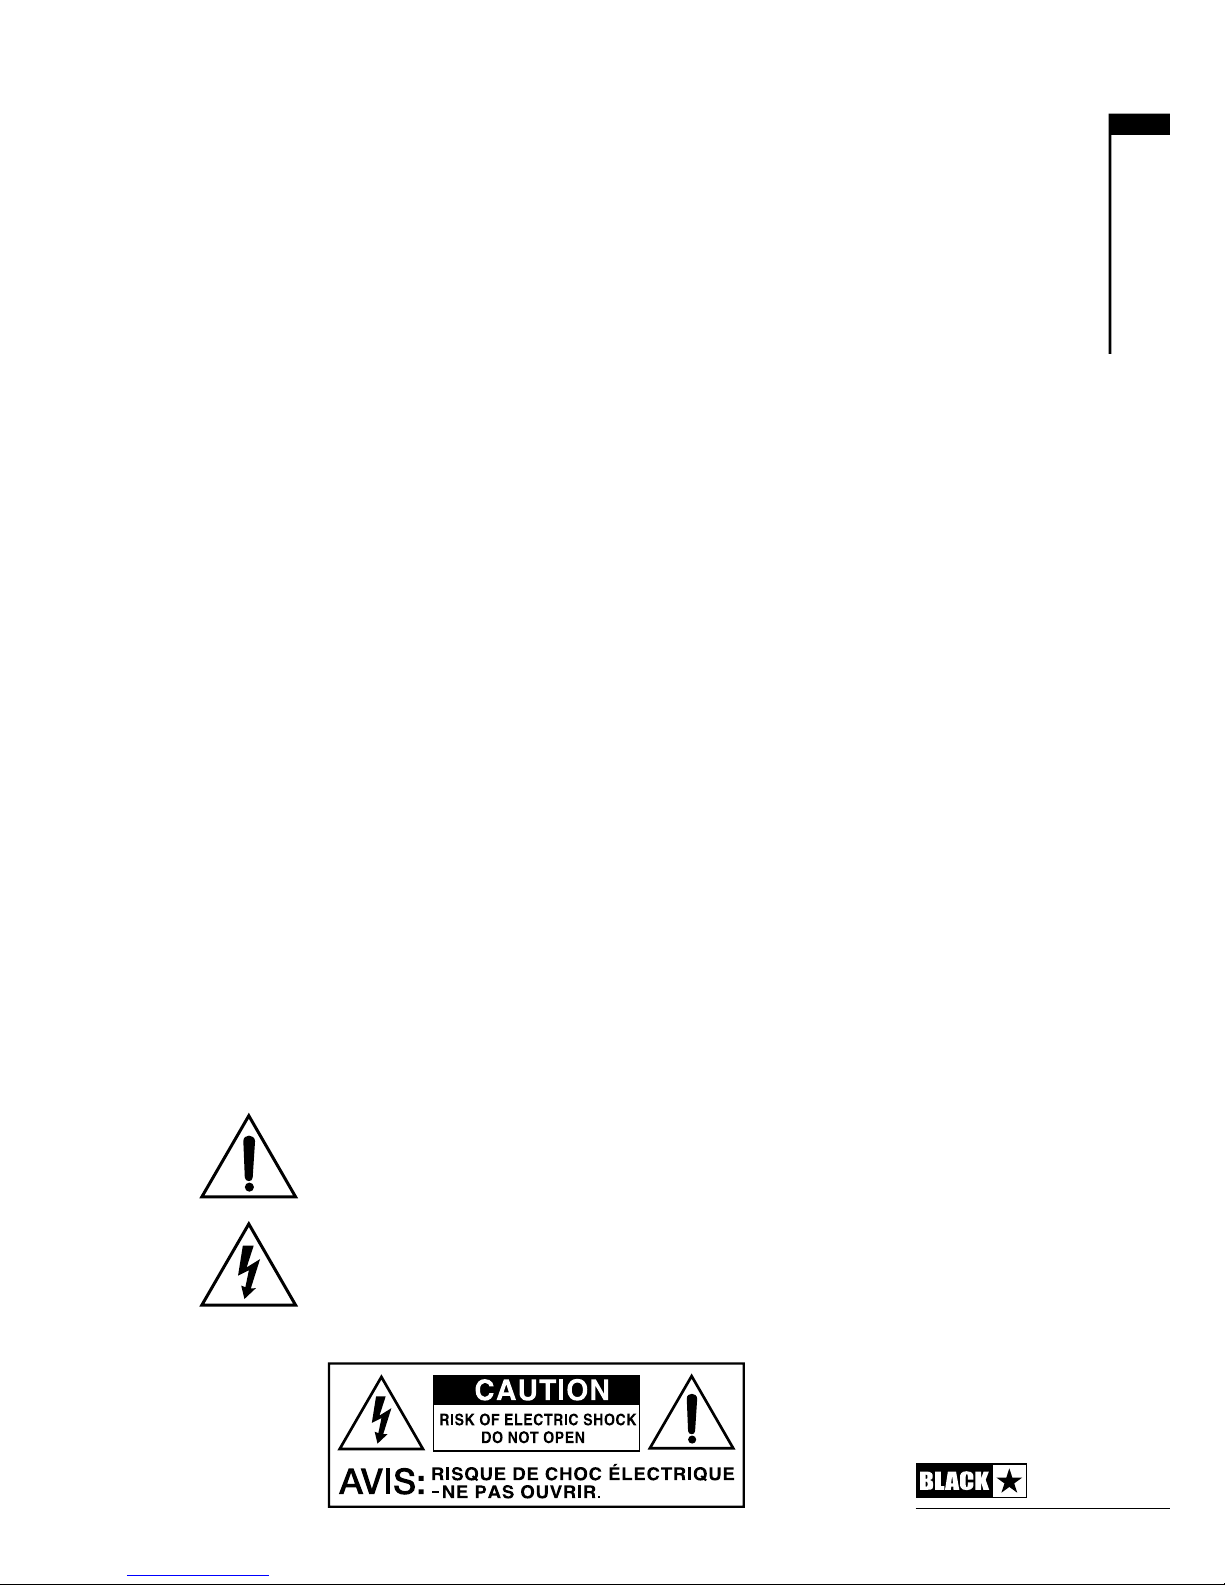
This symbol is intended to alert the user to the presence of important operation
and maintenance (servicing) instructions in the literature accompanying the
appliance.
This symbol is intended to alert the user to the presence of uninsulated
“dangerous voltage” within the product’s enclosure that may be of sucient
magnitude to constitute a risk of electric shock to persons.
USA / Canada

4
English
Warning!
Important safety information!
READ THE FOLLOWING INFORMATION CAREFULLY. SAVE ALL
INSTRUCTIONS FOR FUTURE REFERENCE!
Follow all warnings and instructions marked on the product!
Danger! High internal operating voltages.
Do not open the equipment case. There are no user serviceable parts in this
equipment. Refer all servicing to qualied service personnel.
Clean only with a dry cloth.
Condensation can form on the inside of an amplier if it is moved from a cold
environment to a warmer location. Before switching the unit on, it is recommended
that the unit be allowed to reach room temperature.
Unauthorised modication of this equipment is expressly forbidden by Blackstar
Amplication Ltd.
Never push objects of any kind into ventilation slots on the equipment casing.
Do not expose this apparatus to rain, liquids or moisture of any type.
Avoid placing vessels lled with liquid on top of the amplier.
Do not place this product on an unstable trolley, stand or table. The product may
fall, causing serious damage to the product or to persons!
Do not cover or block ventilation slots or openings.
This product should not be placed near a source of heat such as a stove, radiator,
or another heat producing amplier.
Use only the supplied power cord which is compatible with the mains voltage
supply in your area.
Power supply cords should always be handled carefully and should be replaced if
damaged in any way.
Never break o the earth (ground) pin on the power supply cord.
The power supply cord should be unplugged when the unit is to be unused for long
periods of time.
Before the unit is switched on, the loudspeaker should be connected as described
in the handbook using the lead recommended by the manufacturer.
Always replace damaged fuses with the correct rating and type.
Never disconnect the protective mains earth connection.
High loudspeaker levels can cause permanent hearing damage. You should
therefore avoid the direct vicinity of loudspeakers operating at high levels. Wear
hearing protection if continuously exposed to high levels.
If the product does not operate normally when the operating instructions are
followed, then refer the product to a qualied service engineer.

5
English
The U.S. Government´s Occupational Safety and Health Administration (OSHA) has
specied the following permissible noise level exposures:
Duration Per Day In Hours Sound Level dBA, Slow Response
8 90
6 92
4 95
3 97
2 100
1½ 102
1 105
½ 110
¼ or less 115
According to OSHA, any exposure in excess of the above permissible limits could
result in some hearing loss.
Ear plug protectors in the ear canals or over the ears must be worn when operating
this amplication system in order to prevent a permanent hearing loss if exposure is
in excess of the limits as set forth above. To ensure against potentially dangerous
exposure to high sound pressure levels, it is recommended that all persons exposed to
equipment capable of producing high sound pressure levels such as this amplication
system be protected by hearing protectors while this unit is in operation.
All electrical and electronic products should be disposed of separately
from the municipal waste stream via designated collection facilities
appointed by the government or the local authorities.

6
English
Introduction
Thank you for purchasing this 10th Anniversary Blackstar Artisan 10 AE amplier.
Like all our products, this amp is the result of countless hours of painstaking
Research and Development by our world-class design team. Based in Northampton
(UK), the Blackstar team are all experienced musicians themselves and the sole aim
of the development process is to provide guitarists with products which are the
ultimate tools for self-expression.
All Blackstar products are subjected to extensive laboratory and road testing to
ensure that they are truly uncompromising in terms of reliability, quality and above
all TONE.
Based on the award-winning Artisan range, this 10 Watt single-ended, Class A valve
combo gives you all the tone and feel of the original Artisan in a compact format,
perfect for the home, studio or smaller live performances.
If you like what you hear and want to nd out more about the Blackstar range of
products please visit our website at www.blackstaramps.com.
Thanks!
The Blackstar Team

7
English
Features
In celebration of 10 years of glorious Blackstar tone, our design team have created
three new 10 Watt single-ended valve ampliers, each drawing on the sound and
innovation of iconic Blackstar lines: Artisan, Artist and Series One. Each model
captures the essence and, crucially, the player feel of the original agship amplier,
and manages to do so with an elegantly simple arrangement of four controls, plus a
switch to introduce an additional gain stage for ultimate exibility.
This Artisan 10 Anniversary Edition is a low gain, classic crunch amplier with an
ECC83 valve in the preamp stage. A hot preamp Boost can be engaged – either via
the front panel or the included footswitch – for authentic classic rock / indie rhythm
playing and vocal leads.
Much of the distinctive character of a single-ended valve amp comes from the way
its power stage clips, bringing out the nuances of the chosen power amp valve. This
Artisan 10 Anniversary Edition amplier features an EL34 power valve – in keeping
with the original Artisan 100 – which produces a superlative, warm British crunch
when pushed hard using the Master Volume. The 10 Watts of output power driving
a Celestion speaker makes this Artisan 10 Anniversary Edition the perfect amp for
practicing and recording at home or in the studio, and for smaller live performances.
Professional features such as a specially-voiced reverb, footswitching and an eects
loop augment the sonic experience, making this amplier fully equipped for today’s
exacting performance requirements.
Completing the versatile feature set, a cabinet emulated line output is included for
silent practice, recording or for supporting your live sound into a PA. The signal for
the emulated output is taken directly after the power amp to ensure that you can
capture and record the tonal characteristics of the Class A congured EL34 power
valve and output transformer being pushed into saturation.

8
English
Front Panel
1. Input
Plug your guitar in here. Always use a good quality screened guitar lead.
2. Volume
This controls the volume of the preamp. Turning it clockwise increases the volume. At
low channel volume the amplier will be completely clean. Increasing the amount of
volume will see the amplier start to break up into a natural mild overdrive response.
3. Boost Select
Press this switch to engage the hot preamp boost, inspired by our HT-Boost pedal.
This built-in boost is perfect for authentic classic rock / indie rhythm playing and vocal
inspired leads.
NOTE: This switch must be pressed in order to use a compatible footswitch to
engage the Boost.
4. Tone
The Tone control allows adjustment of the balance between treble and bass
frequencies within the sound. At low settings (counter clockwise) the sound will be
warmer and darker in character. As the Tone control is rotated clockwise the sound
will become brighter.
5. Reverb
The Reverb control sets the overall level of the reverb eect. With the control fully
counter clockwise there will be no reverb. Turning the control clockwise will increase
the amount of reverb.
6. Master Volume
This controls the output volume of the amplier. Turning it clockwise increases the
volume, pushing the Class A power stage into saturation.
7. Power Indicator Light
The power indicator will light when the amplier is switched on.
8. Standby
This switch enables the operation of the speaker output. For silent recording or
practice this switch should be put in the standby position. This will disable the
speaker output, but the emulated output will continue to work.
9. Power
This switch is used to turn the amplier on and o. You should always turn this
switch on before turning on the Standby switch (8).
Rear Panel
1. Mains Fuse
The value of the Mains Fuse is specied on the rear panel. Never use a fuse of the
incorrect value or attempt to bypass it.

9
English
2. Mains Input
The supplied detachable mains lead is connected here. The lead should only
be connected to a power outlet that is compatible with the voltage, power and
frequency requirements stated on the rear panel. If in doubt get advice from a
qualied technician.
3. H.T. Fuse
The value of the H.T. Fuse is specied on the rear panel. Never use a fuse of the
incorrect value or attempt to bypass it.
4. Speaker Outputs
The output marked ‘1x16 Ohm’ is for the connection of a single 16 Ohm extension
speaker cabinet (or the internal loudspeaker of the Artisan 10 AE combo).
The outputs marked ‘1x8 Ohm or 2x16 Ohm’ are for the connection of either a single
8 Ohm extension cabinet or two 16 Ohm cabinets. Also, the internal loudspeaker
of the Artisan 10 AE combo can be plugged in here if it is used with a 16 Ohm
extension cabinet. See table below.
‘1x16 Ohm’ output ‘ 1x8 Ohm or 2x16 Ohm’ outputs
Internal 16 Ohm combo speaker ✓ X X
Internal 16 Ohm combo speaker X ✓ ✓
plus one 16 Ohm extension cab
One 16 Ohm extension cabinet ✓ X X
Two 16 Ohm extension cabinets X ✓ ✓
Single 8 Ohm extension cabinet X ✓ X
WARNING: The output marked ‘1x16 Ohm’ should never be used at the same
time as any of the outputs marked ‘1x8 Ohm or 2x16 Ohm’. Failure to correctly
match the impedance of the amplier and speakers will damage the amplier.
5. Speaker Emulated Output
This output emulates the tonal characteristics of a guitar speaker cabinet and
provides a natural valve overdrive tone for connection to a recording device or
mixing desk. Always use a good quality screened lead.
The stereo jack socket accomodates connection of headphones to this output,
allowing you to practice silently.
NOTE: For silent practice or recording switch the amp into Standby (8) mode to
silence the internal speaker.
6. Effects Loop Level
The Eects Loop Level switch sets the eects loop to either +4dBV/-10dBV, which
enables you to use it with either professional equipment (+4dBV setting), or with
guitar level eects such as eects pedals (-10dBV setting).

10
7. Effects Loop Return
Connect the (mono) output of an external eects unit here.
8. Effects Loop Send
Connect the (mono) input of an external eects unit here.
9. Footswitch
The supplied footswitch is connected here. The footswitch enables you to engage
the Boost.
English

11
Technical Specification
Power (RMS): 10 Watts
Valves: 1 x EL34, 1 X ECC83
Weight (kg): 14.9
Dimensions (mm): 473 x 421 x 251
Footswitch: FS-4 included, optional FS-8 for control of Boost
and Reverb.
English

12
Warnung!
Wichtige Sicherheitshinweise!
LESEN SIE DIE FOLGENDEN INFORMATIONEN SORGFÄLTIG DURCH.
HEBEN SIE ALLE ANLEITUNGEN FÜR REFERENZWECKE AUF!
Beachten Sie alle Warnungen und folgen Sie den auf dem Produkt
angebrachten Anweisungen!
Gefahr! Hohe interne Betriebsspannungen.
Önen Sie niemals das Gehäuse. Es benden sich keine vom Anwender
austauschbaren Teile im Gerät. Lassen Sie alle Wartungsarbeiten von qualiziertem
Fachpersonal ausführen.
Verwenden Sie zum Reinigen des Geräts ausschließlich ein trockenes Tuch.
Im Inneren von Verstärkern kann sich Kondensfeuchtigkeit bilden, wenn der
Verstärker aus einer kalten in eine wärmere Umgebung gebracht wird. Warten Sie
vor dem Einschalten, bis das Gerät die Raumtemperatur erreicht hat.
Nicht autorisierte Modikationen am Gerät sind von Blackstar Amplication Ltd.
ausdrücklich untersagt.
Führen Sie in keinem Fall irgendwelche Gegenstände in die Lüftungsschlitze im
Gehäuse ein.
Setzen Sie das Gerät niemals Regen oder Feuchtigkeit aus.
Stellen Sie keine mit Flüssigkeit gefüllten Gefäße auf dem Verstärker ab.
Platzieren Sie das Gerät nicht auf instabilen Rollwagen, Ständern oder Tischen.
Andernfalls könnte das Gerät herunterfallen und schwere Schäden am Produkt
oder Verletzungen verursachen.
Die Lüftungsschlitze dürfen nicht verdeckt werden.
Dieses Produkt darf nicht in der Nähe von Wärmequellen wie Öfen, Heizkörpern
oder einem anderen Wärme produzierenden Verstärker betrieben werden.
Verwenden Sie ausschließlich das mitgelieferte, mit dem Stromnetz in Ihrer Region
kompatible Netzkabel.
Netzkabel müssen sehr sorgfältig behandelt und bei jeglichem Defekt umgehend
ausgetauscht werden.
Entfernen Sie niemals den Erdungskontakt des Netzkabels.
Wenn Sie das Gerät längere Zeit nicht verwenden, ziehen Sie das Netzkabel ab.
Vor dem Einschalten muss der Lautsprecher wie in diesem Handbuch beschrieben
mit dem vom Hersteller empfohlenen Kabel angeschlossen werden.
Ersetzen Sie beschädigte Sicherungen immer durch Sicherungen gleichen Typs.
Manipulieren Sie niemals den Schutzleiter des Netzsteckers.
Hohe Lautsprecherpegel können zu dauerhaften Hörschäden führen. Halten Sie
sich nicht in direkter Nähe von mit hoher Lautstärke betriebenen Lautsprechern
Deutsch

13
auf. Falls Sie längere Zeit hohen Lautstärken ausgesetzt sind, verwenden Sie einen
Gehörschutz.
Wenn das Gerät oenbar nicht normal arbeitet, obwohl Sie die Inbetriebnahme wie
beschrieben vorgenommen haben, wenden Sie sich an einen qualizierten Service-
Techniker.
Das amerikanische Amt für Sicherheit und Gesundheitsschutz am Arbeitsplatz
(OSHA) hat folgende Grenzwerte für Lärmbelastung festgelegt:
Dauer pro Tag in Stunden Lärmpegel in dBA, langsame Ansprechzeit
8 90
6 92
4 95
3 97
2 100
1½ 102
1 105
½ 110
¼ oder weniger 115
Gemäß der OSHA kann eine anhaltende Beschallung über diese Grenzwerte hinaus
zu Hörverlusten führen.
Für den Betrieb dieses Verstärkersystems empehlt es sich, einen Hörschutz im
Gehörkanal oder über den Ohren zu tragen, um einen dauerhaften Hörverlust zu
vermeiden, wenn die genannten Grenzwerte nicht eingehalten werden. Um sich
gegen die potenziellen Gefahren hoher Schalldruckpegel zu schützen, sollten alle
Personen, die mit Geräten, die zur Ausgabe hoher Schalldruckpegel geeignet
sind (z. B. dieser Verstärker), für die Dauer des Betriebs solcher Geräte einen
Gehörschutz tragen.
Elektrische und elektronische Geräte dürfen nicht in den Hausmüll
gegeben, sondern müssen entsprechend den staatlichen bzw.
kommunalen Vorgaben entsorgt werden.
Deutsch

14
Einleitung
Vielen Dank, dass Sie sich für diese 10th Anniversary Blackstar Artisan 10 AE
Verstärkers entschieden haben.
Dieser Amp ist wie alle unsere Verstärker das Ergebnis unzähliger Stunden
akribischer Arbeit durch unser erstklassiges Entwickler-Team. Die erfahrenen
Musiker des Blackstar-Teams aus Northampton (UK) verfolgen ein einziges Ziel:
Gitarristen das bestmögliche Equipment zur Verfügung zu stellen, damit diese sich
optimal selbstverwirklichen können.
Alle Blackstar-Produkte wurden sowohl in unseren Labors als auch im Live-Betrieb
auf Herz und Nieren getestet, um sicherzustellen, dass sie in puncto Zuverlässigkeit,
Qualität und SOUND absolut kompromisslose Ergebnisse liefern.
Dieser Class-A Röhren-Combo mit Eintakt-Endstufentechnik (Single-Ended) bietet
eine Leistung von 10 Watt und basiert auf der preisgekrönten Artisan Baureihe: Er
stellt Ihnen den Sound und die Ansprache der originalen Artisan Amps in besonders
kompakten Abmessungen zur Verfügung und eignet sich damit perfekt für zuhause,
das Studio und kleinere Live-Auftritte.
Wenn Sie mehr über die Blackstar-Produktreihe erfahren möchten, besuchen Sie
unsere Webseite unter www.blackstaramps.com.
Vielen Dank!
Das Blackstar-Team
Deutsch

15
Merkmale
Anlässlich des zehnten Jubiläums des berühmten Blackstar-Sounds hat
unsere Entwicklungsabteilung drei neue 10-Watt-Röhrenverstärker in EintaktEndstufentechnik (Single-Ended) entwickelt, die auf dem Klang der legendären
Blackstar-Produktreihen Artisan, Artist und Series One basieren. Jedes dieser
Modelle bietet den originalen Klangcharakter und vor allem die Ansprache des Top-
Verstärkers aus der jeweiligen Baureihe. Für eine intuitive Bedienung bietet der
Verstärker vier Regler sowie einen Schalter, mit dem Sie eine zusätzliche Gain-Stufe
für maximale Flexibilität aktivieren.
Dieser Artisan 10 Anniversary Edition ist ein klassischer Crunch-Verstärker mit
geringen Gain-Reserven und einer ECC83 Vorstufenröhre. Über das Bedienfeld
oder den mitgelieferten Fußschalter lässt sich ein Preamp-Boost aktivieren, der
sich für authentische Classic-Rock- und Indie-Rhythmus-Parts sowie für singende
Lead-Sounds.
Der spezielle Charakter eines Eintakt-Verstärker wird stark von der Übersteuerung der
Endstufe und damit von dem spezischen Charakter der gewählten Endstufenröhre
geprägt. Bei diesem Artisan 10 Anniversary Edition Verstärker kommt – genau wie
im originalen Artisan 100 – eine EL34 Endstufenröhre zum Einsatz, die bei einem
hoch ausgesteuerten Master Volume einen überragend warmen, britischen Crunch-
Sound erzeugt. Mit einem Celestion-Lautsprecher und einer Ausgangsleistung von
10 Watt ist dieser Artisan 10 Anniversary Edition der perfekte Verstärker für das
Üben und Recording zuhause oder im Studio, aber auch für kleinere Live-Auftritte.
Professionelle Merkmale wie ein speziell abgestimmtes Reverb, eine Fußumschaltung
und ein Eekteinschleifweg erweitern die klanglichen Möglichkeiten und sorgen
dafür, dass dieser Verstärker allen Anforderungen in der Praxis gewachsen ist.
Abgerundet werden die vielseitigen Funktionsmerkmale durch einen LineAusgang mit Lautsprechersimulation für das lautlose Üben, für Aufnahmen
und zur Direktabnahme des Live-Signals für eine PA. Das Ausgangssignal der
Lautsprechersimulation wird direkt hinter der Endstufe abgegrien: So bleibt
der typische Klangcharakter der in einer Class-A-Schaltung verbauten EL34Endstufenröhre erhalten und der Ausgangsübertrager kann in die Sättigung
gefahren werden.
Deutsch

16
Bedienfeld
1. Input
Hier schließen Sie Ihre Gitarre an. Verwenden Sie in jedem Fall ein hochwertiges
geschirmtes Gitarrenkabel.
2. Volume
Mit diesem Regler steuern Sie die Lautstärke in der Vorverstärker. Im Uhrzeigersinn
heben Sie die Lautstärke an.
3. Wahlschalter Boost
Mit diesem Schalter aktivieren Sie eine Boost-Schaltung zur Übersteuerung
der Vorstufe, die auf unserem HT-Boost-Eektpedal basiert. Dieser interne
Boost empehlt sich gleichermaßen für authentische Classic-Rock- und IndieRhythmusparts wie für singende Lead-Sounds im Stil.
ANMERKUNG: Wenn Sie die Boost-Schaltung über einen kompatiblen Fußschalter
bedienen möchten, muss dieser Schalter gedrückt sein.
4. Tone
Der Tone-Regler dient zur Balance der Höhen- und Bassanteile im Sound. Bei
niedrigen Einstellungen (gegen den Uhrzeigersinn) erhält der Sound einen wärmeren
und dumpferen Charakter. Wenn Sie den Treble-Regler im Uhrzeigersinn aufdrehen,
wird der Sound immer höhenreicher.
5. Reverb
Mit dem Reverb-Regler wird die Gesamtlautstärke des Reverb-Eekts ausgesteuert.
Im Linksanschlag des Reglers ist kein Reverb hörbar. Wenn der Regler im
Uhrzeigersinn aufgedreht wird, nimmt der Reverb-Anteil zu.
6. Master Volume
Dieser Regler steuert die Ausgangslautstärke Ihres Verstärkers. Wenn Sie ihn im
Uhrzeigerinn aufdrehen, nimmt die Lautstärke zu und die Class-A-Endstufe wird in
die Sättigung gefahren.
7. Power-LED
Die Power-Anzeige leuchtet, wenn der Verstärker eingeschaltet ist.
8. Standby
Dieser Schalter (de-)aktiviert die Ausgabe über den Lautsprecherausgang. Für
lautlose Aufnahmen oder das Üben ohne Sound bringen Sie diesen Schalter in
die Standby-Position. Dadurch wird der Lautsprecherausgang deaktiviert und der
Sound nur noch über den emulierten Ausgang ausgegeben.
9. Power
Mit diesem Schalter schalten Sie den Verstärker ein bzw. aus. Aktivieren Sie diesen
Schalter in jedem Fall vor dem Standby-Schalter (8).
Deutsch

17
Rückseite
1. Sicherung
Der Wert für die Sicherung ist auf der Rückseite vermerkt. Verwenden Sie in keinem
Fall eine Sicherung mit falschen Werten und versuchen Sie nicht, die Sicherung zu
überbrücken.
2. Netzanschluss
Hier wird das mitgelieferte Kaltgerätenetzkabel angeschlossen. Das Kabel muss
an einer Netzsteckdose angeschlossen werden, die in puncto Spannung, Leistung
und Netzfrequenz den auf der Rückseite vermerkten Spezikationen entspricht. Im
Zweifelsfall wenden Sie sich an einen qualizierten Techniker/Elektriker.
3. H.T.- Sicherung
Der Wert für die H.T.- Sicherung ist auf der Rückseite vermerkt. Verwenden Sie
in keinem Fall eine Sicherung mit falschen Werten und versuchen Sie nicht, die
Sicherung zu überbrücken.
4. Speaker-Ausgänge
Der mit „1x16 Ohm“ beschriftete Ausgang dient zum Anschluss einer einzelnen
16-Ohm-Lautsprecherbox (oder des internen Lautsprechers des Artisan 10 AE
Combos).
Die mit „1x8 Ohm or 2x16 Ohm“ beschrifteten Ausgänge dienen zum Anschluss
einer einzelnen 8-Ohm- oder von zwei 16-Ohm-Lautsprecherboxen. Zudem können
Sie hier den internen Lautsprecher des Artisan 10 AE Combos anschließen, sofern
Sie ihn gemeinsam mit einer 16-Ohm-Lautsprecherbox betreiben möchten. Siehe
Tabelle unten.
„1x16 Ohm“ Ausgang „ 1x8 Ohm or 2x16 Ohm“
Ausgänge
Interner 16-Ohm-Combo-Speaker ✓ X X
Interner 16-Ohm-Combo-Speaker X ✓ ✓
plus eine 16-Ohm-Lautsprecherbox
Eine 16-Ohm-Lautsprecherbox ✓ X X
Zwei 16-Ohm-Lautsprecherboxen X ✓ ✓
Einzelne 8-Ohm-Lautsprecherbox X ✓ X
WARNUNG: Der mit „1x16 Ohm“ bezeichnete Ausgang darf niemals parallel zu den
Ausgängen „1x8 Ohm or 2x16 Ohm“ betrieben werden. Wenn die Impedanz von
Verstärker und Lautsprecher nicht übereinstimmen, kann der Verstärker ernsthaft
beschädigt werden.
5. Speaker Emulated Output
Dieser Ausgang emuliert den Klangcharakter einer Gitarren-Lautsprecherbox und
sorgt in Kombination mit einem Aufnahmegerät oder Mischpult für eine natürlich
klingende Röhrenübersteuerung. Verwenden Sie in jedem Fall hochwertige
geschirmte Kabel.
Deutsch
 Loading...