How it Works
Log In / Sign Up
Buy Points
How it Works
FAQ
Contact Us
Questions and Suggestions
Users
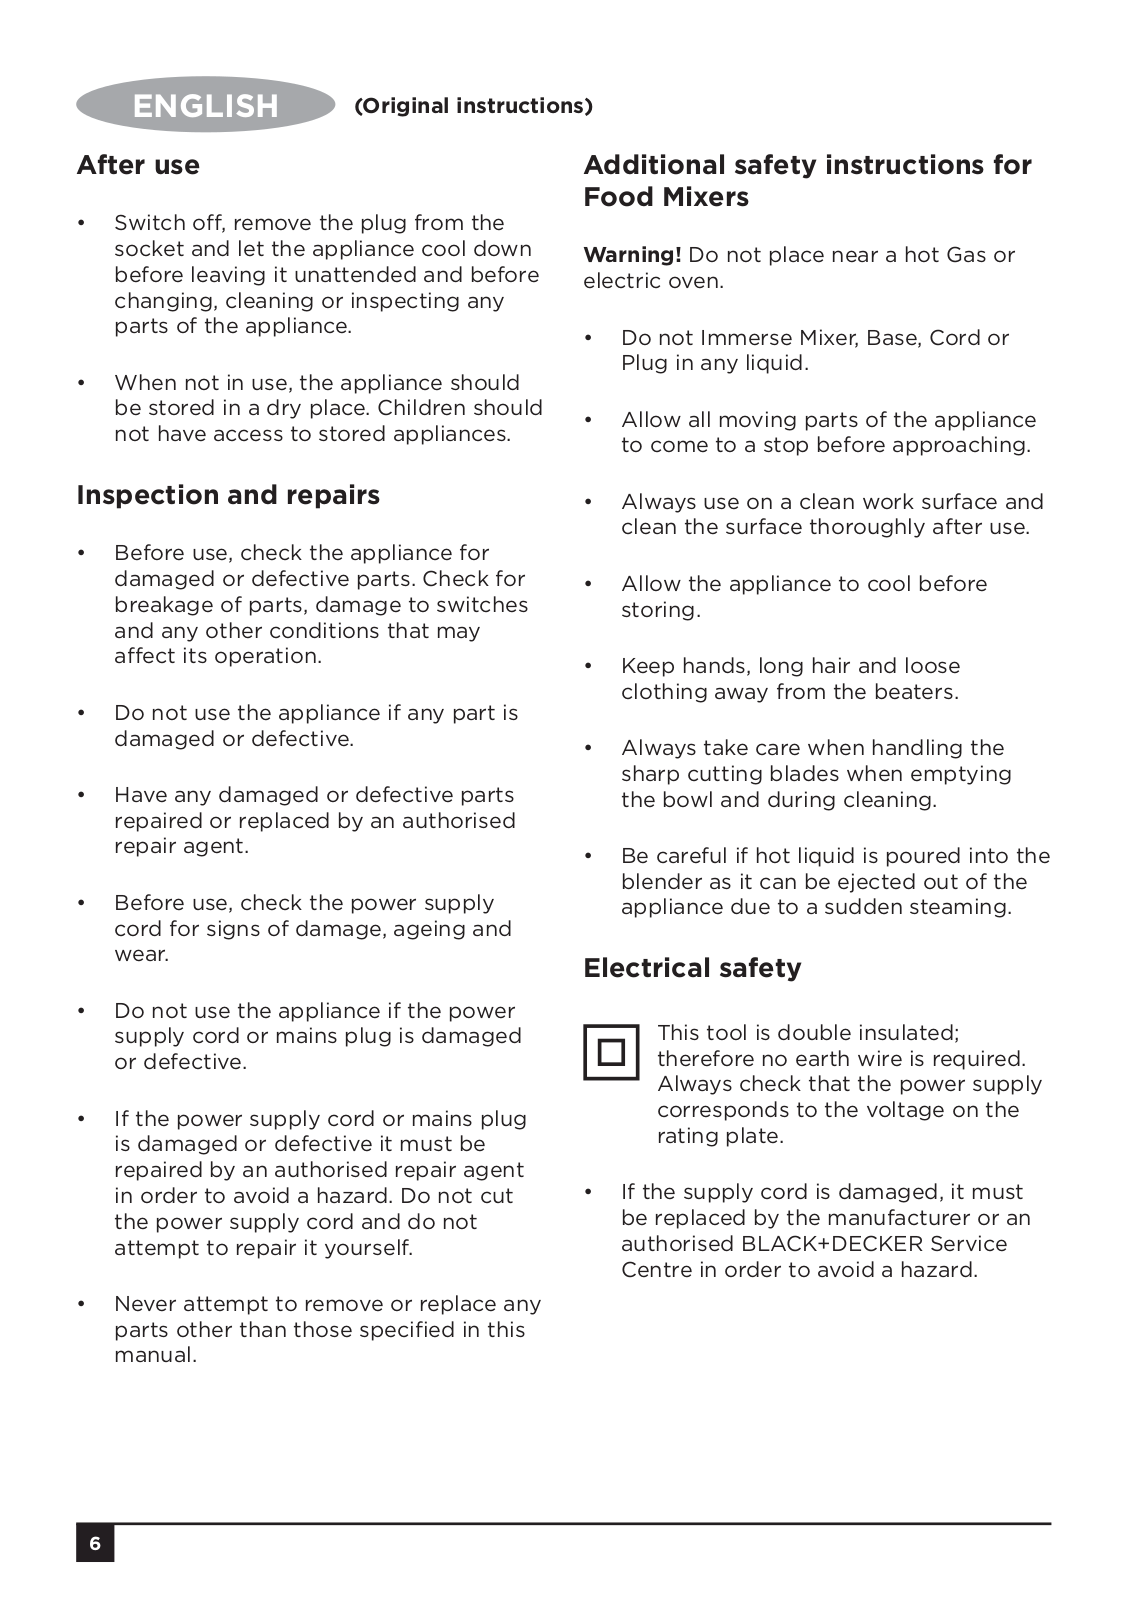
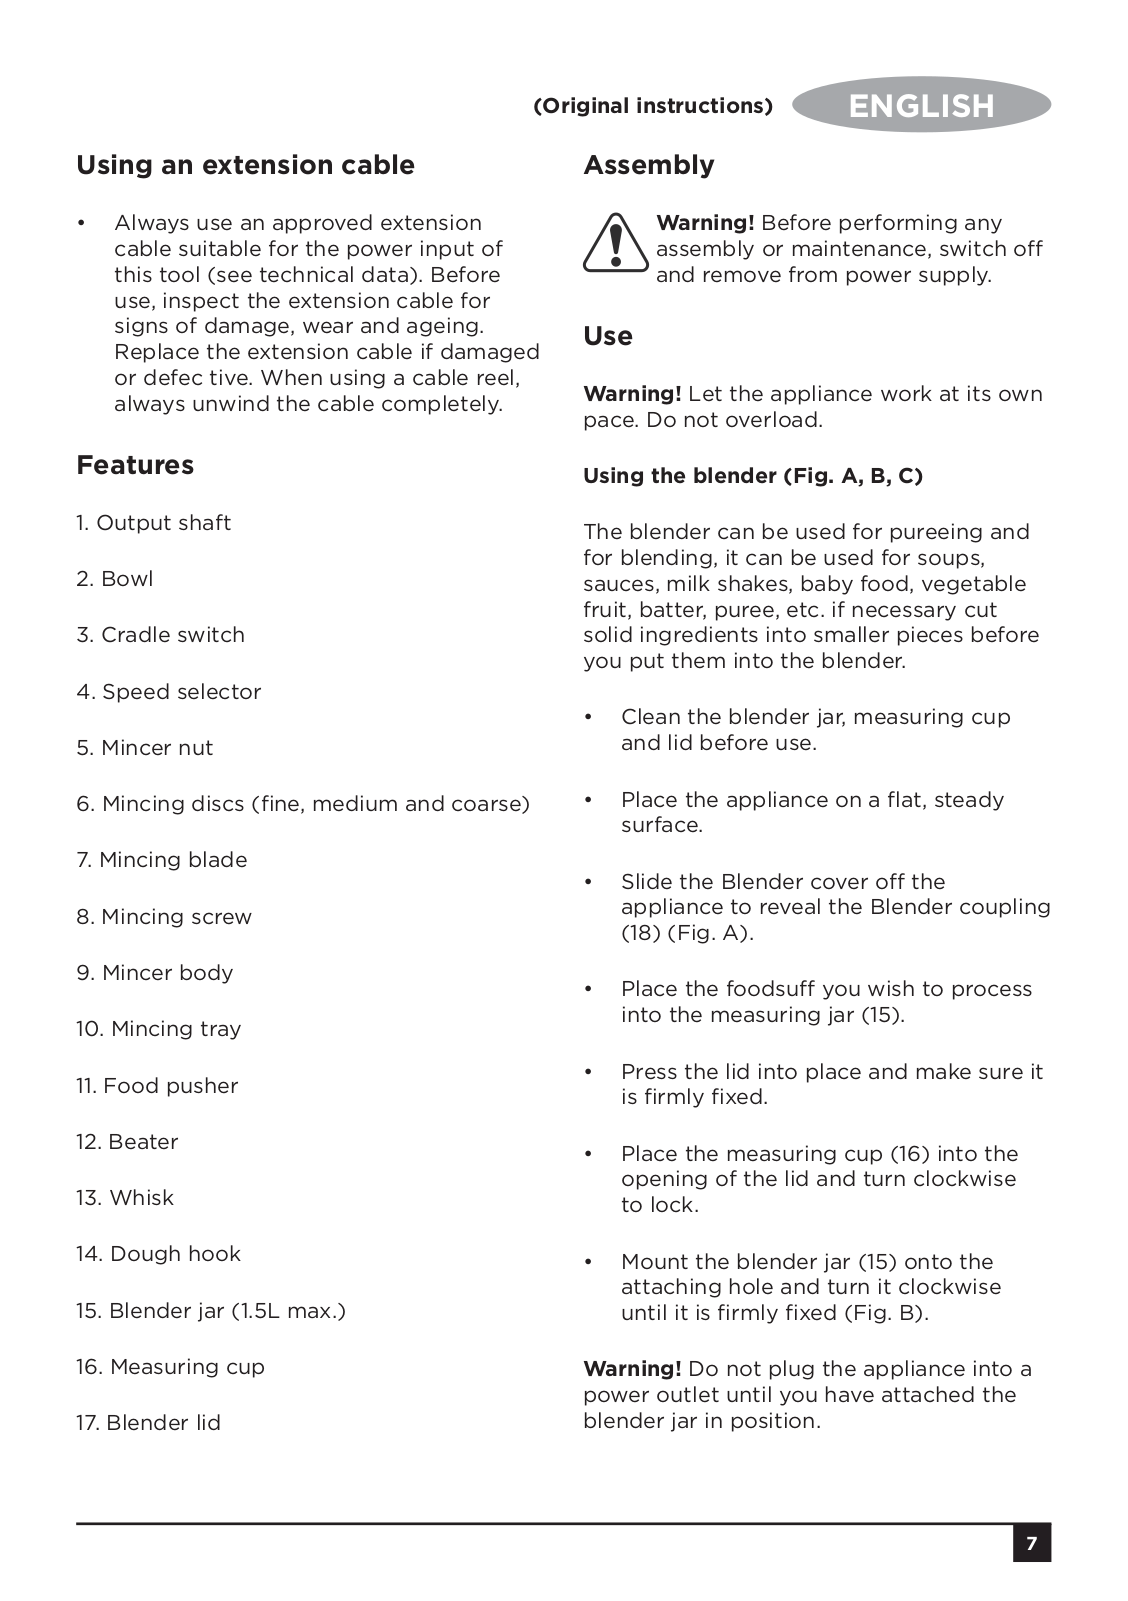
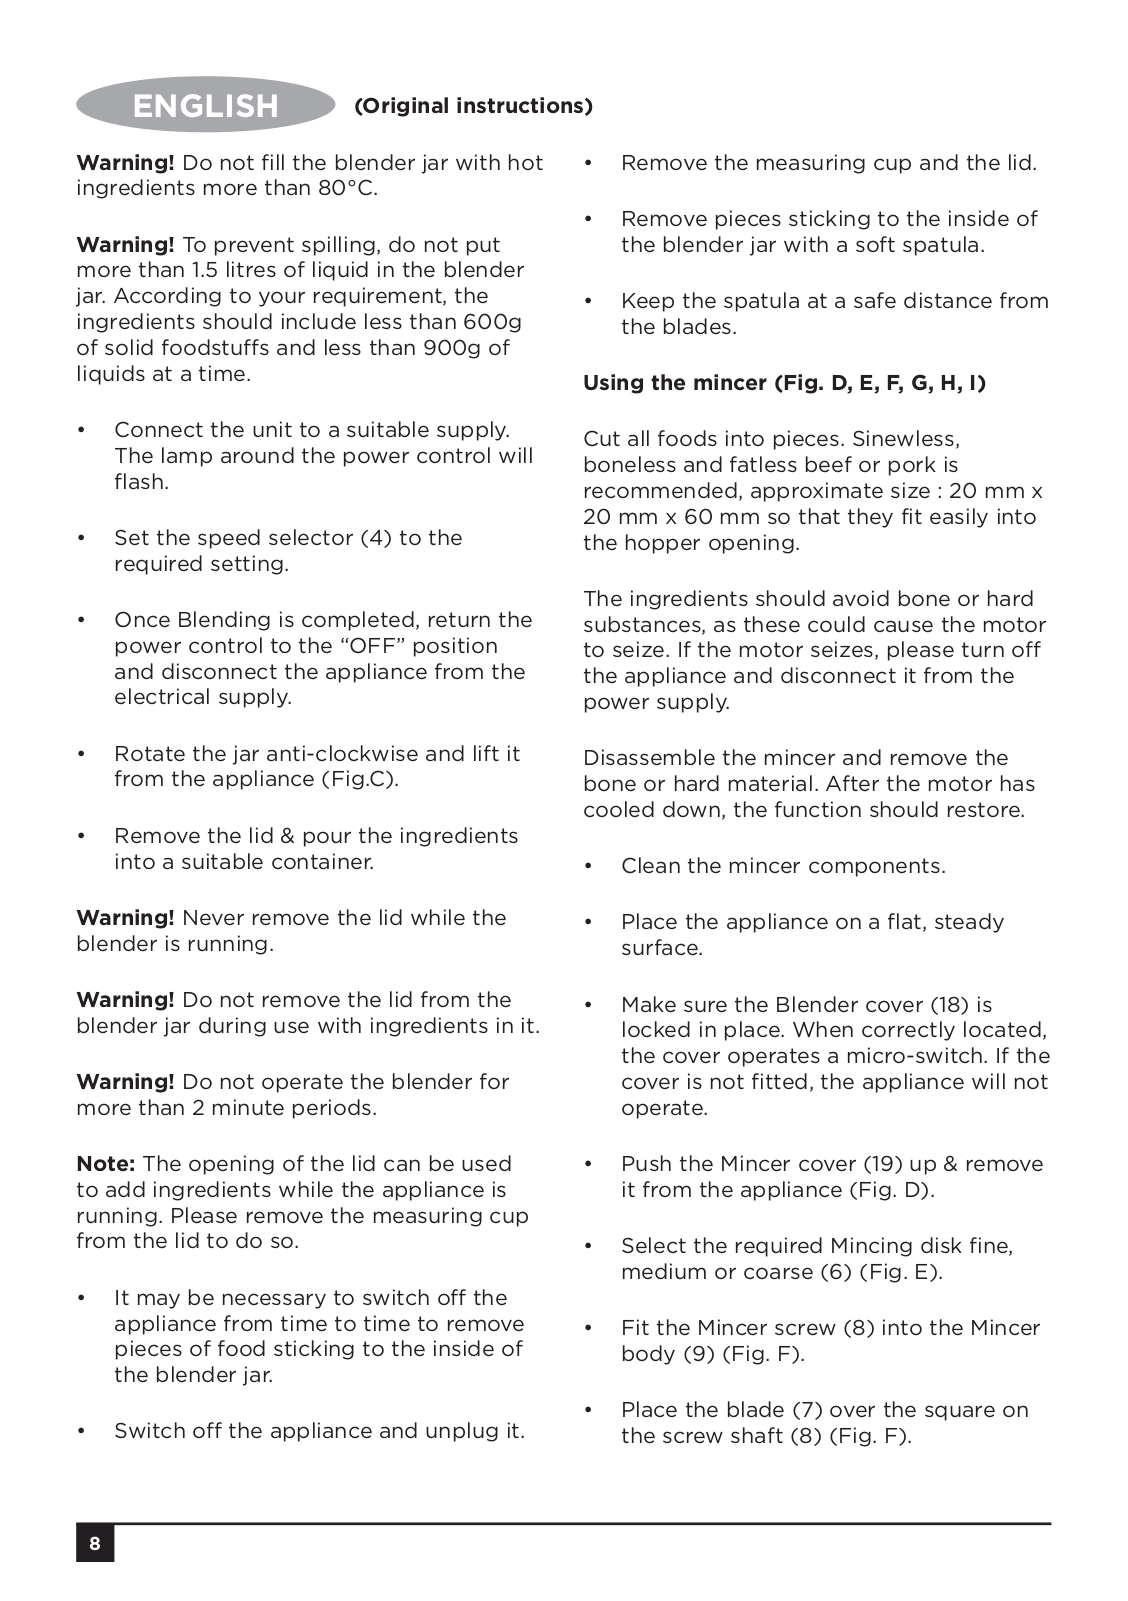
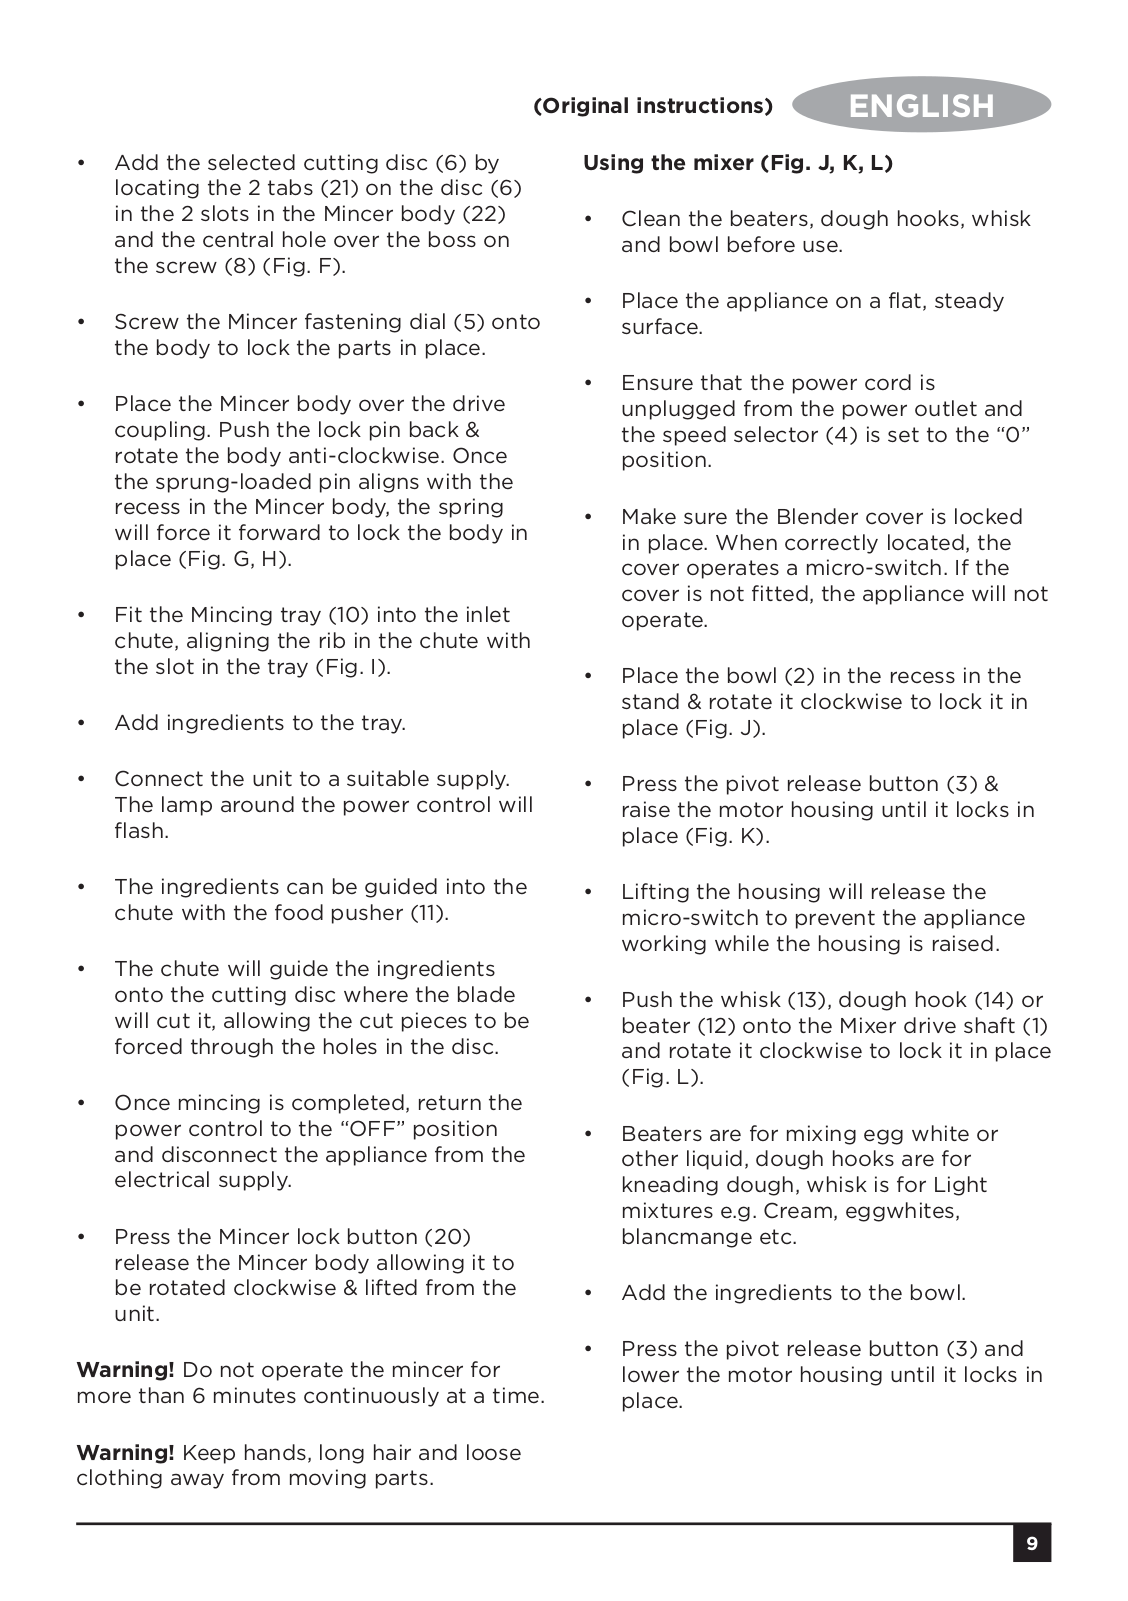
Black & Decker
Loading...
S
SK200C
Sk2020
SK300
2
SK3000-IT
Sk3050
Sk5050
Sk5500
SK600
SKG100
SKG105
3
SKG105C
3
SKG110
SKG110C
SKG111
SKG605
2
SKG610C
SL100
SL102B
SL1050
SL112B
SL12VDCB
SL-2
2
SL202B
SL212B
SL3000B
SL302B
SL331B
SL3WAKB
SL5385C
SL5470C
3
SL6470C
SL6470SKT
2
SLB1MQ
2
SLO400
SM1610
SM1620
SM1630
SM1850BD
SM229-SRVC
SM24520
SM24520-AR
SM24520G
SM24530
SM24530BC
SM24530-CL
SM245420G
SM24550
SM250
2
SM427
SM511
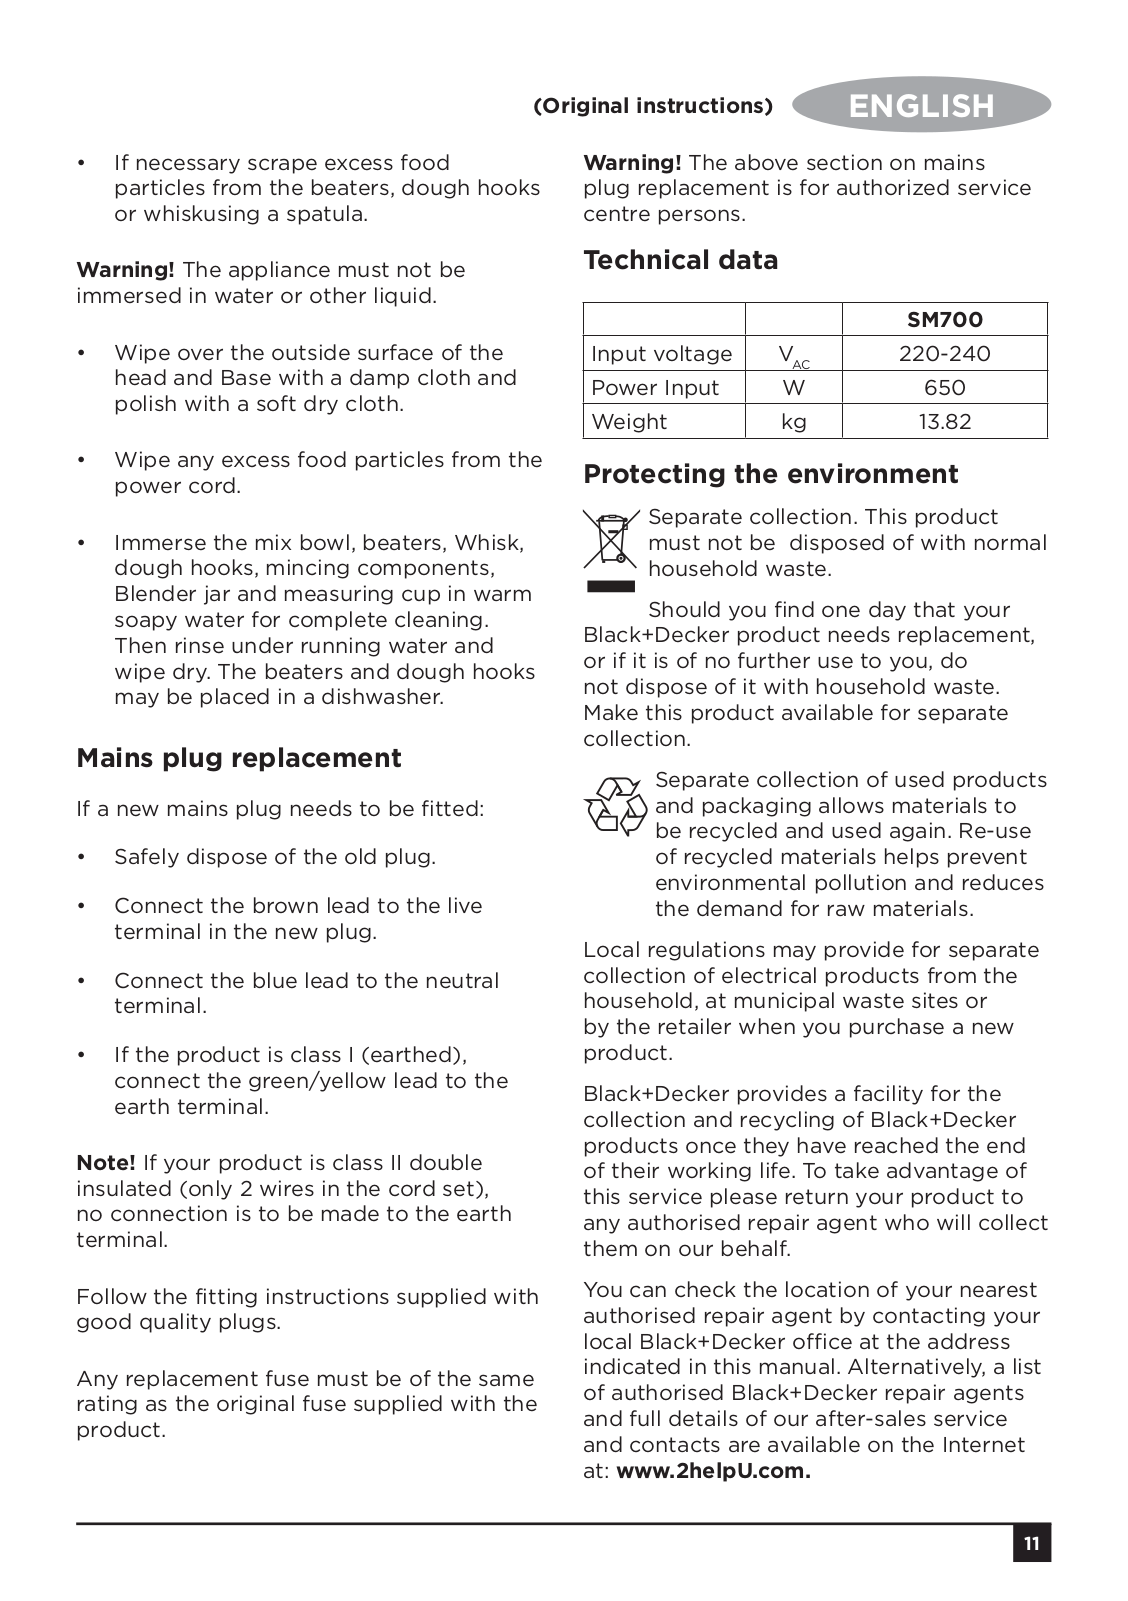
Sm700
Sms216
7
Sms254
7
Sms400
5
SMS500
3
SNC100
SNC100B
SNC3650L252
SP1400D
SP1800D
SPCM1936
2
SPCM1936 TYPE 1
SPT100
SPV1400
SPV140F
SPV1450
SPV1800
SPV180F
SR650
SS1000
SS12
SS12C
SS12C TYPE 1
SS12C TYPE 2
SS12D
SS14
2
SS18
2
SS18SB-2 TYPE 1
SS200
SS50B
SS925
SSC1000
4
SSC1000 TYPE 1
SSL16
2
SSL20
2
ST1000
ST1000 TYPE 1
ST1000 TYPE 2
ST1000 TYPE 3
ST1823
3
ST182320-QW
ST2000
ST3000
ST4000
2
ST4500
7
ST4500 TYPE 1
ST4500 TYPE 2
ST4500 TYPE 3
ST4500 TYPE 4
ST4500YK
Loading...
Loading...
Nothing found
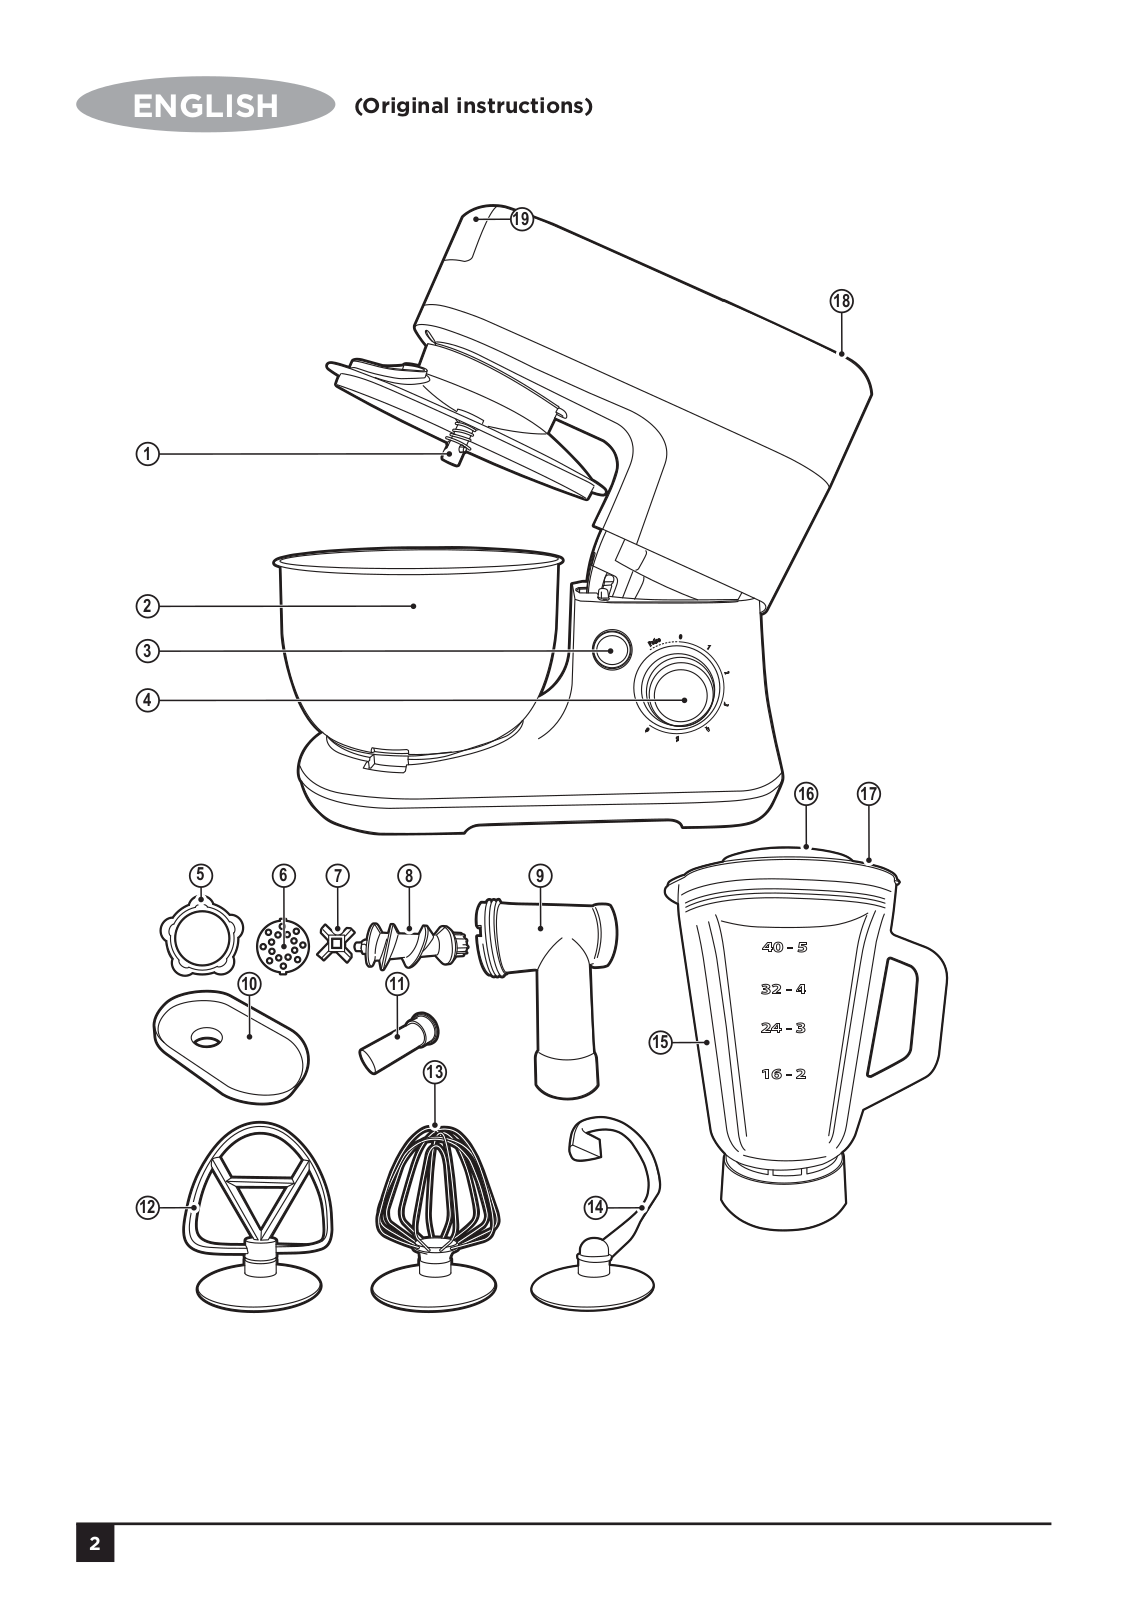
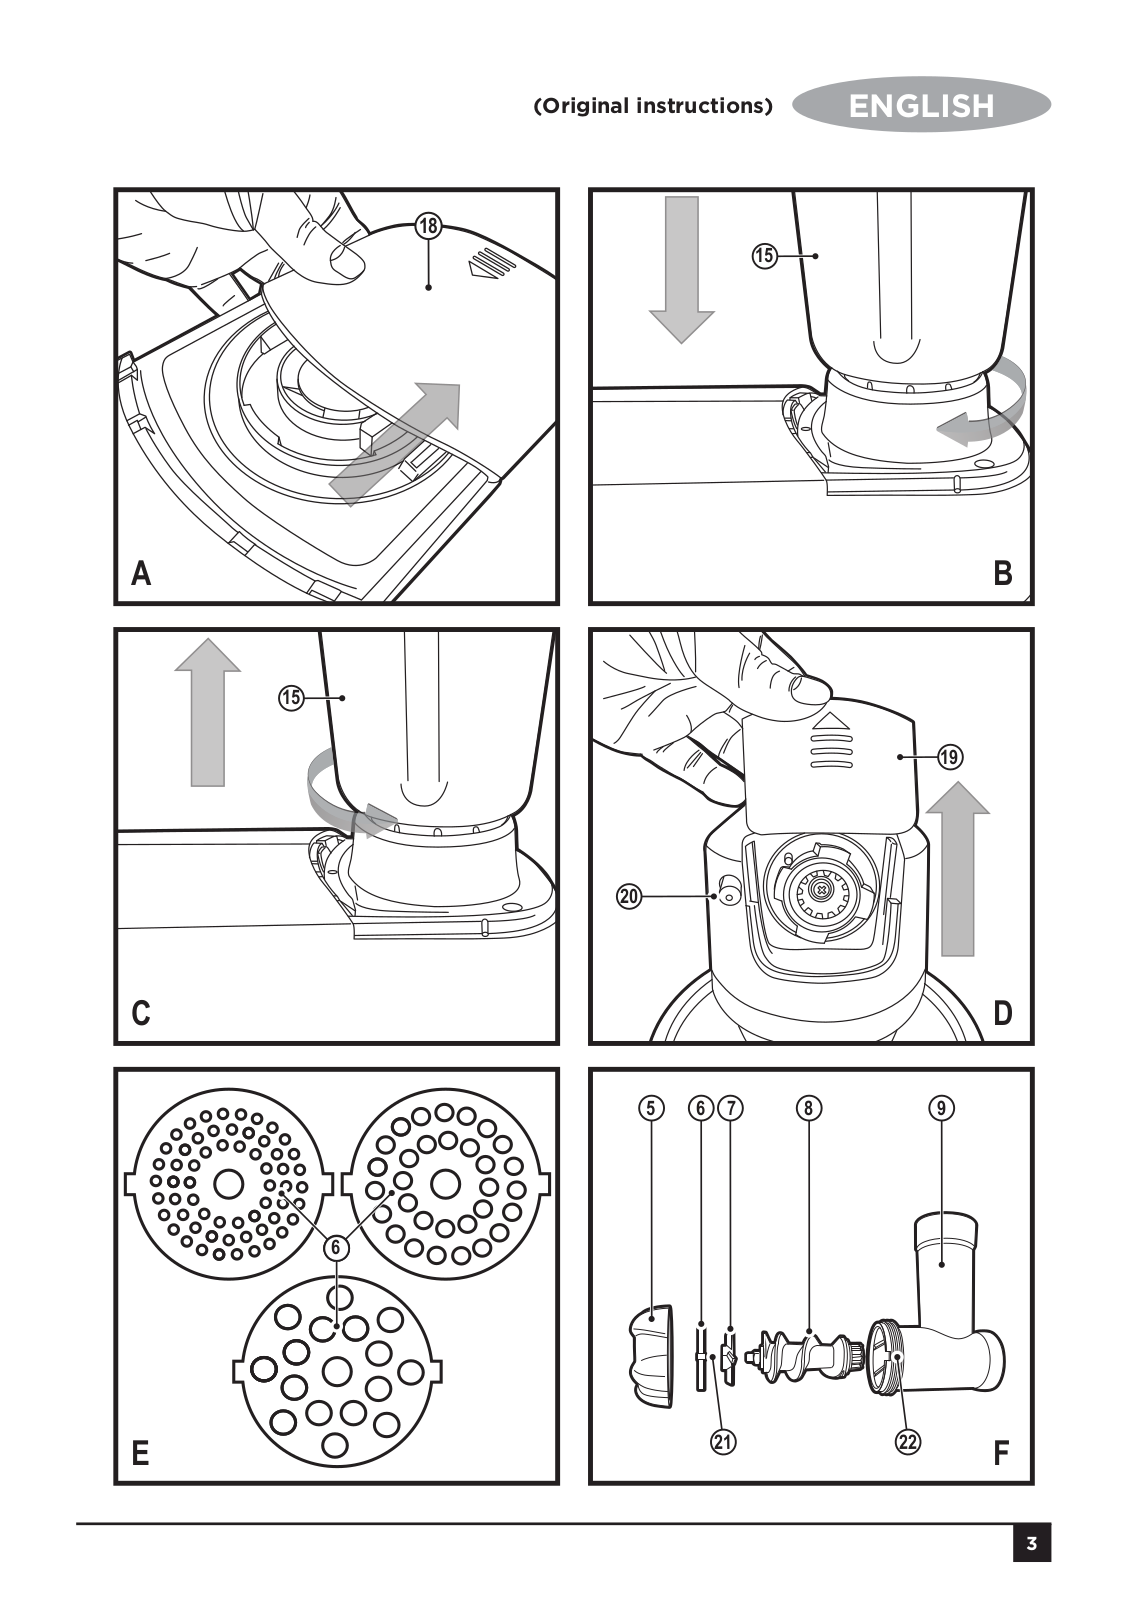
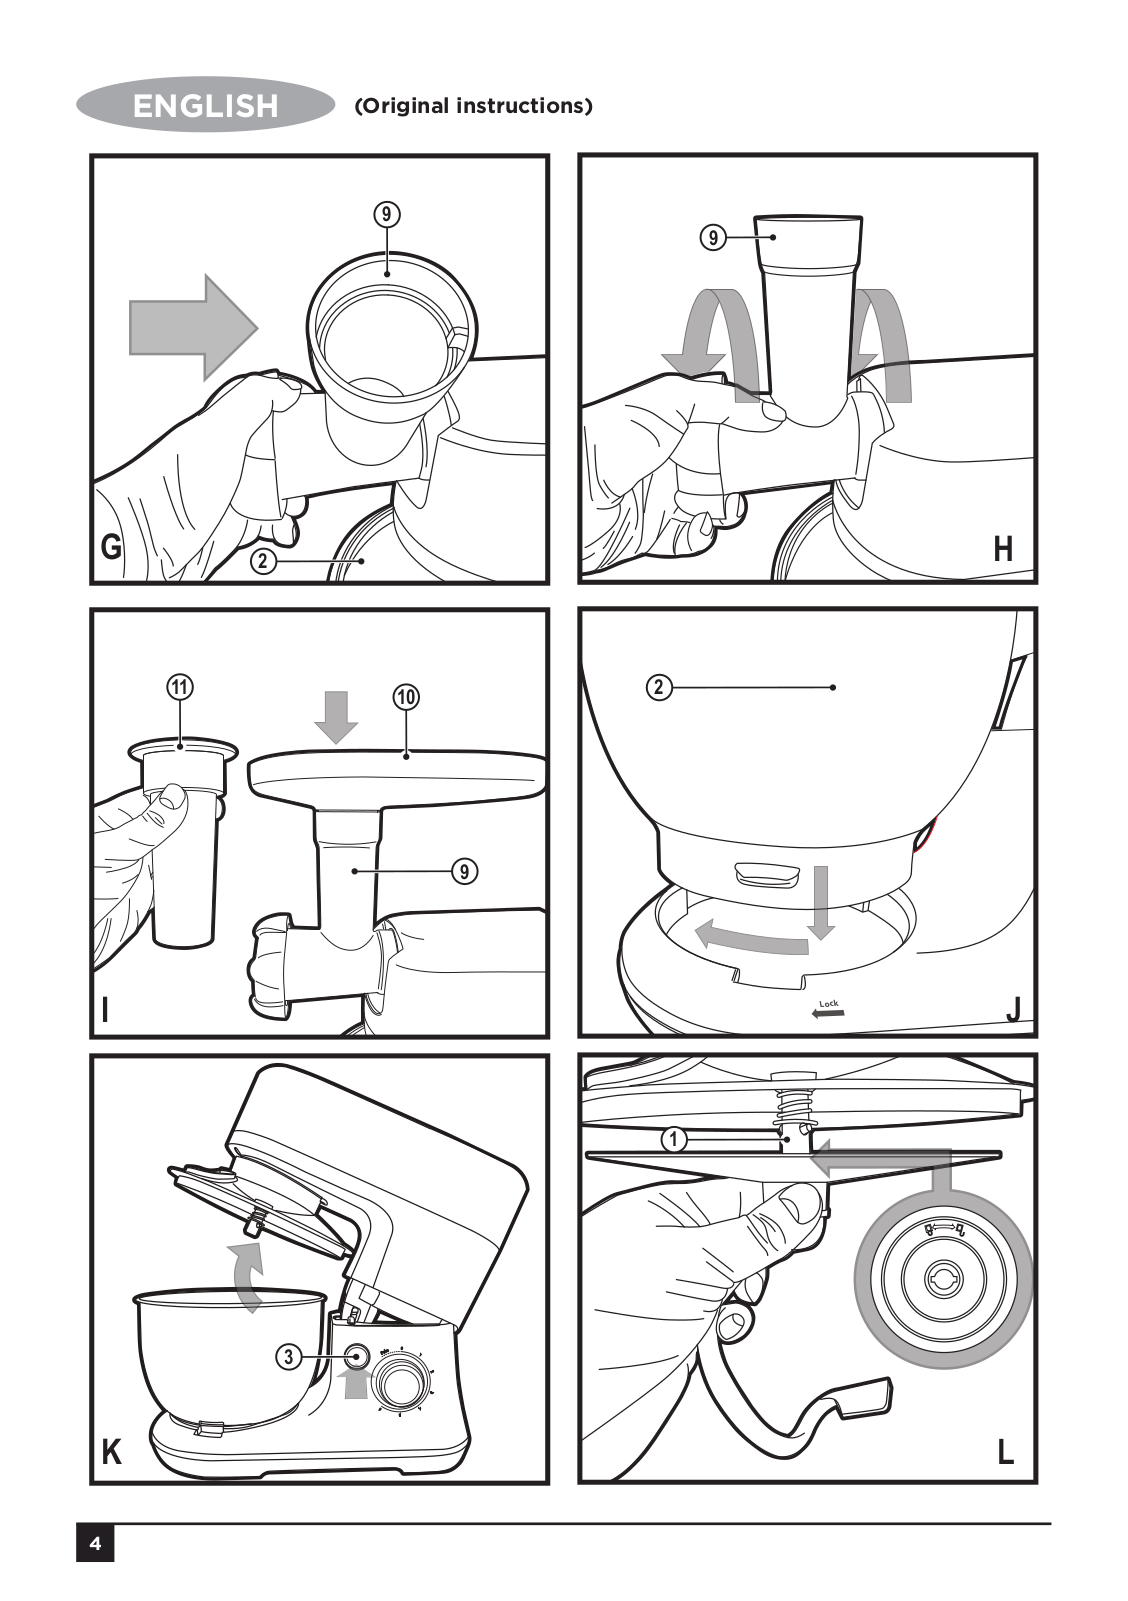
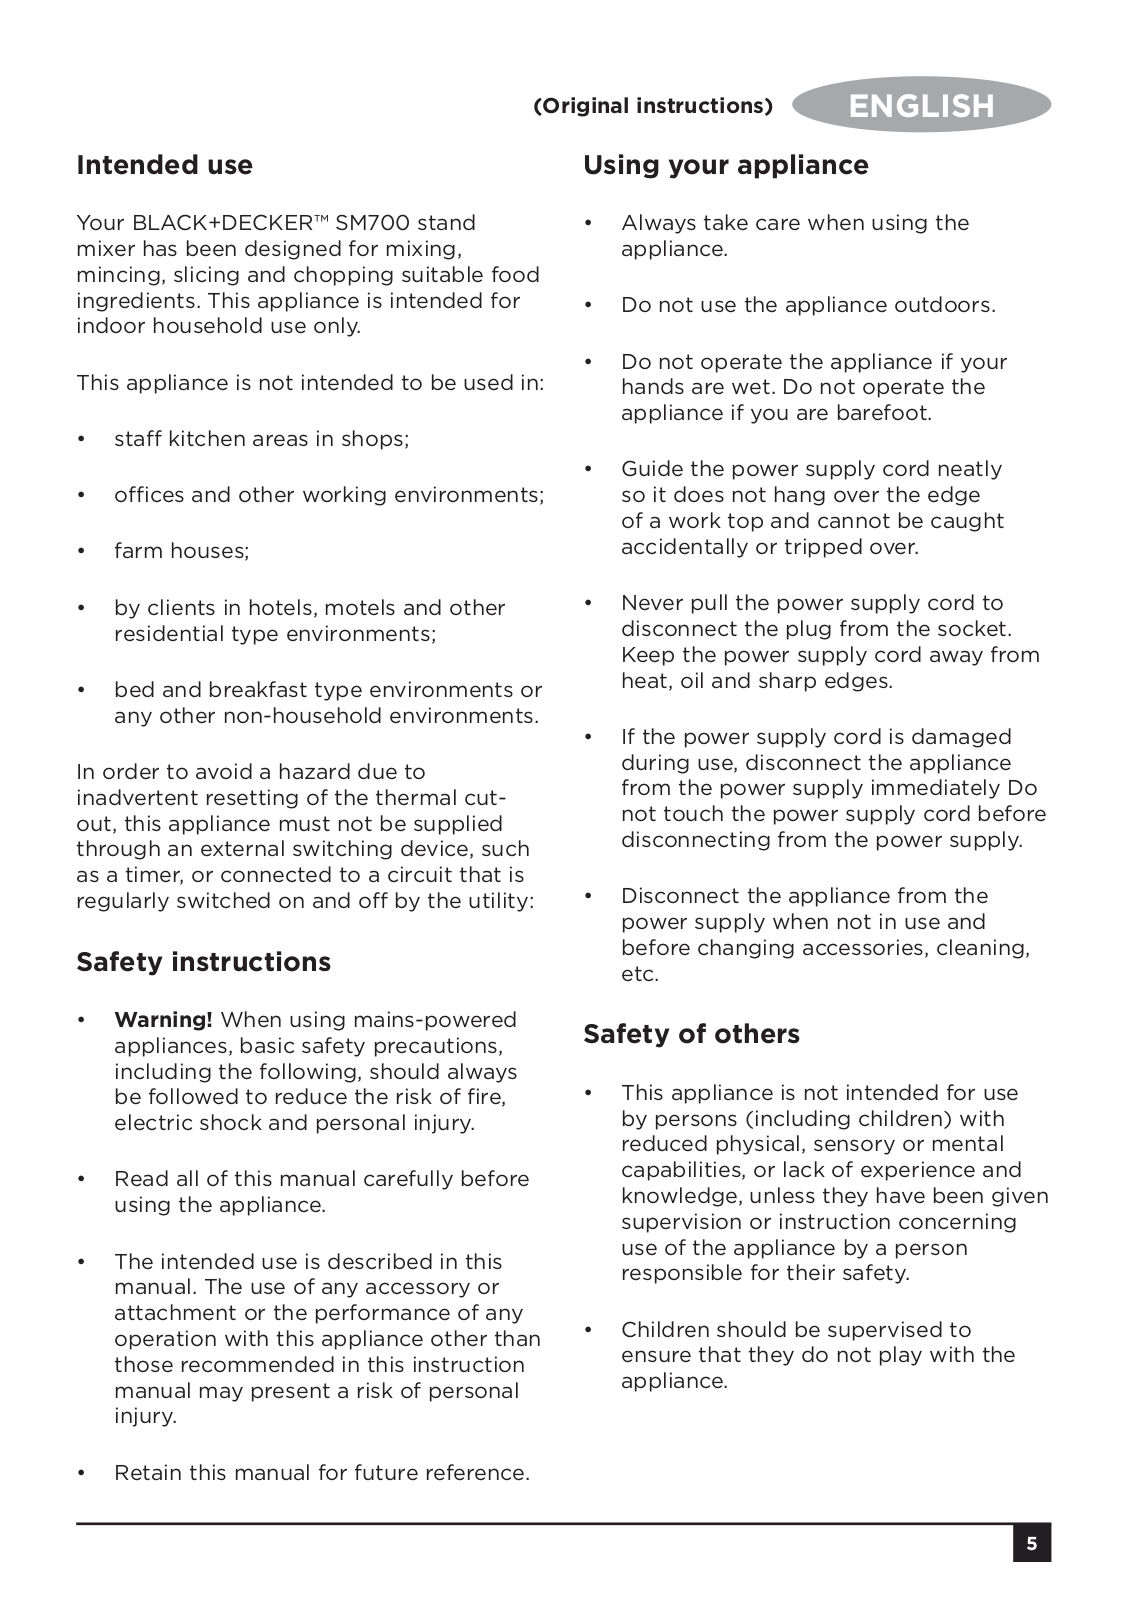
Sm700
Instruction Manual [ar]
48 pgs
5 Mb
0
Table of contents
Loading...
Black & Decker Sm700 Instruction Manual [ar]
...
Black & Decker Instruction Manual [ar]
Download
Specifications and Main Features
Frequently Asked Questions
User Manual
Download
Loading...
+
33
hidden pages
Unhide
You need points to download manuals.
1 point = 1 manual.
You can buy points or you can get point for every manual you upload.
Buy points
Upload your manuals