

Page 1
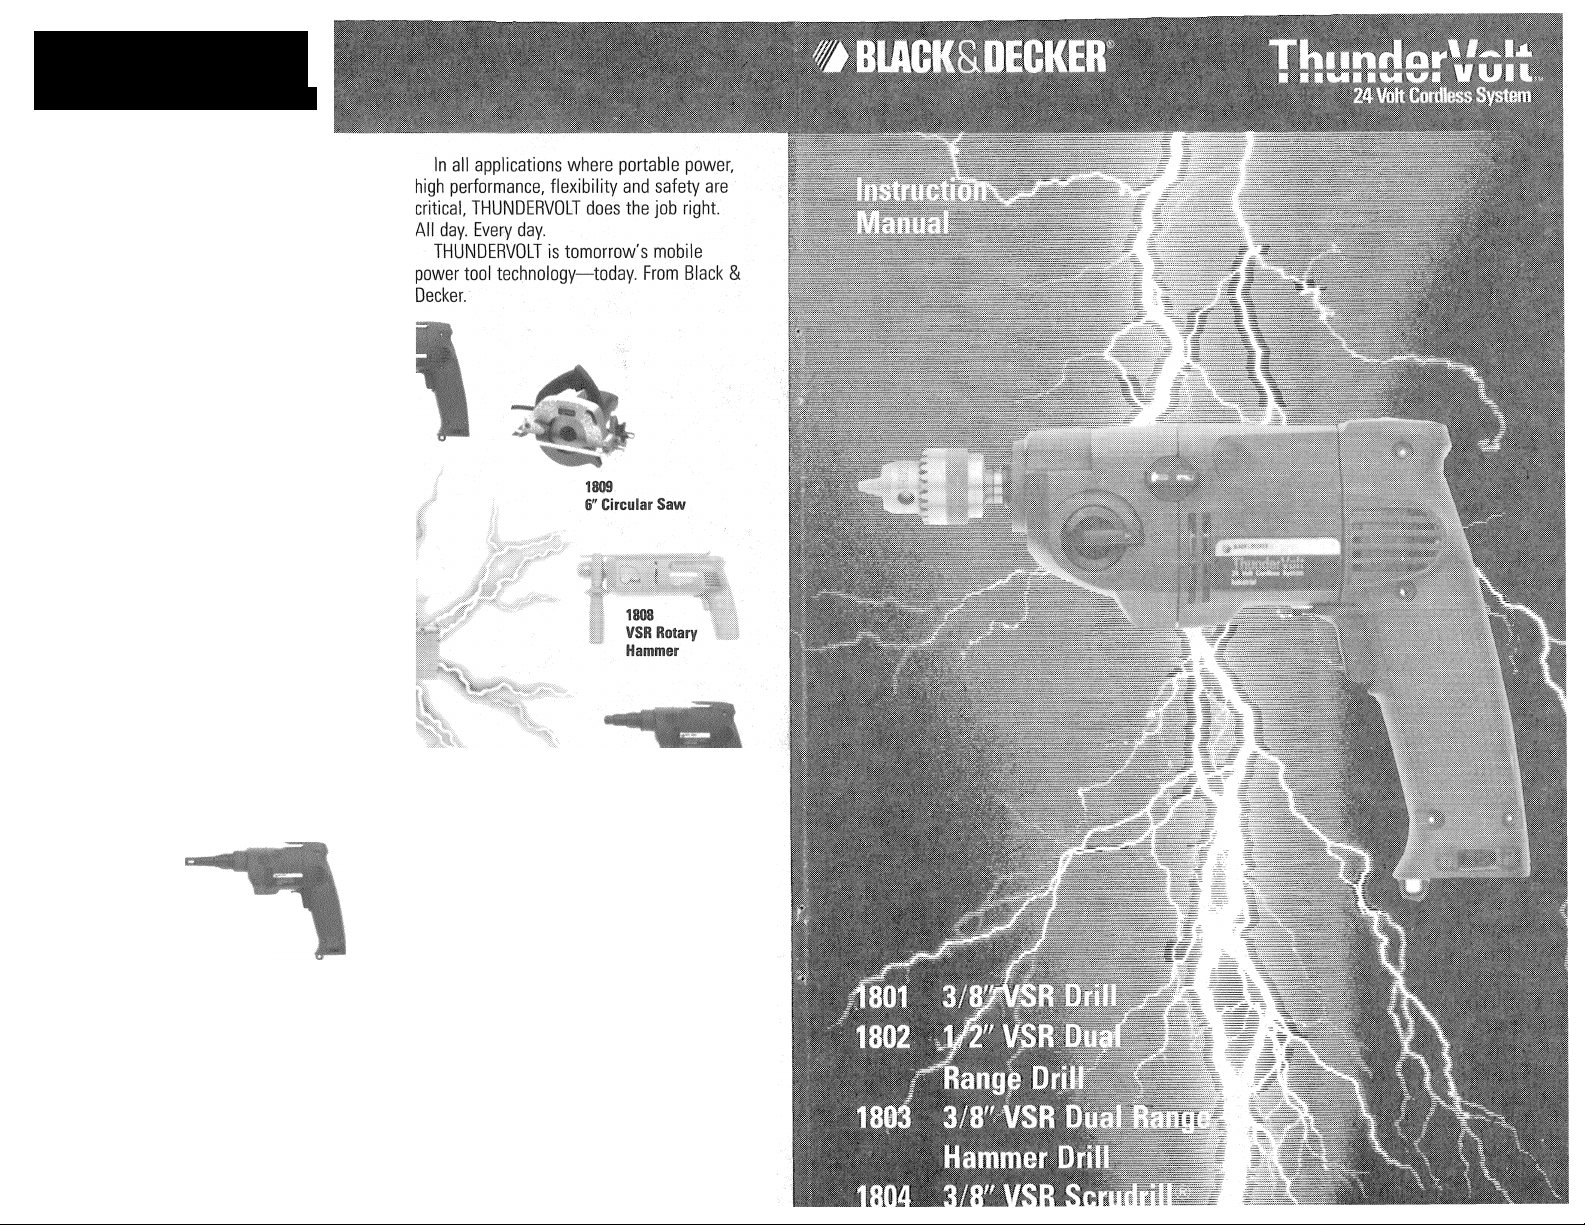
ThunderVoîî
24 Voh Cwi^ts System
Black & Decker introduces a breakthrough in
power tool technology.
THUNDERVOLT''^'” advances the state of
the art with a one hour fast charger, a dual
output (12V & 24V) battery pack and 10
heavy duty power tools and accessories in
one 24 Volt High Performance Cordless
System.
1801
3/8" ¥SH Orili
1802
1/2" VSR Dual
Range Drill
1B03
3/8" ¥SK Dual
Range Haiîiiiier
Drill
1804
3/r ¥SR
Scruirill **
18ÛS
fSi Drfwall
Scri|ii®
ISIS
fSifersa-Clitcl®
Scrigun'^' fO-2500 i
Accessories
1810 Halogen Work Uglt
1820 Thundervoit Kit
S800Ì iatterf Charger for Lead Acid Batteries
ÌSI21 12/24 Volt Battery Pack
98024 Battery Pack Belt and Pouch
98031 6 foot Coiled Cable (or cordsetl
ISI32 13 fiit Cable (§r ctrisetl
SSI34 elargir fri» 12 Volt Velicii Source
98035 Charging Clip Adaptor
BlACKSiDECKER Fom no 741715
#
Black & Decker (U.S.) Inc., U.S. Power Tools Group, 10 North Park Drive, P.O. 21030-0798, Hunt Valley, MD 21030 U.S.A.
1801 1
¥SR Versa-Clitch^'"'
Scragui""' fi-liiO iPM|
(JUL88-I) Printed in Italy D1988 Black & Decker
Page 2
rv/
\ '
Thanks for Selecting
a Black & Decker
ThunderVoir Drill.
ThunderVolt is a whole new
approach to cordless tools that has
been engineered to be the best,
most advanced system in the world.
The system employs a 12/24 volt
battery pack that recharges in one
hour and powers a full range of drills,
hammer drills, screwdrivers, and
even a circular saw and a rotary
hammer.
The battery pack can be carried
on a shoulder strap or worn in a belt
pouch so that the system is
completely portable for use at the
most remote locations.
The enclosed instruction sheet
“12 & 24 Volt ThunderVolt System”
describes, in detail, the usage of the
battery pack, the 1 hour charger and
the related accessories.
Your Black & Decker Thunder
Volt drill has been built to Black &
Decker’s exacting standards of
quality to ensure years of superior
performance.
With your new drill you can drill
holes in practically any material you
can name and you can buff, sand,
polish, mix paint and drive screws
with features like variable speed and
reversing capability.
All this versatility and Black &
Decker’s inherent toughness make
this drill every bit the professional
that you are.
Please take the time to read this
informative manual and pay particular
attention to the safety rules we’ve
provided for your protection.
Don’t forget to send in your
owner’s registration card.
THANKS AGAIN FOR BUYING
BLACK & DECKER!
Lubrication
All ball bearings used are factory lubricated to last the life of the bearings. All needle
bearings used receive their lubrication from the grease in the gear case. Clean and re
lubricate gear case yearly or whenever servicing requires the gear case to be removed.
Use type and quantity of grease shown on Parts Bulletin packed with your tool.
Gear case is removed by removing the three screws from the front of the tool.
Warranty
Black & Decker (U.S.) Inc. warrants this product for one year from date of purchase.
We will repair without charge, any defects due to faulty materia! or workmanship.
Please return the complete unit, transportation prepaid, to any Black & Decker Service
Center or Authorized Service Station listed under “Tools Electric” in the yellow pages.
This warranty does not apply to accessories or damage caused where repairs have
been made or attempted by others.
Like most Black & Decker tools, this tool is listed by Underwriters Laboratories to
ensure that it meets stringent safety requirements.
This symbol on the nameplate means the product
is listed by Underwriters Laboratories, Inc.
See Tools-Electric’
-Yellow Pages-
for Service & Sales
m
BIACKSlDECKER
11
Page 3

WARNING: When using Electric Tools, basic safety precautions should always be followed
to reduce the risk of fire, electric shock, and personal injury, including the following:
READ ALL INSTRUCTIONS
1. KEEP WORK AREA CLEAN. Cluttered areas and benches invite injuries.
2. CONSIDER WORK AREA ENVIRONMENT. Don’t expose power tools to rain. Don’t
use power tools in damp or wet locations. Keep work area well lit.
3. GUARD AGAINST ELECTRIC SHOCK. Prevent body contact with grounded
surfaces. For example: pipes, radiators, ranges, refrigerator enclosures.
4. KEEP CHILDREN AWAY. All visitors should be kept away from work area. Do not
let visitors contact tool or cord.
5. STORE IDLE TOOLS. When not in use, tools should be stored in dry, and high or
locked-up place—out of reach of children.
6. DON’T FORCE TOOL. It will do the job better and safer at the rate for which it was
intended.
7. USE RIGHT TOOL. Don’t force small tool or attachment to do the job of a heavy-duty
tool. Don’t use tool for purpose not intended, for example, don’t use circular saw for
cutting tree limbs or logs.
8. DRESS PROPERLY. Do not wear loose clothing or jewelry. They can be caught in
moving parts. Rubber gloves and non-skid footwear are recommended when
working outdoors. Wear protective hair covering to contain long hair.
9. USE SAFETY GLASSES. Also use face or dustmask if operation is dusty.
10. DON’T ABUSE CORD. Never carry too! by cord or yank it to disconnect from battery
pack. Keep cord from heat, oil, and sharp edges.
11. SECURE WORK. Use clamps or a vise to hold work. It’s safer than using your hand
and it frees both hands to operate toot.
12. DON’T OVERREACH. Keep proper footing and balance at all times.
13. MAINTAIN TOOLS WITH CARE. Keep toots sharp and clean for better and safe
performance. Follow instructions for lubricating and changing accessories, inspect
tool cords periodically and if damaged have repaired by authorized service facility.
Keep handles dry, clean, and free from oil and grease.
14. DISCONNECT TOOLS. When not in use, before servicing, and when changing
accessories, such as blades, bits, cutters.
15. REMOVE ADJUSTING KEYS AND WRENCHES. Form habit of checking to see that
keys and adjusting wrenches are removed from tool before turning it on.
16. AVOID UNINTENTIONAL STARTING. Don’t carry plugged-in tool with finger on
switch. Be sure switch is off when plugging in.
17. STAY ALERT. Watch what you are doing. Use common sense. Do not operate tool
when you are tired.
18. CHECK DAMAGED PARTS. Before further use of the tool, a guard or other part that
is damaged should be carefully checked to determine that it will operate properly and
perform its intended function. Check for alignment of moving parts, binding of moving
parts, breakage of parts, mounting, and any other conditions that may affect its
operation. A guard or other part that is damaged should be properly repaired or
replaced by an authorized service center unless otherwise indicated elsewhere in
this instruction manual. Have defective switches replaced by authorized service
center. Do not use too! if switch does not turn it on and off.
19. DO NOT OPERATE portable electric tools near flammable liquids or in gaseous or
explosive atmospheres. Motors in these tools normally spark, and sparks might ignite
fumes.
10
CAUTION; When drilling into walls, floors or wherever “live” electrical wires may be
encountered, DO NOT TOUCH THE CHUCK OR ANY FRONT METAL PARTS OF THE
DRILL! Hold the Drill only by the plastic handle to prevent shock if you drill into a “live” wire.
SAVE THESE SAFETY RULES
FOR FUTURE USE.
Page 4

Detachable Cord Sets
The two available detachable cord
sets for your tools are designed to be
interchangeable depending on the
proposed usage.
To attach either of the cords to any of
the tools in this manual, follow the steps
listed below.
1. Rotate the cord locking tab such
that the tab is adjacent to the
“unlocked” symbol, as shown in
Figure 1.
2. Insert the cord, as shown in the
figure and rotate the locking tab until
it is adjacent to the “locked” symbol,
as shown in the figure.
Attach the other end of the cord to
the battery pack in the same way making
sure that you insert the cord into the 24
volt receptacle in the battery pack (see
Figure 2). NOTE: All of the tools
discussed in this manual are designed to
operate on 24 volts only. For a more
detailed description of how to use the
battery pack, refer to the enclosed “12 &
24 Volt ThunderVolt System” instruction
sheet.
Switches
To start tool, depress trigger switch;
to stop tool, release trigger, as shown in
Figure 3.
Accessories
The accessories listed in this manual are available at extra cost from your local
dealer or Black & Decker Service Center. A complete listing of service centers is
included on the owner’s registration card packed with your tool.
If you need assistance in locating any accessory, please contact; Black & Decker
(U.S.) Inc., User Services Department, 626 Hanover Pike, P.O. Box 618, Hampstead,
MD 21074-0618
Recommended accessories for your tool are shown in this manual (CAUTION: The
use of any other accessory or attachment might be hazardous.) For safety in use, the
following accessories should be used only in sizes up to maximums shown in the table
below.
Maximum Recommended Capacities
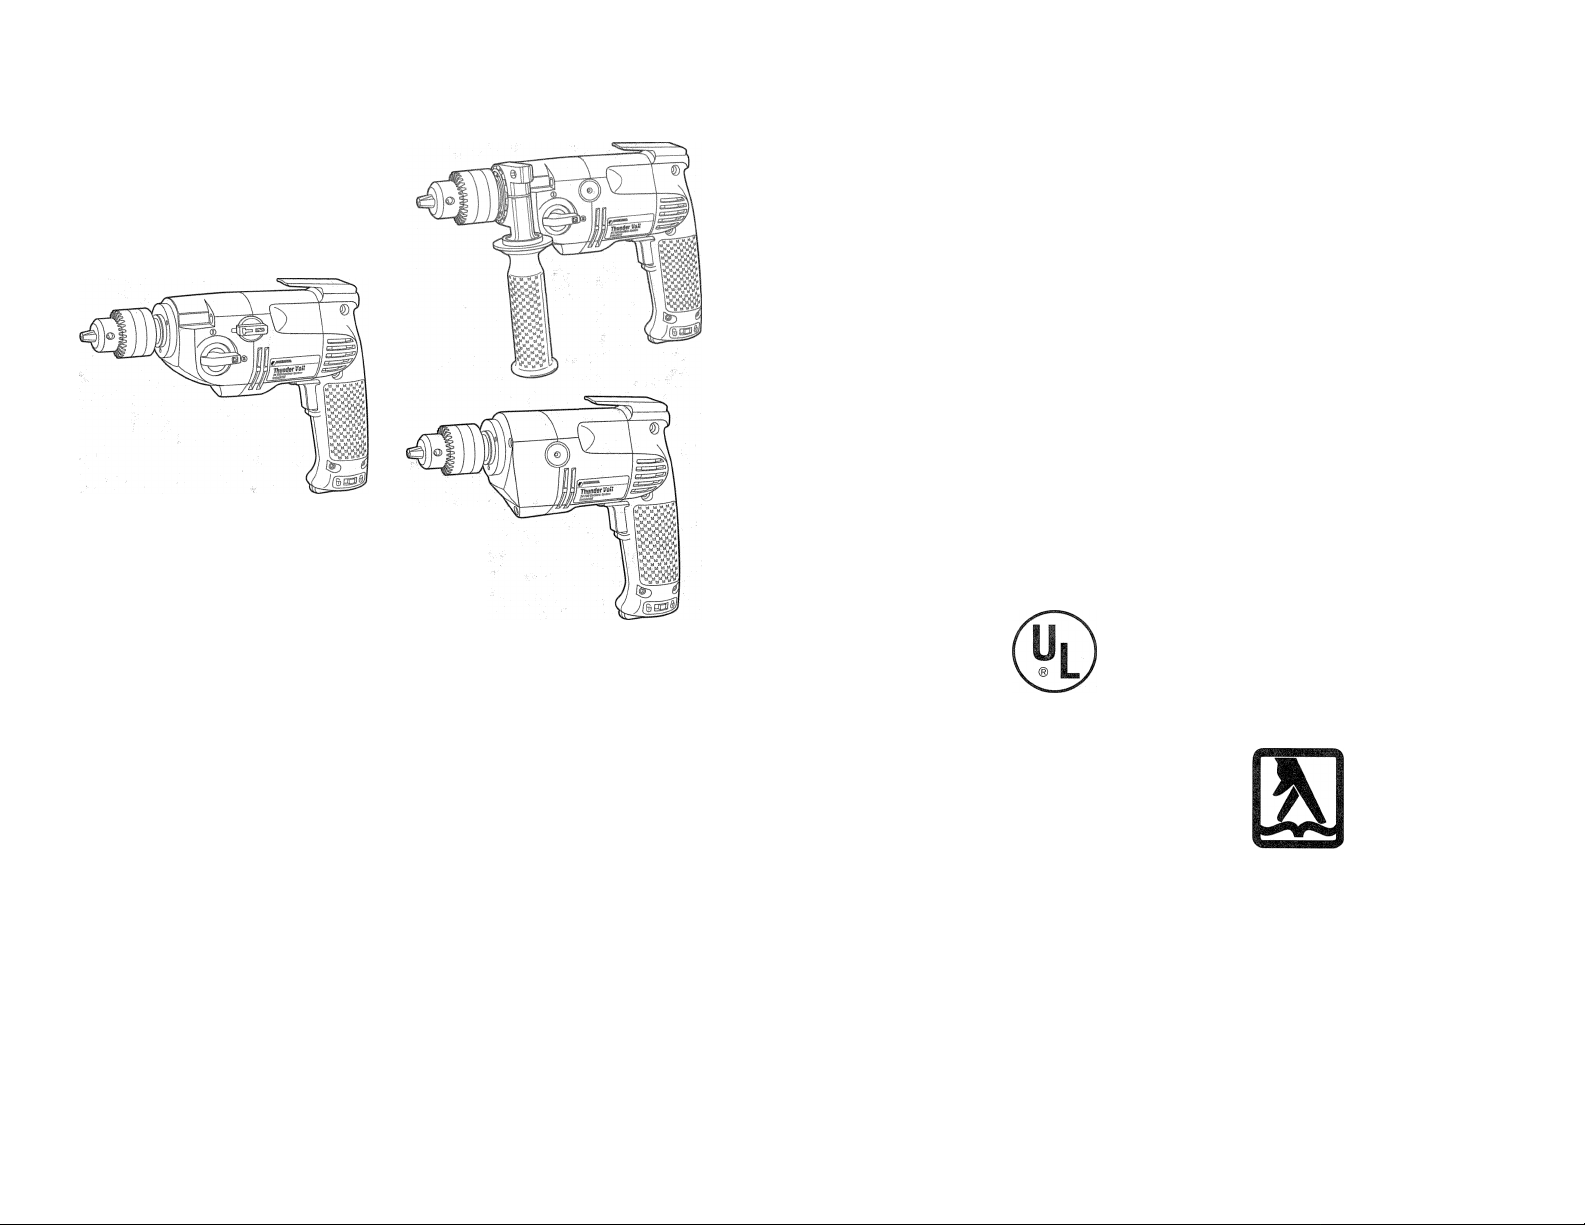
The 1801 Drill and the 1804 Scrudrill
are standard variable speed reversing
tools. The range of the 1801 is from 0 to
1,200 RPM and the range of the 1804 is
from 0 to 1500 RPM.
The 1802 1/2" drill and the 1803
3/8" Hammer Drill are dual range
variable speed reversing tools. The low
speed range on each is from 0 to 500
RPM and the high speed range is from
0 to 1,200 RPM. To select the low range
setting on either of these two tools, turn
off the tool, and rotate the range selec
tor dial, shown in Figure 4, to align with
the number “I” or the “!!”. Any other
position of the dial will result in seriously
damaged gears.
TOOL CAPACITY
R.P.M.
BITS, METAL DRILLING
WOOD, FLAT BORING
BITS, MASONRY DRILLING
HOLE SAWS
ACCESSORY MUST BE RATED FOR USE AT SPEED EQUAL TO OR HIGHER
THAN NAMEPLATE R.P.M. OF TOOL WITH WHICH IT IS BEING USED.
WIRE WHEEL BRUSHES
WIRE CUP BRUSHES
BUFFING WHEELS
RUBBER BACKING PADS
1/2"
0-1200 0-1200
1/2"
1 1/2"
9/16"
3"
4" Diameter Maximum
3" Diameter Maximum
3" Diameter Maximum
4 5/8" Diameter Maximum
3/8"
3/8"
1 1/4"
9/16"
1 1/2"
Page 5

Drilling In Masonry
Use carbide tipped masonry bits at
low speeds. Keep even force on the drill
but not so much that you crack the brittle
materials. A smooth, even flow of dust
indicates the proper drilling rate.
Side Handle
CAUTION: Always use side handle
when provided and hold tool with both
hands.
The side handle clamps to the front
of the gear case as shown in Figure 8
and can be rotated 360 degrees to permit
right or left hand use. Loosen the handle
(counterclockwise) to loosen the clamp
and rotate handle to desired position.
Tighten handle.
Chuck Key Holder
1. Push double-hole end of Holder
through slot in other end of Holder
(Figure 9).
2. Slip loop over electric plug and draw
loop tight around cord (Figure 10).
3. Push ends of Chuck Key Handle
through two holes in end of Holder
(Figure 11).
Chuck Removal
(Figures 12 and 13)
1. Place chuck key in chuck as shown
in Figure 12. Using a wooden mallet
or similar object, strike key sharply
in a CLOCKWISE direction. This
will loosen screw inside chuck.
2. Open chuck jaws fully, insert
screwdriver (or 3/16" hex wrench if
required) into front of chuck
between jaws to engage screw
head. Remove screw by turning
clockwise (left-hand-thread).
3. Place key in chuck as shown in
Figure 13. Using a wooden mallet
or similar object, strike key sharply
in a COUNTER-CLOCKWISE
direction. This will loosen chuck so
that it can be unscrewed by hand.
After selecting the desired range, the
1803 and the 1802 dual speed tools will
operate the same as the standard
variable speed reversing tools.
The Variable Speed Trigger
Switch permits speed control — the far
ther the trigger is depressed, the higher
the speed of the Drill. NOTE: Use lower
speeds for starting holes without a
center punch, drilling in metal or
plastics, driving screws, drilling
ceramics, or mixing paint. Higher
speeds are better for drilling wood and
composition boards, and for using
abrasive and polishing accessories.
The reversing lever can be used to
shift the tool into reverse for backing out
screws and withdrawing drill bits from
tight holes. To switch the tool from
forward to reverse, turn off the tool and
move the reversing lever shown in Figure
5 to the left, as viewed in the figure.
The reversing lever performs two
functions; it reverses the tool and it locks
the tool off. The center position is "lockoff” and should be used whenever the
tool is put away or left unattended (refer
to Figure 5).
After any reversing operations, return
the lever to the forward position.
1804 3/8" Scrudrill
The Scrudrill is a combination drill
and screwdriver that you'll find to be a
great time saver.
To use this tool as a drill, rotate the
selector knob shown in figure 6 so that
the pictured drill bit is toward the front of
the tool. Use the drill as you would any
drill.
To select the screwdriving mode,
rotate the selector knob so that the
pictured screw is toward the front of the
tool as shown in the figure. In this mode
the motor will run when the trigger is
squeezed but the chuck will not turn until
you push in on the tool and engage the
clutch. This enables you to locate the
screwdriver bit in the screw without
turning the tool off.
Try a few test screws in scrap
material until you develop a "feel" for the
Scrudrill.
1803 3/8" Hammer Drill
The Hammer Drill is a drill especially
made for drilling holes in masonry where
a slight impacting action is required. The
Hammer Drill, as its name implies, can
also be used as a standard drill.
To operate as a drill, rotate the
selector knob shown in Figure 7 so that
the pictured drill bit is toward the front of
the tool. Operate as you would any
standard drill.
Page 6

To operate the tool as a hammer drill,
rotate the selector knob so that the
pictured hammer is toward the front of
the tool, as shown in the figure.
SELECTOR
KNOB
FIG.
Operation
DRILLING
Always unplug the Drill when
1.
attaching or changing bits or
accessories.
Use sharp drill bits only. For
2.
WOOD, use twist drill bits, spade
bits, power auger bits, or hole saws.
For METAL, use high speed steel
twist drill bits or hole saws. For
MASONRY, such as brick, cement,
cinder block, etc., use carbidetipped bits.
Be sure the material to be drilled is
3.
anchored or clamped firmly. If
drilling thin material, use a wood
“back-up” block to prevent damage
to the material.
4.
Always apply pressure in a straight
line with the bit. Use enough
pressure to keep drill biting, but do
not push hard enough to stall the
motor or deflect the bit.
Flold drill firmly to control the
5.
twisting action of the drill.
IF DRILL STALLS, it is usually
6.
because it is being overloaded or
improperly used. RELEASE
TRIGGER IMMEDIATELY, remove
drill bit from work, and determine
cause of stalling.
DO NOT CLICK TRIGGER OFF
AND ON IN AN ATTEMPT TO
START A STALLED DRILL —
THIS CAN DAMAGE THE DRILL.
7. To minimize stalling or breaking
through the material, reduce
pressure on drill and ease the bit
through the last fractional part of the
hole.
8. Keep the motor running when
pulling the bit back out of a drilled
hole. This will help prevent jamming.
9. With Variable Speed Drills there is
no need to center punch the point to
be drilled. Use a slow speed to start
the hole and accelerate by
squeezing the trigger harder when
the hole is deep enough to drill
without the bit skipping out.
Chuck
Open chuck jaws by turning collar
with fingers and insert shank of bit about
3/4" into chuck. Tighten chuck collar by
hand. Place chuck key in each of the
three holes, and tighten in clockwise
direction. It’s important to tighten chuck
with ail three holes. To release bit, turn
chuck key counter clockwise in just one
hole, then loosen the chuck by hand.
Drilling In Metal
Use a cutting lubricant when drilling
metals. The exceptions are cast iron and
brass which should be drilled dry.
The cutting lubricants that work best are
sulphurized cutting oil or lard oil; bacongrease will also serve the purpose.
Drilling In Wood
Holes in wood can be made with the
same twist drills used for metal. These bits
may overheat unless pulled out frequently
to clear chips from the flutes. For larger
holes, use Power Drill Wood Bits. Work
that is apt to splinter should be backed up
with a block of wood.
 Loading...