

Page 1
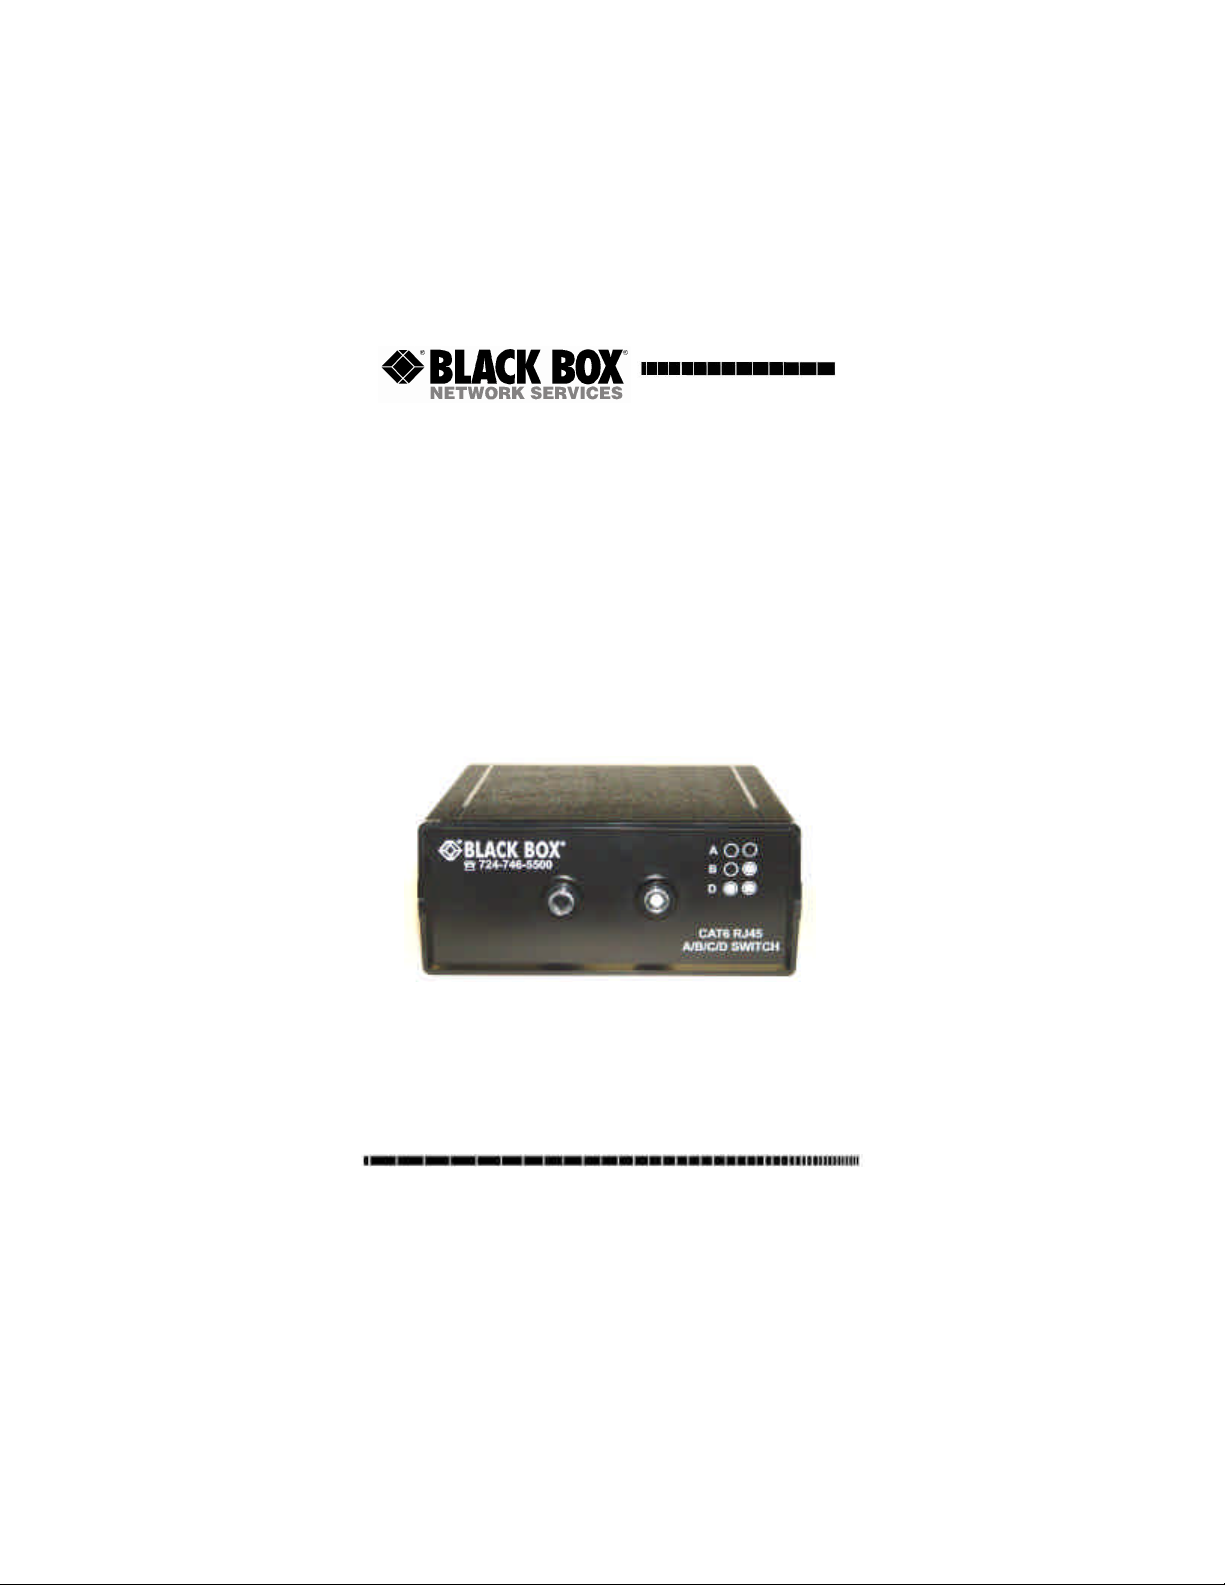
(ABC) Model# SW1030A
(ABCD) Model# SW1031A
(ABCDE) Model # SW1032A
CAT6 RJ45
TABLETOP SWITCH
July 2008
CUSTOMER
SUPPORT
INFORMATION
Order toll-free in the U.S.: 877-877-BBOX (outside U.S. Call 724-746-5500)
FREE technical support, 24 hours a day, 7 days a week: Call 724-746-5500 or
Fax 724-746-0746
Mail order: Black Box Corporation, 1000 Park Drive, Lawrence, PA 15055-1018
Web site: www.blackbox.com • E-mail: [email protected]
Page 2

CAT6 RJ45 TABLETOP SWITCH
CONTENTS
Section Page
1. Specifications …………………………………... 3
2. Introduction …………………………………. 4
3. Operation …………………………………….. 4
4. Installation …………………………………….. 6
5. Troubleshooting ……………………………….. 6
Page 2
Page 3

CAT6 RJ45 TABLETOP SWITCH
Section 1: Specifications
Connectors: (3) - A/B/C Switch (2 to 1)
(4) - A/B/C/D Switch (3 to 1)
(5) - A/B/C/D/E Switch (4 to 1)
Compliance: meets CAT6 requirements for 10GBase-T
Ethernet networks
Data Rates: supports any rate from 10 Mbps up to and
including 10 Gbps
Mean Time Between Failures: 100,000 cycles.
Operating Temperature: 32 to 158ºF (0 to 70ºC)
Relative Humidity Tolerance: 0 to 95%, noncondensing
Power: Non-powered
Size: 2.75”H x 6.1”W x 6.5”D
Weight: 2 lbs.
Grounding: None required
Page 3
Page 4

CAT6 RJ45 TABLETOP SWITCH
Section 2: Introduction
These high performance CAT6 RJ45 desktop switches use
pushbutton style selector switches and Category 6
connectors to ensure reliable operation and accurate
communications of high speed Ethernet signals between
the common port and the selected port.
Section 3: Operation
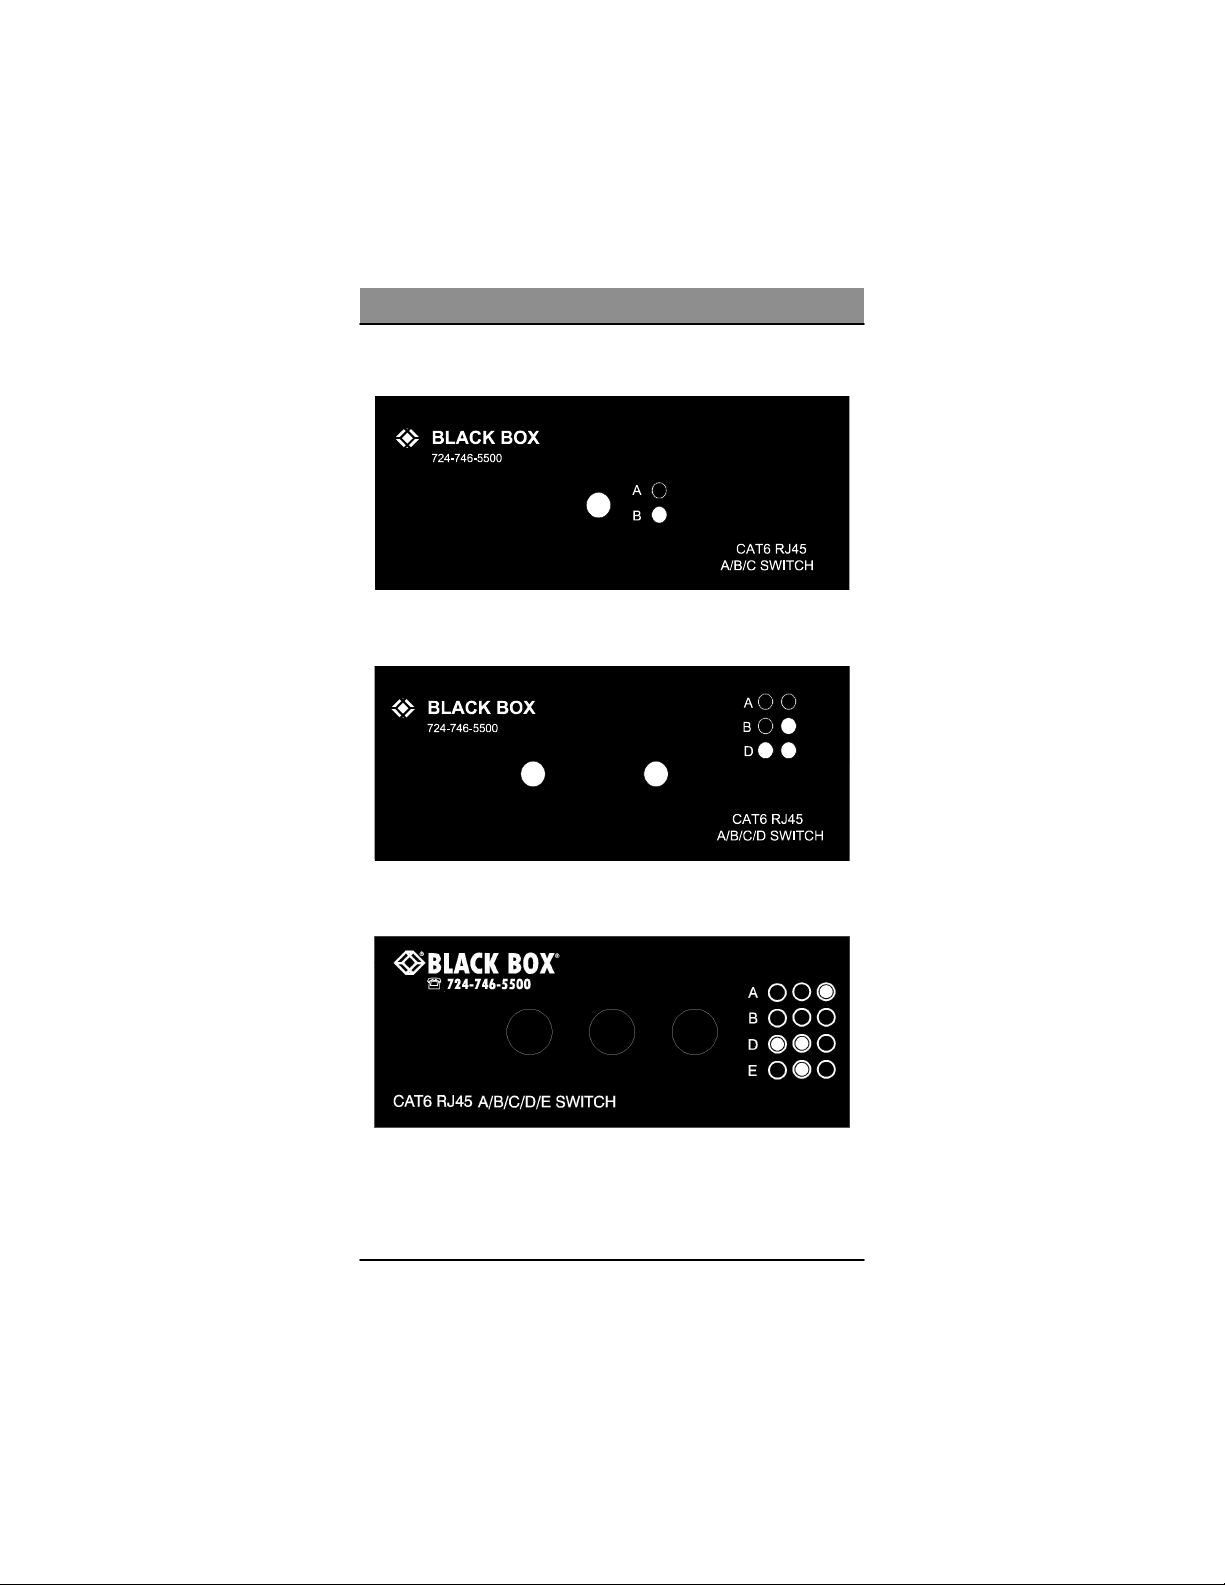
Operate the switch by following the diagram on the face
plate of the unit to select the port that you wish to connect
to the Common port (see faceplate drawings below). Each
pushbutton switch has an IN and an OUT position. The
indicator on the button is white when the pushbutton
switch is pushed IN, and black when it is in the OUT
position. In the following diagrams, the A/B/C Switch is
shown in the B position, the A/B/C/D Switch is shown in
the D position, and the A/B/C/D/E Switch is shown in the
B position.
Note that all possible positions for the pushbutton switches
are not shown on the faceplate silkscreens for the A/B/C/D
and the A/B/C/D/E Switches. For example, if the A/B/C/D
Switch is set with the left pushbutton IN and the right
pushbutton OUT, this will also connect the Common port
to port A (same as both pushbuttons OUT). This alternate
way to select port A can be used, but is not shown to help
minimize confusion.
Likewise, the A/B/C/D/E Switch has 4 additional
pushbutton settings that are not shown on the faceplate
silkscreen. These redundant positions and the port selected
are: OUT/IN/IN - E, IN/OUT/OUT - B, IN/OUT/IN - A,
and IN/IN/IN - D.
Page 4
Page 5
CAT6 RJ45 TABLETOP SWITCH
Page 5
Page 6

CAT6 RJ45 TABLETOP SWITCH
Section 4: Installation
Locate the switch in a stable environment that is
relatively free of vibration and contamination. No
external power is required to operate the switch. Ethernet
cables that conform to the speed of the data to be passed
through the switch should be used for all connections.
Connect your host device (or shared network connection)
to port C (COMMON port). Connect the different
networks or Ethernet devices to the A, B (and D and E)
ports on the switch. Depress the front panel pushbutton
selector switch(es) to create a connection between port C
(the COMMON port) and the desired network port.
Your installation of this switch is now complete.
Section 5: Troubleshooting
There are no user-repairable components in this switch. If
service or technical support is required, please contact
technical support for assistance.
Page 6
Page 7

CAT6 RJ45 TABLETOP SWITCH
Notes:
Page 7
Page 8
© Copyright 2008 Black Box Corporation. All rights reserved.
1000 Park Drive • Lawrence, PA 15055-1018 • 724-746-5500 • Fax 724-746-0746
 Loading...