

Page 1
February 2010
MT1000A-85-R4
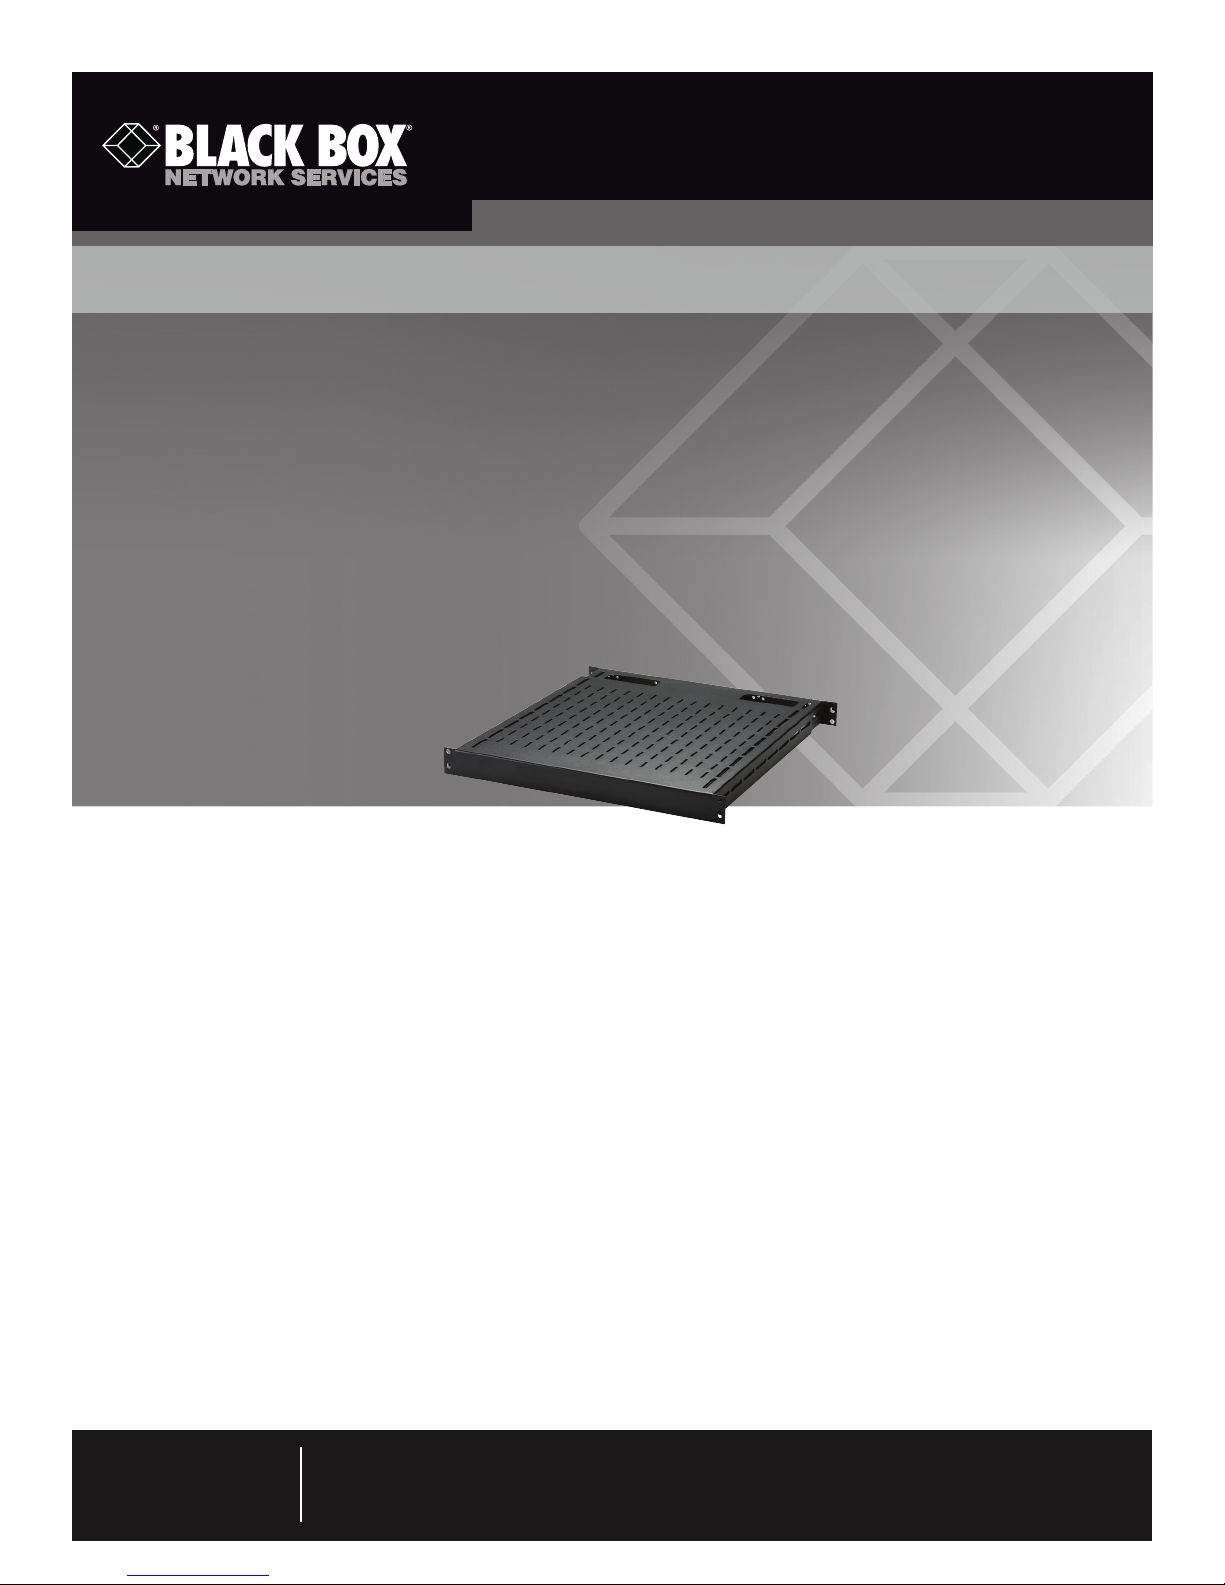
Tool-less Vented Telescoping Shelf
Adjusts to virtually any cabinet depth—without
tools.
Supports up to 150 pounds.
Use on standard 19-inch rails with square M6 holes.
RM047-R2
RM049-R2
Specifications
Color: RAL 9005 black
Load Capacity: 150 lb. (68.2 kg)
Material: 14-gauge steel
Size: RM047-R2: 1.75"H (1U) x 17.4"W x 19.5" to 33.25"D
(4.5 x 44.2 x 49.5 to 84.5 cm);
RM049-R2: 1.75"H (1U) x 17.4"W x 31" to 45.25"D
(4.5 x 44.2 x 78.7 to 114.9 cm)
Weight: RM047-R2: 17.5 lb. (8 kg);
RM049-R2: 22.5 lb. (10.2 kg)
Customer
Support
Information
Order toll-free in the U.S.: Call 877-877-BBOX (outside U.S. call 724-746-5500)
FREE technical support 24 hours a day, 7 days a week: Call 724-746-5500 or fax 724-746-0746
Mailing address: Black Box Corporation, 1000 Park Drive, Lawrence, PA 15055-1018
Web site: w ww.blackbox.com • E-mail : info@blackbox.com
Overview
The Tool-less Vented Telescoping Shelf supports equipment
weights up to 150 pounds (68.2 kg). The shelf slides open to
accommodate different sized equipment. The RM047-R2
expands from 19.5" to 33.25"D (49.5 to 84.5 cm), and the
RM049-R2 expands from 31" to 45.25"D (78.7 to 114.9 cm).
The back of the shelf has oval cutouts for power and data
cables.
What’s Included
Your package should include the following items. If anything
is missing or damaged, please contact Black Box at
724-746-5500.
• Tool-less Vented Telescoping Shelf
• (4) plastic rivets and (4) screws used for mounting shelf to rail
• This user’s manual
For installation instructions, turn this page over…
Page 2
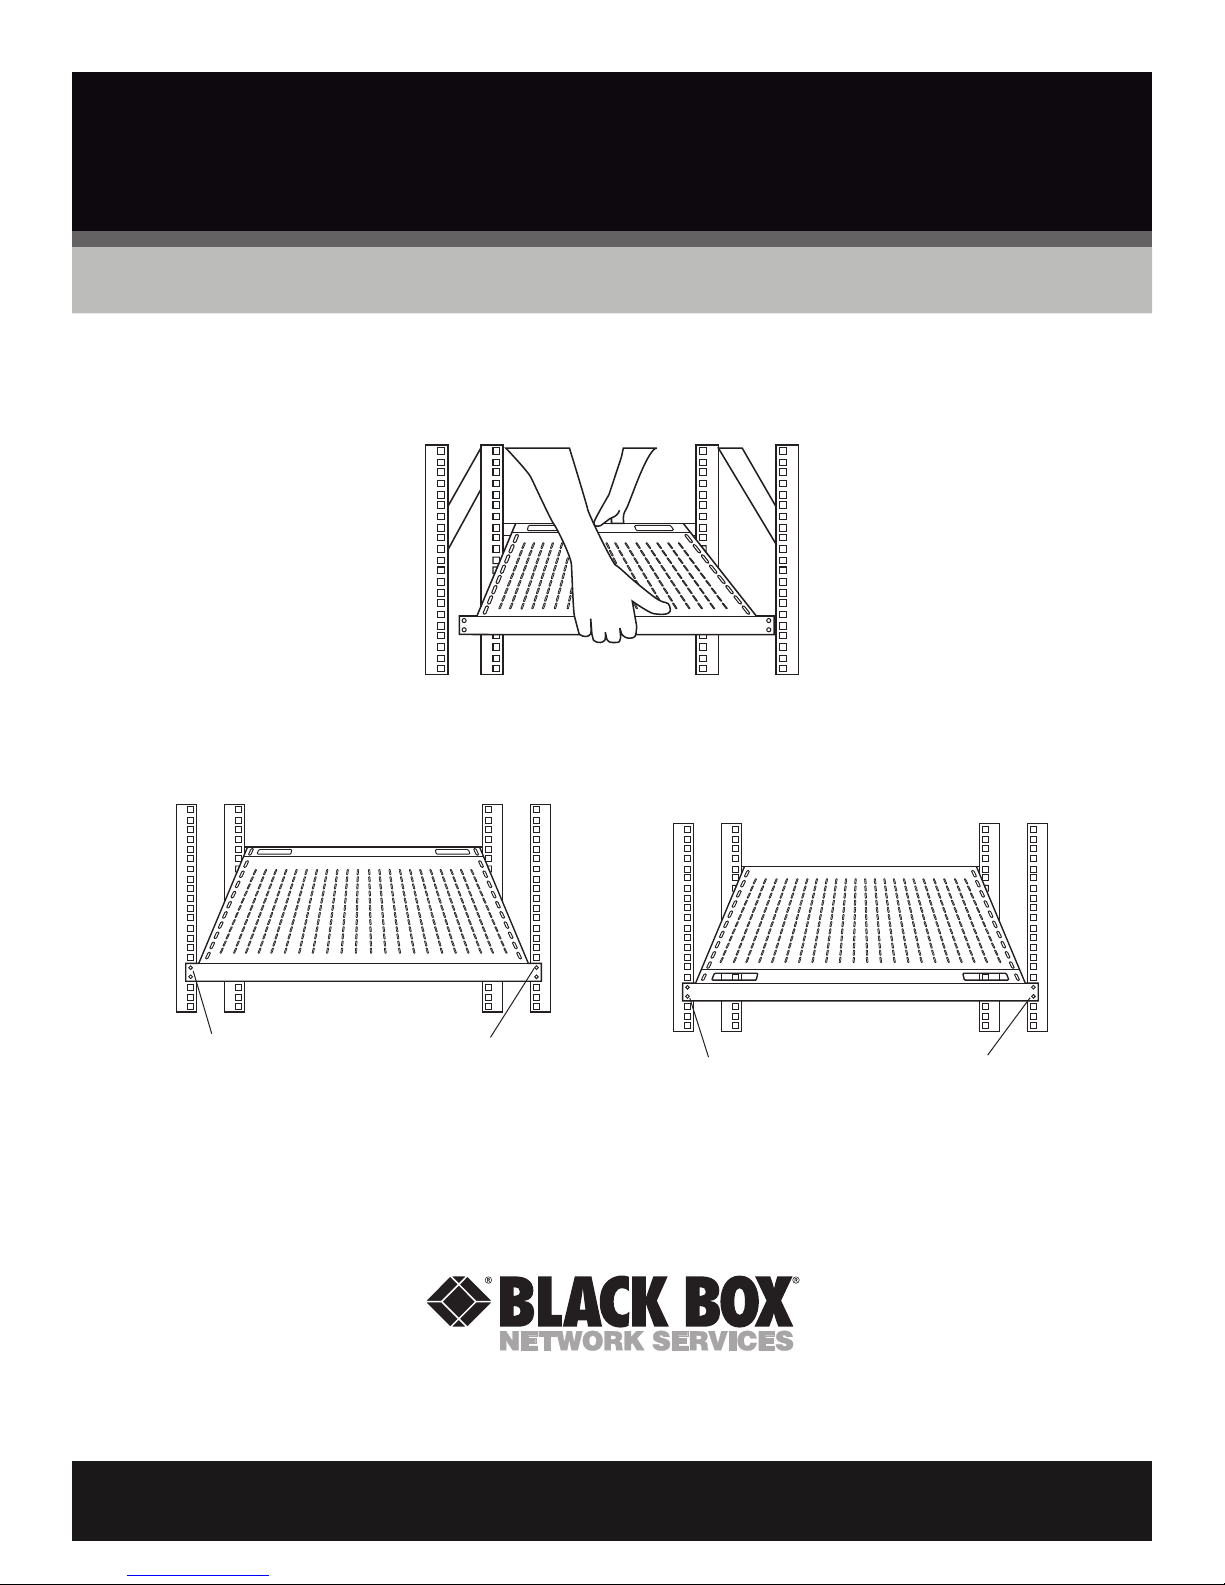
Installation
1. Insert the shelf onto the rack angles in the cabinet.
NOTE: You will need a 10-mm wrench to adjust the shelf’s depth.
NOTE: For maximum stability,
install cage nuts (not
included) in the M6 holes
that the plastic rivets will
be inserted into.
2. Slide the shelf to the depth of the rails and install the four plastic rivets as shown in the diagrams below.
Here’s what it should look like when you’ve finished installing it:
Front view
Install one plastic rivet
here (choose the upper
hole from the two holes
on the shelf that are lined
up with the rail)
This completes the installation of the shelf.
© Copyright 2011. Black Box Corporation. All rights reserved. Printed in U.S.A. Black Box® and the Double Diamond logo are registered trademarks of BB Technologies, Inc. Any third-party
trademarks appearing in this publication are acknowledged to be the property of their respective owners.
RM047-R2, ver sion 3
FREE, live, 24/7 Tech Support is just 30 seconds away.
Install one plastic rivet
here (choose the upper
hole from the two holes
on the shelf that are lined
up with the rail)
Install one plastic rivet
here (choose the bottom
hole from the two holes
on the shelf that are lined
724-746-5500 | blackbox.com
up with the rail)
Rear view
Install one plastic rivet
here (choose the bottom
hole from the two holes
on the shelf that are lined
up with the rail)
 Loading...