

1000 Park Drive • Lawrence, PA 15055-1018 • 724-746-5500 • Fax 724-746-0746
© Copyright 2006. Black Box Corporation. All rights reserved.
CUSTOMER
SUPPORT
INFORMATION
Order toll-free in the U.S.: Call 877-877-BBOX (outside U.S. call 724-746-5500)
FREE technical support 24 hours a day, 7 days a week: Call 724-746-5500 or fax 724-746-0746
Mailing address: Black Box Corporation , 1000 Park Drive, Lawrence, PA 15055-1018
Web site: www.blackbox.com • E-mail: info@blackbox.com
DECEMBER 2006
KVT217A
KVT219A
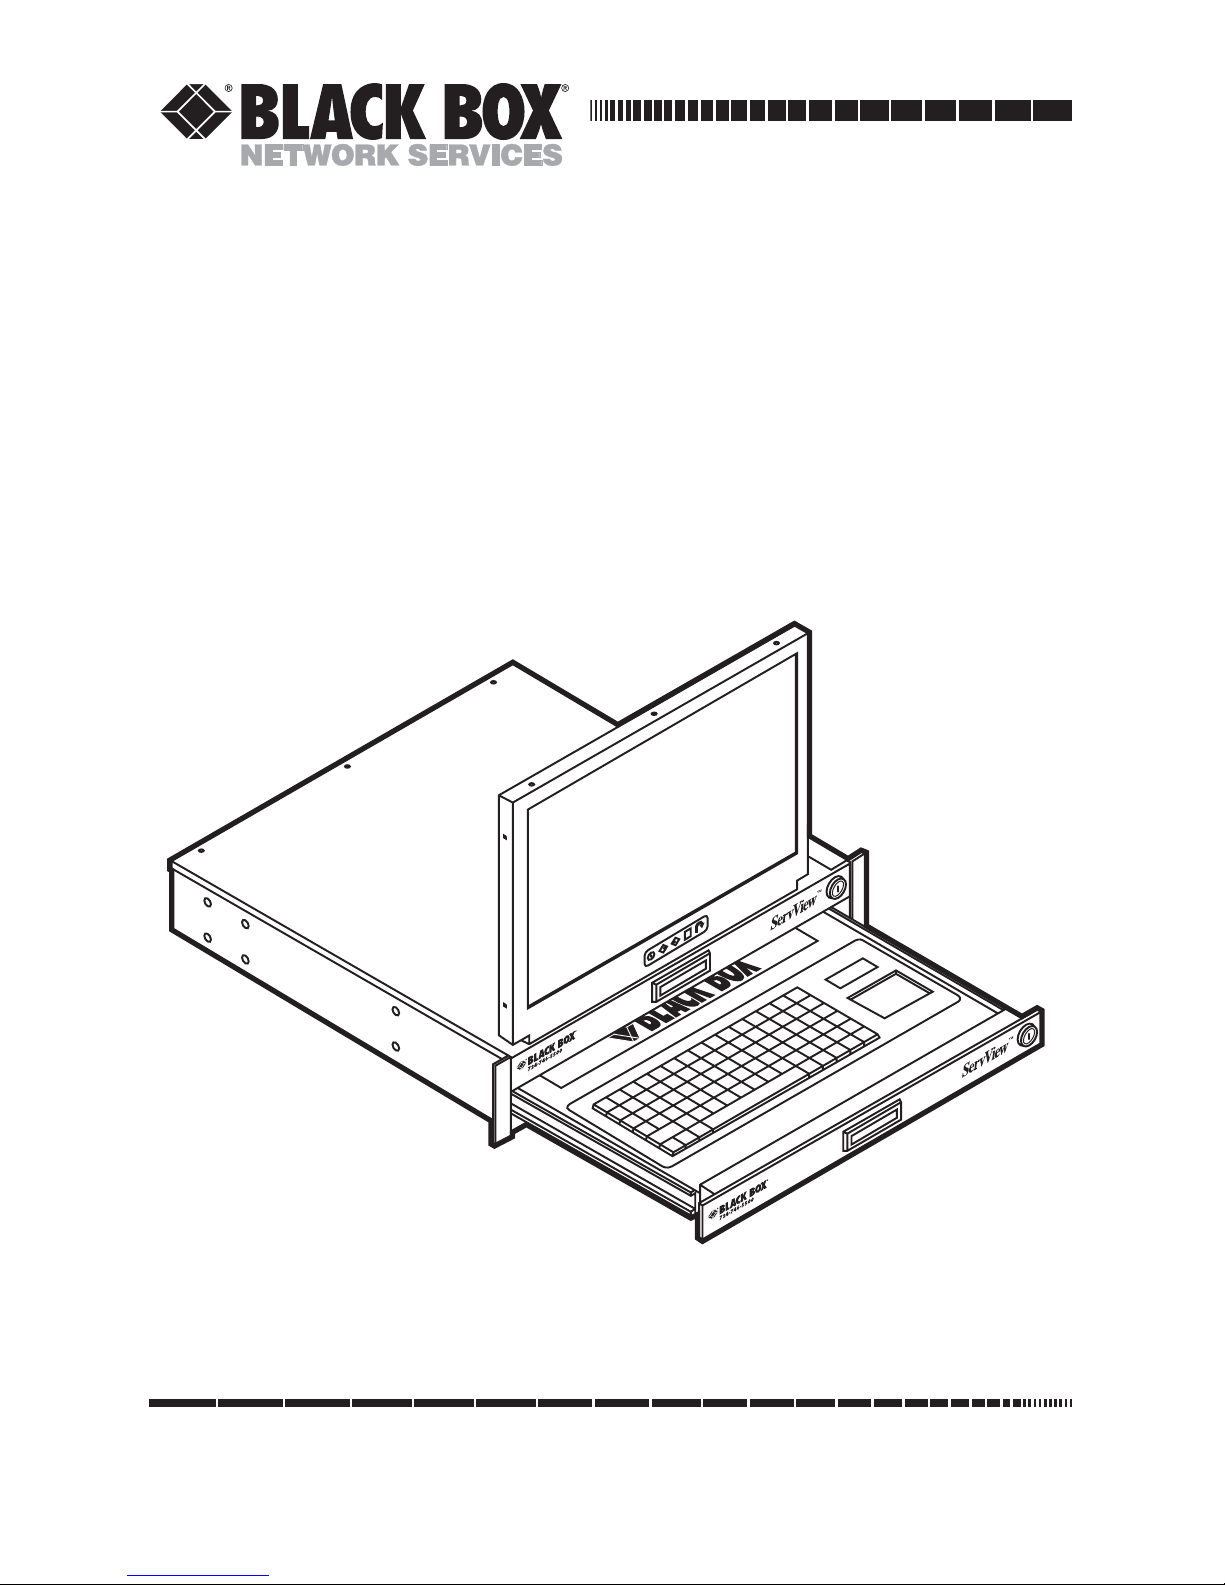
ServView KVM Drawer
with 17" or 19" LCD


1
FCC AND RFI STATEMENTS
FEDERAL COMMUNICATIONS COMMISSION
AND
INDUSTRY CANADA
RADIO FREQUENCY INTERFERENCE STATEMENTS
This equipment generates, uses, and can radiate radio-frequency energy, and if not
installed and used properly, that is, in strict accordance with the manufacturer’s
instructions, may cause interference to radio communication. It has been tested
and found to comply with the limits for a Class A computing device in accordance
with the specifications in Subpart B of Part 15 of FCC rules, which are designed to
provide reasonable protection against such interference when the equipment is
operated in a commercial environment. Operation of this equipment in a
residential area is likely to cause interference, in which case the user at his own
expense will be required to take whatever measures may be necessary to correct
the interference.
Changes or modifications not expressly approved by the party responsible
for compliance could void the user’s authority to operate the equipment.
This digital apparatus does not exceed the Class A limits for radio noise emission from
digital apparatus set out in the Radio Interference Regulation of Industry Canada.
Le présent appareil numérique n’émet pas de bruits radioélectriques dépassant les
limites applicables aux appareils numériques de la classe A prescrites dans le
Règlement sur le brouillage radioélectrique publié par Industrie Canada.
2
SERVVIEW KVM DRAWER WITH 17" OR 19" LCD
NORMAS OFICIALES MEXICANAS (NOM)
ELECTRICAL SAFETY STATEMENT
INSTRUCCIONES DE SEGURIDAD
1. Todas las instrucciones de seguridad y operación deberán ser leídas antes de
que el aparato eléctrico sea operado.
2. Las instrucciones de seguridad y operación deberán ser guardadas para
referencia futura.
3. Todas las advertencias en el aparato eléctrico y en sus instrucciones de
operación deben ser respetadas.
4. Todas las instrucciones de operación y uso deben ser seguidas.
5. El aparato eléctrico no deberá ser usado cerca del agua—por ejemplo, cerca
de la tina de baño, lavabo, sótano mojado o cerca de una alberca, etc..
6. El aparato eléctrico debe ser usado únicamente con carritos o pedestales que
sean recomendados por el fabricante.
7. El aparato eléctrico debe ser montado a la pared o al techo sólo como sea
recomendado por el fabricante.
8. Servicio—El usuario no debe intentar dar servicio al equipo eléctrico más allá
a lo descrito en las instrucciones de operación. Todo otro servicio deberá ser
referido a personal de servicio calificado.
9. El aparato eléctrico debe ser situado de tal manera que su posición no
interfiera su uso. La colocación del aparato eléctrico sobre una cama, sofá,
alfombra o superficie similar puede bloquea la ventilación, no se debe colocar
en libreros o gabinetes que impidan el flujo de aire por los orificios de
ventilación.
10. El equipo eléctrico deber ser situado fuera del alcance de fuentes de calor
como radiadores, registros de calor, estufas u otros aparatos (incluyendo
amplificadores) que producen calor.
11. El aparato eléctrico deberá ser connectado a una fuente de poder sólo del
tipo descrito en el instructivo de operación, o como se indique en el aparato.

3
NOM STATEMENT
12. Precaución debe ser tomada de tal manera que la tierra fisica y la polarización
del equipo no sea eliminada.
13. Los cables de la fuente de poder deben ser guiados de tal manera que no
sean pisados ni pellizcados por objetos colocados sobre o contra ellos,
poniendo particular atención a los contactos y receptáculos donde salen del
aparato.
14. El equipo eléctrico debe ser limpiado únicamente de acuerdo a las
recomendaciones del fabricante.
15. En caso de existir, una antena externa deberá ser localizada lejos de las lineas
de energia.
16. El cable de corriente deberá ser desconectado del cuando el equipo no sea
usado por un largo periodo de tiempo.
17. Cuidado debe ser tomado de tal manera que objectos liquidos no sean
derramados sobre la cubierta u orificios de ventilación.
18. Servicio por personal calificado deberá ser provisto cuando:
A: El cable de poder o el contacto ha sido dañado; u
B: Objectos han caído o líquido ha sido derramado dentro del aparato; o
C: El aparato ha sido expuesto a la lluvia; o
D: El aparato parece no operar normalmente o muestra un cambio en su
desempeño; o
E: El aparato ha sido tirado o su cubierta ha sido dañada.

4
SERVVIEW KVM DRAWER WITH 17" OR 19" LCD
TRADEMARKS USED IN THIS MANUAL
BLACK BOX and the Double Diamond logo are registered trademarks, and
ServView is a trademark, of BB Technologies, Inc.
PS/2 is a registered trademark of International Business Machines Corporation.
Microsoft and Windows are registered trademarks or trademarks of Microsoft
Corporation in the United States and/or other countries.
Sun is a registered trademark of Sun Microsystems, Inc.
Any other trademarks mentioned in this manual are acknowledged to be the property
of the trademark owners.

5
CAUTION NOTICES
CAUTION
Unplug the ServView™ KVM Drawer with 17" or 19" LCD from the power
outlet before cleaning.
Do not spray liquid cleaners or aerosol directly on the device. Wet a
cloth with a neutral detergent (for example, clean water) and squeeze it
tight, then clean the screen slightly with it.
Do not expose the ServView KVM Drawer with 17" or 19" LCD directly to
rain, water, moisture, or sunlight.
Avoid pressure on the LCD screen to prevent permanent damage to the
display.
Do not attempt to service the device yourself. Improper operation may
void your warranty. Refer all servicing to qualified service personnel.
The Se rvV iew KV M Dr awe r w i th 17" or 19" LCD ’s s af e st ora ge
environment ranges between -4 and +140°F (-20 and +60°C). Permanent
damage could occur if the KVM Keyboard Drawer with 17" or 19" LCD is
stored outside the safe range.
Unplug the ServView KVM Drawer with 17" or 19" LCD immediately and
call qualified service personnel under the following conditions:
1. The VGA signal cord is frayed or damaged.
2. The monitor has been exposed to rain, liquid, or water.
3. The monitor has been dropped or the casing has been damaged.

6
SERVVIEW KVM DRAWER WITH 17" OR 19" LCD
Contents
egaPretpahC
1. Specifications ..............................................................................................
2. Overview .................................................................................................
2.1 Introduction ..........................................................................................
2.2 What’s Included ...................................................................................
2.3 Hardware Description...........................................................................
3. LCD OSD Menu Operation........................................................................
3.1 LCD and Main Menu...........................................................................
3.1.1 Bright/Contrast.........................................................................
3.1.2 Auto Adjust ..............................................................................
3.1.3 Phase/Clock.............................................................................
3.1.4 H/V Position.............................................................................
3.1.5 Misc..........................................................................................
3.1.6 Reset .......................................................................................
3.2 Resolution Settings.............................................................................
3.2.1 Microsoft Windows..................................................................
3.2.2 Sun Servers.............................................................................
3.2.3 Common Desktop Environment (CDE)....................................
Appendix. Troubleshooting...............................................................................
A.1 Calling Black Box ...............................................................................
A.2 Shipping and Packaging ....................................................................
7
8
8
8
9
10
10
11
11
11
11
12
12
13
13
13
14
15
15
15

7
CHAPTER 1: Specifications
1. Specifications
LCD
Resolution: 1280 x 1024
Brightness: KVT217A: 300 cd/m2; KVT219A: 300 cd/m2
Color: KVT217A: 16.2 million; KVT219A: 16.7 million
Contrast Ratio: KVT217A: 700:1; KVT219A: 700:1
Viewing Angle: KVT217A: 150° x 135°; KVT219A: 150° x 135°
Display Area: KVT217A: 13.3" x 10.6" (33.792 x 27.0336 cm);
KVT219A: 14.8" x 11.9" (37.632 x 30.1056 cm)
Pixel Pitch: KVT217A: 0.0104" (0.264 mm); KVT219A: 0.0116" (0.294 mm)
Response Time: Tr: KVT217A: 2 ms; KVT219A: 1.7 ms;
Tf: KVT217A: 6 ms; KVT219A: 6.3 ms
Backlight: 4 x cold cathode fluorescent tube
Horizontal Sync:KVT217A: 56.7–82.082 kHz; KVT219A: 53-79.796 kHz
Vertical Sync: KVT217A: 55–77 Hz; KVT219A: 50-75 Hz
Input Signal: Analog RGB 0.7 Vp-p
OSD Control: Brightness, contrast, color, clock; H. position, V. position, phase,
scaling; auto configuration, input select, multi-window; Clear EEPROM, OSD
adjust
Connector: Video input: (1) HD15
Power: 12 VDC adapter, VESA DPMS power management
Size: KVT217A: 3.5"H x 17.4"W x 17.3"D (8.8 x 44.2 x 44 cm);
KVT219A: 3.5"H x 17.4"W x 18.9"D (8.9 x 44.2 x 48 cm)
Net Weight:
Gross Weight: KVT217A: 24 kg; KVT219A: 25 kg
KVT217A: 18 kg; KVT219A: 19 kg

8
SERVVIEW KVM DRAWER WITH 17" OR 19" LCD
2. Overview
2.1 Introduction
The ServView KVM Drawer with 17" or 19" LCD combines a keyboard, mouse, and
monitor into a drawer. It features a flip-up design, adjustable brackets, and a builtin on-screen display (OSD) to adjust display settings. Two models are available: a
17" LCD screen (KVT217A) and a 19" LCD screen (KVT219A).
The monitor’s unique flip-up design allows viewing through the cabinet’s closed
glass door. It attaches to mounting brackets (included) that adjust from 15.4" to
25.6" (39.1 to 65 cm) (front-to-rear 19" mounts). The ServView KVM Drawer also
has on-screen menus that support multiple languages. For extra security, the
drawer has a front-access lock. Plus, it includes a 12-VAC, 5A single-power-source
remote power adapter.
2.2 What’s Included
Your package should contain the following items. If anything is missing or
damaged, please contact Black Box at 724-746-5500.
• (1) ServView KVM Drawer
• (1) AC power adapter
• (1) Power cord
• (2) Mounting brackets
• (2) Keys for front-access lock
• (4) Fasteners for mounting brackets
• (1) 3-in-1 KVM cable
• This user’s manual
Place the KVM drawer in a suitable environment, as described below.
• Position the ServView KVM Drawer on a stable and level surface, or mount it in
a suitable cabinet.
• The location should be well ventilated, out of direct sunlight, and away from
sources of excessive dust, dirt, heat, water, moisture, and vibration.

9
CHAPTER 2: Overview
2.3 Hardware Description
Figure 2-1 shows the KVM drawer’s components. Table 2-1 describes these
components.
Figure 2-1. The ServView KVM Drawer assembly.
Table 2-1. The ServView KVM Drawer’s components.
PS/2®keyboard
LCD Keyboard Tray
Class A active matrix TFT LCD panel
Analog to digital signal converter board
Rear metal case
Aluminum front cover
LCD membrane
LCD inverter
Ball bearing telescopic slides with stopper
Number Component
10
10
Adjustable mounting bracket

10
SERVVIEW KVM DRAWER WITH 17" OR 19" LCD
3. LCD OSD Menu Operation
3.1 LCD and Main Menu
Figure 3-1. LCD front panel and main menu.
The LCD membrane (shown in Figure 3-1 and located on the LCD monitor’s
bottom front center) is a thin plastic sheet that has buttons for Power, Menu/
Selection, Left, Right, and Exit. When you press the Menu/Selection button, the
main menu (also shown in Figure 3-1) appears on the LCD screen.
Sections 3.1.1 through 3.1.6 describe the ServView KVM Drawer’s main menu and
submenu options.

11
CHAPTER 3: LCD OSD Menu Operation
3.1.1 B
RIGHT/CONTRAST
Select this option to enter the Bright and Contrast submenus.
1. Brightness
To adjust the RGB input signal’s brightness, use the Left, Right, and
Menu/Selection buttons.
2. Contrast
To adjust the input signal’s contrast level, use the Left, Right, and Menu/Selection
buttons.
3.1.2 A
UTOADJUST
Choose this menu to automatically optimize all functions. An “ Adjusting” message
is displayed during the process.
3.1.3 P
HASE/CLOCK
Select this option to enter into the Phase and Clock submenus.
1. Phase
To adjust the input video sampling clock’s phase, use the Left, Right, and
Menu/Selection buttons.
2. Clock
To adjust the input video sampling clock, use the Left, Right, and Menu/Selection
buttons.
3.1.4 H/V P
OSITION
Use this option to enter into the Position submenu.
H. Position
To adjust the frame’s horizontal size, use the Left, Right, and Menu/Selection
buttons.
V. Position
To adjust the frame’s vertical size, use the Left, Right, and Menu/Selection
buttons.

12
SERVVIEW KVM DRAWER WITH 17" OR 19" LCD
3.1.5 M
ISC
This option takes you to the Misc submenus. These are described below.
1. Information
The first header row shows the current resolution setup. The second header row
shows the current input signal’s horizontal frequency. The third header row shows
the current input signal’s vertical frequency.
2. OSD Timer
Use this option to modify the OSD timeout’s duration.
3. Color
a. 5500K selects the 5500K color template.
b. 6500K selects the 6500K color template.
c. 9500K selects the 9500K color template.
d. User allows the user to change the color template manually.
4. Language
Select one of seven languages from the OSD menu.
1. English
2. Japanese
3. Chinese
4. German
5. French
6. Spanish
7. Italian
3.1.6 R
ESET
Choose this option to reset the unit to the default factory settings.

13
CHAPTER 3: LCD OSD Menu Operation
3.2 Resolution Settings
Sections 3.2.1 through
3.2.3 describe how to set the resolution for a Microsoft
®
Windows®, Sun, or Common Desktop Environment (CDE).
3.2.1 M
ICROSOFTWINDOWS
Follow the steps listed below to select Microsoft Windows resolution settings.
1. Press the right-click button on the desktop.
2. Choose Properties.
3. Change the Screen Resolutions. (See the NOTE below.)
4. Change the Screen Refresh Rate. (See the NOTE below.)
NOTE
Set the screen resolution and screen refresh rate to values that are in
the Windows supported ranges for your monitor LCD.
To set the restart function, check Auto Restart or Prompt Before Restart
in Windows.
3.2.2 SUNS
ERVERS
Keep in mind these guidelines when using Sun servers:
• Only qualified Sun®server administrators should run resolution configuration
procedures.
• Sun servers use a resolution of 1152 x 900 @ 76 Hz.
• Supported resolution mode for 17" and 19" LCDs is 1280 x 1024 @ 75 Hz.
• You must change the Sun server resolution before you connect to the LCD
display.
Changing the Sun server resolution settings:
1. The root value might be: /user/sbin/m64config.
2. To view current resolution, type:
/usr/sbin/m64config – prconf
3. To change to 1024 x 768 @ 70 MHz, type:
/usr/sbin/m64config – res 1024x768x70 now

14
SERVVIEW KVM DRAWER WITH 17" OR 19" LCD
4. Next, type:
pkill Xsun
5. Finally, to restart the Xsession, type:
pkill Xsession
6. Restart the server.
3.2.3 C
OMMONDESKTOPENVIRONMENT
(CDE)
To change the resolution, type setenv output-device
screen: r1024x768x70 at the OK prompt.
Next, type printenv to confirm that the resolution was changed to 1024 x 768 @
70 Hz.
Finally, type Reset to restart the system.

15
Appendix. Troubleshooting
A.1 Calling Black Box
If you determine that your ServView KVM Drawer with 17" or 19" LCD is
malfunctioning, do not attempt to alter or repair the unit. It contains no userserviceable parts. Contact Black Box at 724-746-5500.
Before you do, make a record of the history of the problem. We will be able to
provide more efficient and accurate assistance if you have a complete description,
including:
• the nature and duration of the problem.
• when the problem occurs.
• the components involved in the problem.
• any particular application that, when used, appears to create the problem or
make it worse.
A.2 Shipping and Packaging
If you need to transport or ship your ServView KVM Drawer with 17" or 19" LCD:
• Package it carefully. We recommend that you use the original container.
• If you are shipping the ServView KVM Drawer with 17" or 19" LCD for repair,
make sure you include everything that came in the original package. Before
you ship, contact Black Box to get a Return Authorization (RA) number.
APPENDIX: Troubleshooting
 Loading...