

Page 1
ServView IV
Control your Sun® CPU and servers.
July 2010
KV T160A-R2 K VT163 A
KV T161A KV T164A
KV T162A KV T165A
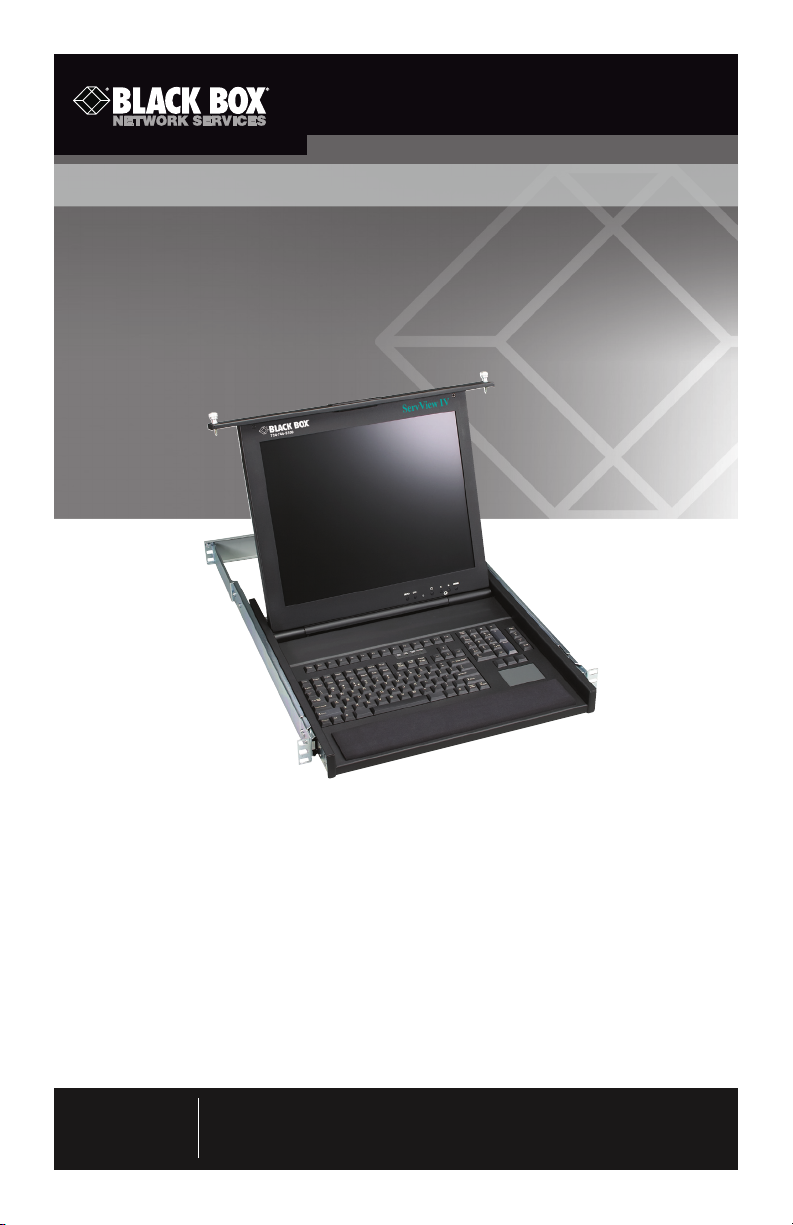
The ServView IV KVM console is the easiest and most efficient way for you to
control your Sun® CPUs and servers. This rackmountable workstation comes in a
1U or 2U clamshell version and includes a high resolution 17" or 19" TFT/LCD
monitor, a keyboard, and a glidepoint touchpad. It’s neat, compact, and takes
up much less space than a standard keyboard, monitor, and mouse. You can
mount the ServView IV at any comfortable working height in a standard 19”
rack. When mounted in a rack, the front panel folds down to conceal the unit.
When you need to access your SUN servers, slide it out; when you’re done,
push it in.
Customer
Support
Information
Order toll-free in the U.S.: Call 877-877-BBOX (outside U.S. call 724-746-5500)
FREE technical support 24 hours a day, 7 days a week: Call 724-746-5500 or fax
724-746-0746 Mailing address: Black Box Corporation, 1000 Park Drive, Lawrence,
PA 15055-1018 • Web site: www.blackbox.com • E-mail: info@blackbox.com
Page 2

ServView IV
The ServView IV has easy to use, front panel switches for setting brightness,
contrast, and calling up the on-screen display. The on-screen display adjusts all
the monitor’s parameters.
View crisp, clear video at resolutions up to 1280 x 1024. Models with 19"
monitors have HD15, DVI-D, S-video, and composite video connectors for use
with analog and digital equipment.
The ServView IV, models KVT160A-R2 and KV T161A– KVT162A, are 17”
(43.2-cm) XGA monitors that display video at a maximum resolution and refresh
rate of 1280 x 1024 resolution @ 75 Hz.
The ServView IV, models KVT163A–KVT165A are 19” (48.26-cm) XGA monitors
that display video at a maximum resolution and refresh rate of 1280 x 1024 @
75Hz.
• The KVT160A-R2—1U, 17” LCD display, HD15M video connector, USB type A
keyboard and mouse connectors.
• The KVT161A—1U, 17” LCD display, HD15M video connector, USB type A
keyboard and mouse connectors, with an 8-port ServSwitch Ultra (KV5008SAR2).
• The KVT162A—1U, 17” LCD display, HD15M video connector, USB type A
keyboard and mouse connectors, with 2 user, 8 port, Multiplatform Matrix
ServSwitch (SW762A-R4) (17” models – rail to rail dimensions are 25.5” to
39”).
• The KVT163A—2U, 19” LCD display, HD15M, DVI-D, S-video, and composite
video connectors, USB type A keyboard and mouse connectors
• The KVT164A—2U, 19” LCD display, HD15M, DVI-D, S-video, and composite
video connectors, USB type A keyboard and mouse connectors with an 8-port
ServSwitch Ultra (KV5008SA-R2)
• The KVT165A – 1U, 19” LCD display, HD15M, DVI-D, S-video, and composite
video connectors, USB type A keyboard and mouse connectors with 2 user, 8
port, Multiplatform Matrix ServSwitch (SW762A-R4) (19” models—rail to rail
dimensions are 29.0” to 41.5”)
At the time of this writing, your complete ServView IV package should include:
• The main tray assembly as ordered.
• A User Cable for connecting to one of the ServSwitch user ports. (Models that
include a ServSwitch only.)
• An AC power-input cord for the ServView IV’s TFT. All models that have integrated ServSwitches will also include an AC power input cord for the switch.
• For the ServView IV models that have integrated ServSwitches, a hardcopy
manual for that type of ServSwitch.
Page 2
724-746-5500 | blackbox.com
Page 3

ServView IV
(Only the specifications, descriptions, and instructions for the ServView product
code listed for your ServView IV model on the front of this sheet will apply.)
• Ten 10/32” rackmounting screws and cage nuts. (Eight are required for
assembly, two are extra.)
NOTE: The components that come with your ServView IV might vary and are
subject to change without notice.
To mount the ServView IV in a 19” rack, take these steps:
1. Mount your CPU(s) and SUN servers in the rack where your ServView IV will
be installed.
2. Remove the backing plate that’s attached to the rear of the ServView IV by a
pair of screws.
3. Unscrew the retention screws that hold the KVM tray shut against the front
of the ServView IV.
CAUTION: We recommend that two people work together to perform step 4.
4. Tilt the ServView IV far enough sideways to get past the Cabinet’s rails, then
maneuver it through the Cabinet until its front and rear “mounting ears”
are even with the Cabinet’s front and rear rails. Straighten the ServView IV
back to level so that its front ears are flush against the front of the Cabinet’s
front rails and its rear ears are flush against the back of the Cabinet’s rear
rails. Align the upper and lower holes in the mounting ears (two in each ear
—eight all together—not including the middle hole in the front ears that’s
designed for the retention screws) with an appropriate set of holes in the
Cabinet’s rails, then secure the ServView IV to the rails using the included
screws.
5. Locate the keyboard, mouse, and video cables that come out of the back
of the ServView IV tray. Attach the connectors of these cables to the
matching connectors on your Sun server, computer CPU, or (if your ServView
IV includes an integrated ServSwitch) on the included User Cable that you’ll
then plug into one of the ServSwitch’s user ports.
6. Models with an integrated ServSwitch only: Plug the User Cable into one of
the ServSwitch’s user ports. Follow the directions in the ServSwitch manual
for attaching CPUs to the switch. Run the included power cord from the
ServSwitch’s power inlet to a working AC outlet.
7. Run the included power cord from the ServView IV’s power inlet to a working
AC outlet. Turn on the ServView IV. Refer to the manual for the ServView IV’s
components for information about configuring and operating them. (Note:
power must be first applied to the ServSwitch, then the CPU’s)
8. Plug in and power up the CPU(s) attached to your ServView IV.
Page 3
Page 4

Trademarks Used in this Manual
Black Box and the Double Diamond logo are registered trademarks of BB
Technologies, Inc.
Sun is a registered trademark of Sun Microsystems.
Any other trademarks mentioned in this manual are acknowledged to be the
property of the trademark owners.
©
Copyright 2010. All rights reserved.
FREE, live, 24/7 Tech Support is just 20 seconds away.
724-746-5500 | blackbox.com
 Loading...