

Page 1
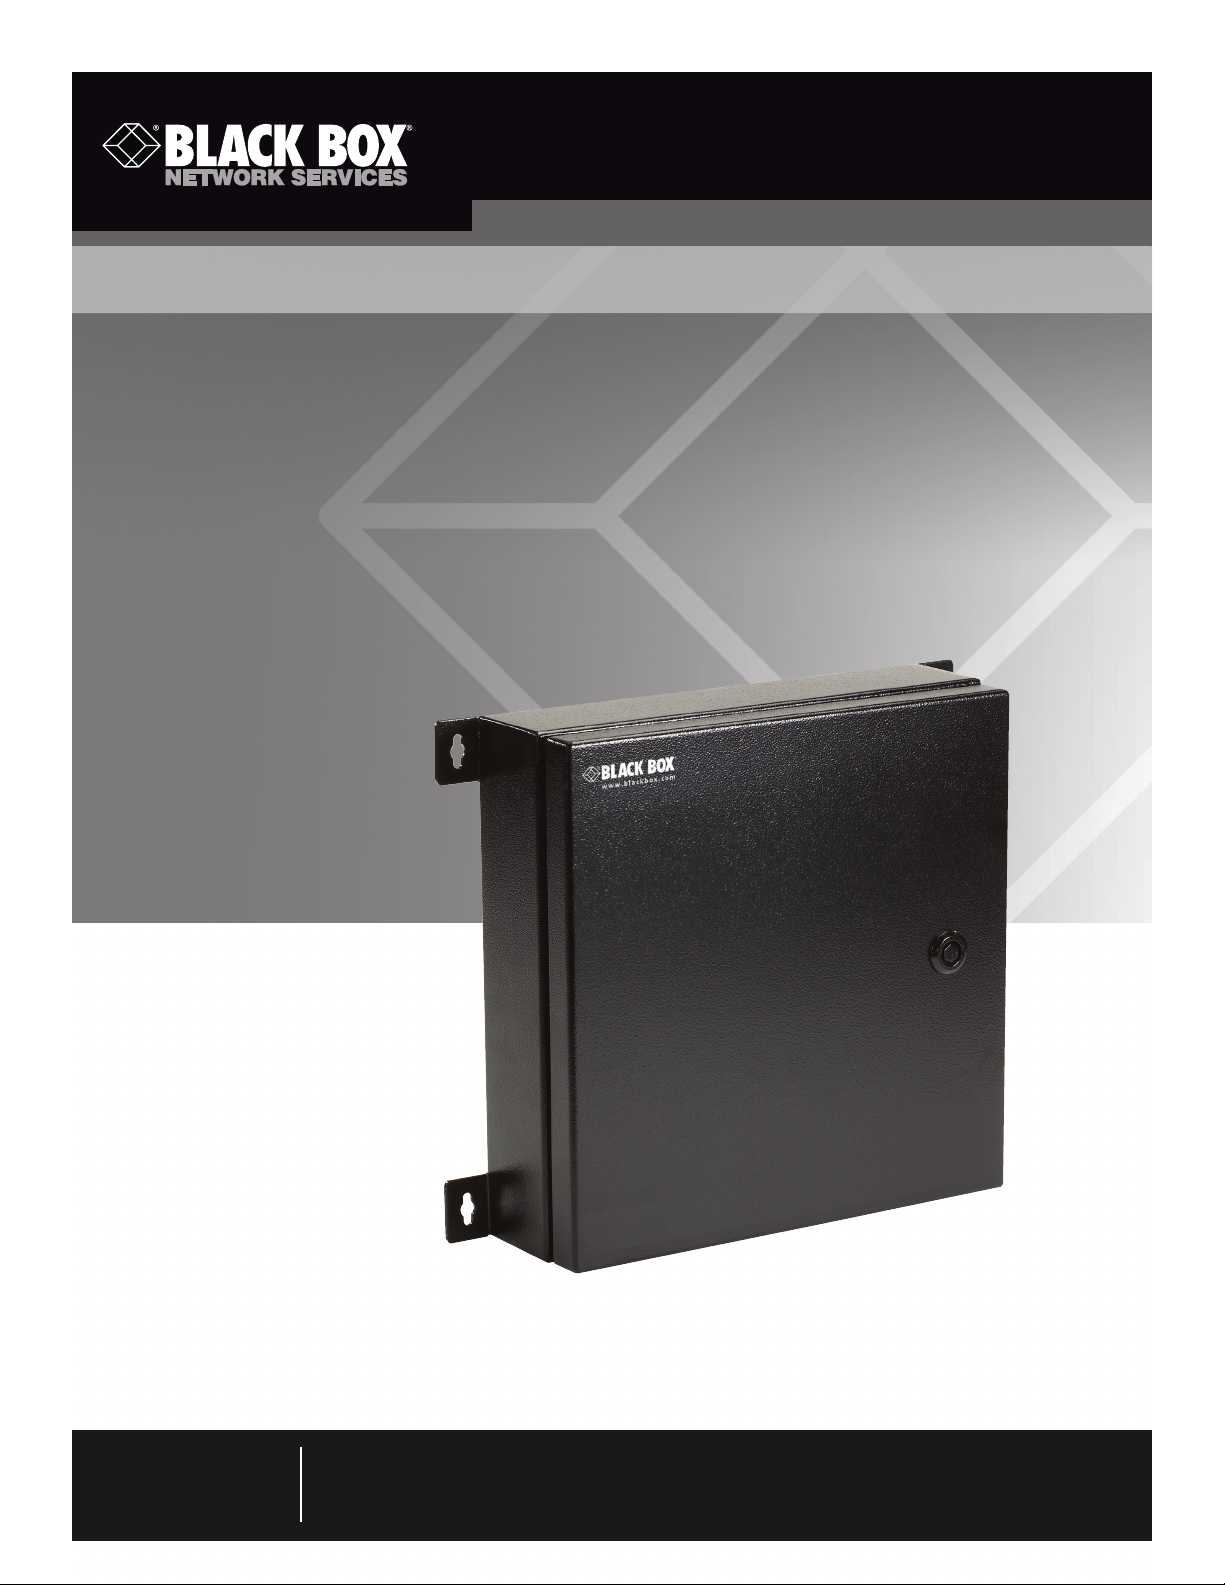
JPM4001A-R2
NEMA-Rated Fiber Optic Wallmount Enclosure
Protects your fiber cabling in a damp environment.
Single rubber gasket door has a hex nut security lock.
Cable enters or exits the enclosure via two watertight openings.
Internal bracket supports up to two fiber adapter panels.
Includes an area to mount a splicing tray.
Customer
Support
Information
Order toll-free in the U.S.: Call 877-877-BBOX (outside U.S. call 724-746-5500) •
FREE technical support 24 hours a day, 7 days a week: Call 724-746-5500 or fax 724-746-0746 •
Mailing address: Black Box Corporation, 1000 Park Drive, Lawrence, PA 15055-1018 •
Web site: www.blackbox.com • E-mail: [email protected]
Page 2

NEMA-Rated Fiber Optic Wallmount Enclosure
Trademarks Used in this Manual
Black Box and the Double Diamond logo are registered trademarks of BB Technologies, Inc.
Kevlar is a registered trademark of E.I. du Pont de Nemours and Company.
Any other trademarks mentioned in this manual are acknowledged to be the property of the trademark owners.
Page 2
We‘re here to help! If you have any questions about your application
or our products, contact Black Box Tech Support at 724-746-5500
or go to blackbox.com and click on “Talk to Black Box.”
You’ll be live with one of our technical experts in less than 30 seconds.
724-746-5500 | blackbox.com
Page 3

NEMA-Rated Fiber Optic Wallmount Enclosure
1. Specifications
Listing: NEMA 4
Size: 12.9"H x 15.1"W x 4.1"D (32.8 x 38.4 x 25.4 cm)
Weight: 13.9 lb. (6.4 kg)
2. Overview
2.1 Introduction
The NEMA-Rated Fiber Optic Wallmount Enclosure is perfect for applications where your fiber cabling is located in a damp environment or could be exposed to condensation that could affect your fiber terminations. The enclosure is rated NEMA 4.
Mount this enclosure to a solid surface, such as a cinder block wall. The enclosure includes a single rubber gasket door with a hex
nut security lock. It also has two watertight openings in the bottom where cable enters or exits the enclosure. Plus it has an internal bracket that supports up to two fiber adapter panels and an area to mount a splicing tray.
2.2 What‘s Included
Your package should include the following items. If anything is missing or damaged, please call Black Box Technical Support at
724-746 -5500.
• (1) fiber wallmount enclosure with internal 2-adapter panel bracket and two semicircle rings and splice tray installed
• (1) warning label
• (6) 1" (2.5-m) stick-on rectangular cable holders
• (4) #9-18 x 1.25" screws
• (30) 3" (7.6-cm) cable ties
• (4) 4" (10.2-cm) cable ties
• (1) cable management sticker
• (8) port ID stickers
• (1) 7⁄16" hex key
• (2) waterproof cable grommets
• (2) rubber plugs
• (1) wallmounting template
NOTE: Waterproof cable grommets support bulk cable from 6-mm minimum to 14-mm maximum.
3. Installation
Complete the following steps to install the enclosure:
1. Hold the enclosure against the wall where you want to install it. Make sure the cabinet is positioned so the two holes on the
enclosure are facing down.
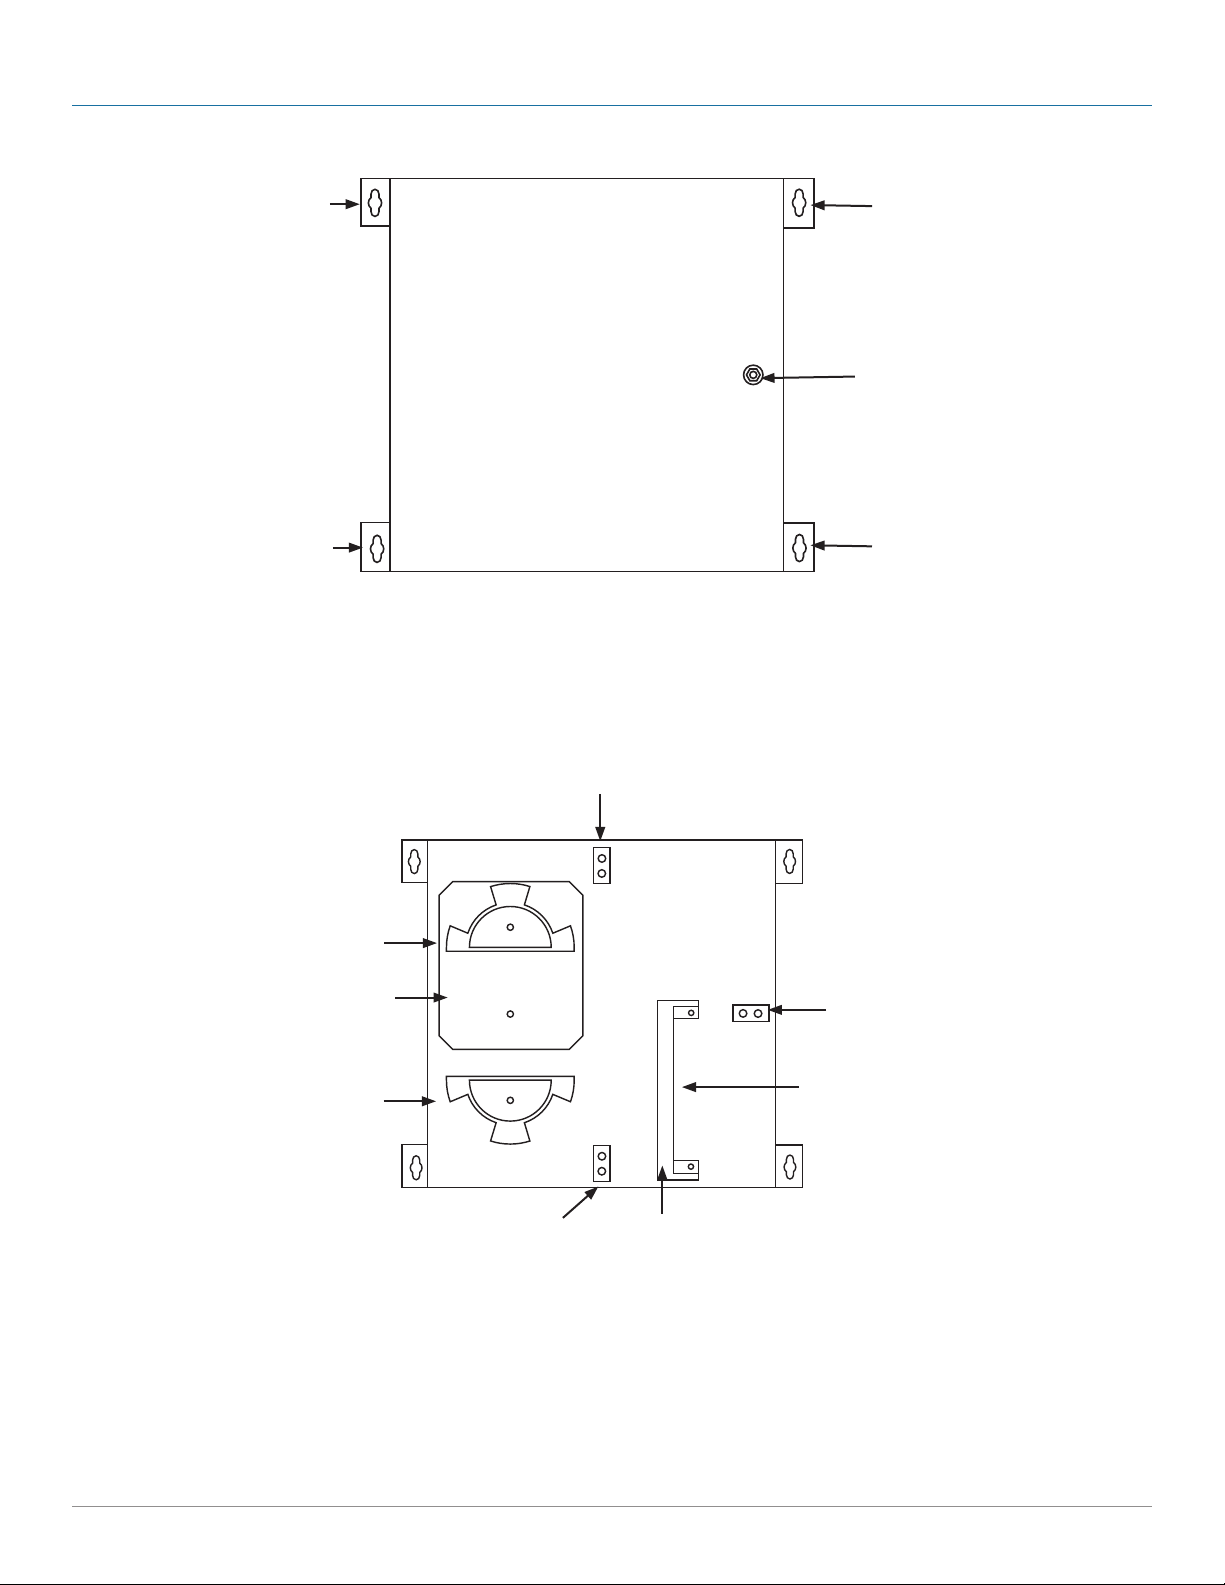
2. Position the four mounting tab ears on the wall. See Figure 1.
3. You may use the wallmounting template to help align holes for installation.
Page 3
Page 4
NEMA-Rated Fiber Optic Wallmount Enclosure
4. Using the included screws or bolts that are appropriate for your wall type, fasten the enclosure to the wall.
Wallmounting ear
Wallmounting ear
Wallmounting ear
Hex lock
Wallmounting ear
Figure 1. Outside view of cabinet.
5. Open the enclosure’s door and note the internal component locations. As shown in Figure 2, you will see one fiber splice tray
and two semicircular rings for fiber cable management splicing. You can remove the splice tray and cable management rings
and configure them in multiple ways to suit your application..
Cable spool
Splice tray
Cable spool
Kevlar® clamp
Kevlar
®
clamp
Removable internal
bracket
Figure 2. Inside the enclosure.
®
clamp
Kevlar
Fiber adapter panel
6. With the enclosure door open, install the round waterproof cable grommets.
7. Slide the fiber cable through the watertight seals. Then tighten the seal so the rubber gasket is secure around the cable trunk.
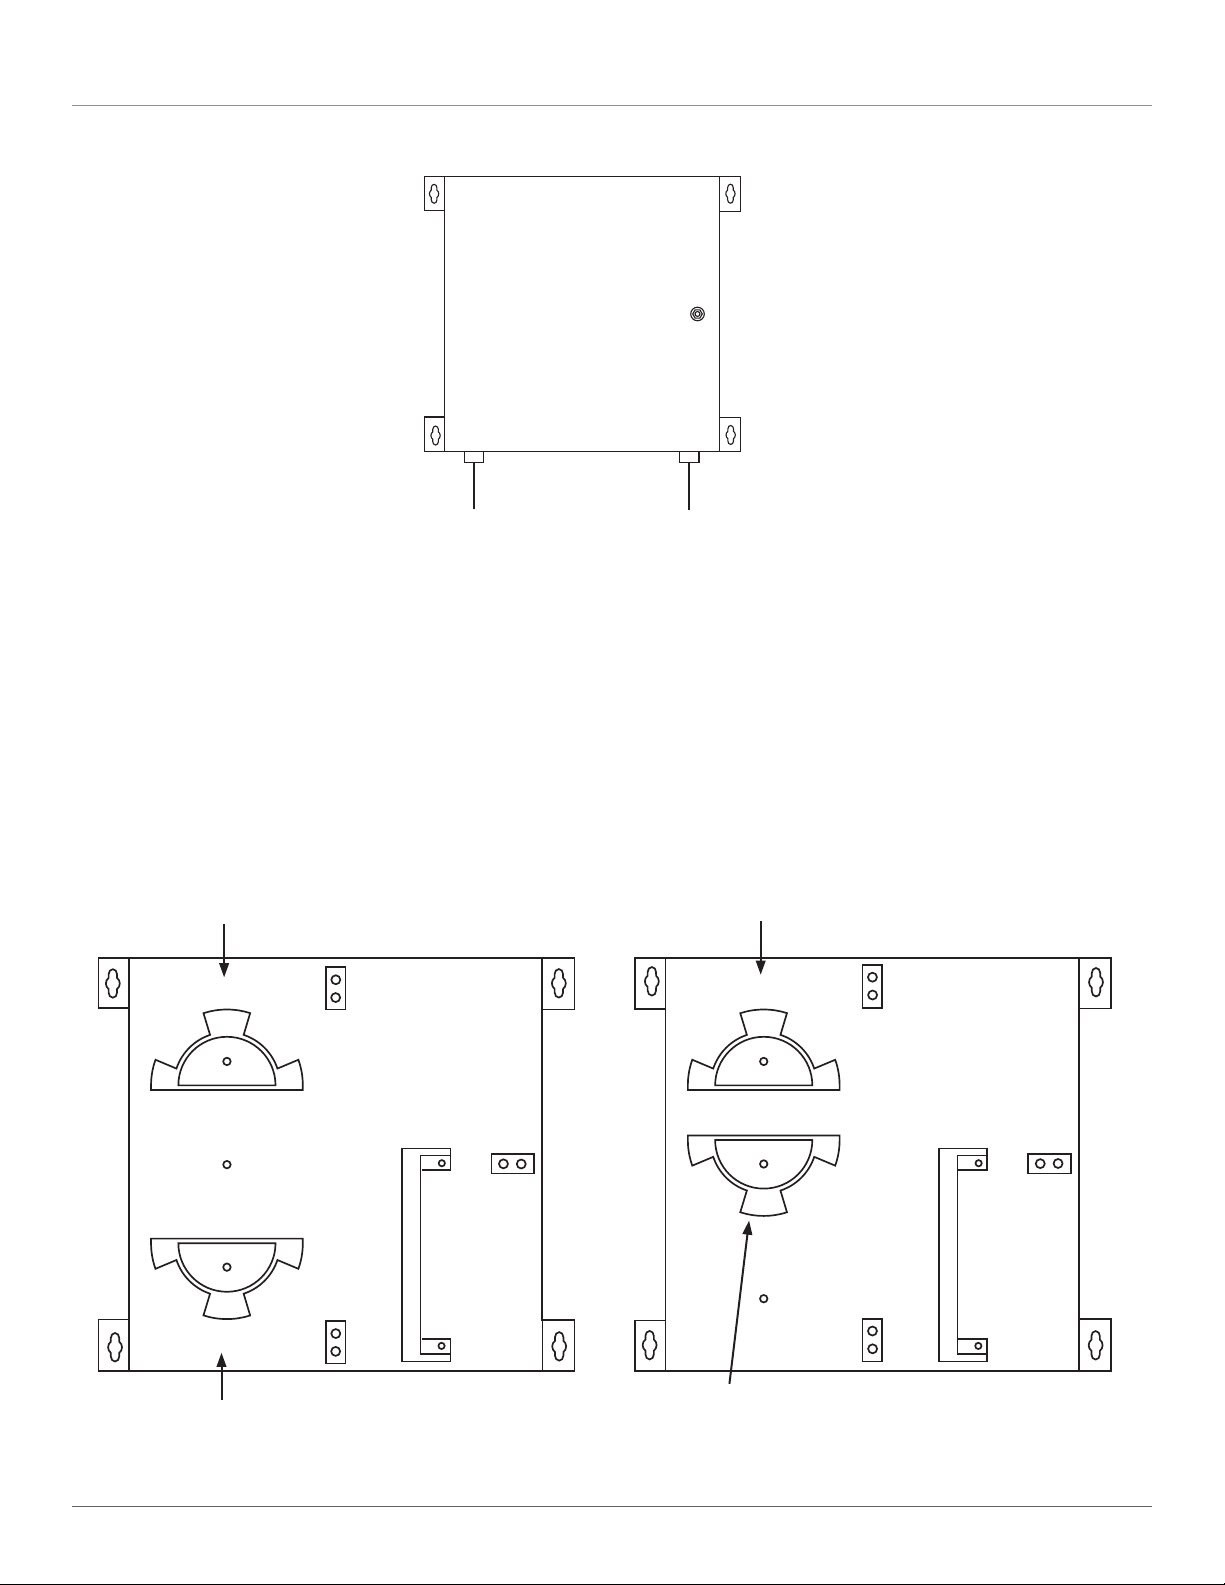
The NEMA Rated Fiber Optic Wallmount Enclosure supports one fiber cable going into and one fiber cable going out of the
enclsoure. See Figure 3.
Page 4
724-746-5500 | blackbox.com
Page 5
NEMA-Rated Fiber Optic Wallmount Enclosure
(1) cable in
(1) cable out
Figure 3. One cable in/one out configuration.
NOTE: You may use the waterproof grommets if you’re not ready to install cable yet, but still want to mount the enclosure. Be
sure to install the rubber plugs (included) to make a watertight seal on each opening. Push each plug into the grommet
until it is flush with the grommet’s bottom.
8. After the fiber trunk cables are installed inside the enclosure, secure the fiber in place with Kevlar® clamps located around the
inside of the enclosure.
9. The left side of the enclosure accommodates cable management and fiber splicing. Two semi-circular rings (already installed) help manage
the loose distribution fiber strands. A two-port six-strand fiber splice tray is already installed. Both the semi-circular rings and splice tray can
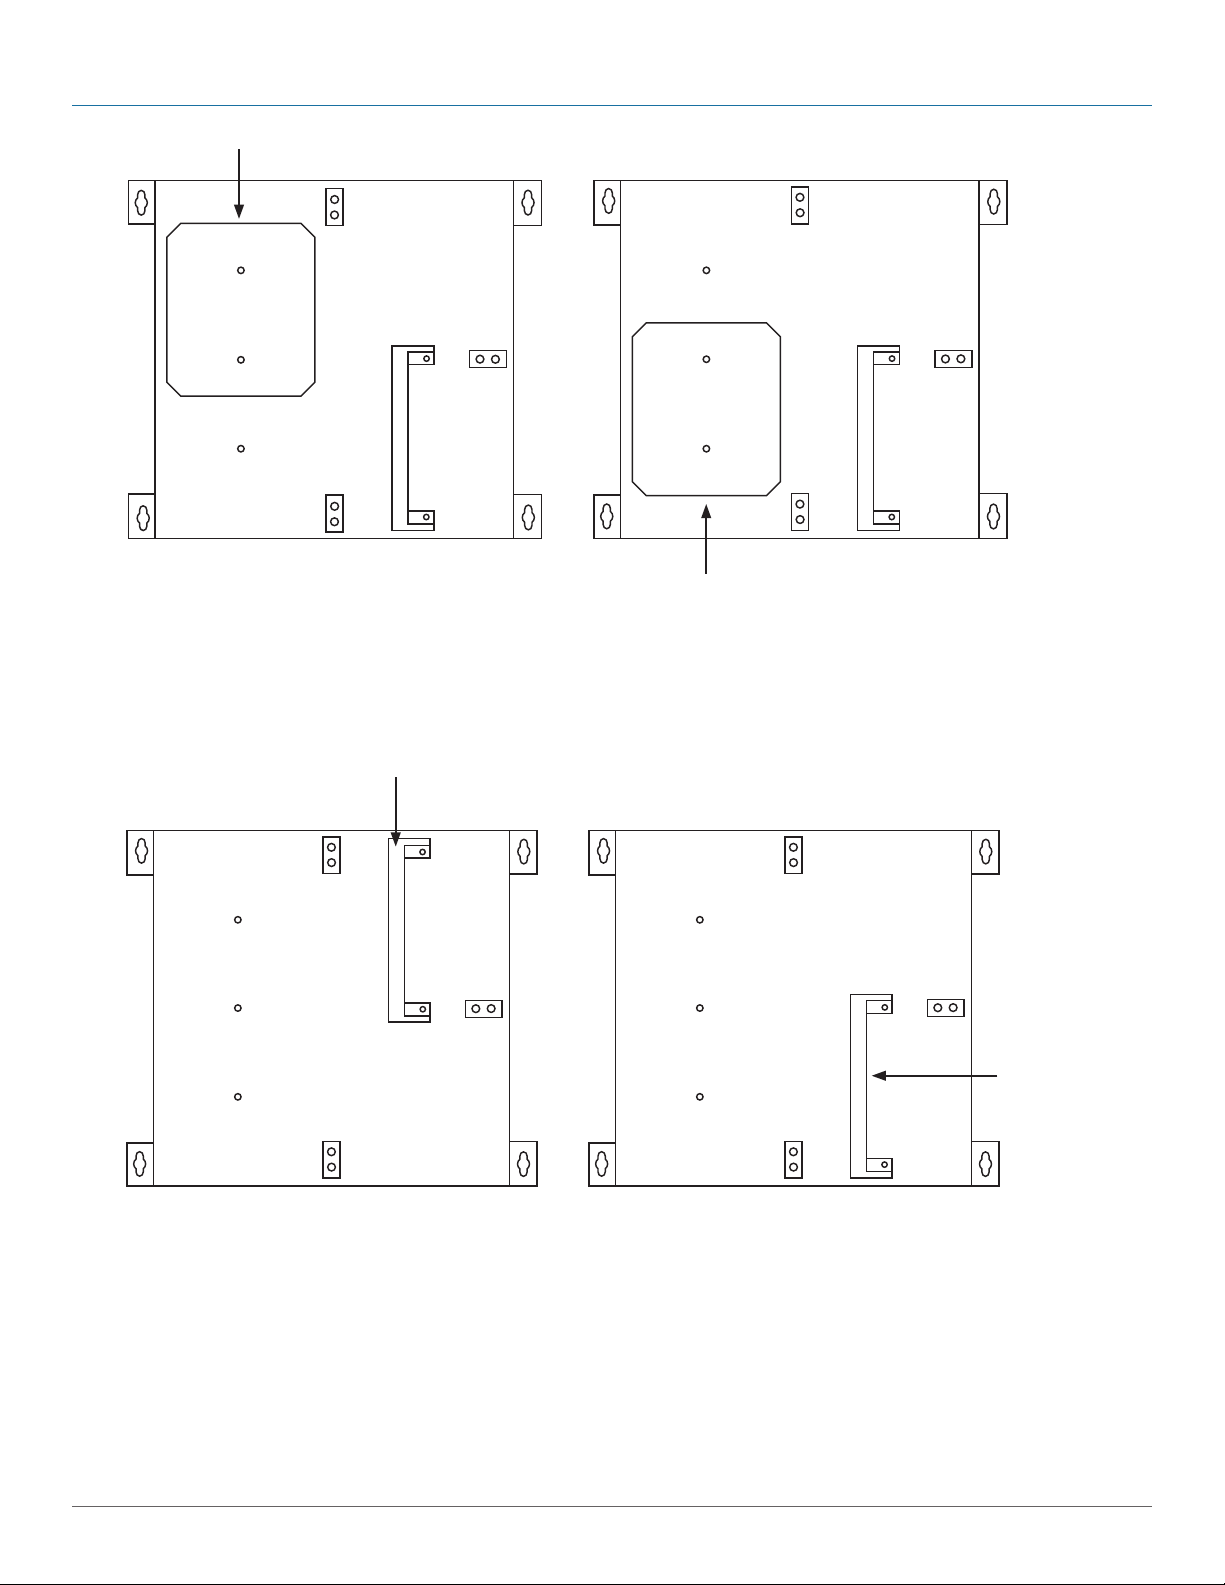
be reconfigured to best suit your application. See the examples in Figures 4 and 5.
Semicircular ring
Semicircular ring
Semicircular ring
Semicircular ring
Figure 4. Positioning the semicircle rings.
Page 5
Page 6
NEMA-Rated Fiber Optic Wallmount Enclosure
Splice tray
Figure 5. Positioning the splice tray.
Splice tray
10. On the right side of the enclosure, you can mount up to two fiber adapter panels. If you need more space for fiber splicing,
remove the internal bracket. The fiber bracket can be positioned on the top or bottom—see Figure 6.
Fiber adapter
panel
Fiber adapter
panel
Figure 6. Position the fiber bracket on the top or bottom.
11. After all fiber splices and terminations are complete, attach the warning label and port ID stickers that are included with
your cabinet. Place the cable management sticker on the inside lid to identify your fiber. Once complete, shut the door and
lock it with the included hex key. Your fiber is now secure inside a NEMA-rated enclosure.
12. The enclosure’s front door is shipped hinged on the left side. To change the orientation of the enclosure’s front door to
hinge on the right side: Pop off the rubber stoppers on the screw holes on the right side of the enclosure. Remove the
screws holding the door to the left side of the enclosure, then remove the door. Using the screws you just removed, attach
the door to the right side of the enclosure. Tighten the screws now holding the door hinge on the enclosure’s right side and
install the rubber stoppers on the enclosure’s left side.
Page 6
724-746-5500 | blackbox.com
Page 7

NOTES
Page 7
Page 8

Black Box Tech Support: FREE! Live. 24/7.
Tech support the
way it should be.
Great tech support is just 30 seconds away at 724-746-5500 or blackbox.com.
About Black Box
Black Box Network Services is your source for an extensive range of networking and infrastructure products. You’ll find everything
from cabinets and racks and power and surge protection products to media converters and Ethernet switches all supported by
free, live 24/7 Tech Support available in 30 seconds or less.
© Copyright 2012. All rights reserved.
JPM4001A-R2, ver sion 2
724-746-5500 | blackbox.com
 Loading...