

Page 1

MAY 2001
HS550A
Computer USB Headset
Adapter
CUSTOMER SUPPORT INFORMATION
Order toll-free in the U.S.: Call 877-877-BBOX (outside U.S. call 724-746-5500)
FREE technical support 24 hours a day, 7 days a week: Call 724-746-5500 or fax 724-746-0746
Mailing address: Black Box Corporation, 1000 Park Drive, Lawrence, PA 15055-1018
Web site: www.blackbox.com • E-mail: info@blackbox.com
Page 2

1
FCC AND IC STATEMENTS
FEDERAL COMMUNICATIONS COMMISSION
AND
INDUSTRY CANADA
RADIO FREQUENCY INTERFERENCE STATEMENTS
Class B Digital Device. This equipment has been tested
and found to comply with the limits for a Class B
computing device pursuant to Part 15 of the FCC Rules.
These limits are designed to provide reasonable
protection against harmful interference in a residential
installation. However, there is no guarantee that
interference will not occur in a particular installation.
This equipment generates, uses, and can radiate radio
frequency energy, and, if not installed and used in
accordance with the instructions, may cause harmful
interference to radio communications. If this
equipment does cause harmful interference to radio or
telephone reception, which can be determined by
turning the equipment off and on, the user is
encouraged to try to correct the interference by one of
the following measures:
• Reorient or relocate the receiving antenna.
Page 3

2
COMPUTER USB HEADSET ADAPTER
• Increase the separation between the equipment
and receiver.
• Connect the equipment into an outlet on a circuit
different from that to which the receiver is
connected.
• Consult an experienced radio/TV technician for
help.
Caution:
Changes or modifications not expressly approved by the
party responsible for compliance could void the user’s
authority to operate the equipment.
To meet FCC requirements, shielded cables and power
cords are required to connect this device to a personal
computer or other Class B certified device.
This digital apparatus does not exceed the Class B limits for
radio noise emission from digital apparatus set out in the Radio
Interference Regulation of Industry Canada.
Le présent appareil numérique n’émet pas de bruits
radioélectriques dépassant les limites applicables aux appareils
numériques de classe B prescrites dans le Règlement sur le
brouillage radioélectrique publié par Industrie Canada.
Page 4

3
NOM STATEMENT
NORMAS OFICIALES MEXICANAS (NOM)
ELECTRICAL SAFETY STATEMENT
INSTRUCCIONES DE SEGURIDAD
1. Todas las instrucciones de seguridad y operación deberán ser leídas antes
de que el aparato eléctrico sea operado.
2. Las instrucciones de seguridad y operación deberán ser guardadas para
referencia futura.
3. Todas las advertencias en el aparato eléctrico y en sus instrucciones de
operación deben ser respetadas.
4. Todas las instrucciones de operación y uso deben ser seguidas.
5. El aparato eléctrico no deberá ser usado cerca del agua—por ejemplo,
cerca de la tina de baño, lavabo, sótano mojado o cerca de una alberca,
etc..
6. El aparato eléctrico debe ser usado únicamente con carritos o pedestales
que sean recomendados por el fabricante.
7. El aparato eléctrico debe ser montado a la pared o al techo sólo como sea
recomendado por el fabricante.
8. Servicio—El usuario no debe intentar dar servicio al equipo eléctrico más
allá a lo descrito en las instrucciones de operación. Todo otro servicio
deberá ser referido a personal de servicio calificado.
9. El aparato eléctrico debe ser situado de tal manera que su posición no
interfiera su uso. La colocación del aparato eléctrico sobre una cama,
sofá, alfombra o superficie similar puede bloquea la ventilación, no se
debe colocar en libreros o gabinetes que impidan el flujo de aire por los
orificios de ventilación.
10. El equipo eléctrico deber ser situado fuera del alcance de fuentes de calor
como radiadores, registros de calor, estufas u otros aparatos (incluyendo
amplificadores) que producen calor.
Page 5

4
COMPUTER USB HEADSET ADAPTER
11. El aparato eléctrico deberá ser connectado a una fuente de poder sólo del
tipo descrito en el instructivo de operación, o como se indique en el
aparato.
12. Precaución debe ser tomada de tal manera que la tierra fisica y la
polarización del equipo no sea eliminada.
13. Los cables de la fuente de poder deben ser guiados de tal manera que no
sean pisados ni pellizcados por objetos colocados sobre o contra ellos,
poniendo particular atención a los contactos y receptáculos donde salen
del aparato.
14. El equipo eléctrico debe ser limpiado únicamente de acuerdo a las
recomendaciones del fabricante.
15. En caso de existir, una antena externa deberá ser localizada lejos de las
lineas de energia.
16. El cable de corriente deberá ser desconectado del cuando el equipo no
sea usado por un largo periodo de tiempo.
17. Cuidado debe ser tomado de tal manera que objectos liquidos no sean
derramados sobre la cubierta u orificios de ventilación.
18. Servicio por personal calificado deberá ser provisto cuando:
A: El cable de poder o el contacto ha sido dañado; u
B: Objectos han caído o líquido ha sido derramado dentro del
aparato; o
C: El aparato ha sido expuesto a la lluvia; o
D: El aparato parece no operar normalmente o muestra un cambio en
su desempeño; o
E: El aparato ha sido tirado o su cubierta ha sido dañada.
Page 6

5
TRADEMARKS/SAFETY PRECAUTIONS
TRADEMARKS USED IN THIS MANUAL
Windows®is a registered trademark of Microsoft
Corporation.
Any other trademarks mentioned in this manual are
acknowledged to be the property of the trademark owners.
SAFETY PRECAUTIONS
Keep the microphone away from heat sources, such as
radiators, heat registers, and other similar appliances.
Keep the microphone away from liquids.
Protect the microphone from high humidity.
Keep the Computer USB Headset Adapter away from
children. The Adapter contains a cord and small parts that
pose a tangling and choking hazard.
Page 7

6
COMPUTER USB HEADSET ADAPTER
Contents
Chapter Page
1. Specifications. . . . . . . . . . . . . . . . . . . . . . . . . . . . . . 8
2. Introduction . . . . . . . . . . . . . . . . . . . . . . . . . . . . . 10
2.1 Description . . . . . . . . . . . . . . . . . . . . . . . . . . . 10
2.2 Features . . . . . . . . . . . . . . . . . . . . . . . . . . . . . . 10
2.3 System Requirements . . . . . . . . . . . . . . . . . . . 10
3. Installation. . . . . . . . . . . . . . . . . . . . . . . . . . . . . . . 11
3.1 Hardware Installation . . . . . . . . . . . . . . . . . . . 11
3.2 USB Composite Driver/Audio Device
Driver Installation . . . . . . . . . . . . . . . . . . . . . . . . 12
3.2.1 USB Software Driver Installation . . . . . . 12
3.2.2 USB Human Interface Device
Installation . . . . . . . . . . . . . . . . . . . . . . . . . . 18
3.2.3 USB Audio Device Installation . . . . . . . . 22
4. Operation . . . . . . . . . . . . . . . . . . . . . . . . . . . . . . . 27
4.1 Function Verification . . . . . . . . . . . . . . . . . . . 27
4.2 Microphone Adjustment . . . . . . . . . . . . . . . . 28
4.3 Speaker Volume Adjustment . . . . . . . . . . . . . 32
Page 8

7
CONTENTS
Chapter Page
5. Special Considerations for Speech-Dictation
Applications. . . . . . . . . . . . . . . . . . . . . . . . . . . . . . 36
6. Manual Installation. . . . . . . . . . . . . . . . . . . . . . . . 37
7. Troubleshooting . . . . . . . . . . . . . . . . . . . . . . . . . . 44
Page 9

8
COMPUTER USB HEADSET ADAPTER
1. Specifications
Microphone Volume Control: 22.5-dB range, 1.5-dB
steps, software controlled
Microphone Input: 0.25 Vrms (maximum)
Microphone Sensitivity: 12 Vrms full scale at maximum
volume
Speaker Volume Control: 46.5-dB range, 1.5-dB steps,
software controlled
Speaker Output: 1 Vrms (maximum)
Speaker Sensitivity: 3 Vpp (1 Vrms) output for a
1
⁄4-full-
scale (digital word) input
Sampling Rate: Variable, controlled by host: 8 kHz,
11 kHz, 22 kHz, and 44 kHz
A/D Converter: 18-bit (sampling rate 8 kHz to 44 kHz)
D/A Converter: 18-bit (sampling rate 8 kHz to 44 kHz)
with integral filtering
Formatting: Supports 8-bit and 16-bit stream
Page 10

9
USB Compatibility: Isochronous high-speed device
(12 Mbps), compliant with USB General and Audio
Class
Software Drivers: Included in Windows
®
98 SE, Windows
2000, and Windows Me
USB Interface: Hard-wired 2-meter (6.6-ft.) cable with
Type A USB connector
Standards: FCC Part 15, Class B; CE; VCCI
Connectors: (1) USB Type A, (2) 3-5-mm phone plugs
([1] for microphone input, [1] for speaker output)
Power: From the interface
Size: 0.875"H x 1.875"W x 2.5"D (2.2 x 4.8 x 6.4 cm)
Weight: 2 oz. (57 g)
CHAPTER 1: Specifications
Page 11

10
COMPUTER USB HEADSET ADAPTER
2. Introduction
2.1 Description
Connect any existing computer headset into your
computer using the USB port with the Computer USB
Headset Adapter. It has a 6-inch (15.2-cm) pigtail with a
USB connector. The Adapter also has (2) 3.5-mm stereo
jacks to connect the microphone and audio for the
headset. With this adapter, you can use any
manufacturer’s headset instead of one with a fixed USB
connector. You don’t have to install new drivers. The
operating system will automatically detect the new
device and search for the generic driver.
2.2 Features
• Universal Serial Bus interface for audio headsets.
• Duplex (2-way) operation.
• Accommodates monaural or stereo output.
2.3 System Requirements
• Computer with Windows 98 SE, Windows 2000, or
Windows Me installed
• One available USB port
Page 12

11
CHAPTER 3: Installation
3. Installation
3.1 Hardware Installation
1. Plug the audio headset microphone and speaker
connectors (3.5-mm phone connectors) into the
appropriately marked jacks on the USB adapter
case. Individual multimedia microphones and
speakers may be connected in place of a headset,
if desired.
2. Connect the USB Headset Adapter to your
computer’s USB port. (It makes no difference
whether you do this before or after the computer
is powered up.) Once it is connected, the Window
Wizard will detect the device and automatically
launch the software driver.
NOTE
You will not need a CD or floppy disk during the installation.
Simply follow the simple step-by-step instructions.
Page 13
12
COMPUTER USB HEADSET ADAPTER
3.2 USB Composite Driver/Audio Device Driver Installation
3.2.1 USB S
OFTWAREDRIVERINSTALLATION
1. Once Windows detects the presence of the USB
Headset Adapter, it will automatically run the
“Add New Hardware Wizard” to configure the
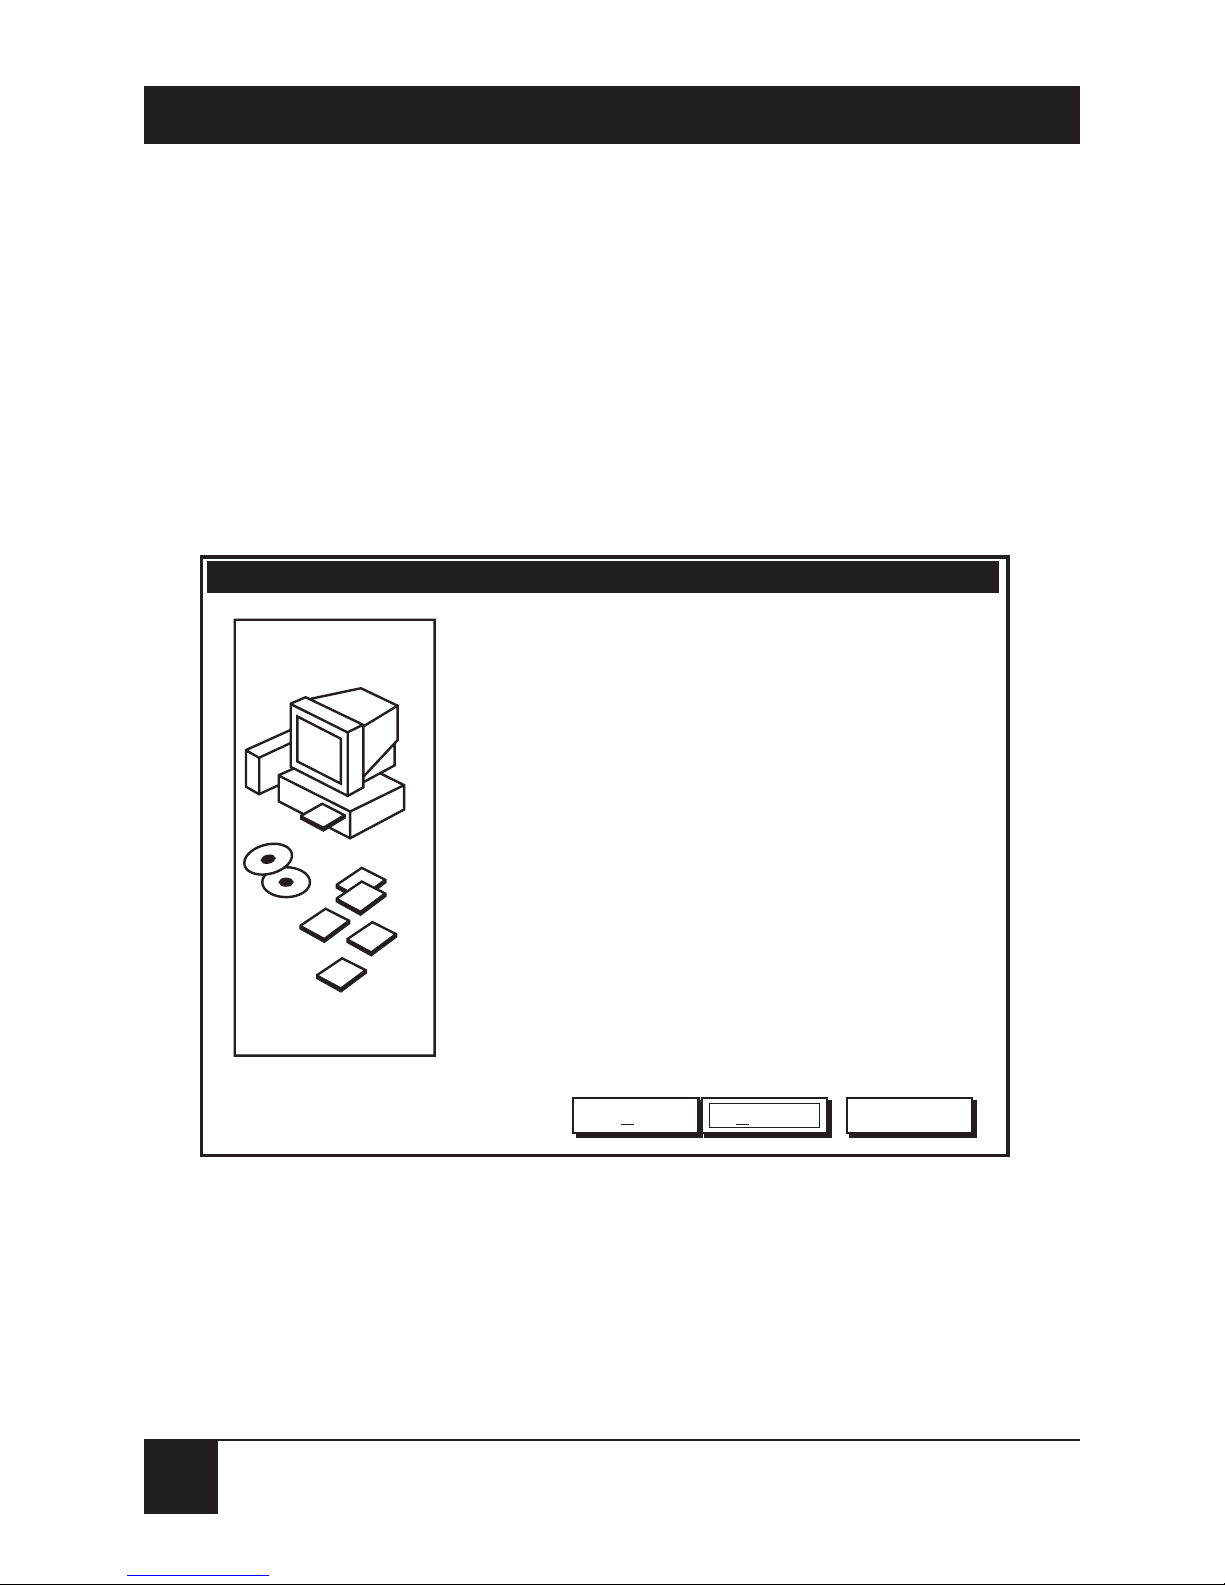
device properly. See Figure 3-1.
Figure 3-1. Add New Hardware Wizard screen.
Add New Hardware Wizard
This Wizard searches for new drivers for:
USB Composite Device
A device driver is a software program that makes a hardware
device work.
CancelNext >< Back
Page 14
13
CHAPTER 3: Installation
2. Under the “What do you want Windows to do?”
menu, select “Display a list…,” and click Next to
continue. See Figure 3-2.
Figure 3-2. What Do You Want Windows to Do screen.
NOTE
If Wizard does not automatically detect the presence of the
USB Adapter, proceed to Chapter 6 and Chapter 7.
Add New Hardware Wizard
What do you want Windows to do?
Search for the best driver for your device.
(Recommended)
CancelNext >< Back
Display a list of all the drivers in a specific location so
you can select the driver you want.
Page 15
14
COMPUTER USB HEADSET ADAPTER
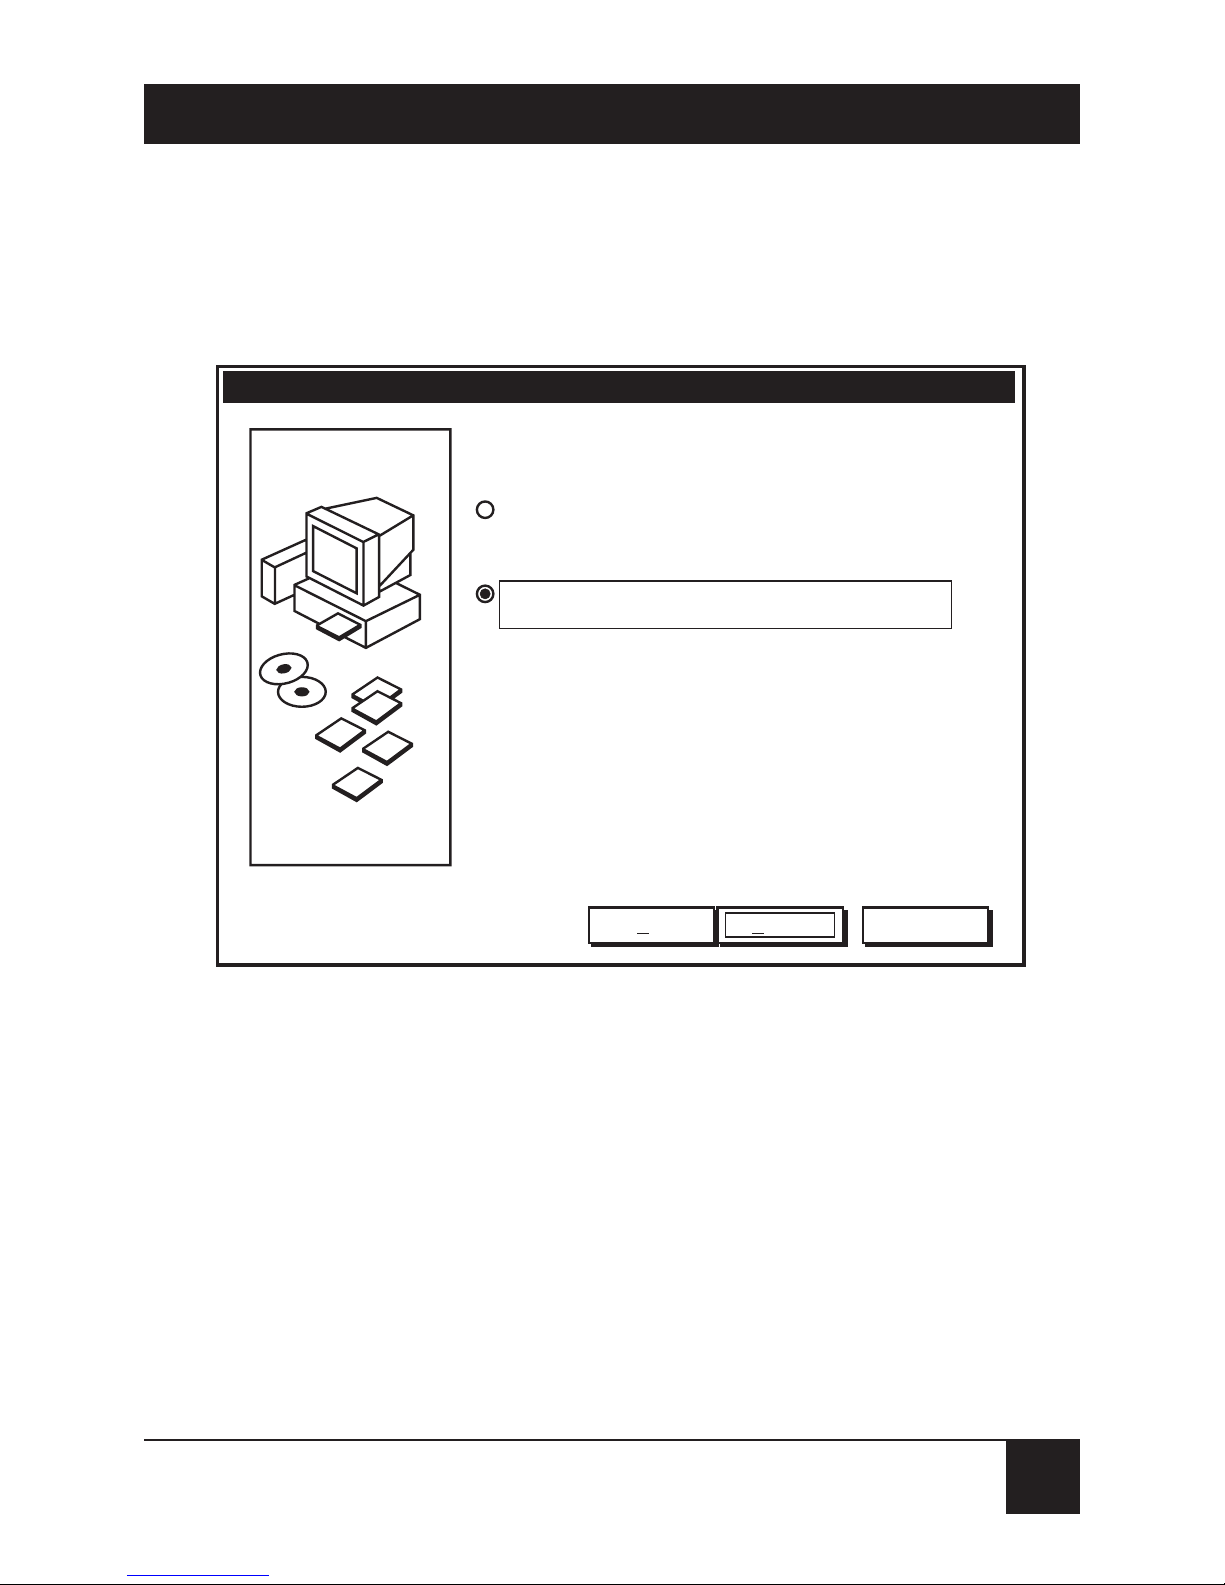
3. Wizard will prompt you to select the device driver.
On the menu below, make sure “Show compatible
hardware” and “USB Composite Device” are
selected. Click Next to continue. See Figure 3-3.
Figure 3-3. Selecting the Device Driver screen.
Add New Hardware Wizard
Select the manufacturer and model of your hardware device. If you have a disk that
contains the updated driver, click Have Disk. To install the updated driver, click
Finish
Cancel< Back
Next >
Show compatible hardware
Show all hardware
Models:
Have Disk...
USB Composite Device (5-11-1998)
Page 16
15
CHAPTER 3: Installation
4. Wizard will now begin to install the software
driver. Click Next to continue. See Figure 3-4.
Figure 3-4. Installing the Software Driver screen.
Add New Hardware Wizard
Windows driver file search for the device:
USB Composite Device
Windows is now ready to install the selected driver for this
device. Click Back to select a different driver, or click Next to
continue.
CancelNext >< Back
Location of driver:
C\WINDOWS\INF\USBINF
Page 17

16
COMPUTER USB HEADSET ADAPTER
5. This completes the USB Adapter Windows driver
installation. Click Finish to complete the “USB
Composite Device” installation. The installation
will automatically proceed to “USB Human
Interface Device” installation. See Figure 3-5.
Figure 3-5. Completing the Driver Installation screen.
Add New Hardware Wizard
USB Composite Device
Windows has finished installing the software you selected that
your new hardware device requires.
Cancel< Back Finish
Page 18

17
CHAPTER 3: Installation
NOTE
This message below may appear depending on the current
setting of your system. You may select “Yes” to restart your
computer now. Windows will properly close all open files
and restart your computer. You may select “No” and
proceed to the next steps to complete the installation. But
you will
need to restart your computer before using the USB
Adapter. See Figure 3-6.
Figure 3-6. System Settings Change screen.
To finish setting up your new hardware you must restart your computer.
System Settings Change
Do you want to restart your computer now?
NoYes
Page 19

18
COMPUTER USB HEADSET ADAPTER
3.2.2 USB H
UMANINTERFACEDEVICEINSTALLATION
1. Wizard will search for drivers for the USB Human
Interface Device. Click Next to continue. See
Figure 3-7.
Figure 3-7. Add New Hardware Wizard screen.
Add New Hardware Wizard
This Wizard searches for new drivers for:
USB Human Interface Device
A device driver is a software program that makes a hardware
device work.
CancelNext >< Back
Page 20

19
CHAPTER 3: Installation
2. Select “Display a list of all the drivers in a specific
location…,” and then click Next to continue. See
Figure 3-8.
Figure 3-8. What Do You Want Windows to Do screen.
Add New Hardware Wizard
What do you want Windows to do?
Search for the best driver for your device.
(Recommended)
CancelNext >< Back
Display a list of all the drivers in a specific location so
you can select the driver you want.
Page 21

20
COMPUTER USB HEADSET ADAPTER
3. Windows will confirm the device model. Make sure
that “Show compatible hardware” and the device
model “USB Audio Device” are selected. Click
Next to continue. See Figure 3-9.
Figure 3-9. Device Driver Location screen.
Add New Hardware Wizard
Select the manufacturer and model of your hardware device. If you have a disk that
contains the updated driver, click Have Disk. To install the updated driver, click
Finish
Cancel< Back
Next >
Show compatible hardware
Show all hardware
Models:
Have Disk...
USB Audio Device (5-11-1998)
Page 22

21
CHAPTER 3: Installation
4. Windows will show the device driver location
before installation. Click Next to continue.
5. This concludes the “USB Human Interface
Device” driver installation. Click Finish to
continue to “USB Audio Device” installation. See
Figure 3-10.
Figure 3-10. Installation Complete screen.
Add New Hardware Wizard
USB Human Interface Device
Windows has finished installing the software you selected that
your new hardware device requires.
Cancel< Back Finish
Page 23

22
COMPUTER USB HEADSET ADAPTER
3.2.3 USB A
UDIODEVICEINSTALLATION
1. The “Add New Hardware Wizard” should indicate
that it has found the new device (USB Audio
Device). Click Next to proceed. See Figure 3-11.
Figure 3-11. Add New Hardware Wizard, USB Audio Device screen.
Add New Hardware Wizard
This Wizard searches for new drivers for:
USB Audio Device
A device driver is a software program that makes a hardware
device work.
CancelNext >< Back
Page 24

23
CHAPTER 3: Installation
2. Select “Display a list of all the drivers in a specific
location…,” and then click Next to continue. See
Figure 3-12.
Figure 3-12. Display Drivers screen.
Add New Hardware Wizard
What do you want Windows to do?
Search for the best driver for your device.
(Recommended)
CancelNext >< Back
Display a list of all the drivers in a specific location so
you can select the driver you want.
Page 25

24
COMPUTER USB HEADSET ADAPTER
3. Windows will confirm the device model. Make sure
that the “Show compatible hardware” and the
device model “USB Audio Device” are selected.
Click Next to continue. See Figure 3-13.
Figure 3-13. Confirming the Device Model screen.
Add New Hardware Wizard
Select the manufacturer and model of your hardware device. If you have a disk that
contains the updated driver, click Have Disk. To install the updated driver, click
Finish
Cancel< Back
Next >
Show compatible hardware
Show all hardware
Models:
Have Disk...
USB Audio Device (5-11-1998)
Page 26

25
CHAPTER 3: Installation
4. Windows will show the device driver location
before installation. Click Next to continue. See
Figure 3-14.
Figure 3-14. Device Driver Location screen.
Add New Hardware Wizard
Windows driver file search for the device:
USB Audio Device
Windows is now ready to install the selected driver for this
device. Click Back to select a different driver, or click Next to
continue.
CancelNext >< Back
Location of driver:
C\WINDOWS\INF\WDMA_USBINF
Page 27

26
COMPUTER USB HEADSET ADAPTER
5. This concludes the USB Adapter software
installation. Click Finish to continue. See Figure
3-15.
Figure 3-15. Software Installation Complete screen.
NOTE
Close all applications and restart your computer before
using the USB Adapter.
Add New Hardware Wizard
USB Audio Device
Windows has finished installing the software you selected that
your new hardware device requires.
Cancel< Back Finish
Page 28

27
CHAPTER 4: Operation
4. Operation
To verify operation, please proceed with the following
steps.
4.1 Function Verification
1. Go to Start, Programs, Accessories, Entertainment,
Sound Recorder, then…
2. Select File and Properties, Convert Now, Select
CD Quality, then click OK to accept.
3. Press the Record button and speak into the
microphone.
4. Press Rewind, then the Play button to hear the
recorded voice.
NOTE
If there is no recorded voice heard during Play mode,
please refer to Section 4.2 and Chapter 7. Then repeat the
Function Verification procedure.
Stop recording before unplugging the USB Headset
Adapter from the USB port. Unplugging the device while it
is recording could cause the computer to lock up, which
then will require you to reboot your computer. The USB
protocol allows the “hot swapping” of USB devices, but we
recommend that you shut down Windows before unplugging
the device.
Page 29

28
COMPUTER USB HEADSET ADAPTER
Figure 4-1. Sound Recorder screen.
4.2 Microphone Adjustment
Adjust the microphone’s volume via the volume slider in
your computer’s multimedia audio setting.
Position:
0.00 sec.
File Edit Effects Help
Sound - Sound Recorder
Length:
0.00 sec.
Page 30

29
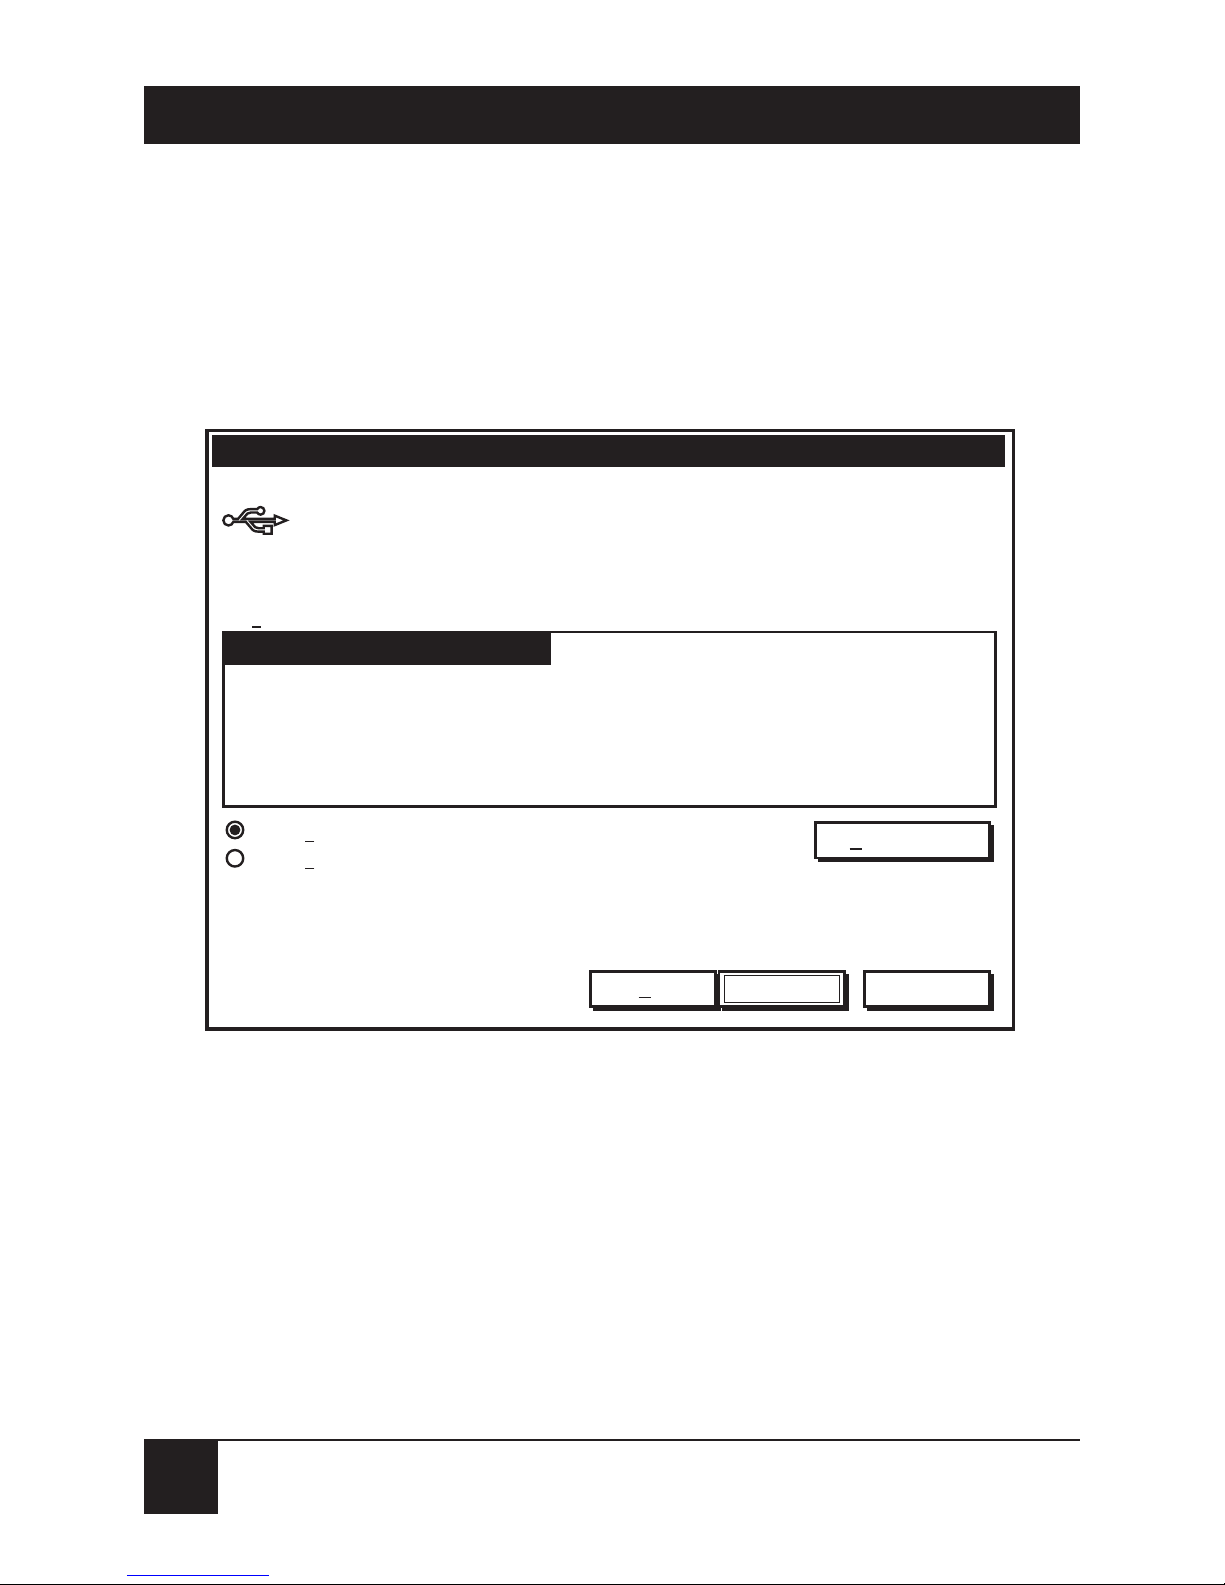
1. Go to Start, Settings, Control Panel, Multimedia,
and Audio. Make sure the “USB Audio Device” is
selected as the preferred device for both
“Playback” and “Recording.” Make sure that “Use
only preferred devices” is checked. Click OK to
continue. See Figure 4-2.
Figure 4-2. Selecting the USB Audio Device screen.
Audio
Multimedia Properties
Playback
CancelOK
Use only preferred devices
Apply
Show volume control on the taskbar
Video MIDI CD Music Devices
Preferred device
USB Audio Device
To select advanced options click:
Advanced Properties
Recording
Preferred device
USB Audio Device
To select advanced options click:
Advanced Properties
CHAPTER 4: Operation
Page 31

30
COMPUTER USB HEADSET ADAPTER
2. Double-click the speaker icon on your Windows
task bar or go to Start, Programs, Accessories,
Entertainment, Volume Control. Select Options,
Properties. Under Set Volume for Select
Recording. Be sure that the USB Audio Device is
selected under Mixer Device. Make sure the
Unknown, Wave, or Capture is selected under
Show the following volume controls menu. Click
OK. See Figure 4-3.
Figure 4-3. Properties screen.
Mixer device
Properties
USB Audio Device
Adjust volume for
Playback
Recording
Other
CancelOK
Show the following volume controls:
Unknown
Page 32

31
CHAPTER 4: Operation
3. Make sure Unknown, Wave, or Capture is
displayed on the Volume Control Panel. Also,
make sure that “Mute all” is not selected. Adjust
the microphone via the Volume slider. See Figure
4-4.
Figure 4-4. Volume Control Panel screen.
Volume
Mute all
Balance:
Unknown
Options Help
Un...
USB Audio Device
Page 33

32
COMPUTER USB HEADSET ADAPTER
4.3 Speaker Volume Adjustment
Adjust the speaker volume via the volume slider of your
computer‘s multimedia audio settings.
1. Go to Start, Setting, Control Panel, Multimedia,
Audio, and make sure that the USB Audio Device
is selected as the preferred device for both
“Playback” and “Recording.” Be sure that the Use
only preferred devices is checked. Click OK. See
Figure 4-5.
Page 34

33
Figure 4-5. Multimedia Properties screen.
2. Double click the speaker icon on your Windows
task bar.
3. Select Options, Properties.
Audio
Multimedia Properties
Playback
CancelOK
Use only preferred devices
Apply
Show volume control on the taskbar
Video MIDI CD Music Devices
Preferred device
USB Audio Device
To select advanced options click:
Advanced Properties
Recording
Preferred device
USB Audio Device
To select advanced options click:
Advanced Properties
CHAPTER 4: Operation
Page 35

34
COMPUTER USB HEADSET ADAPTER
4. Select Playback under the Adjust volume for
menu. See Figure 4-6.
Figure 4-6. Properties screen.
5. Make sure the following items in the Show the
following volume controls have check marks:
Speaker, Wave, and SW Synth. Click OK to
accept.
Mixer device
Properties
USB Audio Device
Adjust volume for
Playback
Recording
Other
CancelOK
Show the following volume controls:
Speaker
Wave
SW Synth
Line
Page 36

35
CHAPTER 4: Operation
6. On the Volume Control Panel, make sure the
Speaker, Wave, and SW Synth appear as volume
control options and that selection panels are not
muted. See Figure 4-7.
Figure 4-7. Volume Control Panel screen.
Adjust the speaker volume via sliders. To record a voice
file, refer to Section 4.1.
Volume
Mute all
Balance:
Volume Control
Options Help
Speaker
Mute
Balance:
Wave SW Synth Line
USB Audio Device
Volume
Mute
Balance:
Volume
Mute
Balance:
Volume
Microphone
Mute
Balance:
Volume
Advanced
Page 37

36
COMPUTER USB HEADSET ADAPTER
5. Special Considerations for
Speech-Dictation Applications
When upgrading to a new microphone for speechrecognition applications, always create a new user file.
For large vocabulary applications, this usually involves
running the application’s Audio Setup Wizard to adjust
the volume, and going through a new enrollment
process to train the system for the microphone. Position
the microphone properly for best performance on
speech-dictation systems.
For optimal performance, position the microphone
about
1
⁄4" to 1" from the side of your mouth and the tip
of the microphone boom.
Page 38

37
6. Manual Installation
If Windows does not detect the USB Adapter, follow
these instructions to manually install the proper drivers.
1. Select Start, Setting, Control Panel, and then
double-click Add New Hardware.
2. Windows will prompt you to close any open
applications before proceeding. Click Next to
continue. See Figure 6-1.
Figure 6-1. Add New Hardware Wizard screen.
Add New Hardware Wizard
This wizard installs the software for a new hardware
device.
Cancel
Before continuing, close any open programs.
To begin installing the software for your new device, click
Next.
Next >
< Back
CHAPTER 6: Manual Installation
Page 39

38
COMPUTER USB HEADSET ADAPTER
3. Windows will now search for any new Plug-andPlay devices on your system. Click Next to
continue. See Figure 6-2.
Figure 6-2. Searching for Plug-and-Play Devices screen.
Add New Hardware Wizard
Windows will now search for any new Plug and Play
devices on your system.
CancelNext >< Back
Your screen may go blank during this process. This is
normal.
To continue click Next.
Page 40

39
CHAPTER 6: Manual Installation
4. If Windows does not detect the device, it will
prompt you to identify the product. Select No, I
want to select hardware from a list, then click
Next. See Figure 6-3.
Figure 6-3. Identify the Hardware screen.
Add New Hardware Wizard
Windows can now search for hardware that is not Plug
and Play compatible, or you can select your hardware from
a list.
CancelNext >< Back
No. I want to select the hardware from a list.
Yes (Recommended)
When Windows detects new hardware it automatically
determines the current settings for the device and installs
the correct driver. For this reason it is strongly
recommended that you have Windows search for your
new hardware.
Do you want Windows to search for your new hardware?
Page 41

40
COMPUTER USB HEADSET ADAPTER
5. Windows will prompt you to select the type of
hardware you want to install. Under Hardware
types, select Sound, video and game controllers.
Click Next to continue. See Figure 6-4.
Figure 6-4. Selecting the Hardware to Install screen.
Add New Hardware Wizard
Hardware types:
Select the type of hardware you want to install.
Cancel
< Back
Next >
Other devices
PCMCIA socket
Ports (COM & LPT)
Printer
SBP2
SCSI controllers
Sound, video and game controllers
Storage device
System devices
Universal Serial Bus controllers
Page 42

41
CHAPTER 6: Manual Installation
6. Under Manufacturers, select Generic USB Audio
and under Models, select USB Audio Device. Click
Next to continue. See Figure 6-5.
Figure 6-5. Selecting USB Audio Device screen.
Add New Hardware Wizard
Select the manufacturer and model of your hardware.
Cancel< Back
Next >
Models:
Have Disk...
USB Audio Device
If your hardware is not listed, or if you have an installation disk, click Have
Disk. If your harware is still not listed, click Back, and then select a different
hardware type.
Manufacturers:
(Generic USB Audio)
(Standard game device)
3Com Corporation
3Dfx Interactive, Inc.
Ad Lib
Alter Lansing
Page 43

42
COMPUTER USB HEADSET ADAPTER
7. Windows will now confirm that the hardware you
are installing is Plug and Play compatible. Click
Next to continue. See Figure 6-6.
Figure 6-6. Installing the Software screen.
Add New Hardware Wizard
The hardware you are installing is Plug and Play
compatible.
Cancel
< Back
Next >
To install the software necessary to support your new
hardware, click Next.
Page 44

43
CHAPTER 6: Manual Installation
8. Once each software driver has been loaded,
Windows will tell you that the installation has been
completed. Click Finish. See Figure 6-7.
Figure 6-7. Completing the Software Installation screen.
Refer to Sections 4.1 and 4.2 to verify the installation.
Add New Hardware Wizard
Windows has finished installing the software necessary to
support your new hardware.
Cancel
< Back
Finish
Page 45

44
COMPUTER USB HEADSET ADAPTER
7. Troubleshooting
If Windows does not detect the USB Adapter, check the
following items.
1. Make sure that the Adapter is properly connected
to the available USB port of your computer.
2. Follow the instructions in Chapter 6 to install the
software drivers manually.
3. Follow the instructions in Chapter 4 to verify that
the device is functioning properly.
4. Check that the speaker volume is set properly. Go
to Start, Programs, Accessories, Entertainment,
and Volume Control. Be sure that the Speaker,
Wave, and SW Synth sliders are set at least halfway,
and that Mute All is not selected.
5. Check that the USB Adapter is listed in the Device
Manager. Go to Start, Settings, Control Panel, and
System. Select View devices by type on the Device
Manager tab. See Figure 7-1.
Page 46

45
CHAPTER 7: Troubleshooting
Figure 7-1. Device Manager tab.
Under Sound, video and game controllers and Universal
Serial Bus controller, you should see “USB Audio
Device” and “USB Composite Device” respectively.
General
System Properties
OK Cancel
Device Manager Hardware Profiles Performance
Keyboard
Monitors
Mouse
Network adapters
Ports (COM & LPT)
Sound, video and game controllers
Print...RemoveRefreshProperties
System devices
Universal Serial Bus controllers
USB Audio Device
YAMAHA DS-XG GamePort
YAMAHA DS-XG Legacy Sound System
YAMAHA DS-XG PCI Audio CODEC
General purpose USB Hub
USB Composite Device
USB Root Hub
VIA Tech 3038 PCI to USB Universal Host Controller
View devices by connectionView devices by type
Page 47

46
COMPUTER USB HEADSET ADAPTER
6. Make sure that the device is selected under
Multimedia Properties. Go to Start, Settings,
Control Panel, and Multimedia. Under the Audio
tab, check that USB Audio Device is selected for
both “Recording” and “Playback” preferred
devices. Click Apply, then OK to select. See Figure
7-2.
NOTE
Make sure that “Use only preferred devices” is checked.
Page 48

47
CHAPTER 7: Troubleshooting
Figure 7-2. Multimedia Properties screen, Audio tab.
Audio
Multimedia Properties
Playback
CancelOK
Use only preferred devices
Apply
Show volume control on the taskbar
Video MIDI CD Music Devices
Preferred device
USB Audio Device
To select advanced options click:
Advanced Properties
Recording
Preferred device
USB Audio Device
To select advanced options click:
Advanced Properties
Page 49

48
COMPUTER USB HEADSET ADAPTER
7. Check the microphone setting. Go to Start,
Programs, Accessories, Entertainment, and
Volume Control. Select Option, Properties. Select
USB Audio Device under the Mixer Device menu.
Select Recording under the Adjust volume for
menu. Capture or Unknown is selected under
Show the following volume controls. Adjust the
volume as necessary via the slider control. See
Figure 7-3.
Figure 7-3. Properties screen.
Mixer device
Properties
USB Audio Device
Adjust volume for
Playback
Recording
Other
CancelOK
Show the following volume controls:
Unknown
Page 50

49
CHAPTER 7: Troubleshooting
Incompatible Computer Systems
Some computer systems may lock up while using the
USB Adapter because of an incompatibility with
standard USB protocol. If this occurs in your system,
contact your computer’s manufacturer.
Also, some application software may not work
automatically with the USB Adapter. You may need to
set the input device manually in the Multimedia/Audio
setting. In this case, follow these instructions.
a. Select Start, Setting, Control Panel. Then double-
click the Multimedia icon and click on the Audio
tab. See Figure 7-4.
b. Under Playback and Recording, select USB Audio
Device as the preferred device.
c. Check Use only preferred devices.
d. Click Apply, then OK.
Page 51

50
COMPUTER USB HEADSET ADAPTER
Figure 7-4. Selecting the USB Audio Device screen.
NOTE
Most CD and DVD players are directly connected to the
computer sound card. The Adapter will not transmit through
those peripherals.
Audio
Multimedia Properties
Playback
CancelOK
Use only preferred devices
Apply
Show volume control on the taskbar
Video MIDI CD Music Devices
Preferred device
USB Audio Device
To select advanced options click:
Advanced Properties
Recording
Preferred device
USB Audio Device
To select advanced options click:
Advanced Properties
Page 52

1000 Park Drive • Lawrence, PA 15055-1018 • 724-746-5500 • Fax 724-746-0746
© Copyright 2001. Black Box Corporation. All rights reserved.
 Loading...