

Page 1
Enjoy mobility.
Bedienungsanleitung
Enjoy mobility.
Instruction Manual
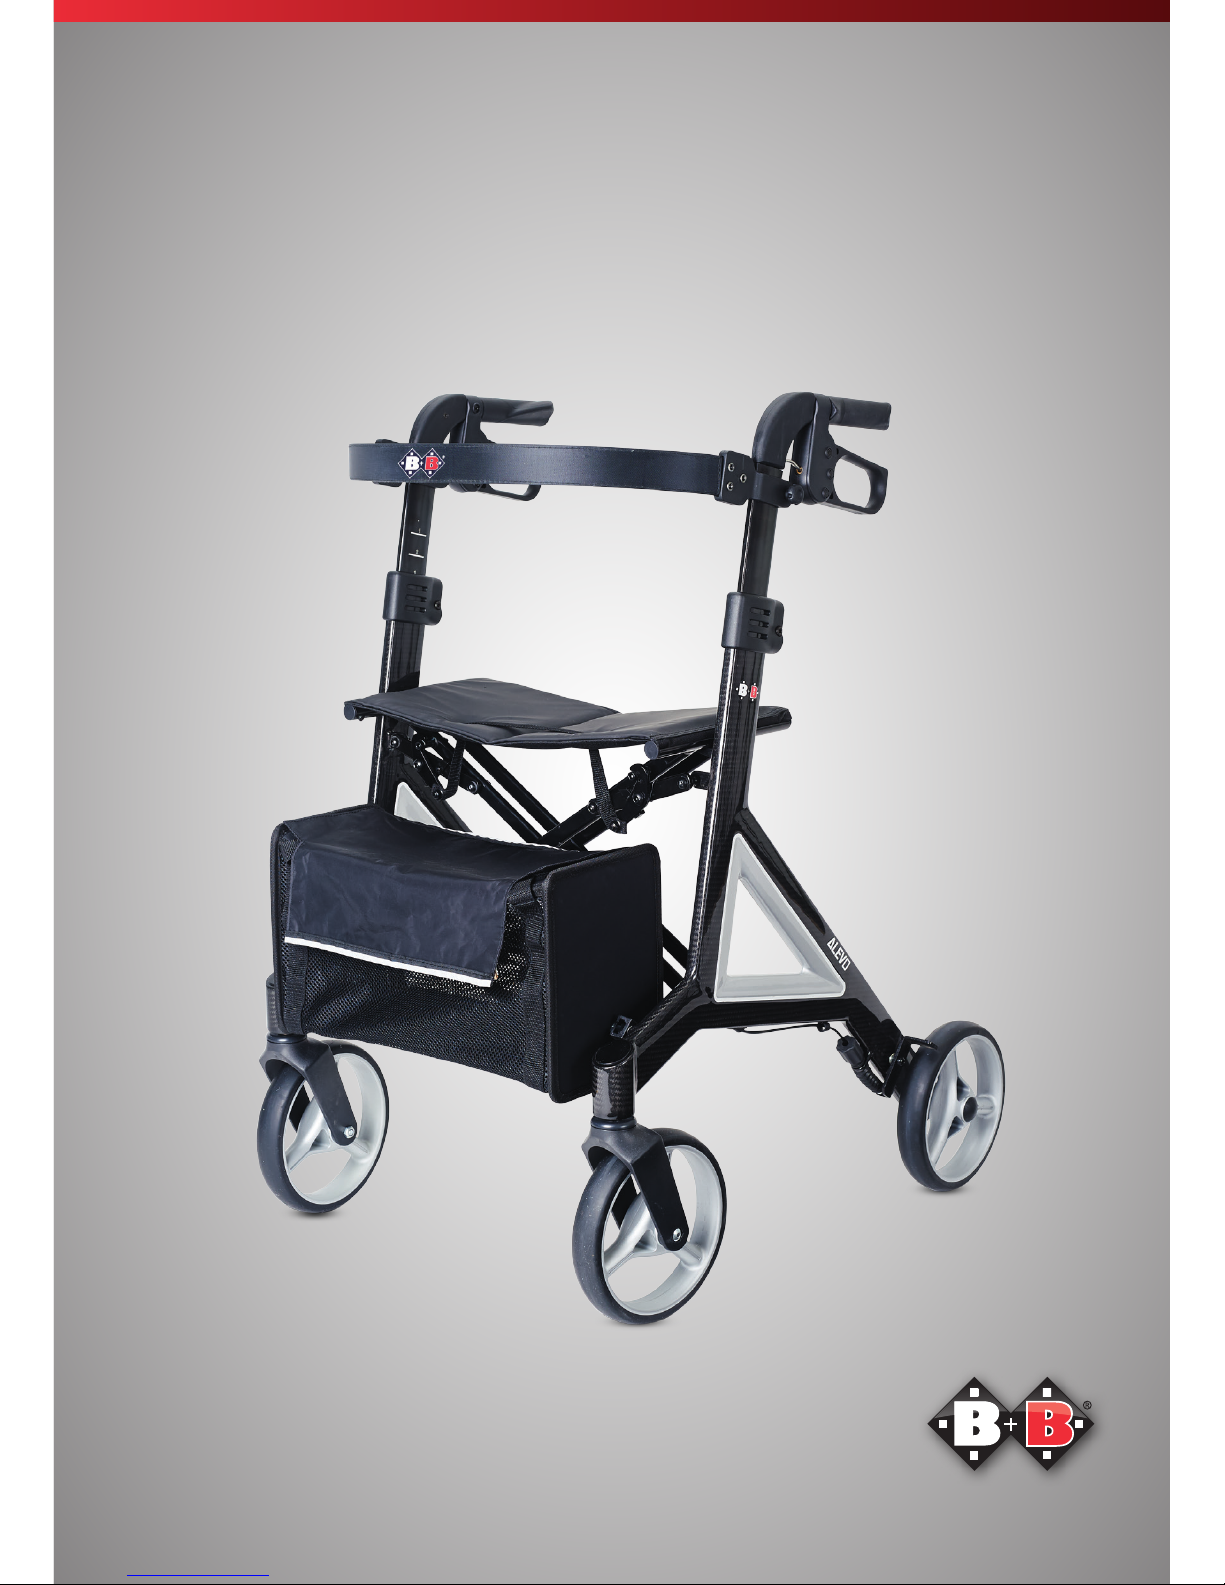
Alevo
Page 2

Bischoff & Bischoff GmbH | 03.05.2017
EN
32
Alevo | Rollator Rollator | Alevo
5. Use 14
6. Technical data 15
7. Maintenance tips for users 16
7.1. Cleaning and disinfection 16
7.2. Rollator check by the user 17
7.2.1. Brake inspection 17
7.2.2. Checking the tyres 17
8. Maintenance tips for retailers 18
9. Storage/shipping 19
10. Transfering the rollator 19
11. Disposal 19
12. Warranty 20
Index
1. Introduction 04
1.1. Signs and symbols 04
2. Important safety instructions 05
2.1. General safety instructions 05
2.2. Indications / Contraindications 05
2.3. Purpose 06
2.4. Declaration of conformity 06
2.5. Responsibility 06
2.6. Service life 06
3. Description of product and contents 07
3.1. Inspection on delivery 07
3.2. Type plate and serial number 08
3.3. Contents 09
3.4. Summary 09
4. Assembly/adjustments 10
4.1. Unfolding 10
4.2. Folding 10
4.3. Attaching the bag 10
4.4. Adjusting the push handles 10
4.5. Adjusting the back strap 11
4.6. Adjusting / activating the brakes 12
4.7. Wheels and tyres 12
4.8. Tipping Aid 13
4.9. Cane holder 13
Page 3

Bischoff & Bischoff GmbH | 03.05.2017
EN
54
Alevo | Rollator Rollator | Alevo
1.1. Signs and symbols
Important! This is especially useful information on
a given subject.
Warning! These are especially safety-relevant
instructions. Follow the directions in the manual!
1. Introduction
Dear user,
By purchasing a B+B Alevo rollator, you are now the owner of a topquality German product that is setting new standards in terms of its
variability. This instruction manual is intended to help you become
more familiar with the operation and use of the rollator.
Please read and follow the instruction manual carefully before using
your new rollator for the first time. The instruction manual is an integral
and necessary component of the product. Keep the instruction manual
where you can refer to it, and if you transfer the rollator to another user,
please provide the manual to the new owner.
For visually impaired users, this document is available as a PDF file at
our website www.bischoff-bischoff.com.
Any repairs and adjustments require special technical training and may
therefore only be carried out by authorized B+B dealers.
2. Important safety instructions
2.1. General safety instructions
• Max. user weight of Alevo: 130kg!
• Pinch risk! Be careful when folding up and unfolding the rollator.
Make sure that clothing and body parts are not pinched between
the folding parts of the rollator.
• Each brake affects only one wheel.
• The bag can carry a maximum weight of 5kg.
• Do not use aggressive or caustic detergents to clean the rollator!
• Check that the rollator is fully intact each time before using it.
Check that the brake is working.
• Have your retailer check the brakes every six months!
• The surfaces of the rollator can heat up when exposed to direct
sunlight. There is a risk of injury.
2.2. Indications / Contraindications
• The rollator supports mobility-impaired users with walking, e.g. at
home, when shopping or walking outdoors.
• The seat area allows the user to rest during longer periods of use.
• Only use the rollator on a level and firm surface.
• The product may not be used as an aid for climbing or for transpor-
tation of heavy loads.
2.3. Purpose
The rollator is intended to support mobility of persons with an impaired
ability to walk, in accordance with the above-mentioned indications.
Please note:
We are only able to issue a guarantee if the product is used in
accordance with the specified conditions and for the specified purpose.
Page 4

Bischoff & Bischoff GmbH | 03.05.2017
EN
76
Alevo | Rollator Rollator | Alevo
2.4. Declaration of conformity
B+B, as manufacturer and solely responsible party, hereby declares that
the rollator Alevo complies with the requirements of the EC Directive
93/42.
2.5. Responsibility
We are only able to provide a warranty if the product is used in
accordance with the specified conditions and for the intended purposes.
If modifications, repairs or maintenance works are made, please make
sure only authorised persons perform these works in accordance to the
instructions of B+B.
2.6. Service life
If used as intended, and the safety, care and maintenance instructions
are observed, the expected service life is up to 5 years. Beyond this time
the rollator can be used continuously, provided it is in a safe condition.
3. Description of product and
contents
3.1. Inspection on delivery
All B+B rollators are subject to a proper final inspection in our house
and receive the CE mark.
The rollator is supplied in a special box. After unpacking save the box
if possible. You may need it later for storage or to return the product.
Assembly, adjustment to your body size and first instructions are taken
care of by your qualified medical supply dealer.
If delivered by rail or a forwarding agent, the product is to be checked
with regard to transportation damage at once in the presence of the
shipper.
Check the contents for completeness and make sure nothing is
damaged. Should you find any irregularities or damage, please contact
our customer service (Tel.: +49 700 6000 7070).
Page 5

Bischoff & Bischoff GmbH | 03.05.2017
EN
98
Alevo | Rollator Rollator | Alevo
3.2. Type plate and serial number
The type plate (Fig. 1) and serial number are located on the bottom of
the frame.
Manufacturer‘s logo
Manufacturer‘s information
Caution! - Follow instructions for use
CE mark
Important! - Follow instructions for use
Model designation
Application class
Model number
Date of manufacture
Carrying capacity of bag
Maximum load capacity
Required dimensions
EAN 13 item number
Serial number
D
E
F
G
H
I
J
Bischoff & Bischoff GmbH
Becker-Göring-Straße 13
D - 76307 Karlsbad
Telefon 0700 - 60007070
GB
CE Sticker & EAN Codes (Size 80 mm x 23 mm)
Rollator
EAN 13 SN
Payload of the basket: 5kg
Max. user weight: 130kg
Angle of push handles max.: 0°
Max. height of push handles: 960mm
Max. width: 625mm
Model: Alevo Indoor and Outdoor Rollator
2015-09
Model no.: 4041
1
K
3.3. Contents
After receiving the goods, please check the contents for completeness
right away. The content consists of:
• Outer package
• Rollator pre-assembled
• Instruction manual
3.4. Summary
Product overview Alevo (Fig. 2)
2
Handles
Brakes
Back strap
Handhold
Seat
Bag
Locking hook
Cane holder
Steered wheel
Fixed wheel
N
L
M
N
A
A
B
B
C
C
E
G
J K
H
I
D
F
L
M
Page 6

Bischoff & Bischoff GmbH | 03.05.2017
EN
1110
Alevo | Rollator Rollator | Alevo
4. Assembly/adjustments
4.1. Unfolding
• Position the rollator in the travel direction.
• Release the locking brakes (see sec. 4.6.).
• Press the frame tubes of the seat downward to unfold the rollator
(Fig. 3). Make sure the tubes are aligned properly and snap into
place.
4.2. Folding
• Activate the locking brakes.
• Hold the rollator firmly with one hand on the handle. With your
other hand pull the grip on the seat upward (Fig. 4).
• When doing so you must overcome the resistance of the locking
device.
4.3. Attaching the bag
• The rollator is unfolded. Activate the locking brakes.
• Position yourself against the travel direction in front of the rollator.
• The bag can be inserted from above in the guide rails on the left
and right on the rollator (Fig. 5).
4.4. Adjusting the push handles
• The rollator is unfolded. Activate the locking brakes.
• Hold the push handle firmly with one hand. With the other hand,
activate the locking device (Fig. 6).
• Move the push handle to the desired height and let go of the
locking device.
• Now move the push handle up and down slightly to ensure that it
snaps audibly into place.
• Repeat this procedure on the other side.
• On the inside of the push handles you‘ll find a scale (Fig. 7), which
you can use to check the height of the handle. Make sure that both
the number and the marking line is visible.
• Check to make sure that both the push handles are at the same
height.
Setting the push handle height according to body height.
Level 0 – 1.59 cm or taller
Level 1 – 1.65 cm or taller
Level 2 – 1.70 cm or taller
Level 3 – 1.75 cm or taller
Level 4 – 1.80 cm or taller
Level 5 – 1.85 cm or taller
Level 6 – 1.90 cm or taller
Use these figures as guidelines; they may vary in practice.
4.5. Adjusting the back strap
• To adjust the height of the back strap, the hand screws on the
frame (Fig. 8) must be loosened.
• Move the fastener for the back strap to the desired height and re-
tighten the screws.
• The fasteners for the back strap should be at the same height on
both sides.
3
4
5
7
8
6
Page 7

Bischoff & Bischoff GmbH | 03.05.2017
EN
1312
Alevo | Rollator Rollator | Alevo
4.6. Adjusting / activating the brakes
Service brake
To activate the service brake, pull both handbrake levers upward on
the push handles upward (Fig. 9). Service and locking brake act on the
fixed wheels.
Locking brake
• Press down on both brake levers to activate the locking device (Fig.
10).
• To release the locking brake pull both brake levers back into middle
position.
Adjusting the brakes
The brake is set properly, if the brake pins do not touch the wheel and
the locking brake can be activated easily.
• You can adjust the brake for harder or softer action by pressing in
and then rotating the protective cap (Fig. 11).
• If the wheel can still be moved despite the activated brake, you
need to adjust the brake for harder action. To do so, turn the
protective cap (Fig. 11) on the brake mechanism in a counterclockwise direction.
• If the brake rubs, you need to adjust the brake for softer action. To
do so, turn the protective cap (Fig. 11) on the brake mechanism in
a clockwise direction.
4.7. Wheels and tyres
Your rollator is equipped with flat-proof PU wheels 200 x 35 mm.
4.8. Tipping Aid
The tipping aid is intended to make it easier for users to overcome
curbs and small obstacles.
Step on the tipping aid with your foot (Fig. 12) and at the same time
pull on the push handles. The front wheels lift slightly off the ground
and with a little force you can push the rollator slightly past the
obstacle.
4.9. Cane holder (optional)
The optional cane holder can be attached with only a few simple steps.
You can place both parts of the cane holder easily on the frame of the
rollator (Fig. 13).
12
9
10
13
11
Caution! Make sure the rollator is positioned on
level ground when using the tipping aid.
Page 8

Bischoff & Bischoff GmbH | 03.05.2017
EN
1514
Alevo | Rollator Rollator | Alevo
5. Use
Walking
Make your first attempts to walk with the rollator on a level, firm surface. Familiarise yourself with the function of the brakes. Let someone
accompany you during this initial period.
For an anatomically correct gait, the push handles must be set at proper height (see sec. 4.4.).
• Place yourself in the rollator so that your ankles are at the height of
the rear wheels.
• Stand with good posture.
• Grasp the push handles with both hands and your arms bent at a
slight angle.
When walking with the rollator try to stay as close as possible with
the body to the push handles. This increases the stability and safety
against tipping over; in addition, avoid a crooked back. Try to generally
walk in the rollator and not behind it. Take small steps and do not push
the rollator too far ahead.
You can determine the change of direction and speed by pushing the
rollator. Always use the brakes to slow down your movement. The rollator could otherwise turn with the unbraked wheel and the braked
wheel, and could fall over.
Go around obstacles whenever possible. Try to use ramps or take lifts. If
this is not possible, the rollator must be carried over the obstacle. Find
a second person to help you do this, if possible.
Seating area
The rollator is also designed to be used as a seat by the user for short
breaks. It is therefore equipped with a seating area and a back support.
You must absolutely activate the locking brakes before sitting down.
The rollator could roll away and you could fall.
Lifting points
You can lift the rollator on the grips or frame sections, in order to carry
it over obstacles or steps.
6. Technical data
Dimensions and weights
Type: Lightweight rollator
Colour: Silver / Mocha / Aubergine
Height: 810 mm - 960 mm
Length: 690 mm
Width: 625 mm
Width between handles: 460 mm
Width of handles: 30 mm (support surface 50 mm)
Seat height: 585 mm
Seat width: 445 mm
Folded: 265 mm
Turning radius: 850 mm
Weight: 5.8 kg
Max. user weight: 130 kg
Max. load of bag: 5 kg
Tyres
Rear wheels: 200 x 35 mm
Steered wheels: 200 x 35 mm
Material
Frame: Carbon
Handles: PP / TPE-SEPS
Seat: Nylon
Operating conditions
Temperature: 0 to 50 °C
Air humidity: 20 - 80 %
Page 9

Bischoff & Bischoff GmbH | 03.05.2017
EN
1716
Alevo | Rollator Rollator | Alevo
Storage conditions
Temperature: -20 to + 60 °C
Air humidity: 45 - 60 %
• Including bag
• Optional cane holder
• Anatomically shaped handles
• Combined operating and locking brake
• Stable carbon design, corrosion-resistant coating
• Non-rotating handholds
7. Maintenance tips for users
7.1. Cleaning and disinfection
• The frame and the paneling of the wheelchair can be cleaned
with a moist cloth. You can use a mild detergent for more
stubborn dirt.
• The wheels can be cleaned with a wet synthetic fiber brush (do
not use a wire brush!)
• Push handles, arm pads, and seat and back pads can be washed
off. Use a mild detergent.
• Use a disinfectant listed by VAH for disinfection.
7.2. Rollator check by the user
7.2.1. Brake Inspection
Make sure your brakes are operating properly before each use.
It should not be possible to push the rollator away while the brakes
are activated.
The rollator should be easy to drive without grinding noises and with
good direction stability when the brakes are released.
If you notice unusual behaviour when braking, inform your qualified
mobility dealer immediately and do not use the rollator.
7.2.2. Checking the tyres
Check whether the tyres are intact every time before driving.
If the tyre is damage, it must be repaired by an authorised dealer.
Page 10

Bischoff & Bischoff GmbH | 03.05.2017
EN
1918
Alevo | Rollator Rollator | Alevo
9. Storage/shipping
If the rollator is to be stored or shipped,it is advisable to retain the
original packaging.
Your rollator will have an optimum protection against environmental
influences during storage and transport.
10. Transfering the rollator
The Alevo rollator is suitable for re-use. For further use, the rollator
must first be thoroughly cleaned and disinfected in accordance with
the attached care and maintenance instructions. Subsequently the
product has to be inspected to establish its general condition and any
wear or damage by an authorised dealer and repaired if necessary.
Please also observe the B+B care, warranty, hygiene and maintenance
instructions. Your qualified mobility dealer will be happy to provide
these to you.
11. Disposal
If the rollator is no longer used and you wish to dispose it, please
contact your dealer.
If you wish to dispose the rollator yourself, please
contact a local recycling company for the disposal
regulations of your local jurisdiction.
8. Maintenance tips for retailers
We recommend that the brakes of the rollator be inspected by the
retailer every six months.
If faults or defects at the rollator are found, it must be returned to the
dealer for repair immediately.
The dealer can receive the required information and documentation for
repair and service on request. A training program is also available for
dealers.
B+B customer service is available at +49 (0)700/60007070.
The rollator must be inspected in accordance to the
service plan and must be in good condition.
Page 11

Bischoff & Bischoff GmbH | 03.05.2017
EN
2120
Alevo | Rollator Rollator | Alevo
12. Warranty
The warranty covers all defects of the rollator that are demonstrably due
to material or manufacturing defects. Any claim must be accompanied
by the completely filled-out warranty certificate.
Our products come with a statutory guarantee of 2 years. For
replacement devices and repairs, a warranty period of 1 year applies.
Please also observe the B+B care, warranty, hygiene and maintenance
instructions. Your qualified mobility dealer will be happy to provide
these to you.
Warning! Non-observance of the instruction
manual, improper maintenance and in particular
any technical changes and supplements (added
fittings) without the approval of B+B will generally
lead to forfeiture of warranty and product liability
claims.
Warranty-Certificate
Product: Alevo
Modellnummer:
Serial number:*
* (to be filled in by authorized dealer)
Dealer:
Date and stamp
(Please note our general business terms and conditions)
*The serial number is located on the side frame.
Page 12

Bischoff & Bischoff GmbH | 03.05.2017
EN
2322
Alevo | Rollator Rollator | Alevo
Notes
Note:
No liability is accepted for printing errors, product and colour
modifications, or changes to technical specifications. The colours of
the product shown may vary slightly in reality.
Page 13

Bischoff & Bischoff GmbH
Becker-Göring-Straße 13
D-76307 Karlsbad
www.bischoff-bischoff.com
 Loading...