

Page 1
Install Guide
B
illi Spring Bottling System
Page 2

Installation Requirements
POWER: 1 x single 13amp power socket
WATER: potable main water supply terminated with valve
DRAINAGE: drainage connection for drainage font drip tray connection
1. Unpack the carton and check the contents. It should include:
a. 1no Billi Spring Bottling System Unit
b. 1no Power Cordset
c. 1no CO2 Regulator
d. 1no CO2 Regulator Connection Kit
Please Note: Installation parts are supplied separately and as requested.
2. Position the unit on a stable and level surface where there is adequate fresh air ventilation,
especially to the vent grilles. (Min 150mm gap).
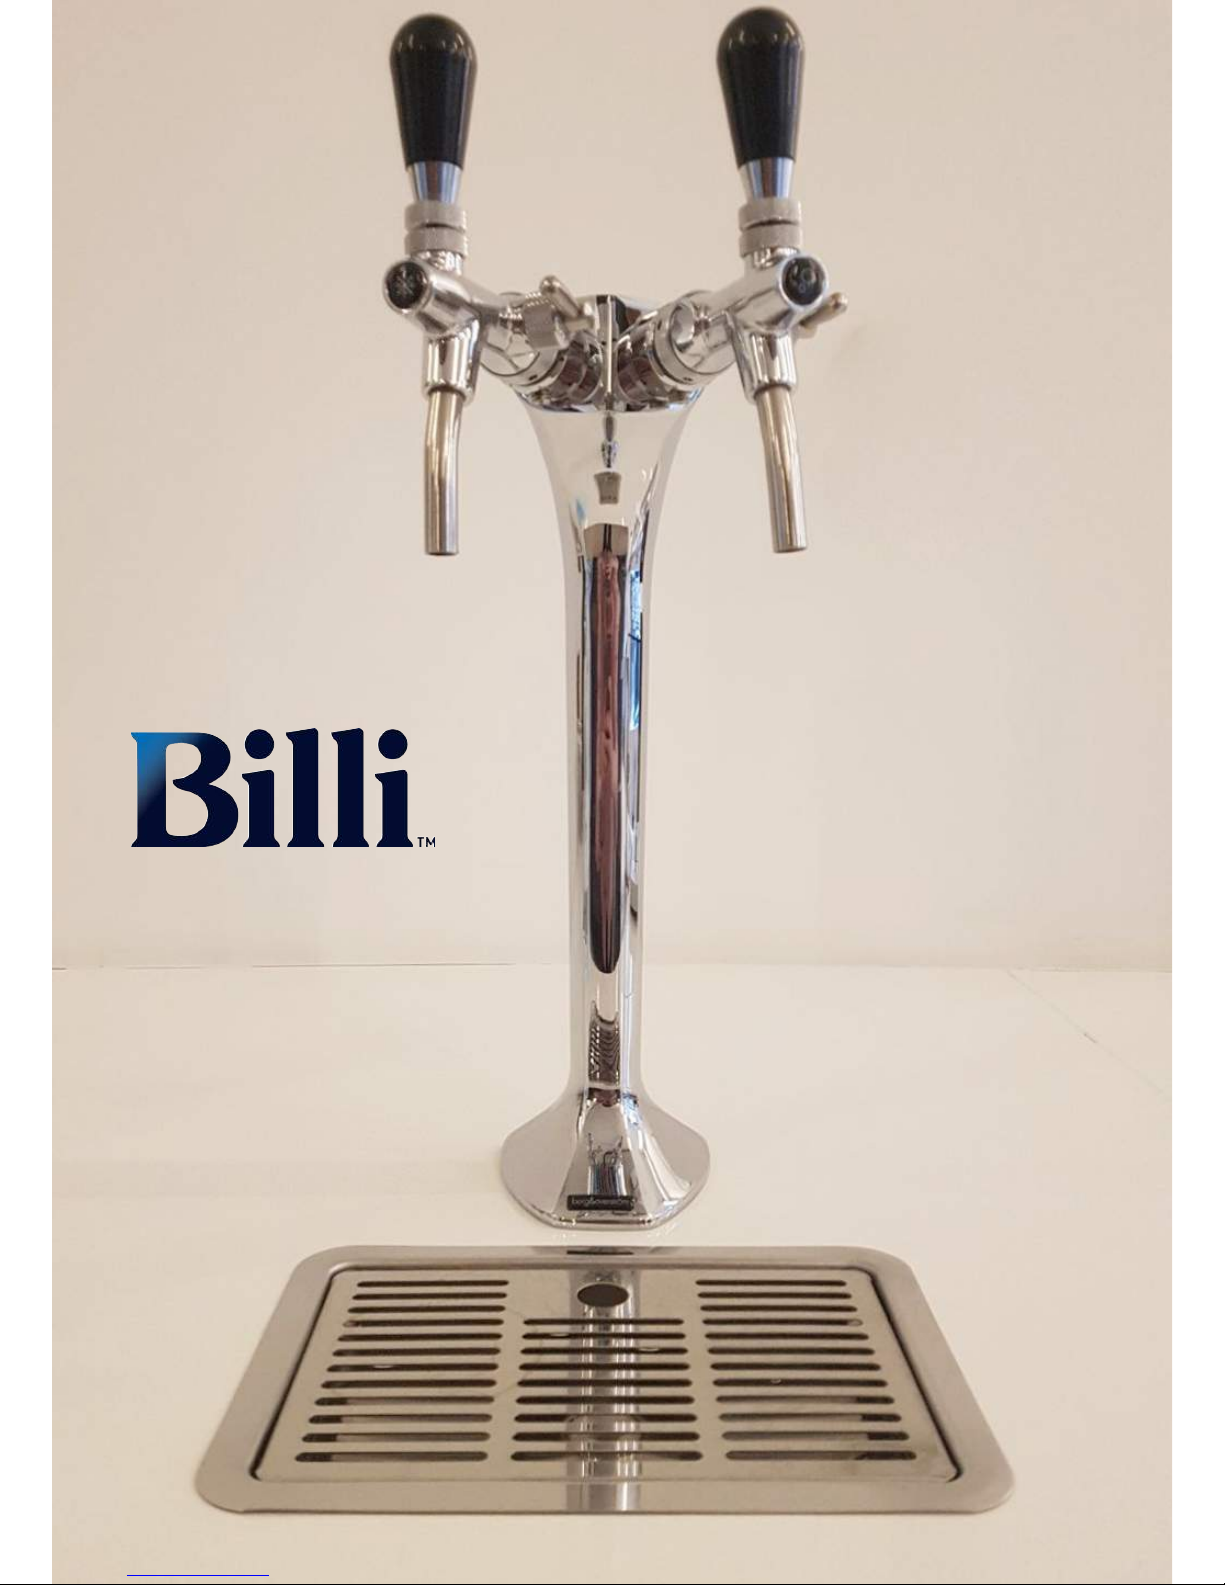
3. Unpack the tap column and check the contents. It should include:
a. 1no Tap Column
b. 2no Tap Head
c. 2no Chrome Collar Ring
4. Assemble the Tap Column assembly using the separate instructions
5. Select a position for the Tap Column and form a correct sized hole in the worksurface.
6. Fit the Tap Column and secure in position with the back nut. Ensure to seal the flange to the
worksurface using a washer or sealant.
7. Connect the incoming water supply, according to local regulations, to the bottom 8mm push-fit
connector on the back of the unit. (All the parts required for connecting the unit to the water mains up to
2.0m distant are supplied in the optional Standard Installation Kit. This includes all adaptors, a filter, a
Waterblock and a Pressure Regulating Valve etc). Do not turn the water on at this stage.
8. We recommend the filter is pre-flushed prior to connection.
9. Connect the water outlet points on the front of the unit to the respective connections at the bottom of
the Tap Column. (All the parts required for connecting the unit to the Tap Column up to 1.0m distant are
supplied in the optional Standard Installation Kit. This includes all pipe, adaptors and pipe insulation).
Check that the middle connection is capped.
10. Ensure that the pipes are all neatly secured.
11. Check the knob on the CO2 Regulator is fully off and fit the regulator to the CO2 cylinder.
IMPORTANT: Always point the small vent hole in the regulator away from yourself and any other
person.
Page 3

12. Using the small adaptor kit, connect the CO2 assembly to the 6mm push-fit connection on the back
of the unit. (2nd from the bottom).
13. Remove the top cover to the unit and using a jug, carefully fill the inner tank to the level marked.
This is on a plate inside the tank.
14. Check the thermostat on the back of the unit is set to > no1. The range is 1-7 with the greatest
capacity and the coldest water being achieved at no7.
15. Turn on the water supply and check for any leaks.
16. Connect the power cordset between the IEC plug on the back of the unit and a suitable electrical
outlet socket.
17. Switch on the unit using the switch on the back. The internal pump will now run.
18. Open the CO2 regulator and set to approx. 3.5 bar.
19. Operate each tap head in turn to purge air. Check for any leaks.
20. Continue to operate the taps and check for normal operation.
21. The compressor will run until the set cold temperature is achieved.
22. Please Note: CO2 pressure is needed to dispense sparkling water. If there is no sparkling water
dispense (and the internal pump is not running) there is very likely to be no CO2 pressure.
23. Regularly check for normal operation.
24. Clean the Tap Column, especially the dispense outlet points but ensure to avoid cross-
contamination.
25. Check the water level of the inner tank, under the top cover. Refill as necessary.
26. Check the vent grilles are clear.
27. The water filter should be replaced according to the capacity and usage.
28. If internal sanitisation is required, this should be carried out at the same time as a filter change:
a. Turn the water o and remove the existing filter.
b. Add 40ml sanitisation fluid (pink coloured type) to an empty, clean service cartridge and fit.
c. Turn on the water and using the taps, dispense water until the pink colour can be seen. Now
leave for 5-10mins.
d. After 5-10mins, continue to dispense water until the water runs clear.
e. Remove the service cartridge and replace with a new filter.
f. Flush the new filter.
g. Check for normal operation.
Page 4
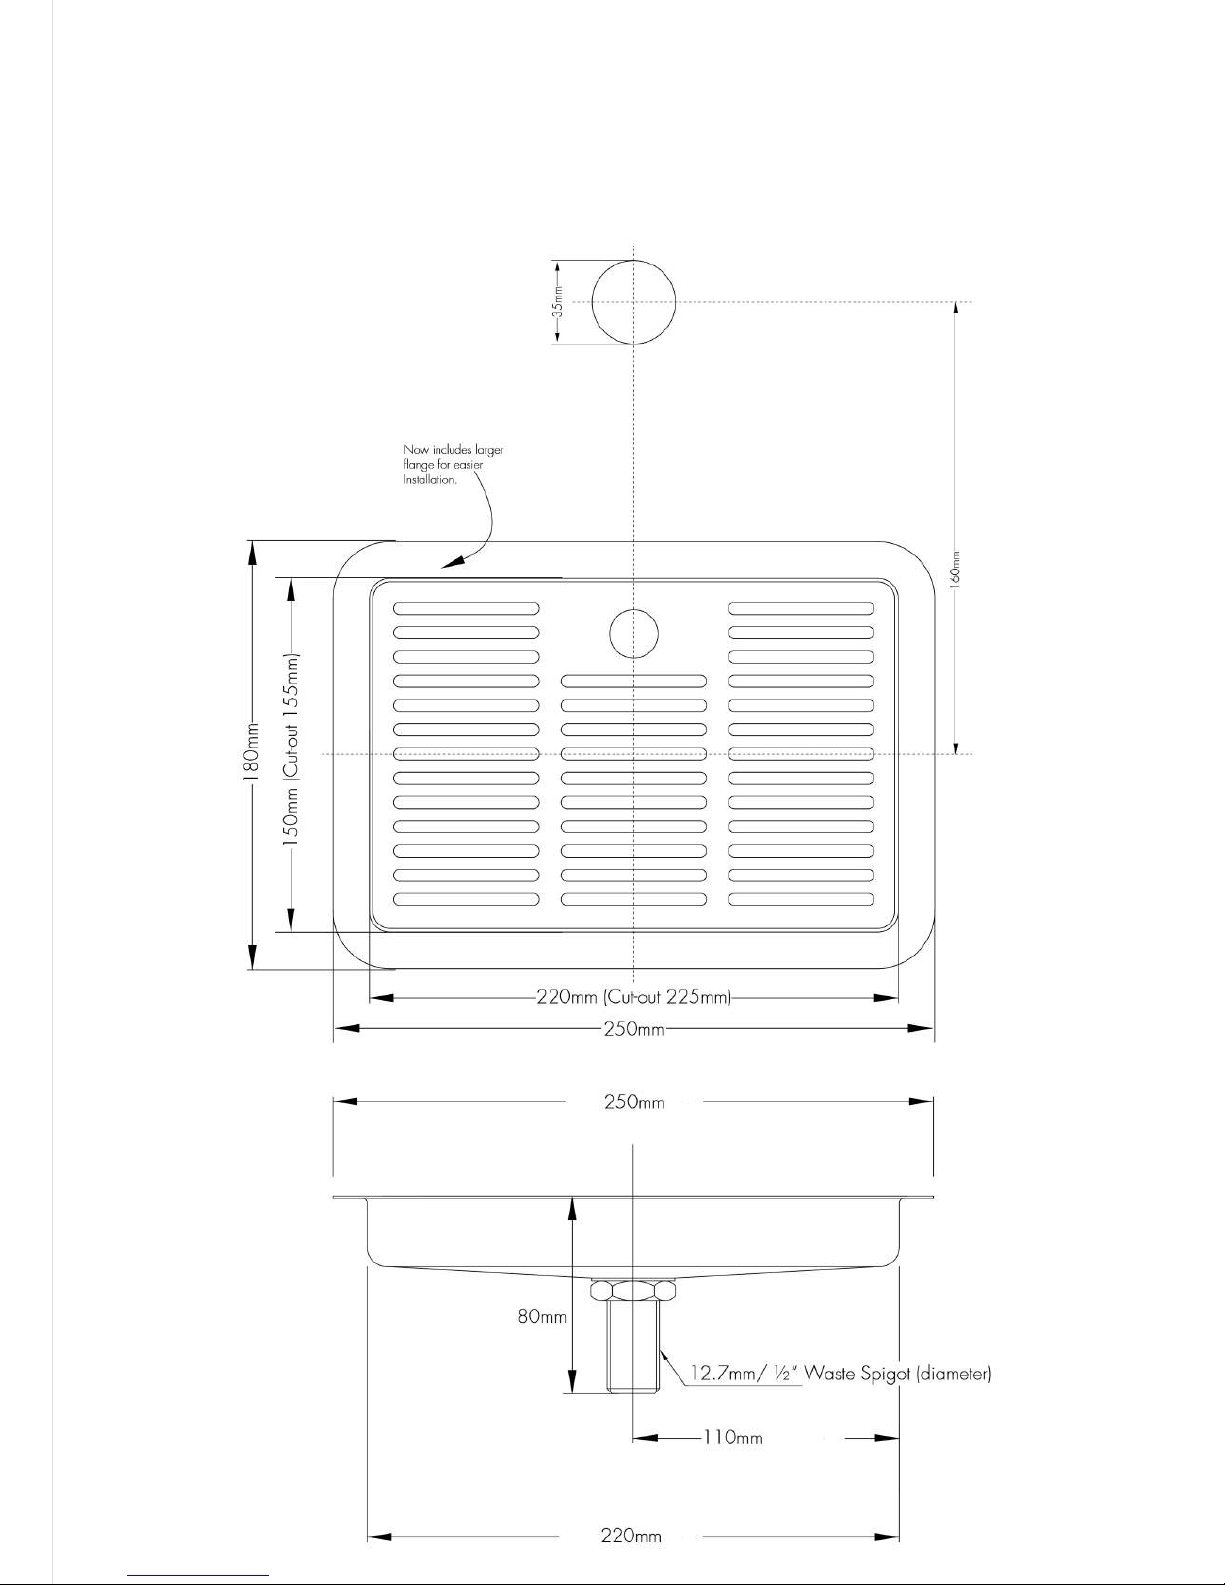
Billi Boste BZ9
Tap and Drainage Font - Set Out Dimensions
Page 5

As Billi (UK) LLP has a policy of continual
improvement, all details are subject to
change without notice. All goods are sold
subject to our published terms and
conditions.
Billi is a registered trademark.
© 2018
Billi (UK) LLP
Synergy House
Fakenham Road
Morton
Norwich
NR9 5SP
+44(0)20 7456
6789
[email protected]
www.billi-uk.com
London Showroom:
Synergy London
15 Dufferin Street
London
EC1Y 8PD
 Loading...