

Page 1
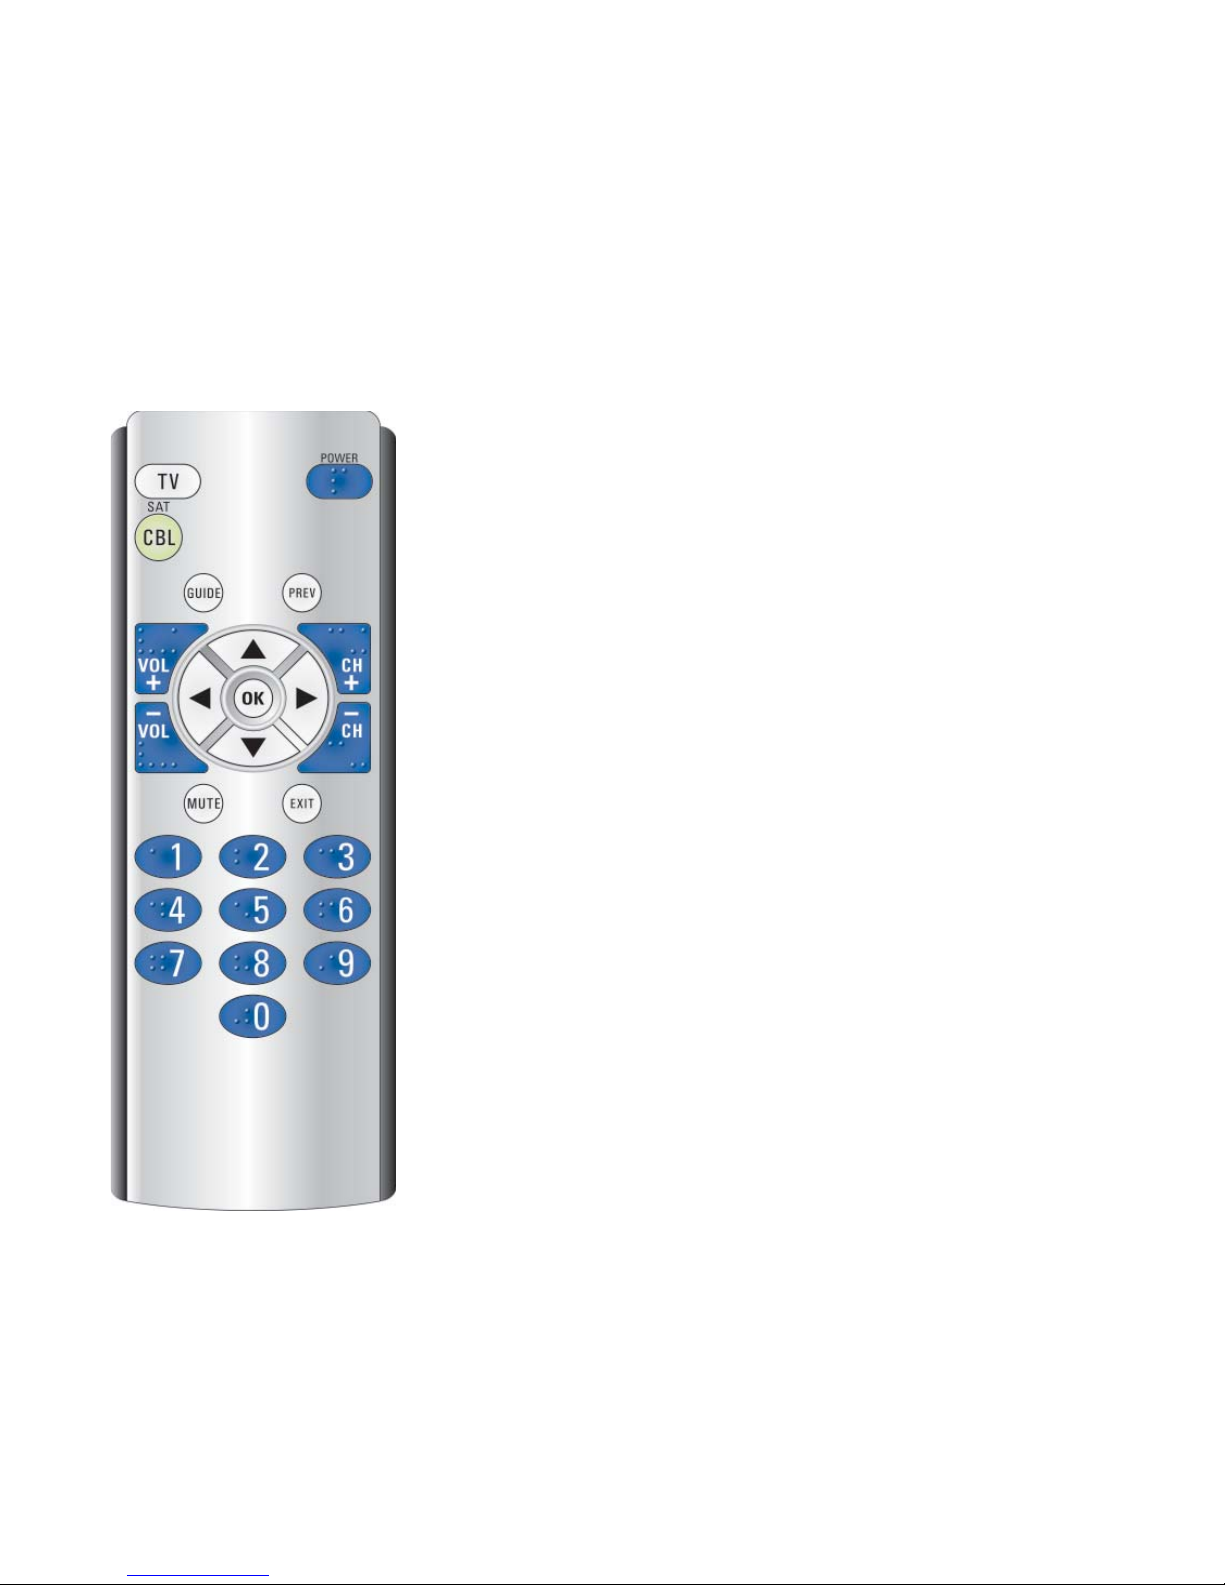
BB20
Owner’s Manual
Page 2

Introduction Table of Contents
Introduction ............................................................2
Button Functions .................................................... 4
Setup ......................................................................6
Battery Installation ............................................ 6
Battery Saver..................................................... 6
Code Saver ........................................................6
Power-On default .............................................. 6
Code Entry ............................................................. 7
Direct Code Entry ............................................. 7
Code Search ...................................................... 9
Code Identifi cation Feature .................................. 10
Programming Combo Device Codes ................... 11
Volume/Mute Control Feature .............................11
Setting Volume/Mute Control, Punch-Through ... 11
Setting any Mode to use its own Volume/Mute ...12
Optional Accessories ............................................ 13
Troubleshooting ................................................... 14
Congratulations on your purchase of this
Universal Remote Control. Universal Remotes
let you replace a broken or lost remote or
combine more than one remote into one.
We’ve even take this a step further and added
a handy optional Find feature. By purchasing
additional accessories you can easily locate a
lost or misplaced remote, see page 13 for more
details.
We’ve also added Braille to the most
frequently used buttons to make them easier to
fi nd for the sight-impaired.
This remote control operates the common
features of most models and brands of
IR Infrared Controlled Video Equipment.
This remote may provide functions that
are not available on your equipment. Some
functions of your particular equipment (e.g.
menu functions) may not be controlled by
this remote. In such cases, use the original
remote control for your equipment. Please
use this manual to become familiar with your
Universal Remote. After you are familiar with
your remote the fi rst thing you need to do is to
install batteries and setup your remote for your
particular product and brand.
23
Thank you for buying this Universal Remote
and we hope it will give you many years of
service.
Page 3
Button Functions
1.
2.
3.
4.
5.
6.
11.
10.
9.
8.
7.
Button Functions, cont.
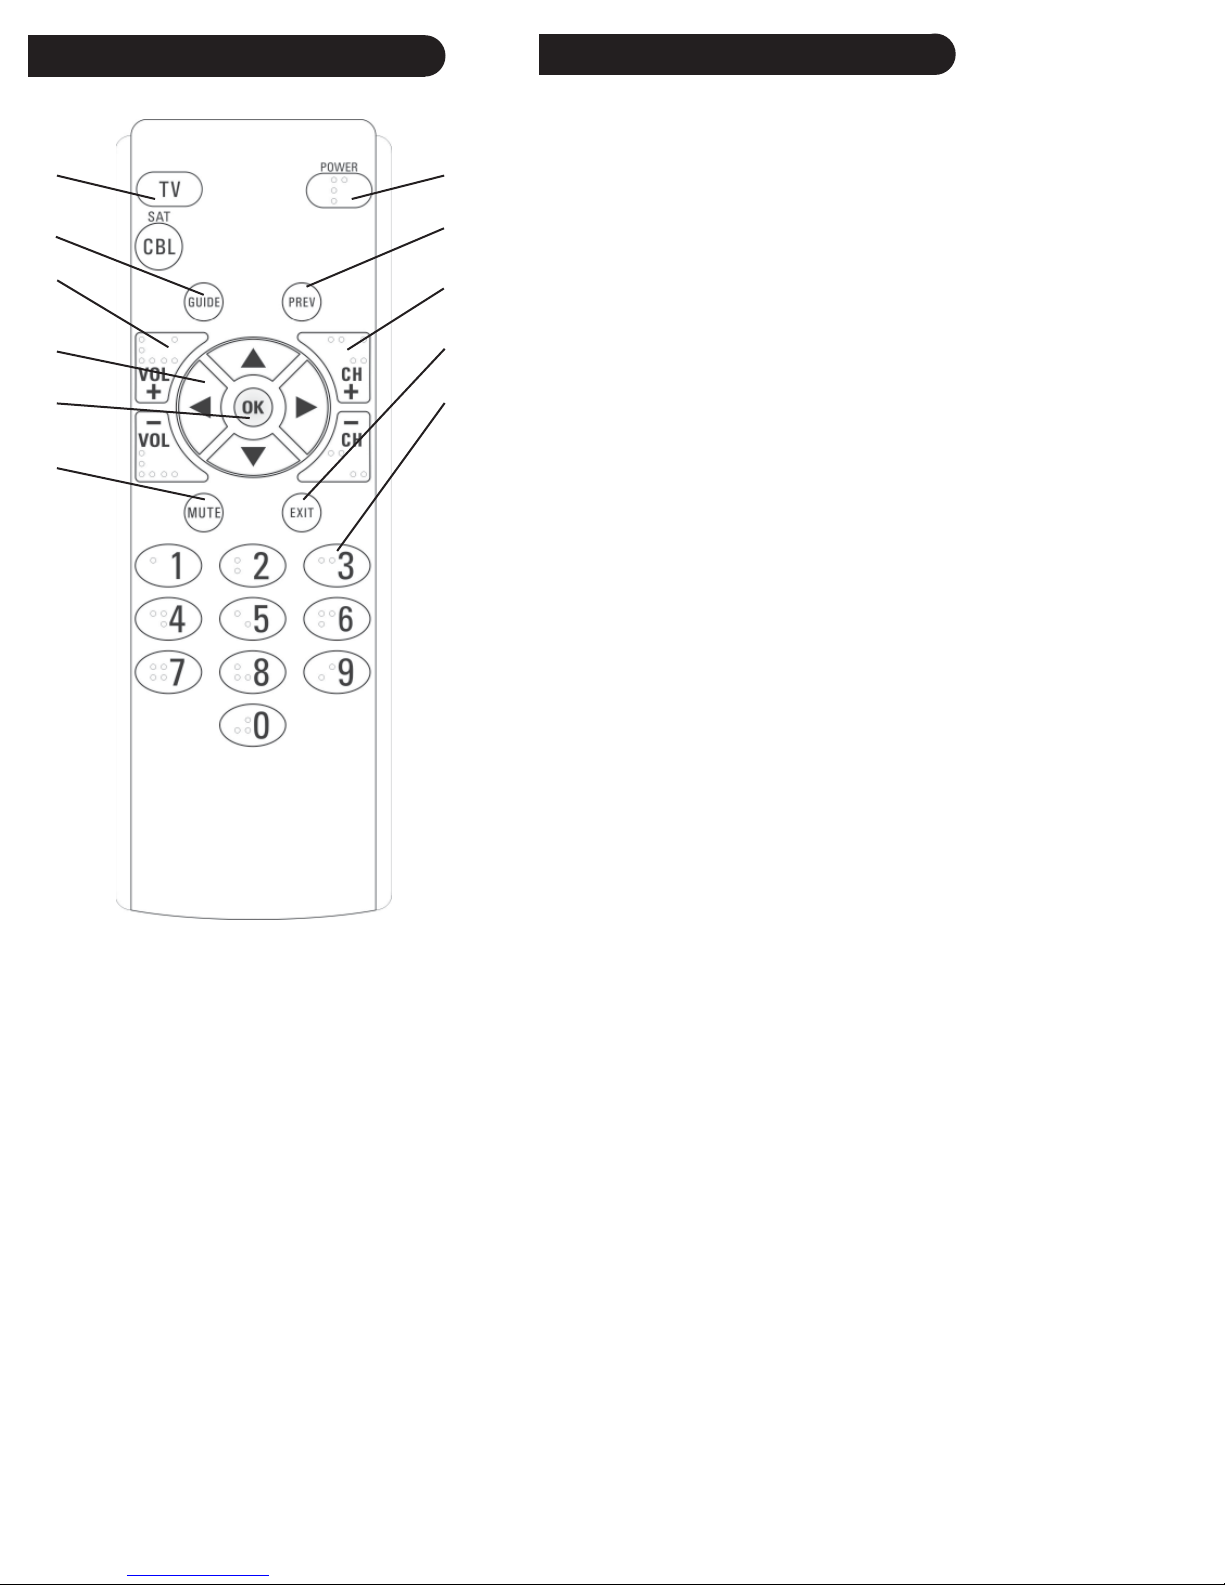
1. TV, SAT/CBL Selects product to be operated.
2. GUIDE Displays on-screen program guide.
3. VOLUME UP/DOWN Changes the volume
level of the product, normally the TV.
4. UP, DOWN, LEFT & RIGHT navigation
buttons.
5. OK Selects menu items for the device you are
controlling.
6. MUTE Turns off the TV sound while the
picture remains.
7. NUMBERS Enter numbers for direct channel
selection. Some products require Enter to be
pressed after channel selection.
8. EXIT Used to exit menu functions.
9. CHANNEL UP/DOWN Changes channels.
10. PREV Returns to the previously selected
channel, or DVD repeat toggle.
11. POWER Turns product On or Off.
45
Page 4

Setup
Direct Code Entry
Battery Installation
1. On the back of the remote, push down on
the tab and lift the cover off.
2. Match the batteries to the + and - marks
inside the battery case, then insert 2 AA
Alkaline batteries.
3. Press the battery cover back into place.
Battery Saver
Your remote automatically turns off if the
buttons are depressed more than 30 seconds.
This will save your batteries should your
remote get stuck in a place where the buttons
remain depressed (e.g., between the sofa
cushions).
Code Saver
You will have up to 10 minutes to change the
batteries in your remote without losing codes
you have programmed. However, do not press
any buttons until batteries are installed in the
remote. If buttons are pressed without batteries
in the remote, all codes will be lost.
To set up your remote to control your TV
1. Press and hold the SETUP button until the
green indicator under a mode button stays
on, then release the SETUP button.
2. Press and release the TV mode button. The
green indicator for TV mode blinks, then
stays lit.
3. Enter the 4 digit TV code from the code
tables (on separate sheet). Note: after a
valid code entry, the green indicator turns
off. For an invalid code, the green indicator
fl ashes.
4. With your device on, press POWER. If the
device turns off, no further programming
is required. Note: If some buttons do not
operate your equipment, try one of the other
codes for your brand.
Note: Most users will fi rst set up the remote
to control their TV. But you also need to set
up the remote to control other devices you
want to control:
To set up your remote to control a Cable
Box
Power-On Default
The remote powers on in TV mode.
Note when using your remote that you don’t
need to point it directly at the device you want
to control. We’ve included transmit LEDs on
the back of the remote so it works even if you
point it upwards.
67
1. Press and hold the SETUP button until the
green indicator under a mode button stays
on, then release the SETUP button.
2. Press and release the SAT/CBL mode
button. The green indicator for SAT/CBL
mode blinks, then stays lit.
3. Enter the 4 digit Cable code from the code
tables (on separate sheet). Note: after a
valid code entry, the green indicator turns
off. For an invalid code, the green indicator
fl ashes.
4. With your device on, press POWER. If the
device turns off, no further programming
is required. Note: If some buttons do not
operate your equipment, try one of the other
codes for your brand.
Page 5
Code Search Direct Code Entry, cont.
To set up your remote to control a Satellite
Receiver
1. Press and hold the SETUP button until the
green indicator under a mode button stays
on, then release the SETUP button.
2. Press and release the SAT/CBL mode
button. The green indicator for SAT/CBL
mode blinks, then stays lit.
3. Enter the 4 digit Satellite code from the
code tables (on separate sheet). Note: after
a valid code entry, the green indicator turns
off. For an invalid code, the green indicator
fl ashes.
4. With your device on, press POWER. If the
device turns off, no further programming
is required. Note: If some buttons do not
operate your equipment, try one of the other
codes for your brand.
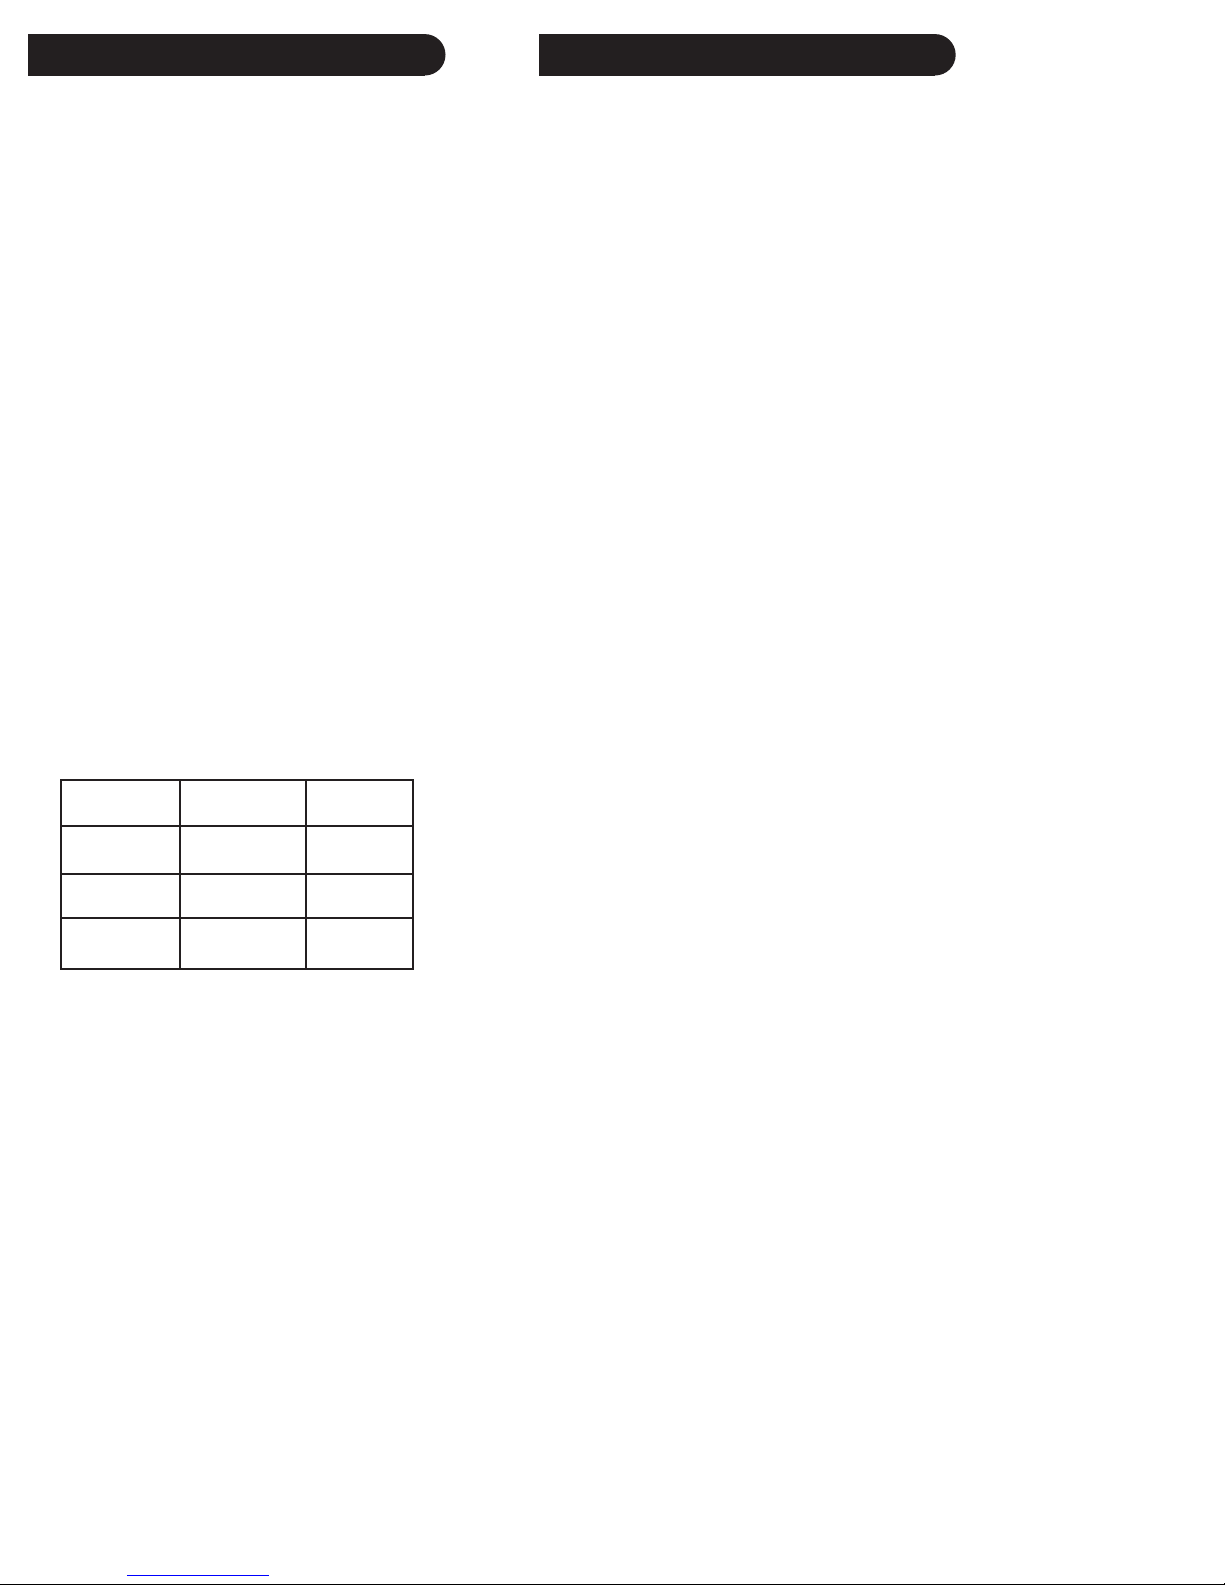
Write your codes down here for easy reference later.
Type Type stored Code
If your product does not respond after you
have tried all the codes for your brand, or if
your brand is not listed, try searching for your
code by following these steps.
1. Manually turn on the device (TV, Cable
Box, etc.) to be controlled.
2. Press and hold both the MUTE and
POWER buttons at the same time until the
green indicator under a mode button stays
on, then release the buttons.
3. Press and quickly release the desired mode
button (TV or SAT/CBL). The green
indicator for that mode blinks off once.
4. Press the CHANNEL UP button repeatedly
(up to 300 times) until the device to be
controlled changes channel. The green
indicator blinks off with each button press.
If you accidentally overshoot the code
required, press the CHANNEL DOWN
button to backtrack through the library
until the device changes channel. Pressing
CHANNEL UP changes direction to
forward again.
5. Press and release MUTE to install the code.
TV TV
SAT/CBL
If the device does not have a CHANNEL UP
button, use POWER instead. Code Search
starts from the currently stored 4 digit number
under that mode.
Note: You can only store TV codes under
the TV button. Most users will store Cable
or Satellite codes under SAT/CBL. You can
however store any type of code under SAT/
CBL. If (for example) you want to store a
CD code under SAT/CBL, fi rst follow the
procedure for Direct Code Entry (previous
page) and press SAT/CBL in step 2 of Direct
Code Entry, then enter ANY CD code in step
3 of Direct Code Entry. Then follow the steps
above for Code Search.
89
Page 6

Code Identi cation Feature
Setup, cont.
The Code Identifi cation Feature allows you to
identify the 4 digit library code stored under
your device key. For example, if you want to
fi nd out what 4 digit code is stored under your
TV device key, follow the six steps below:
1. Press and hold both the MUTE and
POWER buttons at the same time until the
green indicator under a mode button stays
on, then release the buttons.
2. Press and release the desired mode button
(TV or SAT/CBL). The green indicator for
that mode blinks, then stays lit.
3. Press and hold both the MUTE and
POWER buttons at the same time for 1
second, then release the buttons. The green
indicator blinks off.
4. To fi nd the fi rst digit for the code stored
under the mode key pressed in step 2, press
each numeric key from 0-9 in turn. When
the green indicator blinks off the number
you pressed is the fi rst digit for the code
you are searching for.
5. To fi nd the second digit, repeat step 4, this
time when the green indicator blinks off this
is the second digit.
6. Repeat step 4 to fi nd the third and fourth
digits.
Programming Combo Device Codes
Some Combo devices (e.g. TV/VCR, TV/DVD,
DVD/VCR, etc.) will require you to set up two
different Mode buttons to control both parts of the
Combo device. For example, if you have a TV/
DVD Combo, you might need to set up one code
under the TV button to control the TV part AND
a separate code (under any other Mode button) to
control the DVD part.
Volume/Mute Control and Punch-Through
Feature
This remote lets you select which device Mode
controls your Volume/Mute buttons.
Any Mode chosen for Volume/Mute control
MUST have its own Volume/Mute function or
the Volume/Mute buttons will do nothing.
Setting ALL Volume/Mute Control to any one
Mode
This routine can set all Modes to “punch-through”
to any one chosen Mode for Volume/Mute button
control without the needing to change to that
Mode.
1. Press and hold both the MUTE and POWER
buttons at the same time until the green
indicator under a mode button stays on, then
release the buttons.
2. Press and hold the MUTE button until the
green indicator blinks off, then release the
button.
3. Press and release the desired Mode button (TV
or SAT/CBL) for Volume/Mute control, the
green indicator for that mode blinks then stays
on.
10 11
Page 7
Setup, cont.
Optional Accessories
4. Press and release the MUTE button and the
green indicator turns off. The green indicator
will blink rapidly for three seconds if the Mode
you have selected has no Volume/Mute control.
5. All other Modes will now punch-through to
your chosen Mode for Volume/Mute control.
6. All “Visual” and “Audio” programmed Modes
will now punch-through to the respective
Modes you have chosen for Volume/Mute
control.
Setting any Mode to use its own Volume/Mute
Control
This routine can set any Mode to use only its own
Volume/Mute control. Note - If your chosen Mode
has no Volume/Mute functions of its own then the
Volume/Mute buttons will do nothing.
1. Press and hold both the MUTE and POWER
buttons at the same time until the green
indicator under a mode button stays on, then
release the buttons.
2. Press and hold the MUTE button until the
green indicator blinks off, then release the
button.
3. Press and release the desired Mode button (TV
or SAT/CBL), the green indicator for that mode
blinks then stays on.
4. Press and release the VOLUME- (Down)
button, the green indicator blinks then stays on.
5. Press and release the MUTE button and the
green indicator turns off.
6. All “Visual” and “Audio” programmed Modes
will now punch-through to the respective
Modes you have chosen for Volume/Mute
control.
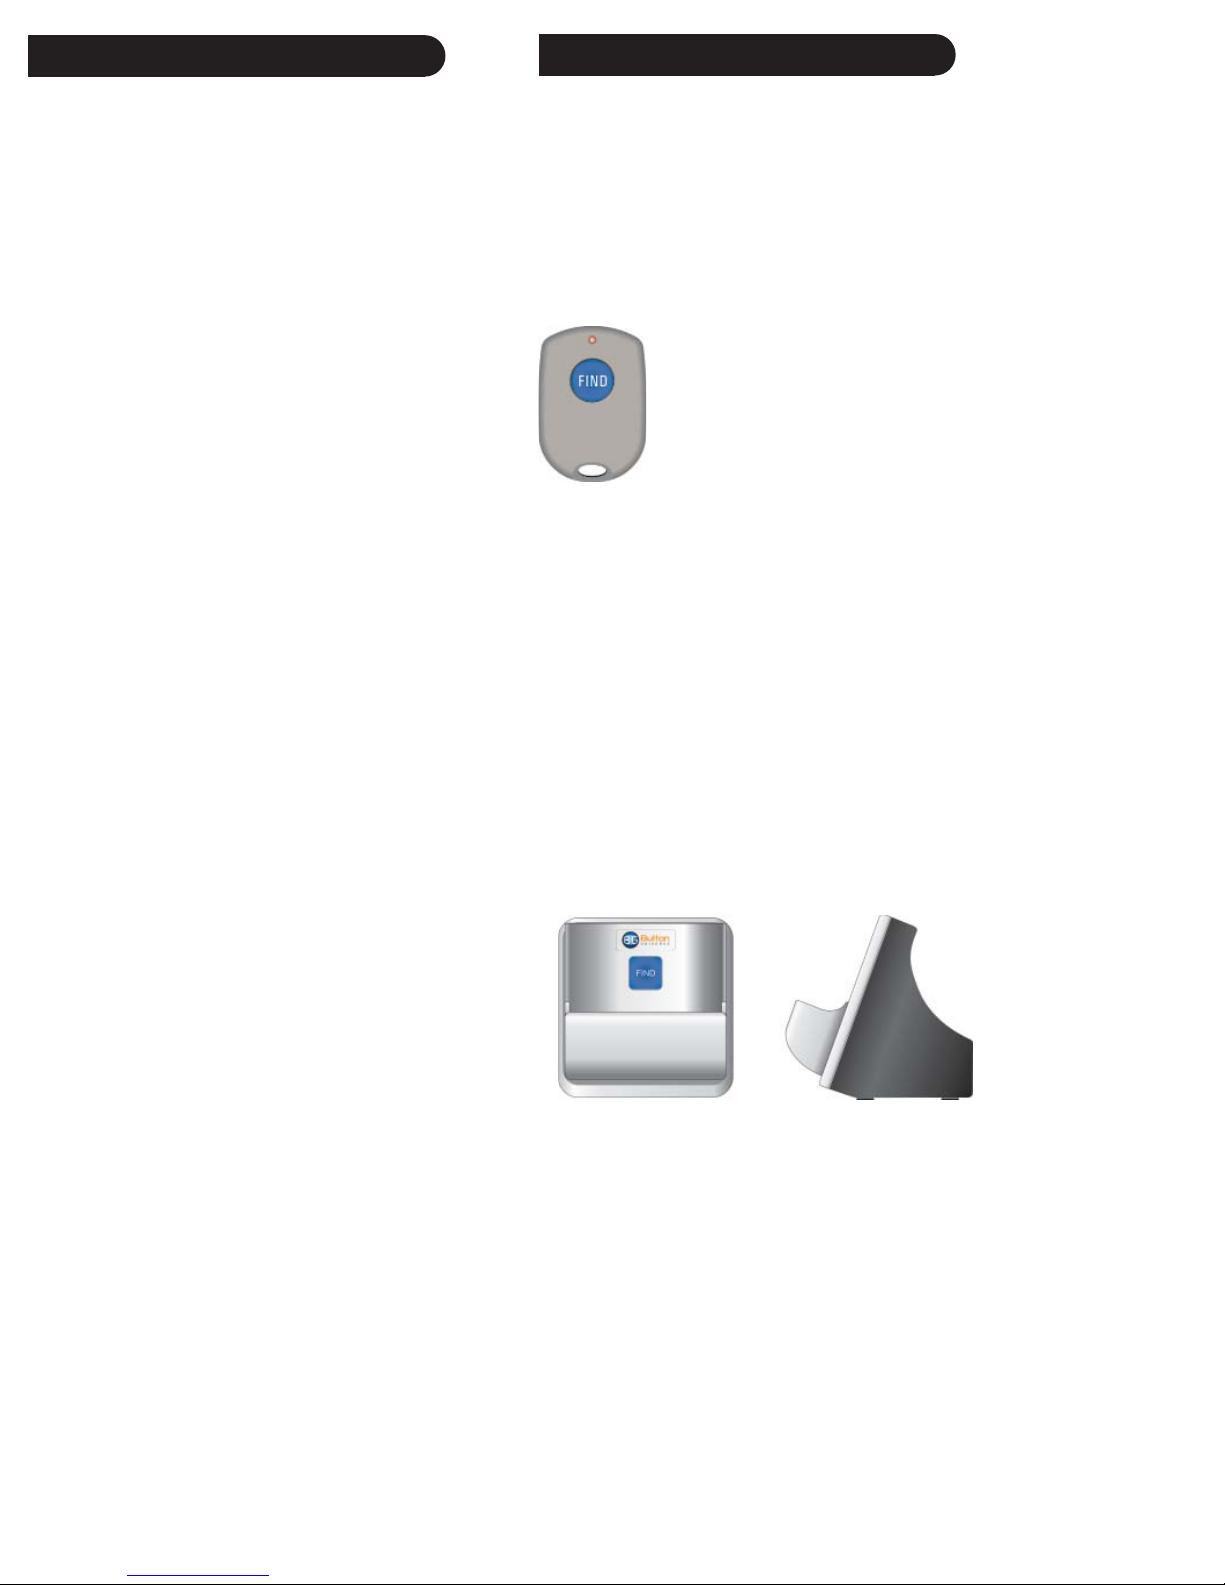
Your new remote has a “Find Feature” build
in. If you purchase either of the accessories
below you can press a button to locate your
remote if you misplace it. When your press the
button the remote emits a loud tone to let you
know where it is.
The optional keyfob can be kept
on your key chain with your keys
and lets you easily locate your
lost remote with the push of a
button. Two coin cell batteries are
included. To replace them, pry
the Keyfob open and replace with
two CR2016 Lithium coin cells.
The optional stand is a handy place to store
your remote, and if you misplace the remote
the button on the stand lets you easily locate it.
The stand requires two AAA batteries, not
included.
12 13
Page 8

Troubleshooting
Limited Warranty
Remote does not operate your product.
• Press the mode button of the product you want
to control.
• Program the remote with a new code.
• Install new batteries. (You might have to
reprogram your remote after installing new
batteries.)
• Remote may not be compatible with your
product.
Remote does not operate some features of your
product.
• Program remote with a new code.
• Remote may not be able to operate all features
of your product or button names might be
different than your product.
Green Indicator blinks after you program a
product code.
The manufacturer warrants that this product shall
be free from defects in material, workmanship
and assembly, under normal use, in accordance
with the specifi cations and warnings, for 120 days
from the date of purchase. This warranty extends
only to the original purchaser of the product,
and is nontransferable. Defective products,
together with the dated proof of purchase, must
be returned to the place of purchase for repair or
replacement. THERE ARE NO OTHER EXPRESS
WARRANTIES. Incidental and consequential
damages are disclaimed where permitted by law.
This warranty gives you specifi c legal rights, and
you may also have other rights which vary from
state to state.
• Remote did not accept the code.
• Try to program the code again or try a different
code.
For help with setup, please call: 201-661-9944.
14 15
Page 9

BB20-7/11
Made in China.
 Loading...