


How to
upgrade a
cooker control outlet
Plan It
Things you’ll need:
Socket Screwdrivers Pliers Small spirit level
Green and yellow sleeving (if required)
Upgrading a cooker control outlet
2.1.
To start, make sure you are familiar with the safety
warnings in this leaflet, the instructions supplied
with the product and the mains supply is turned off.
At the consumer unit, find the trip switch which protects
the circuit and turn it all the way off. The indicator
window should stay green.
4.3.
Test power is not supplied to the socket by using a plug in
socket tester or multimeter. Unscrew the retaining screws
on the socket so that it is released from the mounting box.
Gently ease the socket from the mounting box to show
the wiring.

Upgrading a cooker control outlet (continued)
5.
For this outlet there will be two sets of wires; one set for
the supply (incoming power) and one for load (cooker).
7.
6.
Unscrew each terminal to release the wires, noting
supply and load. You should now be able to remove
the socket and place it to one side.
8.
Line up the new socket and take note of where each
terminal is located.
9.
Make sure that the wires are fully inserted into the
terminal and that no bare copper wire is visible.
Tighten the screws securely onto the cable.
11.
Noting supply and load, place a single blue wire
into each neutral terminals, brown wires into the live
terminals and the green/yellow wires into the earth
terminals. There is one terminal for each wire.
10.
Gently press the socket back into place over
the mounting box. Take care not to trap any wires
between the wall and the socket.
Screw the retaining screws provided. Use a spirit level
to make sure that the socket is level. Restore the power
at the consumer unit and test.
Things to think about
How to
upgrade to a
2 gang USB socket
How to
upgrade to a
1 gang USB socket
How to
upgrade a
2 gang socket
How to
upgrade a
dimmer switch
How to
upgrade a
cooker control outlet
How to
upgrade a
light switch
For your safety, this product must be installed in
accordance with local Building Regulations.
If in any doubt, or where required by the law, consult a
competent person who is registered with an electrical
self-certification scheme. Further information is
available online or from your Local Authority.
Please read carefully and use in accordance with these
safety wiring instructions. Before commencing any
electrical work ensure the supply is switched off at the
mains. Either by switching off the consumer unit or
by removing the appropriate fuse. Wiring should be in
accordance with the latest edition of the IET regulations
(BS 7671) To prevent fire hazard always use cable of the
correct rating, size & type for the application.
Any bare earth wires must be covered with appropriate
green/yellow sleeving. Warning do not exceed the load
rating of this device as stated on the rear of the product.
Always refer to and follow precisely the manufacturer’s
instructions when fitting a new socket. Any electrical
installation must comply with Building Regulations,
specifically Part P, which came into effect on 1 January
2005, with the amended version coming into effect on 6
April 2006. A further update came into force on 6 April
2013. Refer to these regulations before carrying out any
electrical work. Download at www.planningportal.gov.uk.
Replacing a socket is non-notifiable under Part P, and
therefore it is not necessary to have the work carried out
by a qualified electrician, or to inform your local authority
building inspector of the work, except in high-risk areas,
or special locations, such as bathrooms.
For a full list of these locations, refer to Part P. Part
P strongly advises taking advice from a qualified
electrician for carrying out any DIY electrical work.
All electrical work must be tested and inspected.
This guide shows fitting a metal socket onto a plastic
flush mounting box and the instructions shown over
page only relate to plastic mounting boxes. If you have
metal mounting boxes, earthing requirements will vary,
so refer to the manufacturer’s guidelines.
If the socket you are changing has two earth terminals,
this means that it has a dual earth facility, which is
required if you need to comply with Regulation 607
of BS7671. As always, follow the manufacturer’s
guidelines and recommendations in such instances.
If you find earth wires are bare, you must sheathe them
with green and yellow sleeving.
Colours used in hard-wire installations (including cables
supplying sockets) have changed in recent years. The
table below shows the different colours for wires, prior
to and after April 2004.
Pre April 2004 Post April 2004
LIVE Red Brown
NEUTRAL Black Blue
EARTH Green and Yellow Green and Yellow
The information in this leaflet shows post April 2004 wiring.
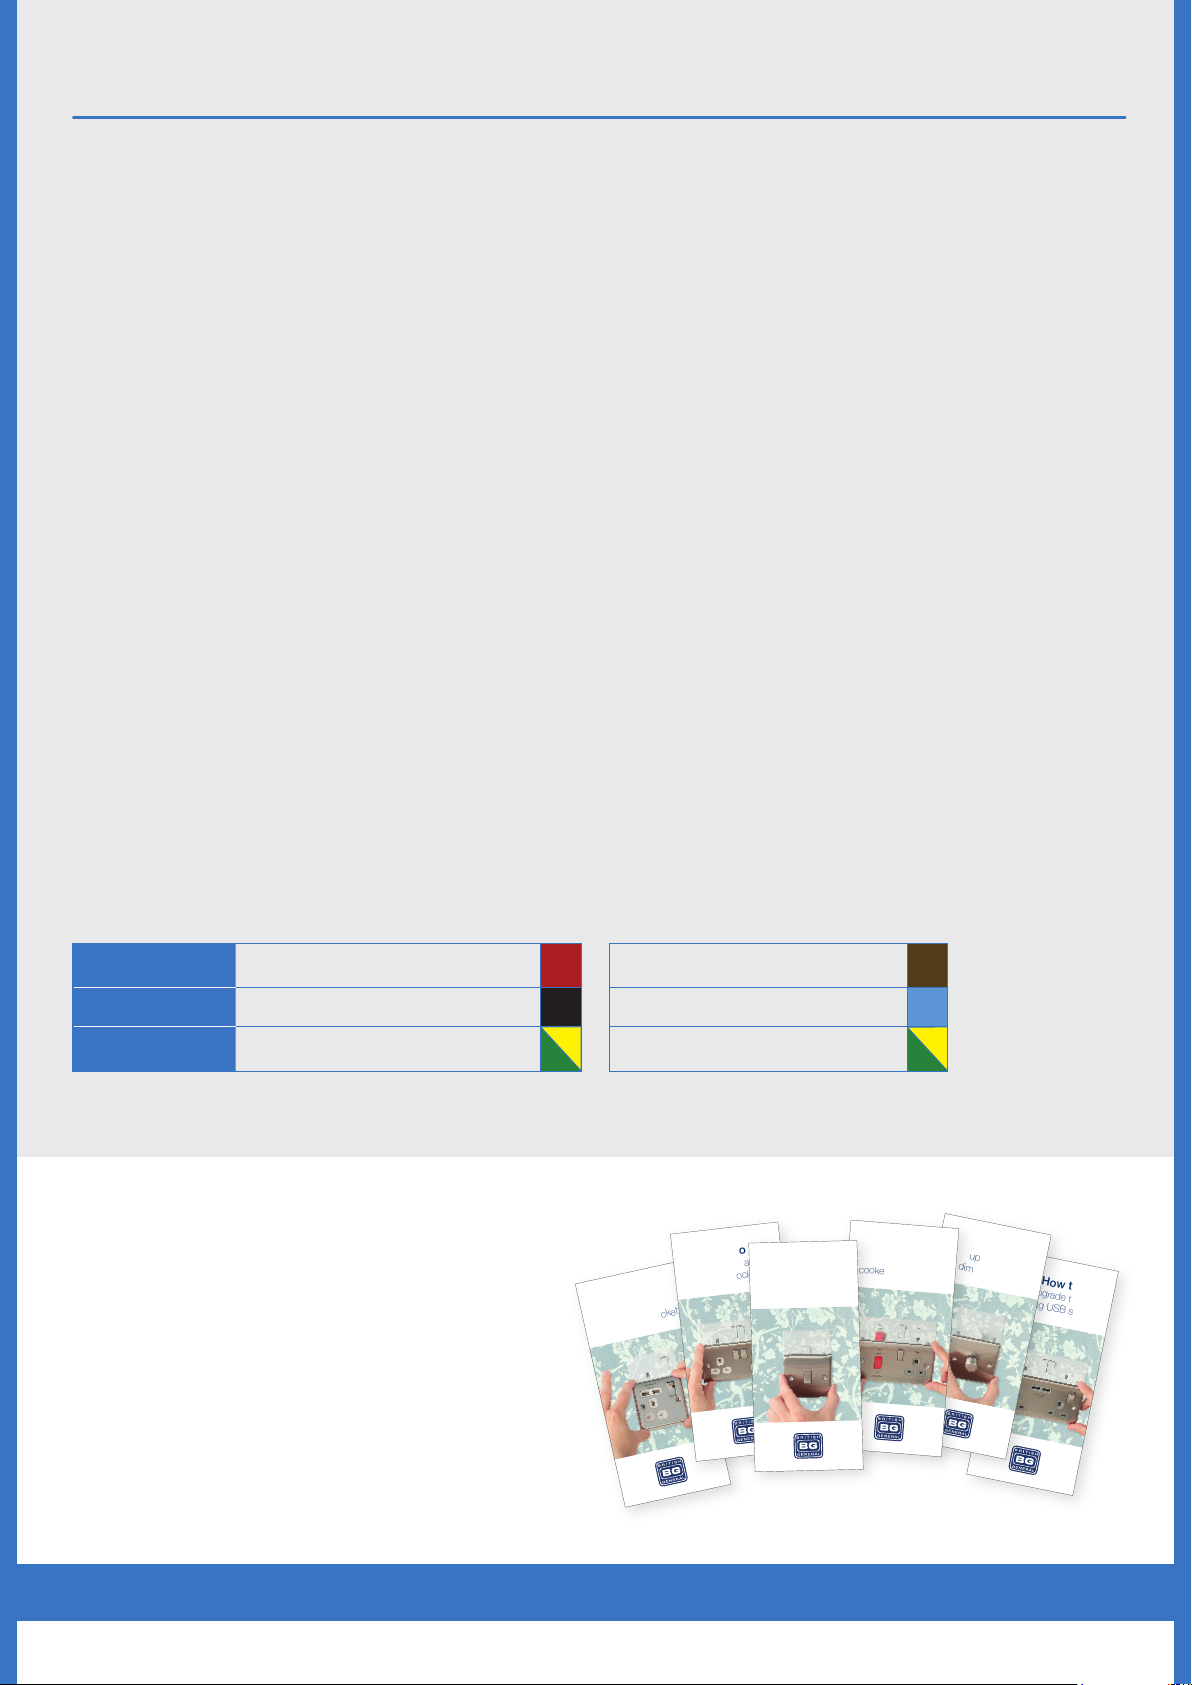
How to upgrade to a 1 gang USB socket
How to upgrade a 2 gang socket
How to upgrade to a 2 gang USB socket
How to upgrade a cooker control outlet
How to upgrade a dimmer switch
How to upgrade a light switch
View more of our ‘How to’ guides online at bgelectrical.uk
 Loading...