

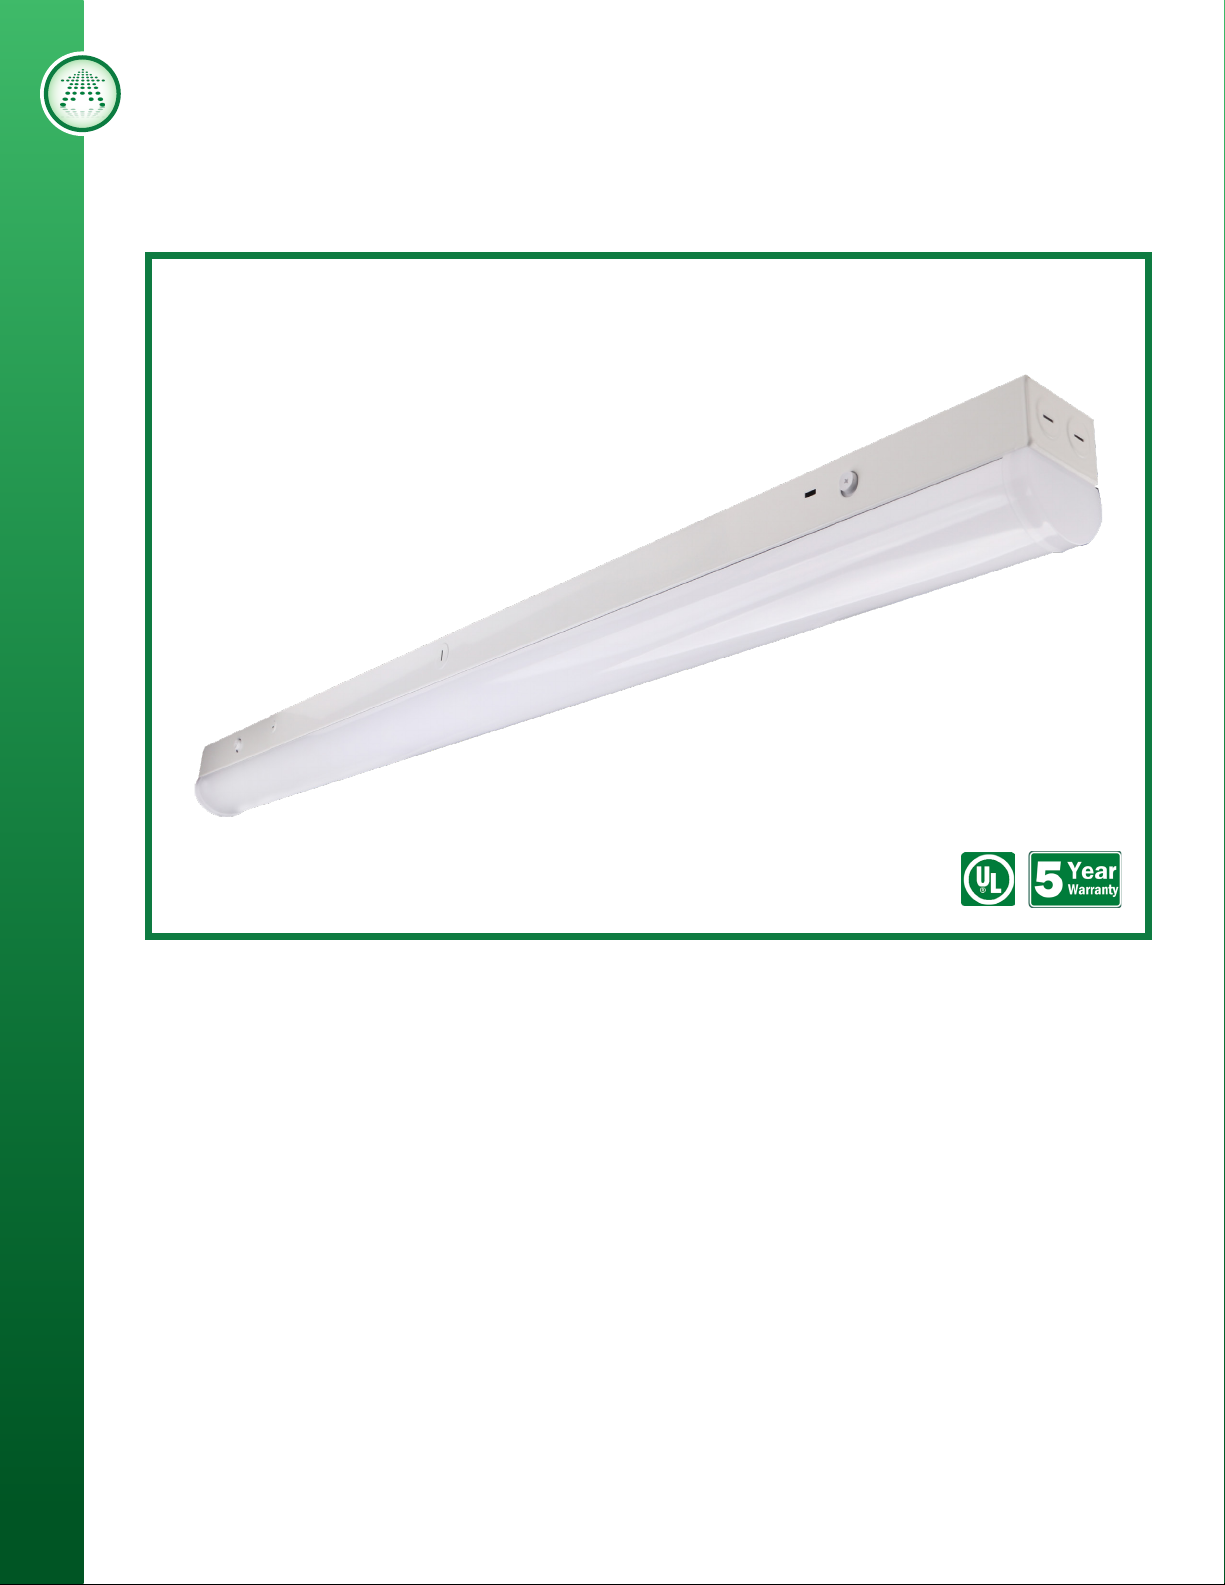
LED Linkable Strip Fixtures
Crisp Series
Crisp Series
Beyond LED Crisp Series Linkable Strip Fixtures perform efficiently in conditions where low
voltage, halogen, or fluorescent luminaires have traditionally been used. Our LED Linkable
LED LINKABLE STRIP FIXTURES
1
Strip Fixtures incorporate integral drivers, are self-supporting, and can be surface mounted.
Individual units can be plugged together for continuous lengths up to 20 Pcs (4’) or 10 Pcs
(8’), and they’re CCT Tunable and Wattage Adjustable. Our Crisp Series Lamps connect
directly to line voltage and can be used in any interior space.
• Efficacy up to 140 Lumens per watt
• Wattage Tunable with 3 options &
3000/4000/5000K CCT Adjustable
• Usable as a stand alone fixture
• 4’ Linkable up to 20 Pcs
• 8’ Linkable up to 10 Pcs
• High CRI, Lumileds Chips
• Operates directly from line voltage
Beyond LED Technology | 1939 Parker Ct, Stone Mountain, GA, 30087
Due to continuous product improvement, information in this document is subject to change.
• Output constant current lever can be adjusted
through output cable with 0-10V
• Surface mounting bracket included for easy
installation
• Optional hanging kit available
• Iron housing with white paint finish
• Rated 50,000 Lifetime hours
• Universal 120-277Vac 50-60Hz

LED Linkable Strip Fixtures
Wattage can be adjusted via dialing.
Crisp Series
Crisp Series
SKU # Model # Watts Lumens CCT Beam Angle Length Certifications
151789 BLT-LA01C-40/30/20W4FTBTB1C1-abcde
151790 BLT-LA01C-70/60/50W4FTBTB1C1-abcde
Optional Accessories
40W
40/30/20W
70W
70/60/50W
4700~5200 LM @40W
118~130 LM/W @40W
8200~9300 LM @70W
118~132 LM/W @70W
CCT ADJ.
3K/4K/5K
CCT ADJ.
3K/4K/5K
130 Degrees 4' UL & DLC
130 Degrees 8' UL & DLC
LED LINKABLE STRIP FIXTURES
Surface Mount
Connector Bracket
SKU#152550
Hanging Mount
Safety Cable
SKU#152548
Hanging Mount
Connector Bracket
SKU#152549
Wattage Adjustable and CCT Tunable
Motion
Sensor
SKU#152551
CORRELATED COLOR
CORRELATED COLOR
TEMPERATURE (CCT)
TEMPERATURE (CCT)
Battery
Backup
SKU#152552
(866) 786-1117 • www.BeyondLEDTechnology.com
Due to continuous product improvement, information in this document is subject to change.
2
3000K/4000K/5000K
W/90min
)
Without Motion Sensor and Emergency Power Supply: -4°F to 113°F
With Motion Sensor: -4°F to 113°F
With Emergency Power Supply: 32°F to 104°F
LED STRIP LIGHT Page 2 of 3
SPECIFICATIONS
OPTICAL
Input Power (Tolerance: ±10%) 40W (Wattage Tunable: 40W/30W/20W)
Color Temperature
(Color Tunable)
3000K/4000K/5000K
Lumen (Tolerance: -10%) 4700~5200 LM @40W
Efficacy (Tolerance: -3%) 118~130 LM/W @40W
CRI >80
Color Consistency <6 Steps (or <6 SDCM) @3000K/5000K
Diffuser Type PC Lens
Beam Angle (50%) (Tolerance: ±15%) 130 Degree
ELECTRICAL
Input Voltage and Frequency 120-277VAC, 50/60Hz
PF (Tolerance: -3%) ≥0.9
THD (Tolerance: +5%) ≤20%
Flicker Percent <5%
Driver Brand BECKY
Driver Model BQE46G-0860-42-PV-S1S2
Driver Surge protection L/N-PE: 2kV, L -N: 1kV
Dimming 0-10V dimming standard
Optional Accessory DC Motion Sensor, Emergency Power Supply(8
W/90min
)
MATERIALS
LED Brand Lumileds
LED Type SMD2835
LED QTY 280 PCS (140+140)
Housing IRON
Housing Color White
Waterproof Rating DAMP(IP4X)
OTHERS
Operating Temperature
Without Motion Sensor and Emergency Power Supply: -4°F to 113°F
With Motion Sensor: -4°F to 113°F
With Emergency Power Supply: 32°F to 104°F
Storage Temperature -4°F to 176°F
Operating Humidity 20% - 90% RH
Storage Humidity 10% - 95% RH
Warranty 5 years warranty with 24/7 operating hours Luminaire lifetime at 77°F
DIMENSIONS
P/N: AST-LA01C-40/30/20W4FTBTB1C1-abcde
Note:
“a” can be any two letters to represent lamp colors;
WH=White, or Customized;
“b” can be “DMS” or blank for DC Sensor provided or not;
“c” can be “E” represents back-up power supply or blank
for not;
“d” can be “W” for dimming module provided;
“e” can be any digits for CCT.
30/40/50=3000K/4000K/5000K.
ADVANTAGE
UL cUL certificate.
Lumileds Chip, high CRI.
CCT Tunable.
Wattage Tunable.
Input voltage 120-277VAC.
Output constant current lever can be
adjusted through output cable with 0-10V.
No UV or IR in the beam.
LED Linkable Strip Fixtures
40W Specifications
Crisp Series
LED LINKABLE STRIP FIXTURES
3
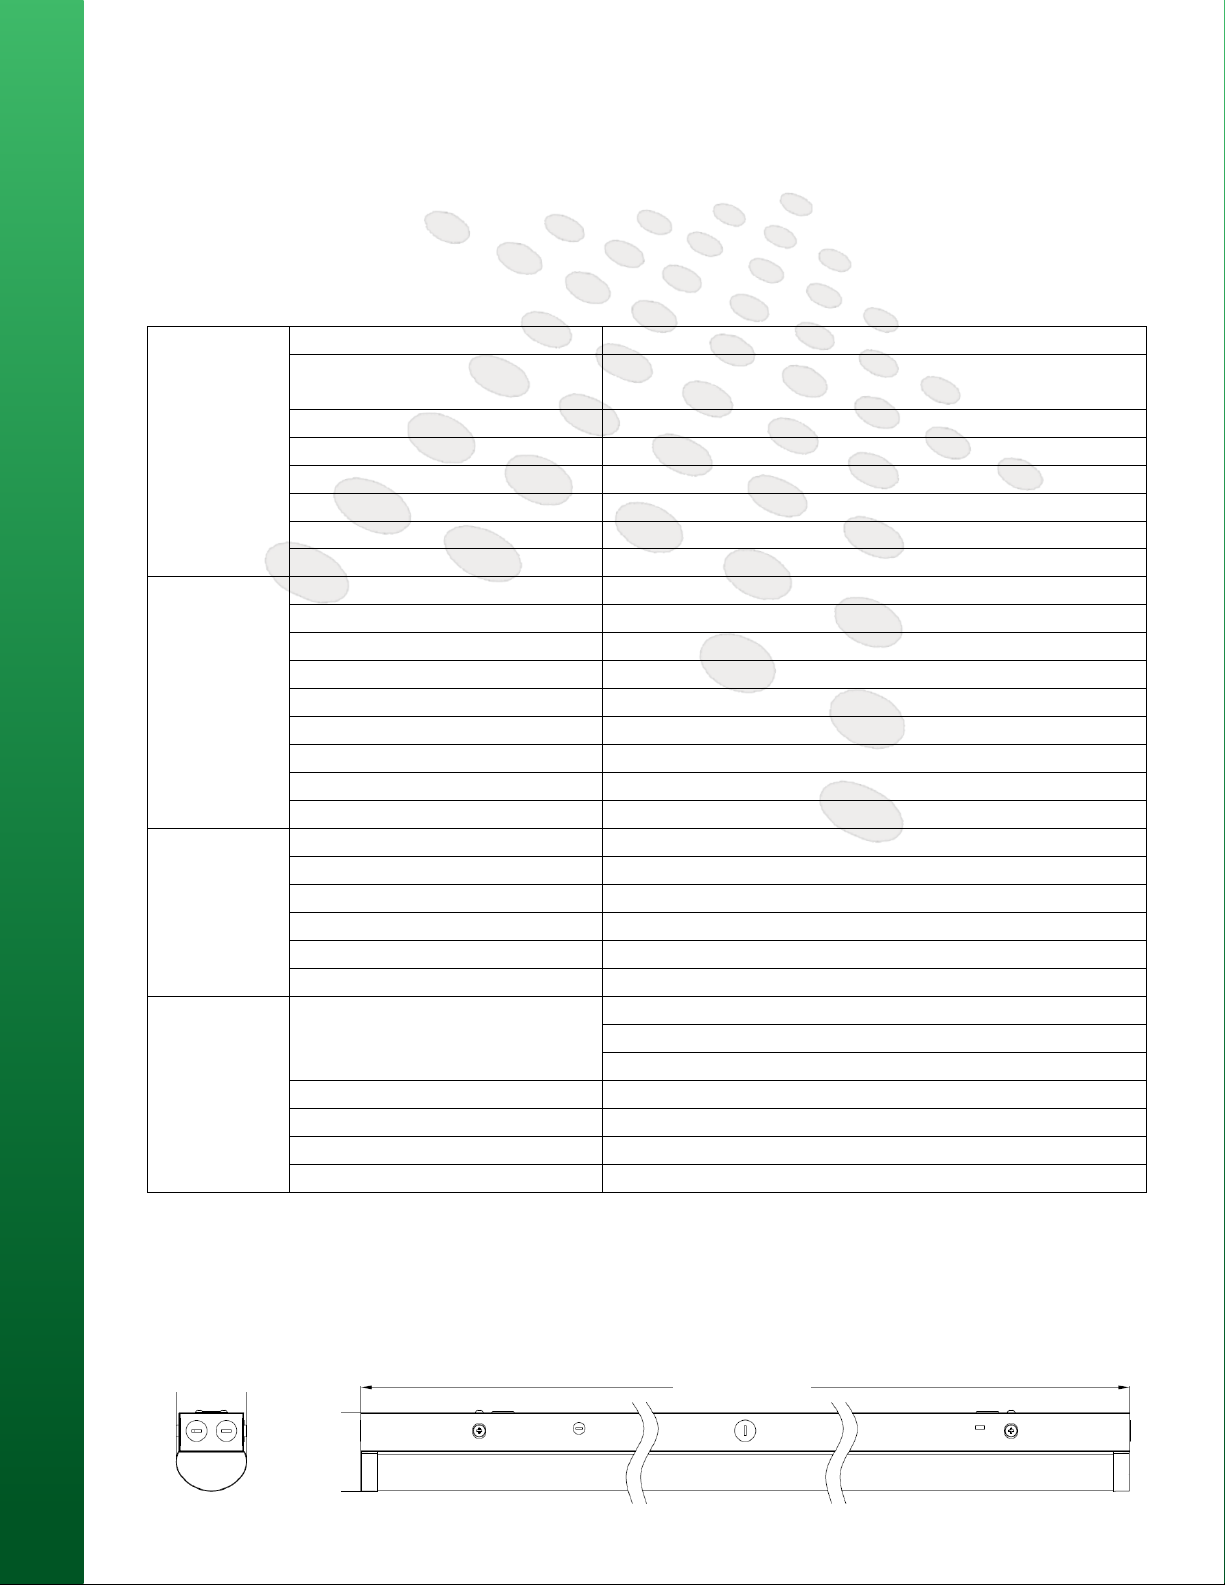
Dimensions
2.93”
3.25”
Beyond LED Technology | 1939 Parker Ct, Stone Mountain, GA, 30087
Due to continuous product improvement, information in this document is subject to change.
4’
48.03”
3000K/4000K/5000K
W/90min
)
Without Motion Sensor and Emergency Power Supply: -4°F to 113°F
With Motion Sensor: -4°F to 113°F
With Emergency Power Supply: 32°F to 104°F
LED STRIP LIGHT Page 2 of 3
SPECIFICATIONS
OPTICAL
Input Power (Tolerance: ±10%) 40W (Wattage Tunable: 40W/30W/20W)
Color Temperature
(Color Tunable)
3000K/4000K/5000K
Lumen (Tolerance: -10%) 4700~5200 LM @40W
Efficacy (Tolerance: -3%) 118~130 LM/W @40W
CRI >80
Color Consistency <6 Steps (or <6 SDCM) @3000K/5000K
Diffuser Type PC Lens
Beam Angle (50%) (Tolerance: ±15%) 130 Degree
ELECTRICAL
Input Voltage and Frequency 120-277VAC, 50/60Hz
PF (Tolerance: -3%) ≥0.9
THD (Tolerance: +5%) ≤20%
Flicker Percent <5%
Driver Brand BECKY
Driver Model BQE46G-0860-42-PV-S1S2
Driver Surge protection L/N-PE: 2kV, L -N: 1kV
Dimming 0-10V dimming standard
Optional Accessory DC Motion Sensor, Emergency Power Supply(8
W/90min
)
MATERIALS
LED Brand Lumileds
LED Type SMD2835
LED QTY 280 PCS (140+140)
Housing IRON
Housing Color White
Waterproof Rating DAMP(IP4X)
OTHERS
Operating Temperature
Without Motion Sensor and Emergency Power Supply: -4°F to 113°F
With Motion Sensor: -4°F to 113°F
With Emergency Power Supply: 32°F to 104°F
Storage Temperature -4°F to 176°F
Operating Humidity 20% - 90% RH
Storage Humidity 10% - 95% RH
Warranty 5 years warranty with 24/7 operating hours Luminaire lifetime at 77°F
DIMENSIONS
ADVANTAGE
UL cUL certificate.
Lumileds Chip, high CRI.
CCT Tunable.
Wattage Tunable.
Input voltage 120-277VAC.
Output constant current lever can be
adjusted through output cable with 0-10V.
No UV or IR in the beam.
P/N: AST-LA01C-70/60/50W4FTBTB1C1-abcde
Note:
“a” can be any two letters to represent lamp colors;
WH=White, or Customized;
“b” can be “DMS” or blank for DC Sensor provided or not;
“c” can be “E” represents back-up power supply or blank
for not;
“d” can be “W” for dimming module provided;
“e” can be any digits for CCT.
30/40/50=3000K/4000K/5000K.
LED Linkable Strip Fixtures
Crisp Series
70W Specifications
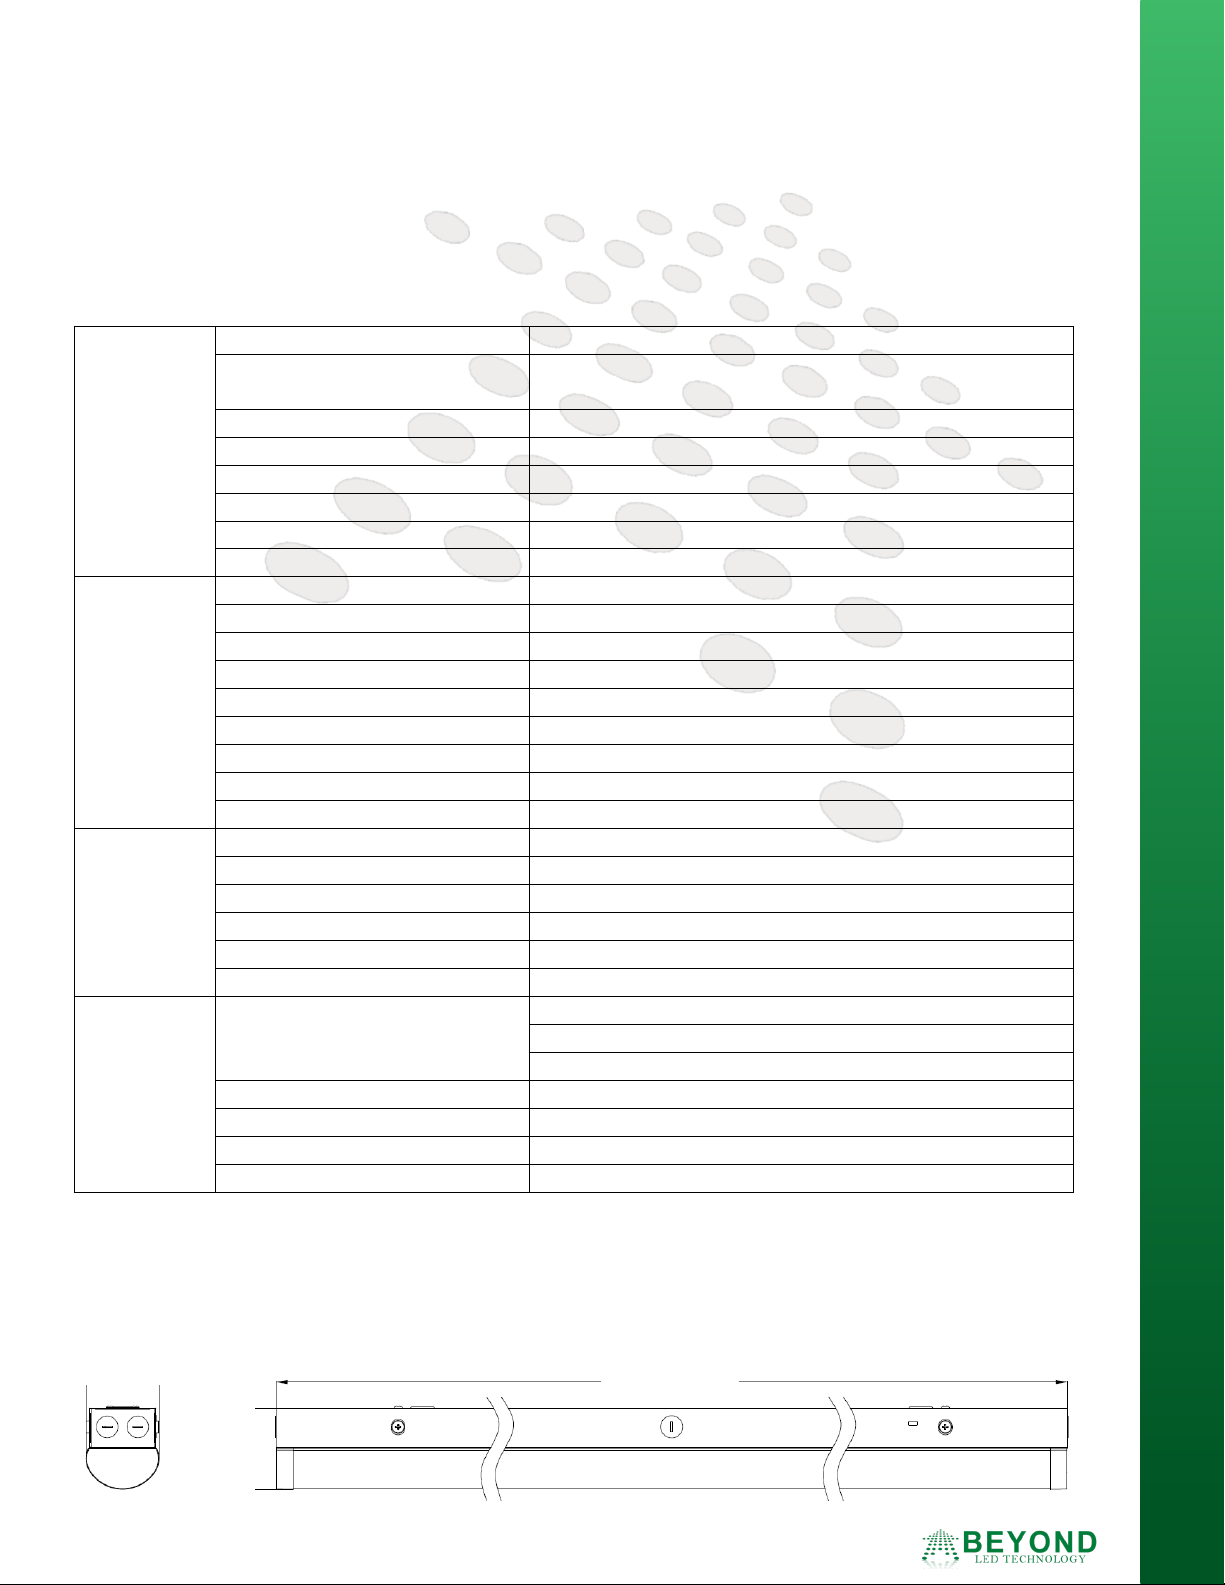
Dimensions
2.93”
3.25”
(866) 786-1117 • www.BeyondLEDTechnology.com
Due to continuous product improvement, information in this document is subject to change.
8’
96.06”
LED LINKABLE STRIP FIXTURES
4
LED Linkable Strip Fixtures
杭杭杭杭杭杭杭杭杭杭
http://www.inventfine.com.cn
86-571-88091262
86-571-88262100 Page 1 of 34 Pages
Report No.: Test Time: 2020/11/7
星星星
09:38
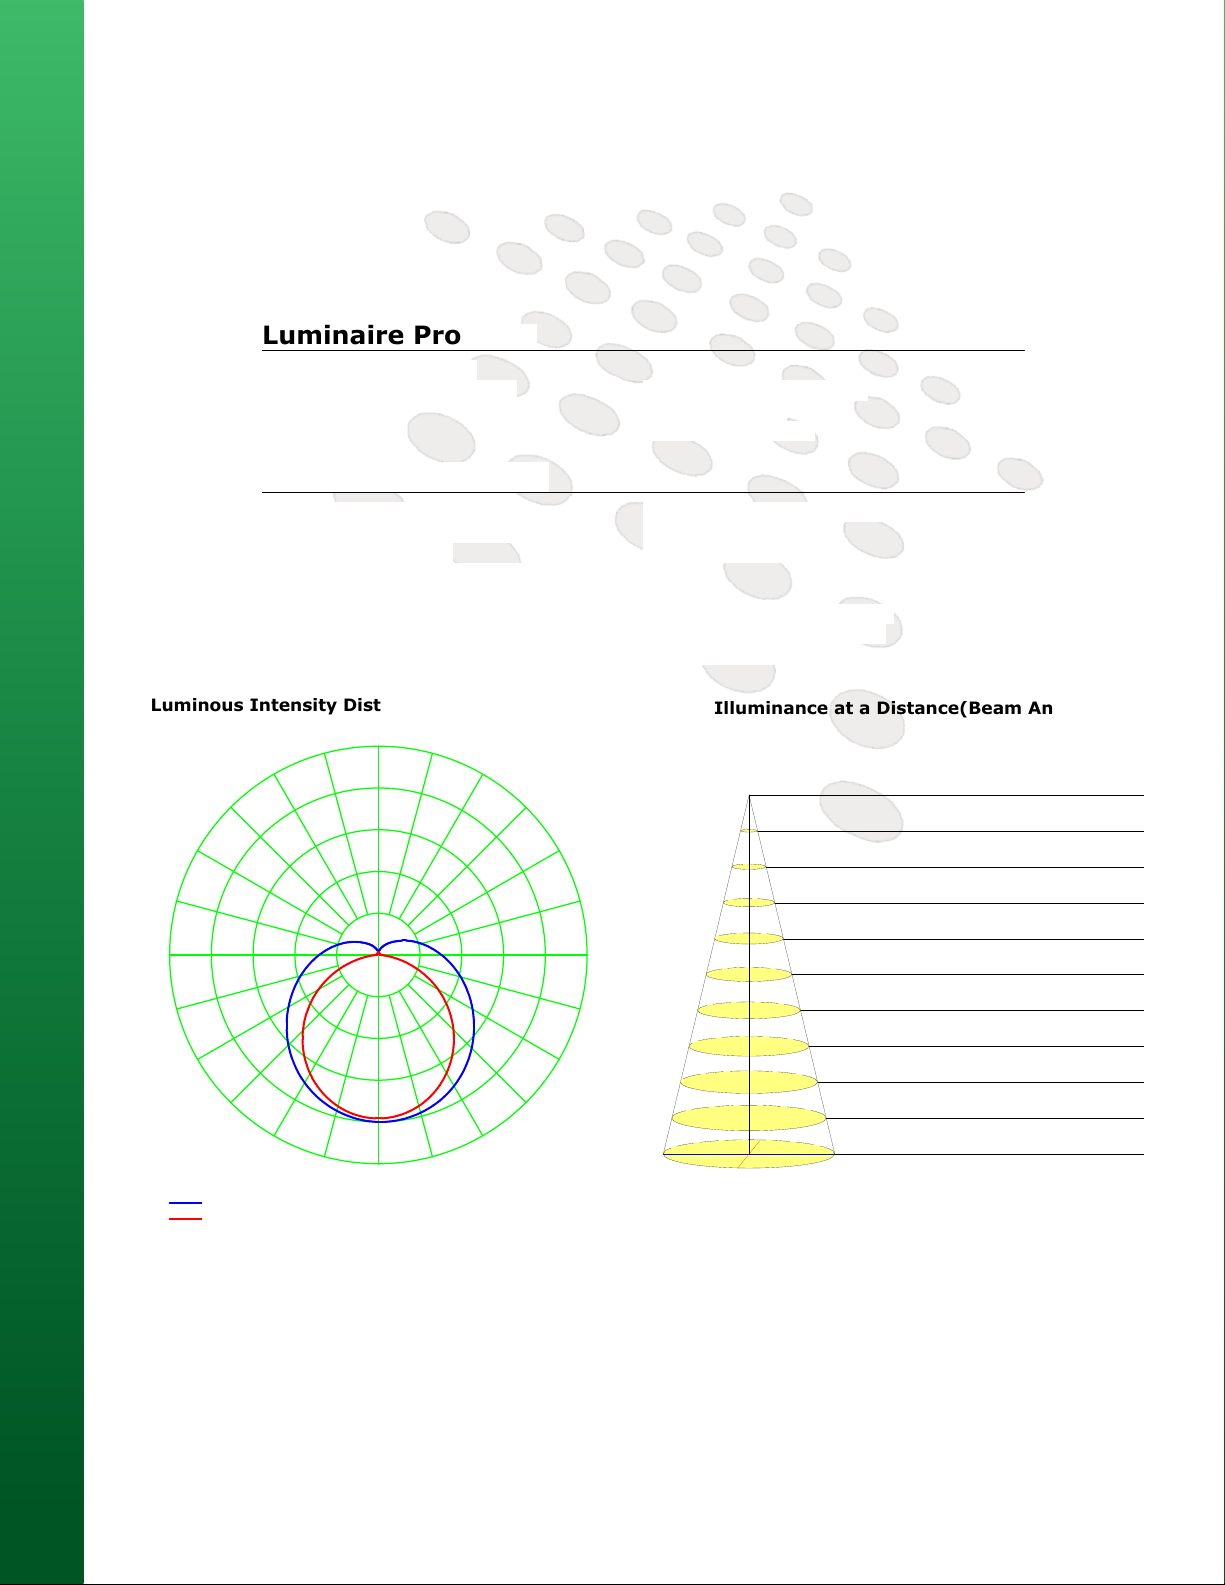
Luminaire Property
S/MH(C0/C180): 1.33 S/MH(C90/C270): 1.24
杭杭杭杭杭杭杭杭杭杭
http://www.inventfine.com.cn
86-571-88091262
86-571-88262100 Page 3 of 34 Pages
Luminous Intensity Distribution Curve(cd/klm)
C90-C270
杭杭杭杭杭杭杭杭杭杭
http://www.inventfine.com.cn
86-571-88091262
86-571-88262100 Page 10 of 34 Pages
Illuminance at a Distance(Beam Angle)
Distribution Diagram
Luminaire Manufacturer:
Luminous Length (mm): 1180 Luminous Width (mm): 75
Voltage: 120.6 V Current: 0.332 A
Power: 39.88 W Power Factor: 0.996
Photometric Results
CIE Class: Semi-Direct Total Rated Lamp Lumens: 4800.7 lm
Measurement Flux: 4800.7 lm Efficiency: 100%
Downward Ratio: 85% Upward Ratio: 15%
Horizontal Diffuse Angle(50%): H149.3
Vertical Diffuse Angle(50%): V110.4
Luminaire Efficacy Rating (LER): 120.43 Central Intensity: 1169.91 cd
Max. Intensity: 1170.37 cd Pos of Max. Intensity: H0 V2
Crisp Series
180
LED LINKABLE STRIP FIXTURES
cd/klm
C0-C180
60
121
182
243
304
165165
150150
135135
120120
105105
9090
7575
6060
4545
3030
1515
0
η=100%
Dh
Dist(m) Enadir(lx) Dh/Dv_B(m) S_B(sq.m) Eav_B(lx)
1.0 1169.91 7.27/2.88 18.2 91.51
2.0 292.48 14.54/5.75 73.0 22.88
3.0 129.99 21.81/8.63 164.2 10.17
4.0 73.12 29.09/11.50 291.8 5.72
5.0 46.80 36.36/14.38 456.0 3.66
6.0 32.50 43.63/17.25 656.6 2.54
7.0 23.88 50.90/20.13 893.8 1.87
8.0 18.28 58.17/23.00 1167.4 1.43
9.0 14.44 65.44/25.88 1477.4 1.13
10.0 11.70 72.72/28.75 1824.0 0.92
Beam Angle(B): H149.2 V110.4 Field Angle(F): H271.8 V159.7
Dv
5
Beyond LED Technology | 1939 Parker Ct, Stone Mountain, GA, 30087
Due to continuous product improvement, information in this document is subject to change.
LED STRIP LIGHT Page 2 of 3
SPECIFICATIONS
OPTICAL
Input Power (Tolerance: ±10%) 40W (Wattage Tunable: 40W/30W/20W)
Color Temperature
(Color Tunable)
3000K/4000K/5000K
Lumen (Tolerance: -10%) 4700~5200 LM @40W
Efficacy (Tolerance: -3%) 118~130 LM/W @40W
CRI >80
Color Consistency <6 Steps (or <6 SDCM) @3000K/5000K
Diffuser Type PC Lens
Beam Angle (50%) (Tolerance: ±15%) 130 Degree
ELECTRICAL
Input Voltage and Frequency 120-277VAC, 50/60Hz
PF (Tolerance: -3%) ≥0.9
THD (Tolerance: +5%) ≤20%
Flicker Percent <5%
Driver Brand BECKY
Driver Model BQE46G-0860-42-PV-S1S2
Driver Surge protection L/N-PE: 2k V, L -N: 1kV
Dimming 0-10V dimming standard
Optional Accessory DC Motion Sensor, Emergency Power Supply(8
W/90min)
MATERIALS
LED Brand Lumileds
LED Type SMD2835
LED QTY 280 PCS (140+140)
Housing IRON
Housing Color White
Waterproof Rating DAMP(IP4X)
OTHERS
Operating Temperature
Without Motion Sensor and Emergency Power Supply: -4°F to 113°F
With Motion Sensor: -4°F to 113°F
With Emergency Power Supply: 32°F to 104°F
Storage Temperature -4°F to 176°F
Operating Humidity 20% - 90% RH
Storage Humidity 10% - 95% RH
Warranty 5 years warranty with 24/7 operating hours Luminaire lifetime at 77°F
PACKAGE
LED STRIP LIGHT Page 2 of 3
SPECIFICATIONS
OPTICAL
Input Power (Tolerance: ±10%) 70W (Wattage Tunable: 70W/60W/50W)
Color Temperature
(Color Tunable)
3000K/4000K/5000K
Lumen (Tolerance: -10%) 8200~9300 LM @70W
Efficacy (Tolerance: -3%) 118~132 LM/W @70W
CRI >80
Color Consistency <6 Steps (or <6 SDCM) @3000K/5000K
Diffuser Type PC Lens
Beam Angle (50%) (Tolerance: ±15%) 130 Degree
ELECTRICAL
Input Voltage and Frequency 120-277VAC, 50/60Hz
PF (Tolerance: -3%) ≥0.9
THD (Tolerance: +5%) ≤20%
Flicker Percent <5%
Driver Brand BECKY
Driver Model BQE65G-1500-43-PV-S1S2
Driver Surge protection L/N-PE: 2k V, L -N: 1kV
Dimming 0-10V dimming standard
Optional Accessory DC Motion Sensor, Emergency Power Supply(8
W/90min)
MATERIALS
LED Brand Lumileds
LED Type SMD2835
LED QTY 480 PCS (240+240)
Housing IRON
Housing Color White
Waterproof Rating DAMP(IP4X)
OTHERS
Operating Temperature
Without Motion Sensor and Emergency Power Supply: -4°F to 113°F
With Motion Sensor: -4°F to 113°F
With Emergency Power Supply: 32°F to 104°F
Storage Temperature -4°F to 176°F
Operating Humidity 20% - 90% RH
Storage Humidity 10% - 95% RH
Warranty 5 years warranty with 24/7 operating hours Luminaire lifetime at 77°F
PACKAGE
(Color Tunable)
Input Voltage and Frequency 120-277VAC, 50/60Hz
PF (Tolerance: -3%) ≥0.9
THD (Tolerance: +5%) ≤20%
Flicker Percent <5%
Driver Brand BECKY
Driver Model BQE65G-1500-43-PV-S1S2
Driver Surge protection L/N-PE: 2kV, L-N: 1kV
Dimming 0-10V dimming standard
Optional Accessory DC Motion Sensor, Emergency Power Supply(8
W/90min)
LED Brand Lumileds
LED Type SMD2835
LED QTY 480 PCS (240+240)
Housing IRON
Housing Color White
Waterproof Rating DAMP(IP4X)
Operating Temperature
Without Motion Sensor and Emergency Power Supply: -4°F to 113°F
With Motion Sensor: -4°F to 113°F
With Emergency Power Supply: 32°F to 104°F
Storage Temperature -4°F to 176°F
Operating Humidity 20% - 90% RH
Storage Humidity 10% - 95% RH
Warranty 5 years warranty with 24/7 operating hours Luminaire lifetime at 77°F
99”X16”X5” 5 PCS 9 LBS/PC 46 LBS
LED Linkable Strip Fixtures
Crisp Series
Packing
40W 4’ Model
Outer box (DC Sensor) 51”X16”X5” 5 PCS 4 LBS/PC 24 LBS
Outer box (Emergency Power Supply)
Tolerance of Carton Size: ±1”, Tolerance of Weight: ±10%.
70W 8’ Model
Outer box (DC Sensor) 99”X16”X5” 5 PCS 8 LBS/PC 42 LBS
Outer box (Emergency Power Supply)
Tolerance of Carton Size: ±1”, Tolerance of Weight: ±10%.
Carton Size Qty / Carton Net Weight / Carton Gross Weight / Carton
Outer box 51”X16”X5” 5 PCS 4 LBS/PC 23 LBS
51”X16”X5” 5 PCS 5 LBS/PC 28 LBS
Carton Size Qty / Carton Net Weight / Carton Gross Weight / Carton
Outer box 99”X16”X5” 5 PCS 8 LBS/PC 41 LBS
99”X16”X5” 5 PCS 9 LBS/PC 46 LBS
LED LINKABLE STRIP FIXTURES
(866) 786-1117 • www.BeyondLEDTechnology.com
Due to continuous product improvement, information in this document is subject to change.
6
LED Linkable Strip Fixtures
LED Strip Installation Instruction
Crisp Series
Installation
Cautions:
1. Can not use the electric generator to test the LED lamp.
2. Please abide by related country, regional and local law and regulations when install this fixture.
LED LINKABLE STRIP FIXTURES
3. Please turn off the power before installation or maintenance.
4. Proper earth grounding is required to ensure safety.
Notice:
1. To avoid possibility of electrical shock or fire, the installation personnel must have professional electric knowledge.
2. Please wear gloves to avoid injury before installation.
3. If any smoke or spark of the wire happened, please turn off the power immediately and notify relevant personnel.
Attention:
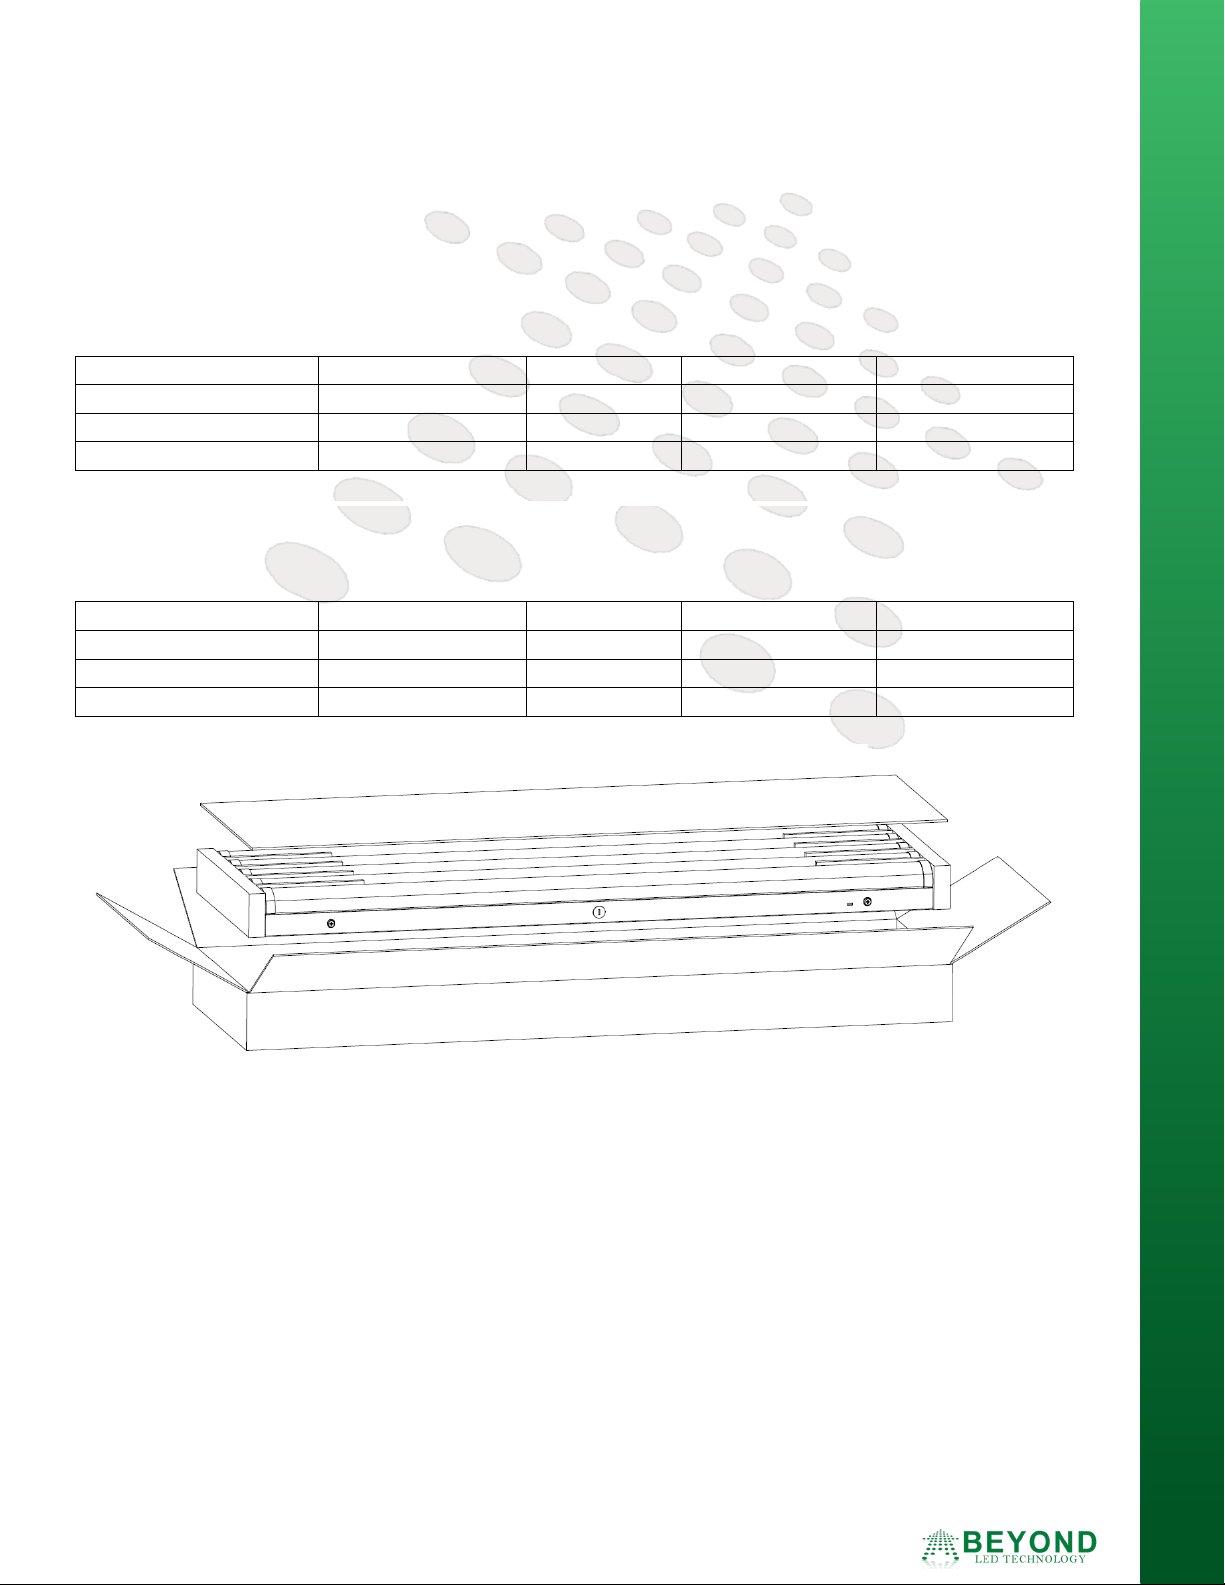
1. Please check if there is any damage during shipping. If so, please contact manufacturer timely.
2. Please read the installation instruction carefully to check whether all the accessories are complete. After
confirmation, then install the fixture according to installation steps.
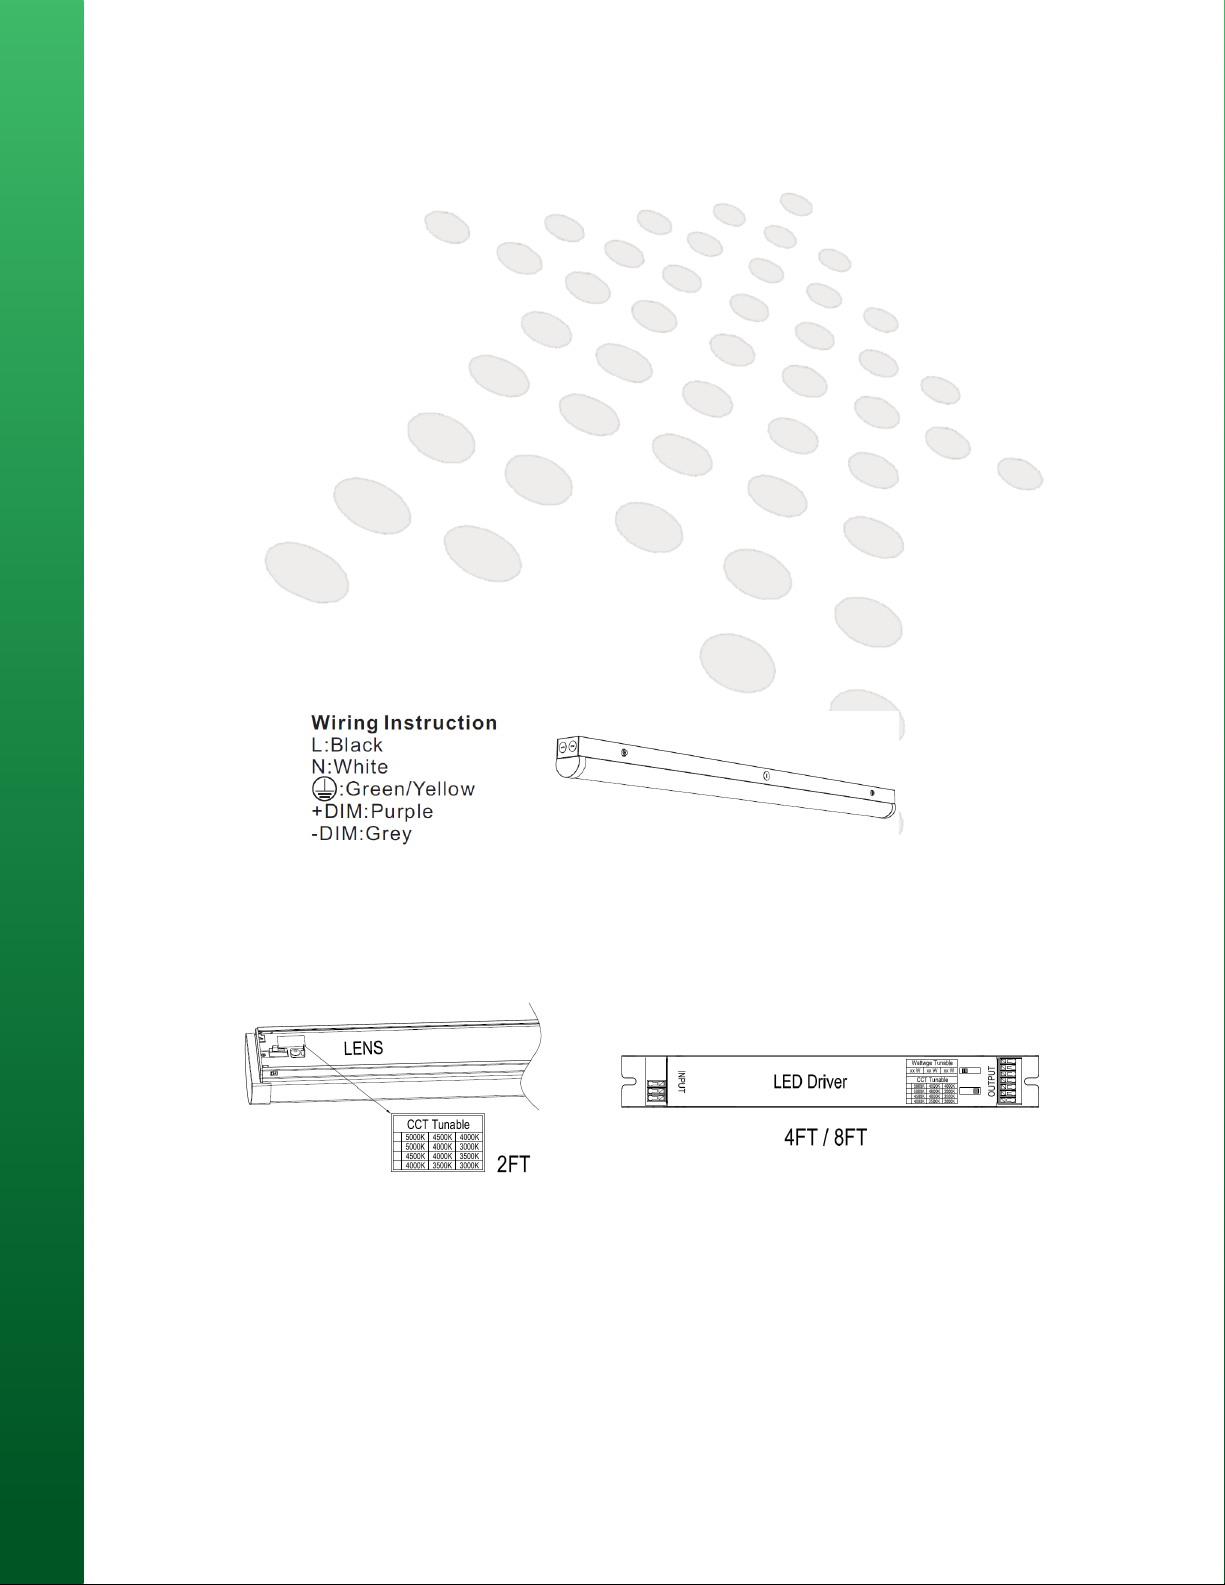
Wiring Diagram & Instruction:
3 dimming functions are available in this high bay light:
1. Constant current can be achieved by 0-10VDC dimming;
2. PWM signal dimming;
3. Variation of resistance unit dimming.
Please choose the appropriate dimming way according to your needs.You can also choose not to use this function.
Round lampshade or square lampshade will not affect the installation method or function expansion of the product.
CCT or Wattage Tunnable:
Step1. Press the screws on both sides of the lamp by hand to open the lamp,
Two installation methods: A Surface Mounting, B Hanging Installation
(Please choose the most suitable installation method for the purchased product as per your needs.)
A. Surface Mounting
Step1. According to the different lengths of the product, drill holes at the corresponding positions and drive the rubber
plugs from the accessory kit into the holes (Figure 1)
Step2. Clamp the disc from the accessory kit to the lamp (this step can be omitted if the light fixture can completely
cover the junction box on the wall) (figure 2)
Step3. Press the screws on both sides of the lamp by hand to open the lamp (Figure 3)
Step4. Lead the wire into the lamp and install the lamp chassis by using the screws in the accessory kit (figure 4)
Step5. Connect the wires according to safety requirements, and then install the lamp body back to the chassis, By
using a extra mounting bracket, the lights can be connected in series (Figure 5)
(Product connection: 20W lamps can be connected to maximum 50pcs, 40W 20pcs, and 60W 10pcs)
Wattage can be adjusted via dialing.
7
Beyond LED Technology | 1939 Parker Ct, Stone Mountain, GA, 30087
Due to continuous product improvement, information in this document is subject to change.

Installation
LED Strip Installation Instruction
LED Linkable Strip Fixtures
Crisp Series
B. Hanging Installation
Step1. Hang one end of the installation rope in the accessory kit on the wall or hook (Choose accessories according
to your needs) (Figure 6)
Step2. Fasten the other end of the installation rope to the lamp (Figure 7)
Step3. Press the screws on both sides of the lamp by hand to open the lamp.
Step4. Connect the wires according to safety requirements, and then install the lamp body back to the chassis (Figure
8)
Extra Accessory Option Installation: 1:Product lengthening, 2: Sensor,3: Backup driver.
1. Product lengthening:
Step1. Use the screws in the accessory kit to lock the bracket onto one lamp (figure 9)
Step2. Align the other lamp to the bracket and lock the screws (Figure 10)
(Product connection: 40W lamps can be connected to maximum 20pcs, 60W 12pcs)
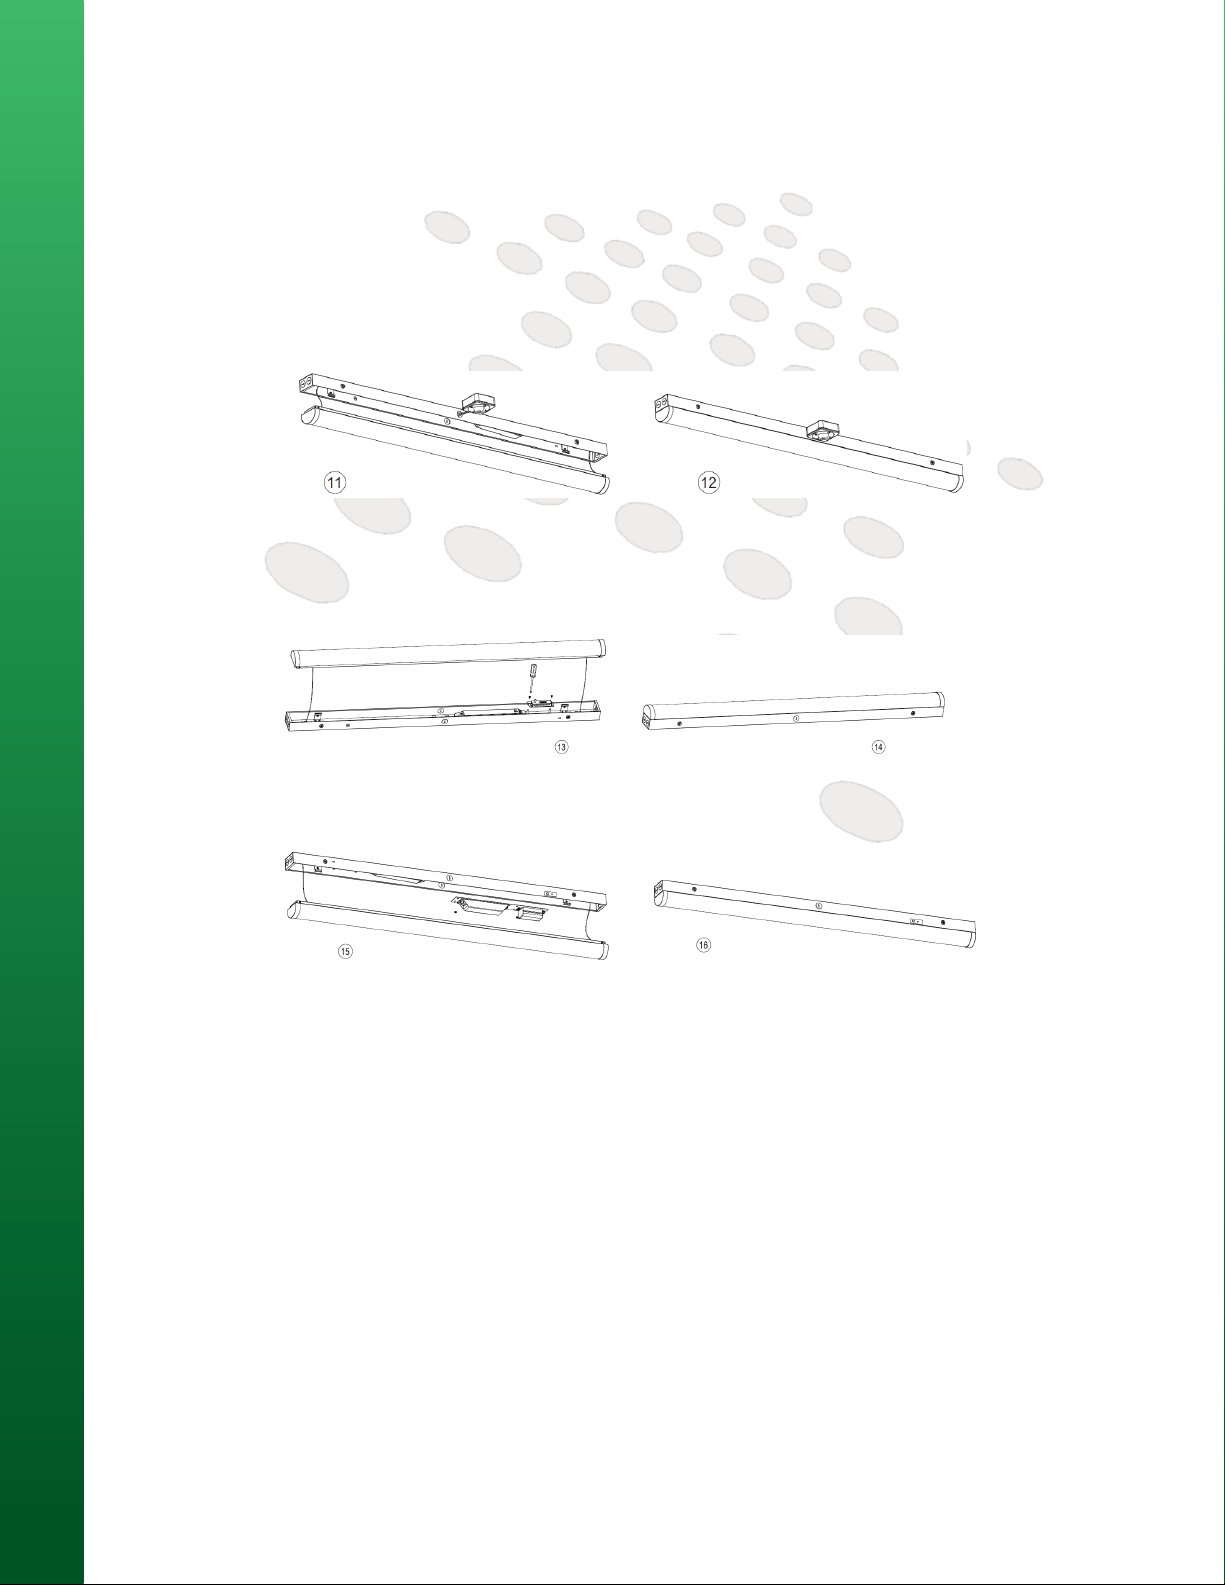
2-1. AC PIR Sensor:
Step1. Press the screws on both sides of the lamp by hand to open the lamp.
Step2. Assemble the PIR sensor onto the lamp (Figure 11), connect the wires according to the wiring instructions,
and then assemble the disassembled lamp back. (Figure 12)
LED LINKABLE STRIP FIXTURES
(866) 786-1117 • www.BeyondLEDTechnology.com
Due to continuous product improvement, information in this document is subject to change.
8
LED Linkable Strip Fixtures
LED Strip Installation Instruction
Crisp Series
Installation
2-2. DC Motion Sensor:
Step1. Press the screws on both sides of the lamp by hand to open the lamp.
Step2. Assemble the DC sensor to the corresponding position (Figure 13).
Step3. Connect the wires according to the wiring instructions,adjust sensing mode as per demand, and then
assemble the disassembled lamp back. (Figure 14)
3.Backup driver:
Step1. Press the screws on both sides of the lamp by hand to open the lamp.
Step2. Assemble the backup driver to the lamp chassis (Figure 15)
Step2. Connect the wires according to the wiring instructions, and assemble the disassembled lamp back. (Figure 16)
Notice For Users
• Please turn off the power before installing or changing assembly parts.
LED LINKABLE STRIP FIXTURES
• The input voltage and lamps should be matching, before connecting the power line, please
make sure the wiring section is insulated.
• Only professionals should install and disassemble the lamps.
Trouble Shooting
• Flickering of the light - Turn off the power and turn on again in 3 minutes. If same phenomena
occurs, then call Support.
• Not working - Please check all power connections.
9
Beyond LED Technology | 1939 Parker Ct, Stone Mountain, GA, 30087
Due to continuous product improvement, information in this document is subject to change.

LED Linkable Strip Fixtures
Application
Crisp Series
LED LINKABLE STRIP FIXTURES
(866) 786-1117 • www.BeyondLEDTechnology.com
Due to continuous product improvement, information in this document is subject to change.
10
 Loading...