

Page 1
Code central
KC 5000
Technical manual
GB
Page 2

Copyright © February 2002 Bewator AB, Solna Sweden.
Material from the KC5000 Technical manual may only be copied with the consent in writing of Bewator.
Bewator reserves the right to alter both the content of the manual and the design of the product.
Document number: 80728-2
Bewator AB is part of Bewator Group, which develops and markets a complete security product range that
includes access control and alarm. Sales, installation and servicing are handled by a national dealer network.
Actions (such as unauthorised manipulation, copying etc.) , must not be taken with the software contained in the
products and systems. Such actions are regarded as copyright violation and may result in imprisonment or fines
and may likewise lead to an obligation to pay damages and compensation for using the software.
Page 3

KC5000 Technical manual — Contents 3
Contents
KC5000 THE INTELLIGENT CODE LOCK................................................................4
How to use...............................................................................................................................4
Printouts...................................................................................................................................4
System components...............................................................................................................5
INSTALLATION ..........................................................................................................6
Placing and mounting.............................................................................................................6
Before starting to install the system.....................................................................................7
Connecting the KC5000..........................................................................................................8
PREPARATIONS......................................................................................................10
PROGRAMMING.......................................................................................................14
Set time and date ..................................................................................................................15
Time zones.............................................................................................................................16
Codes .....................................................................................................................................20
Doors......................................................................................................................................24
PRINTOUTS..............................................................................................................26
REMOTE PROGRAMMING......................................................................................28
Password ...............................................................................................................................28
Enter new information ..........................................................................................................31
Change time and date...........................................................................................................31
Time zones.............................................................................................................................31
Codes .....................................................................................................................................33
Doors......................................................................................................................................35
TECHNICAL INFORMATION....................................................................................36
TEMPLATES FOR REMOTE PROGRAMMING.......................................................40
Change time and date...........................................................................................................40
Time zones.............................................................................................................................40
Codes .....................................................................................................................................41
Doors......................................................................................................................................41
NOTES......................................................................................................................42
Page 4

4 KC5000 Technical manual — Introduction
KC5000 the intelligent code lock
KC 5000 is a code lock system for up to six doors. With a capacity of 99
codes and a built in timer with 99 time zones, which can be unique for
different doors, enables to handle different access levels for different groups.
For example can the postman’s code be limited to be valid only in daytime
on weekdays, but for the tenants the code can, for their own door be valid
for 24 hours and the whole week. For the caretaker the code can be valid for
24 hours the whole week and on all doors.
If wrong code is entered more than three times in a row the code lock enters
a “blocking stage”, which makes it almost impossible to crack the code. To
release the blockage you just enter a correct code twice in succession.
How to use
All programming is made directly in to the central unit with an easy step-bystep instruction, but one feature with KC5000 is that it can be remote
programmed from an ordinary telephone. The big advantage with this is that
you don’t have to go to each central unit whenever you need to change the
information in the system – instead you just call up the system and change
the information from an ordinary telephone.
As an extra accessory the KC5000 can be supplied with PC software for
Windows (Windows 95), which makes it possible to programme the system
from a PC either directly or via modem.
Printouts
As standard a printer can be connected. This makes it possible to have
printouts on all programmed data, and also continuous printouts on valid
access and other system events. (See also the chapter Printouts).
Page 5
KC5000 Technical manual — Introduction 5
System components
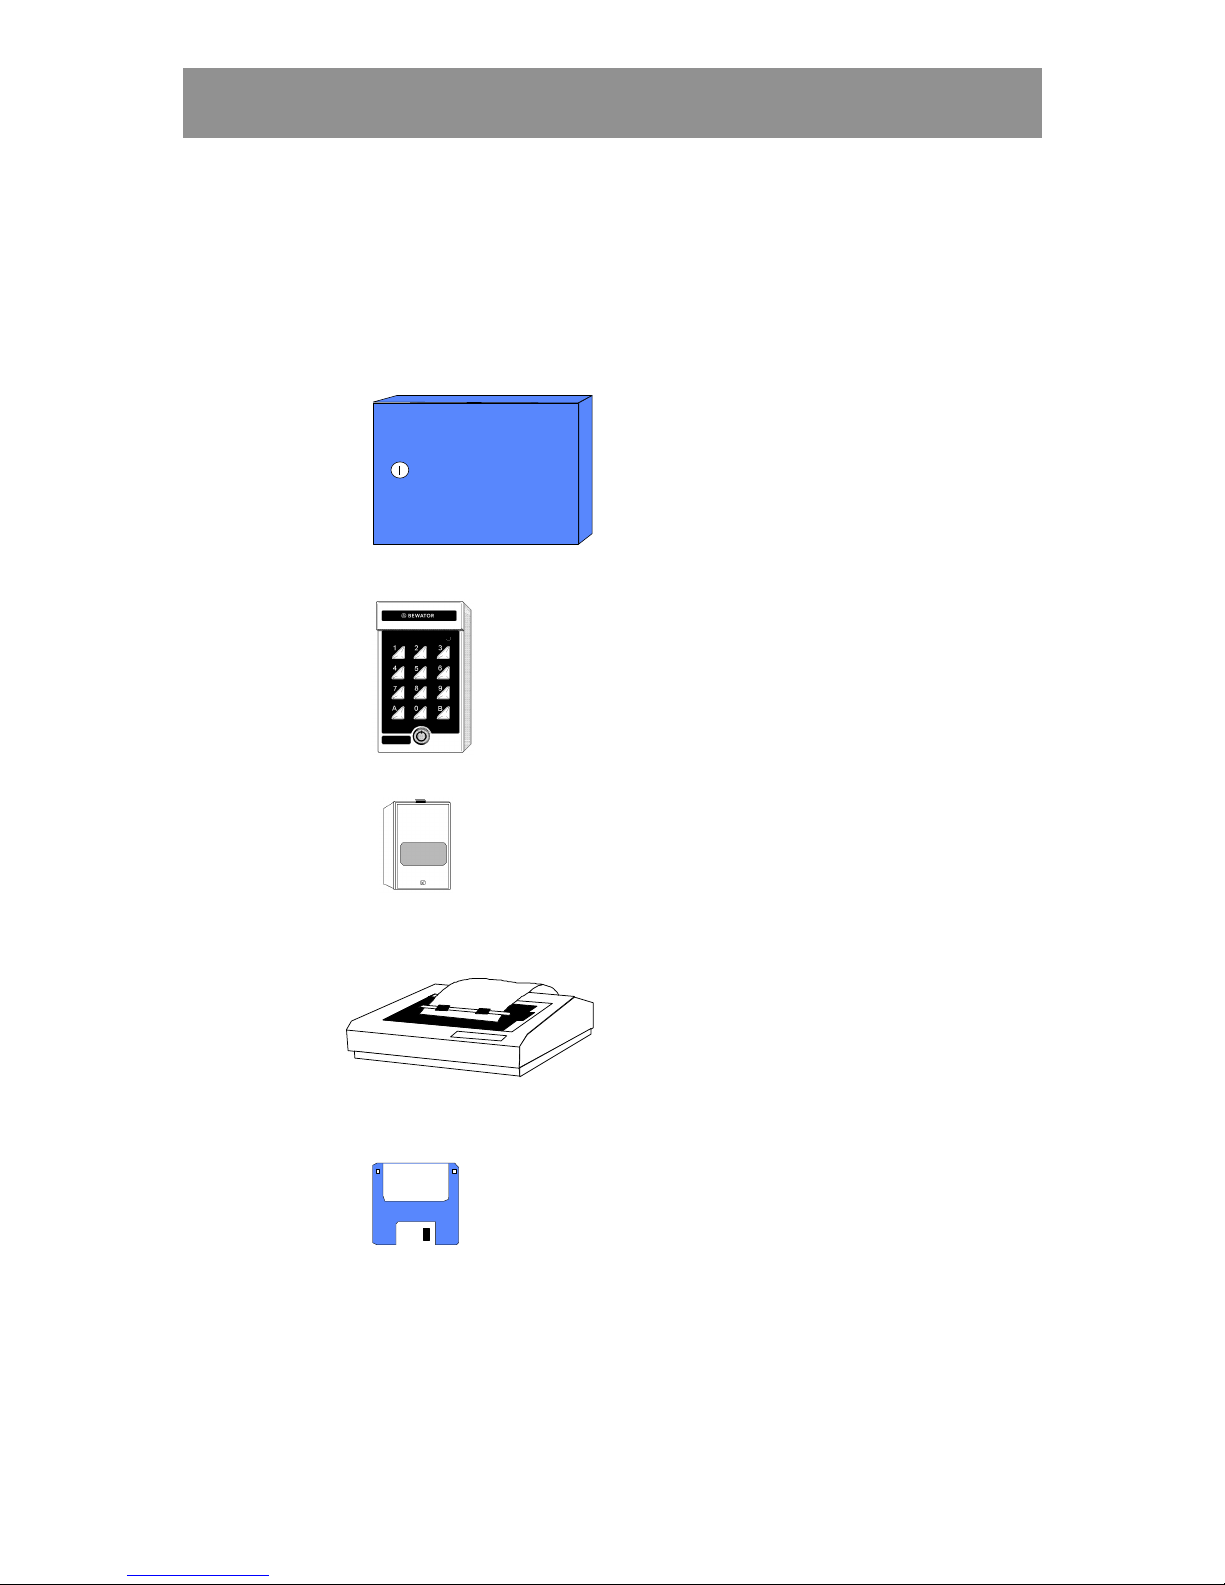
KC5000 consists of the following equipment:
• Central unit. In the central unit all data for the system is programmed
and stored.
• Keypad M65. Up to 6 keypads can be connected (one at each door).
• Power supply. 24 V AC included in delivery.
• Printer. As an extra accessory a printer can be connected to the central
unit for printouts of programmed data or events.
• PC program. As an extra accessory KC5000 can be programmed from a
PC with Windows (Windows 95).
REMO
Page 6
6 KC5000 Technical manual — Installation
Installation
This chapter describes how to install KC 5000.
Placing and mounting
Central unit
The central unit is designed for wall mounting (there are three screw holes
in the back plate), in a secure room with normal temperature, e.g. the
building’s power room.
Place the power supply near the central unit.
Keypad M65
Install the keypads at a height of 120–140 cm (from the floor to the bottom
edge of the keypad). To adapt the installation for disabled persons, a suitable
height is approximately 95 cm.
Installing the keypad:
1 Open the keypad with the key supplied.
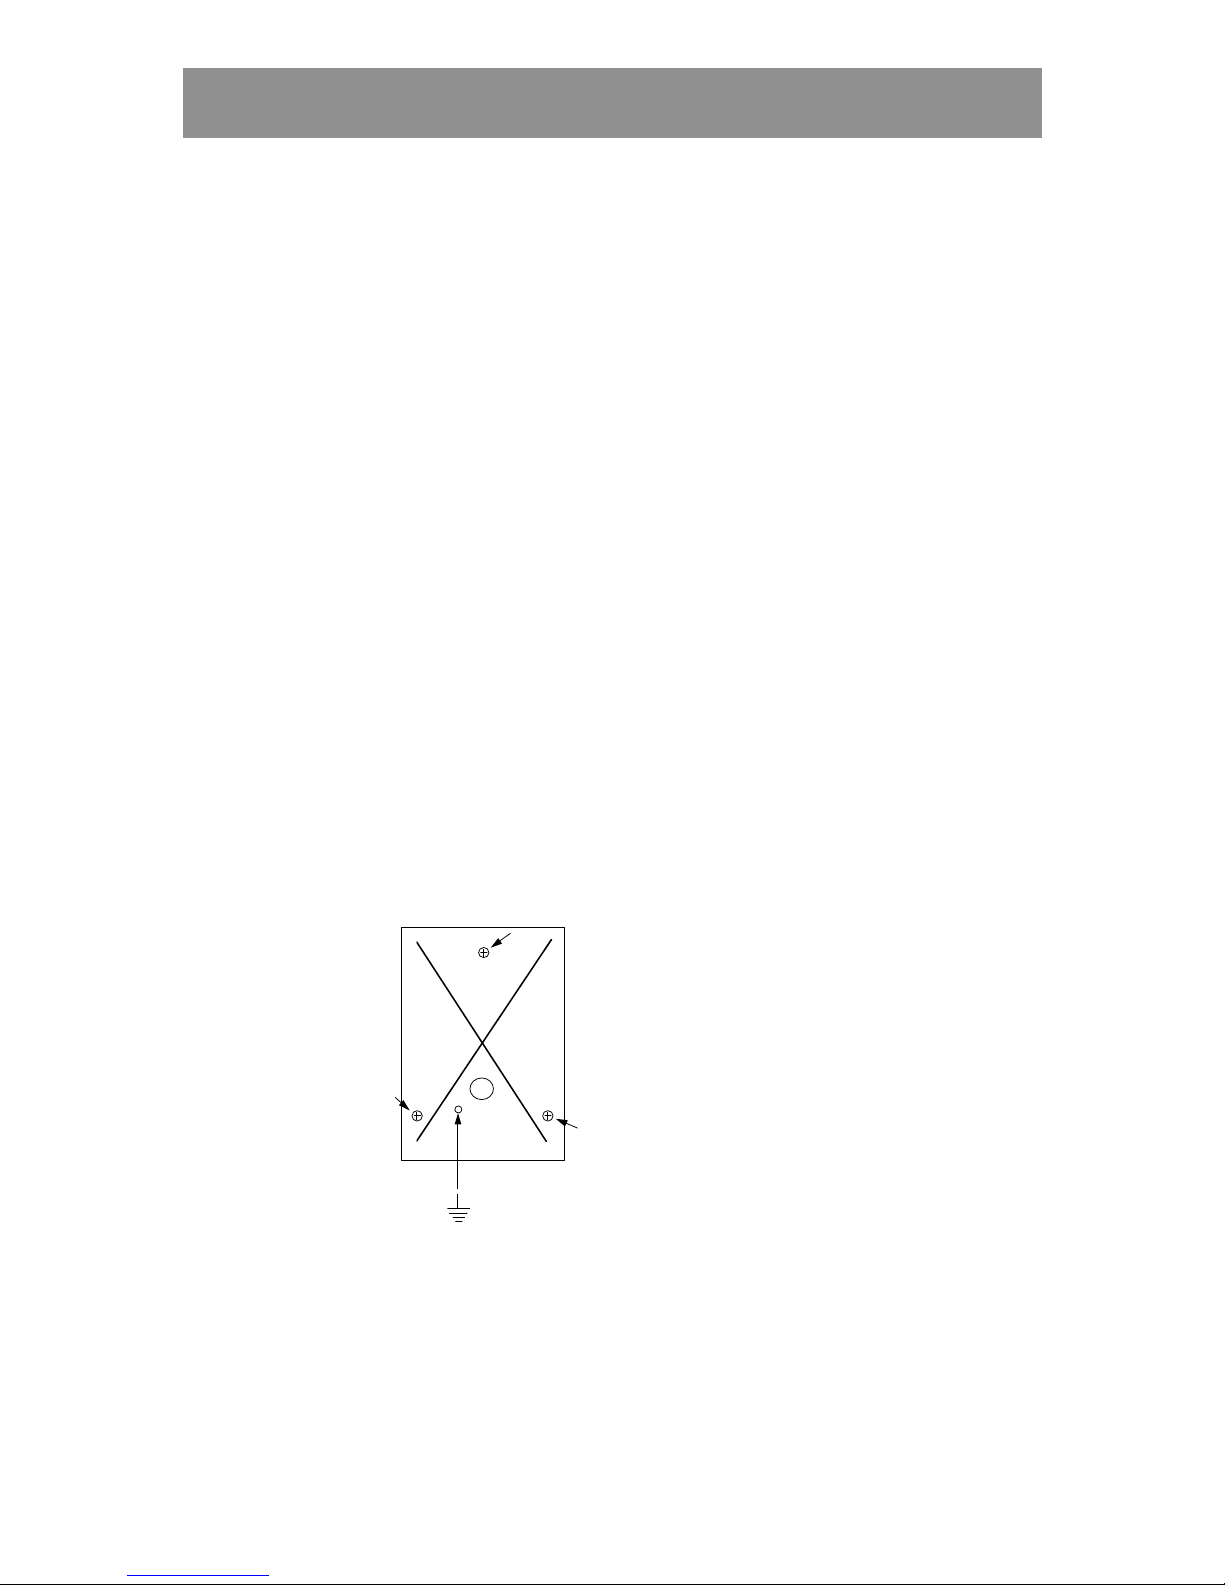
2 Fasten the back plate against the wall, using three screws according to
the illustration below.
3 Wherever disturbance may occur (e.g. close to garages, lifts etc), earth
the back plate. Use a separate cable to the earth point. Make sure the
front and back plate is connected with the internal strap.
4 Fit the front and check that the keypad is securely fixed.
5 If the keypad is mounted outdoors, you should seal screw- and cable
holes with a sealing compound e.g. silicone, to prevent water leakage.
Page 7

KC5000 Technical manual — Installation 7
Before starting to install the system
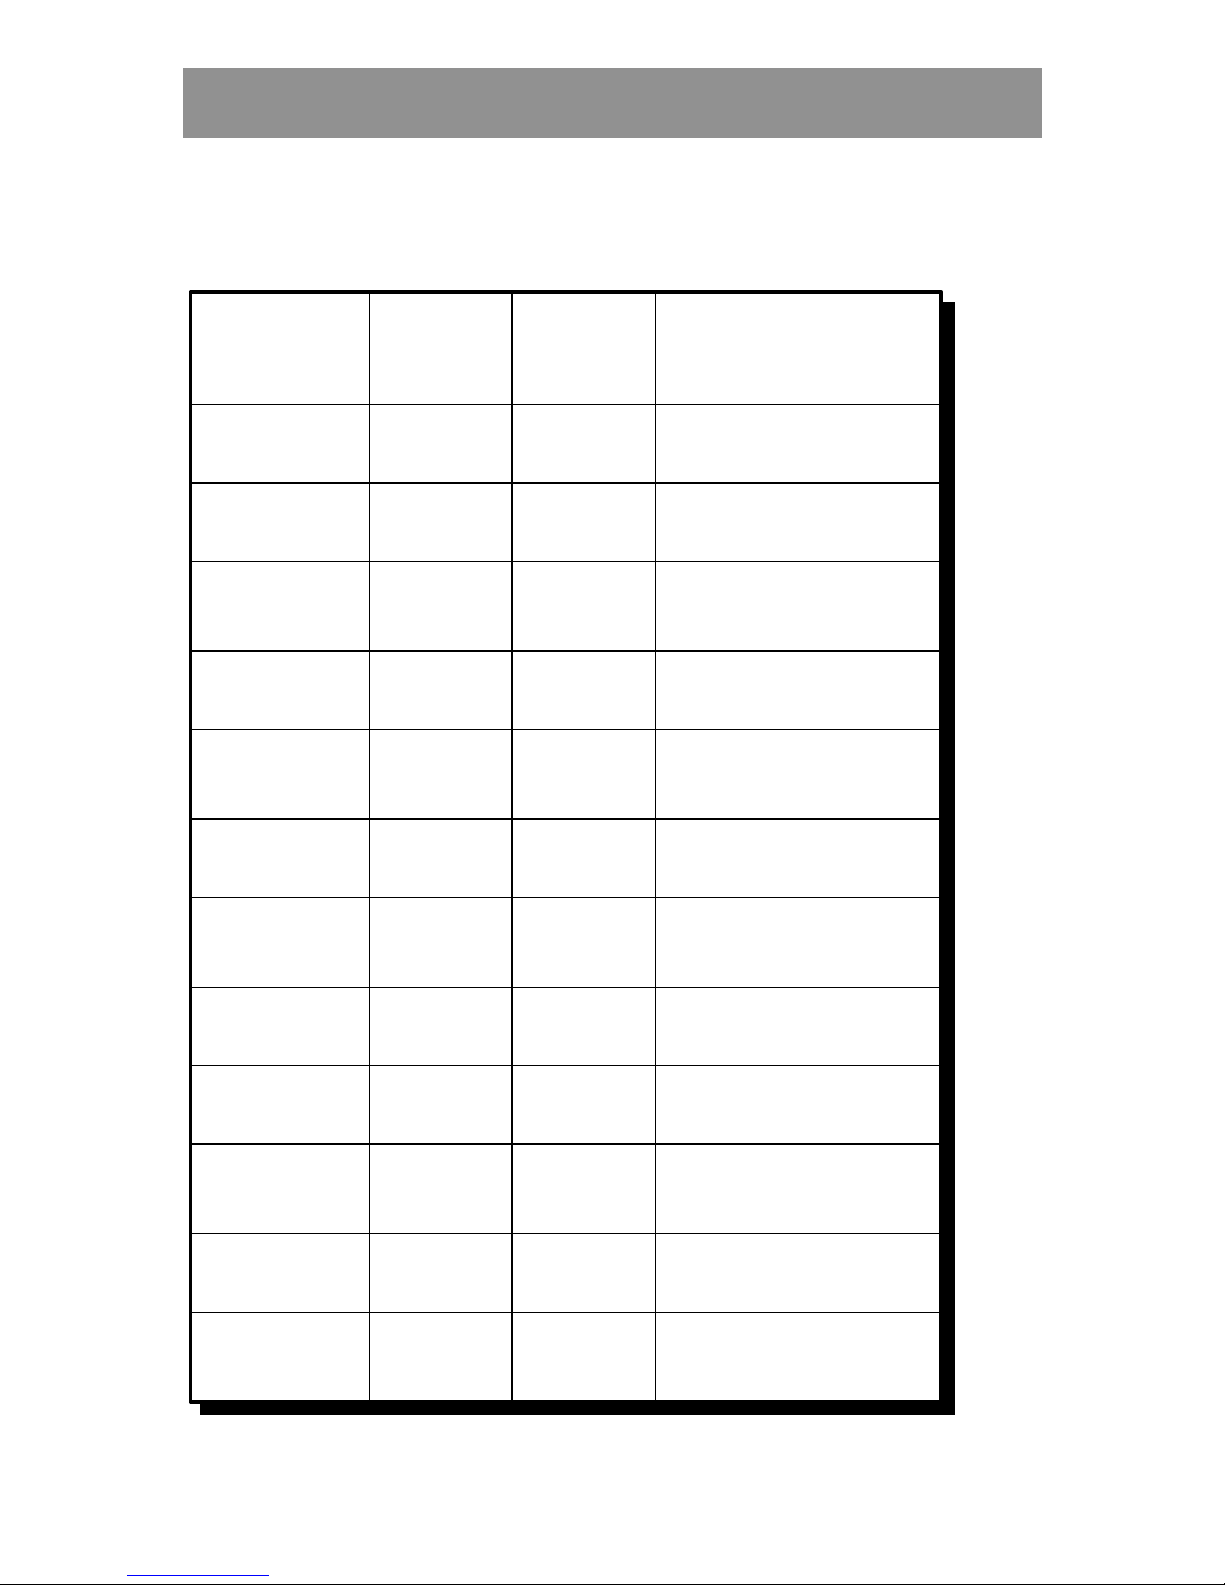
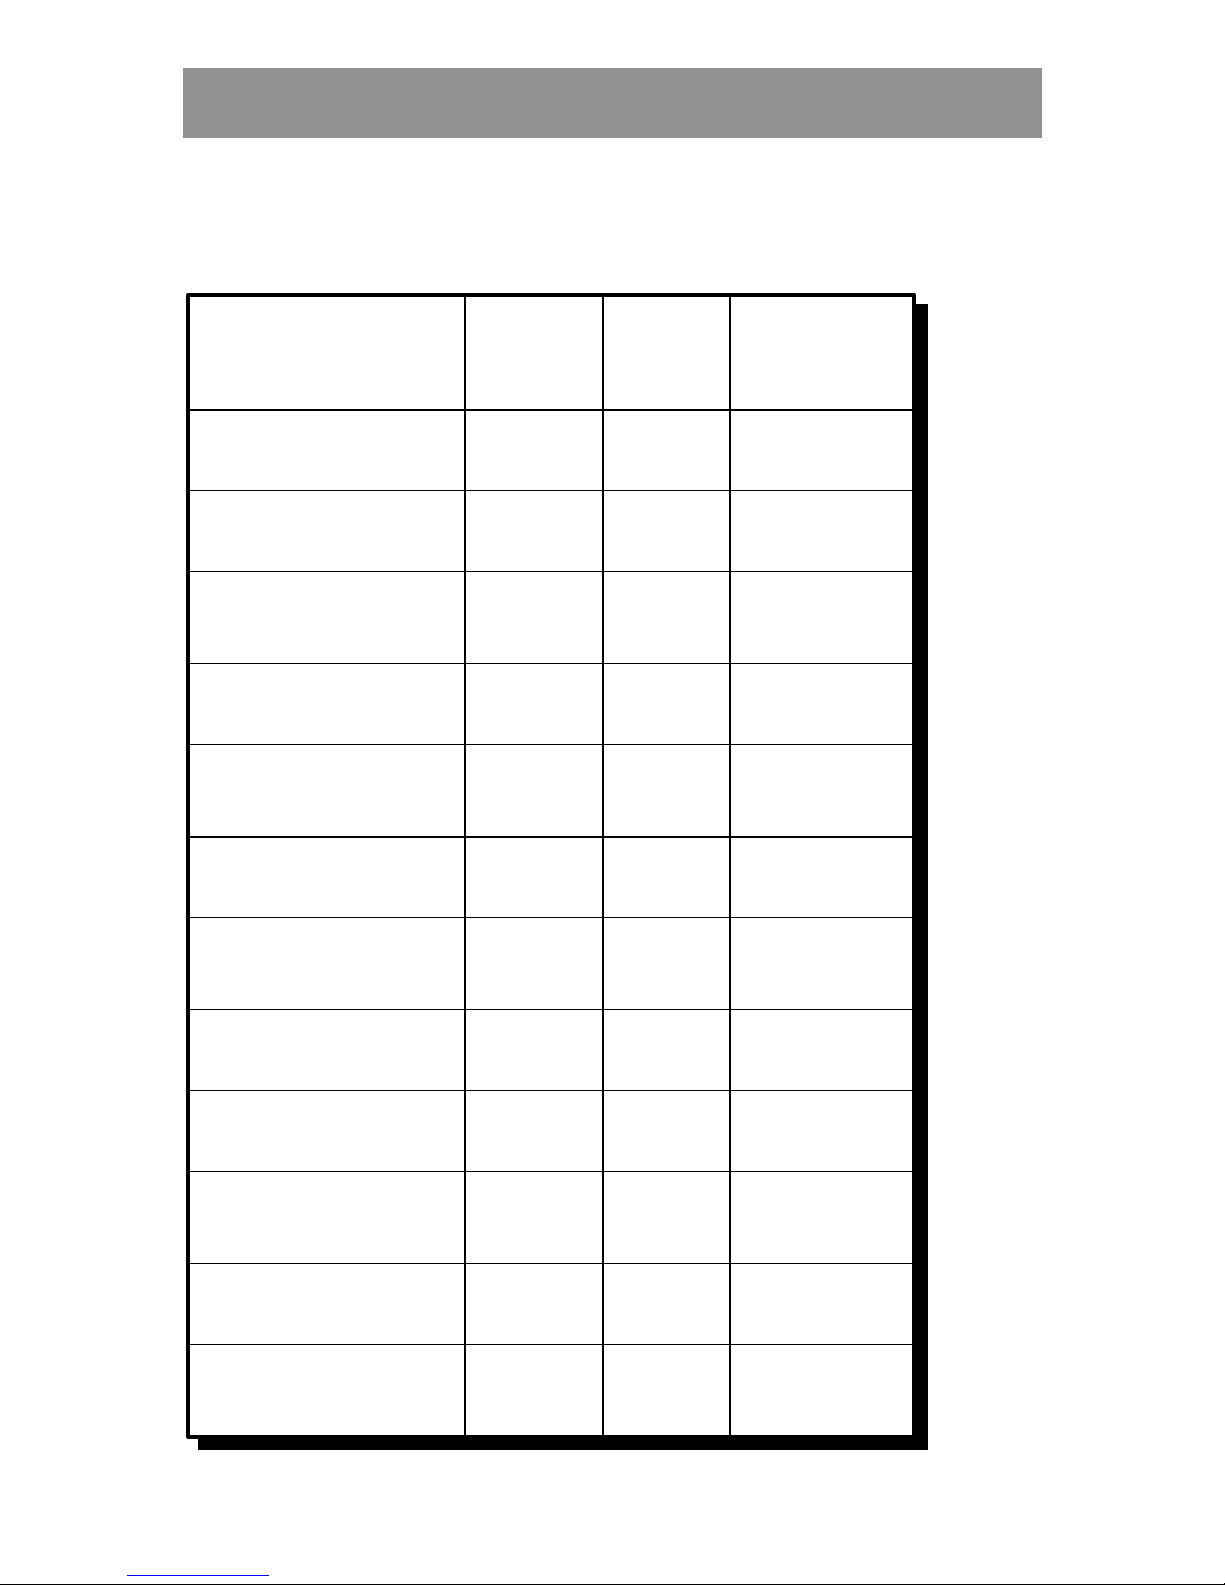
At the back of the manual are three charts. Make copies of the charts and ask
the system manager to fill them in according to the instructions in the
chapter Preparations.
Connecting up
To connect the different components in the code lock system, proceed as
follows: (see wiring diagram on next page).
1. Wire a 4-core cable between the central unit and each keypad.
2. Use a 2-core cable between the keypad and the electric release.
3. Use a screened 2-core cable for the printer connection.
4. If the system shall be remote programmed, then connect the telephone
line to the central unit.
5. Connect the power supply and the ground to the central unit.
6. Program time zones, codes etc. in the central unit (as described in the
Programming chapter). Use the charts that have been filled in by the
system manager.
Now the system is installed and all the information it needs to operate has
been programmed.
Page 8
8 KC5000 Technical manual — Installation
Connecting the KC5000
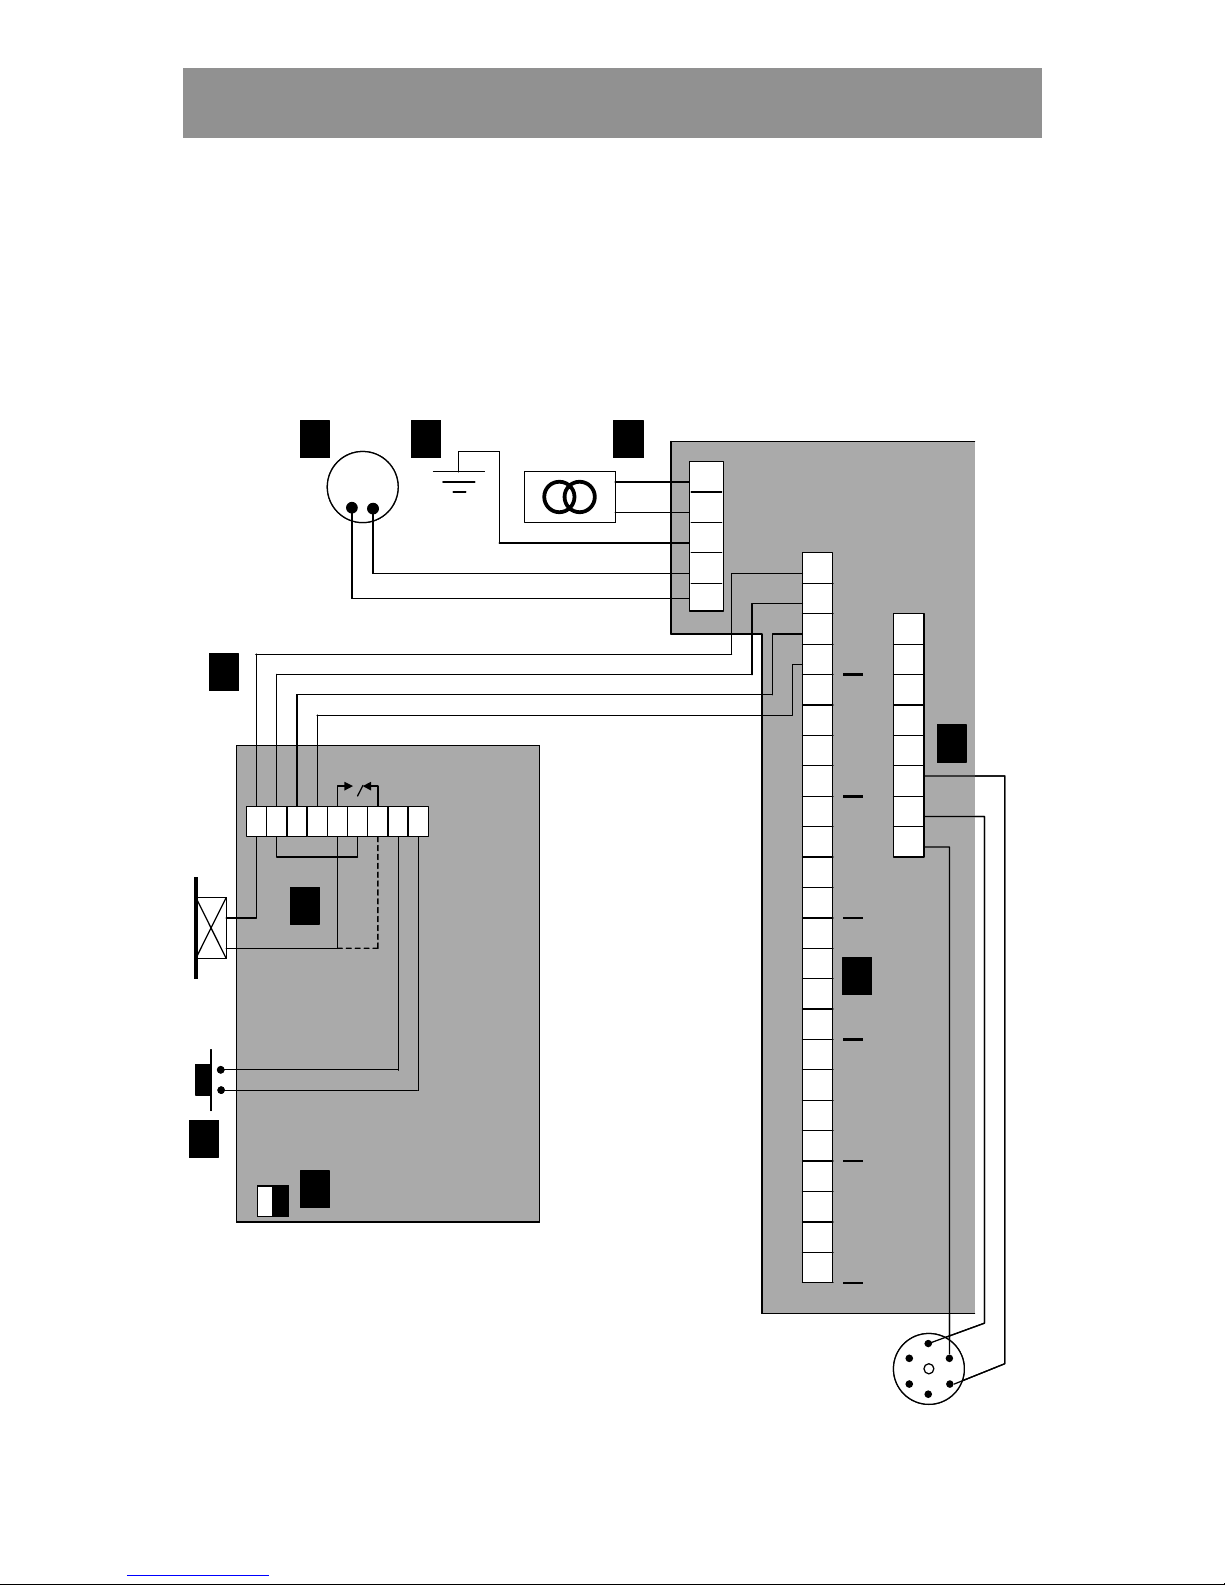
The diagram below shows how to connect the keypad to the central unit, the
electric lock and the exit request button, and also where the power supply,
telephone line and printer (if any) should be connected.
ON
OFF
M65
1
2
3
4
5
PL 1
LINE CARD
KC5000
1
2
3
4
5
6
7
8
9
10
11
12
13
14
15
16
17
18
19
20
21
22
23
24
PL 2
PL 3
1
2
3
4
5
6
7
8
1
2
3
4
5
6
A
B
C
D E F
H
I
J
1
2
3
4
5
6
Rx
Tx
DTR
0V
1 2 3 4 5 6 7 8 9
TELE
ON
OFFONOFF
M65
1
2
3
4
5
PL 1
LINE CARD
KC5000
1
2
3
4
5
6
7
8
9
10
11
12
13
14
15
16
17
18
19
20
21
22
23
24
PL 2
PL 3
1
2
3
4
5
6
7
8
1
2
3
4
5
6
AA
BB
CC
DD EE FF
HH
II
JJ
1
2
3
4
5
6
Rx
Tx
DTR
0V
1 21 2 3 43 4 5 65 6 7 87 8 9
TELE
Page 9
KC5000 Technical manual — Installation 9
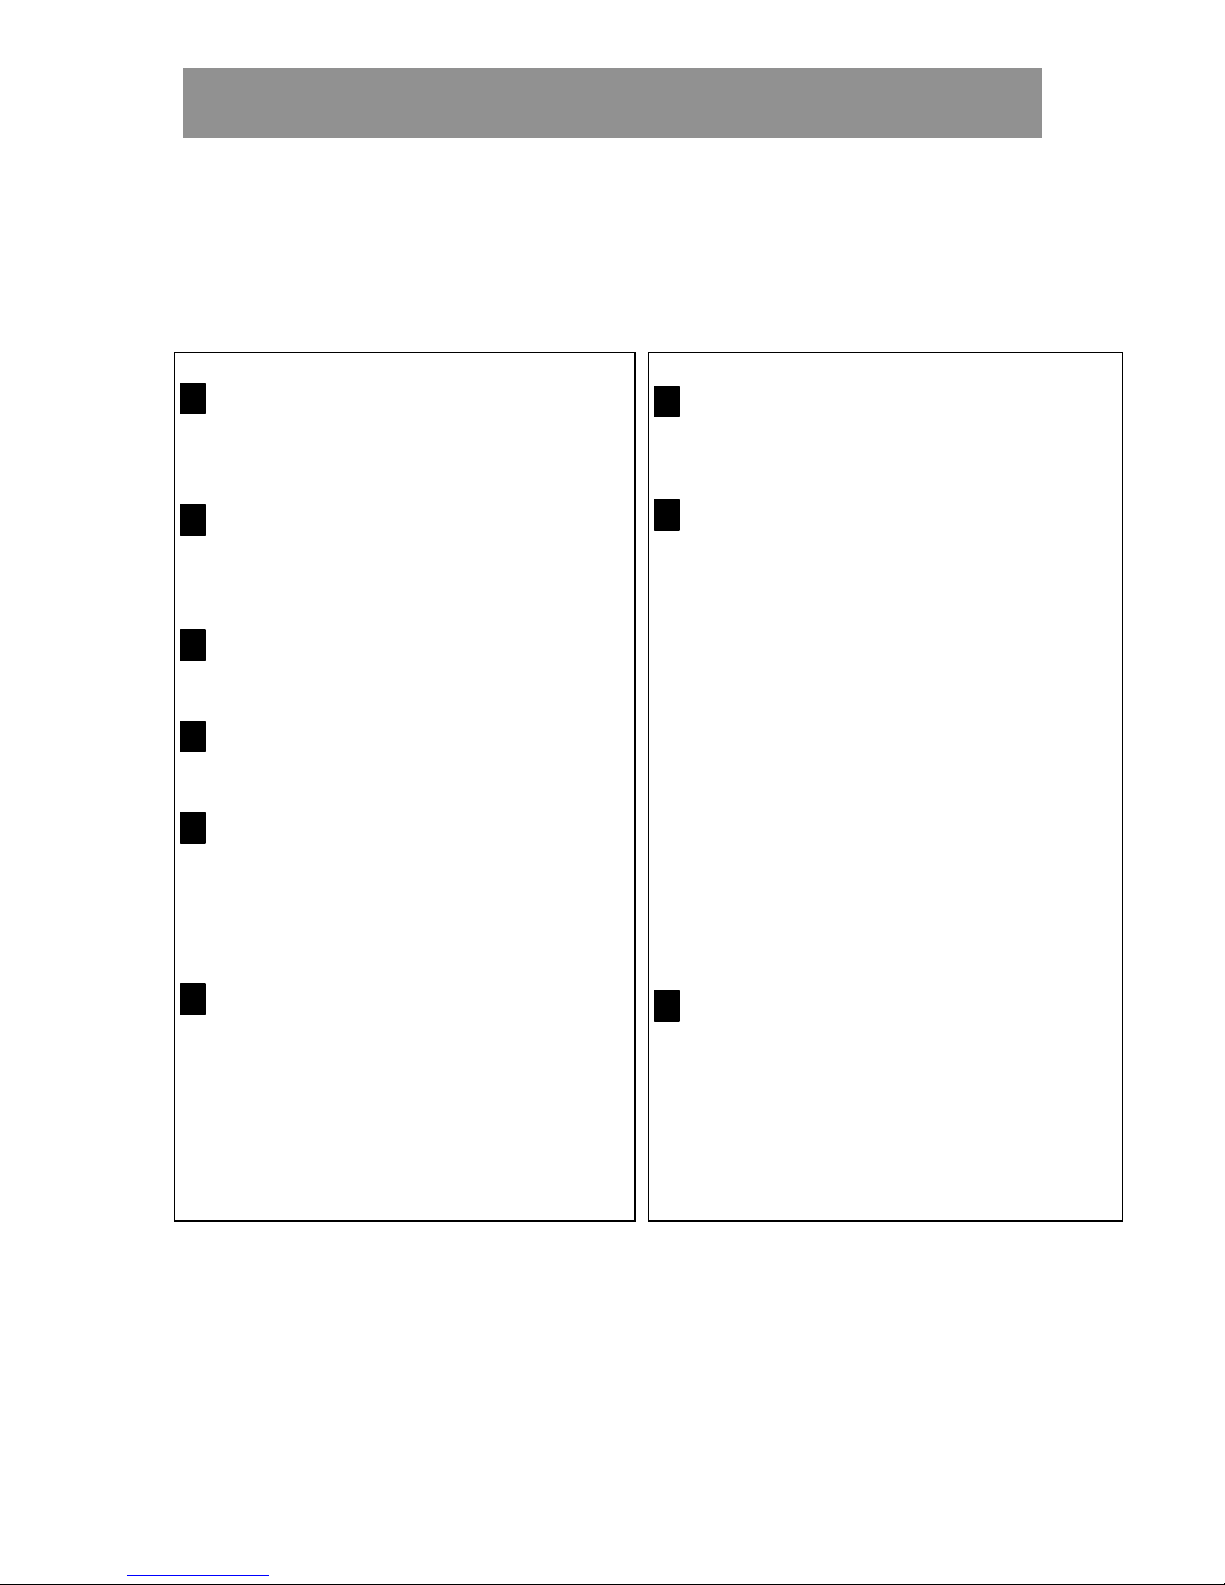
A
Connection between keypad M65 and the
central unit.
Suitable cable: 4 x 0,5 mm².
B
Connection of the electric lock.
Door opening relay. Voltage free contacts.
Maximum load over contacts 2A.
(----- = fail safe operation e.g. maglock).
C
Remote opening input. For connection of an
exit push button (push to make).
D
Connection of the telephone line. If remote
programming is required.
E
Ground.
Note! It is crucial that the central unit is
grounded, since it has built-in lightning
protection. This will not work unless the unit
is grounded.
F
Connection of the supplied 24V AC power
supply.
H
Background lighting on/off.
Set the link to OFF if the background lighting
should be permanently shut off.
I
For connection of remaining keypads,
(up to 6 doors).
Door 1: Terminal nos. 1 to 4.
Door 2: Terminal nos. 5 to 8.
Door 3: Terminal nos. 9 to 12.
Door 4: Terminal nos. 13 to 16.
Door 5: Terminal nos. 17 to 20.
Door 6: Terminal nos. 21 to 24.
The keypads are to be connected in the same
way as the first connected keypad.
In each keypad you then connect:
Terminal 1 to terminal no 5, 9, 13, 17 or 21.
Terminal 2 to terminal no 6, 10, 14, 18 or 22.
Terminal 3 to terminal no 7, 11, 15, 19 or 23.
Terminal 4 to terminal no 8, 12, 16, 20 or 24.
J
Printer connection.
Is also used when you connect a PC or a
modem (see separate manual for connection).
Page 10

10 KC5000 Technical manual — Preparations
Preparations
The person (the installer, caretaker or landlord) who is going to program the
information to be used by the system needs a record. This means that you,
being the purchaser, first have to think about how the system should be used
in the building. During which hours should the codes be valid? Should some
of the doors be unlocked certain hours? To provide the answers to these
questions make copies of the charts at the back of the manual, and fill them
in.
You should however start by numbering the doors where the keypads are
mounted. Number the doors from 1 to 6.
Example
Suppose you have six doors and that you want the system to work as
follows:
• All doors to be locked 24 hours a day.
• The tenants should be able to use an access code 24 hours a day the
whole week. Different codes should be used on different doors.
• The postman needs a code that is identical for all doors, but only works
between 8.00 am and 15.00 PM, Monday to Friday.
• Also the newspaper boy needs a code that is identical for all doors. The
code should work between 5.00 am and 10.00 am, the whole week.
With these requirements, three time zones are needed:
• One using the interval, 00.00-23.59 (tenants code 24 hours a day).
• One using the interval, 08.00-15.00 (the postman).
• One using the interval, 05.00-10.00 (the newspaper boy).
In the system there is also the default time zone 0 (zero) that can be used to
determine that:
• A door should be locked 24 hours a day.
• That the exit push button should work 24 hours a day.
• That the registration should work 24 hours a day.
This is described later in this manual.
Page 11
KC5000 Technical manual — Preparations 11
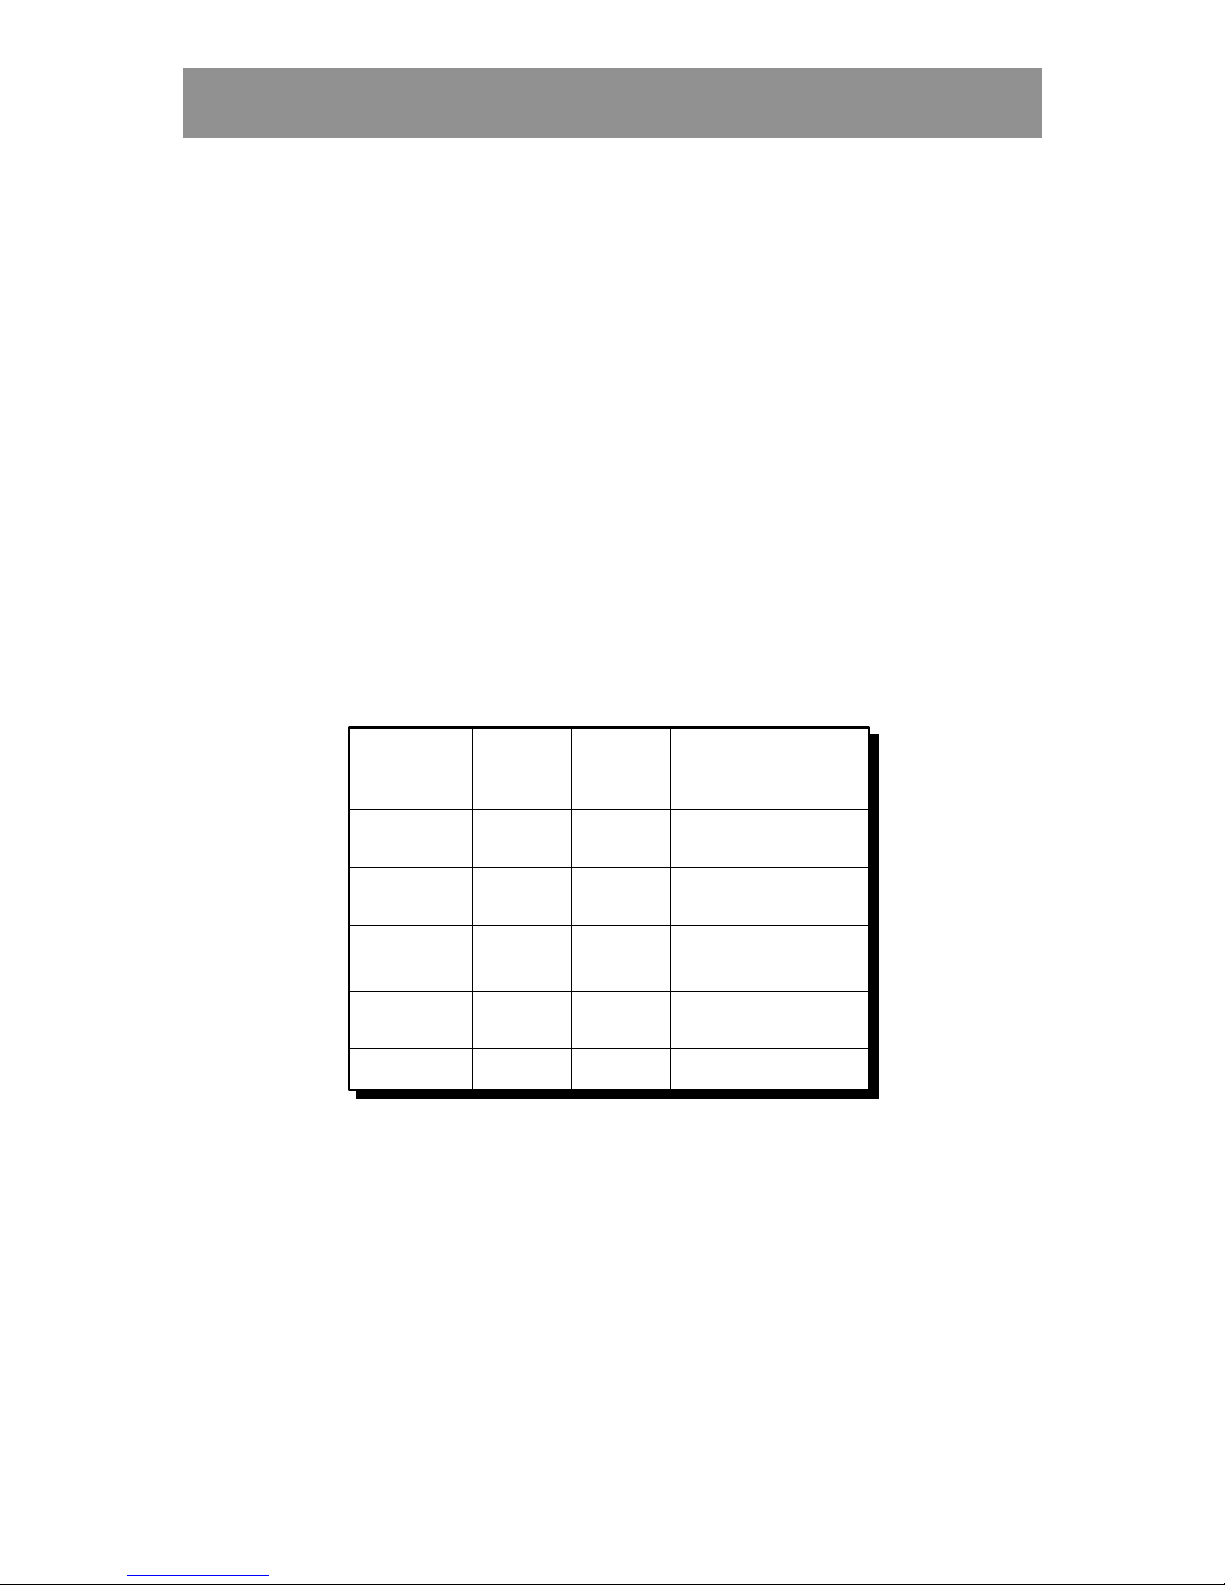
Time zones
This is how to fill in the time zones you have chosen:
1. Take out the copy of the Time zones chart and write the number of the
first time zone, i.e. 1, under the Time zone heading.
2. Write down when the time zone starts and ends under the From and To
headings.
3. Under the Days heading, write which days the time zone should be
valid. (1=Monday, 2=Tuesday, 3=Wednesday etc.).
4. Write down information about the next time zone in the same way
(you can use up to 99 time zones).
Below is an example of a filled in Time zones chart the way it would look if
the above example were used:
Time zones
Time zone From To
Days
1 00.00 23.59 1234567
2 08.00 15.00 12345
3 05.00 10.00 1234567
Time zone 1 is used for the tenants’ access codes. The codes should work 24
hours a day all days. Time zone 2 is used for the postman’s code, days 1-5
i.e. Monday to Friday. And time zone 3 is for the newspaper boy’s code,
days 1-7 i.e. the whole week.
Page 12
12 KC5000 Technical manual — Preparations
Doors
When you have written down the time zones, it is time to complete the
Doors chart. Proceed as follows:
1 Under the Door heading, write the number of the first door, i.e. 1.
2 Under the Lock activating time heading, enter the number of seconds
for the door to be open after a correct access code has been entered.
When the system is delivered the lock activating time is set to 7
seconds.
3 If any time zone should be used to keep the door unlocked, write the
number of the zone under the Time zone for free access heading.
Otherwise, write 0. This means the door is locked 24 hours a day.
4 If any time zone should be used to limit the push button’s function,
write the number of the time zone under the Time zone for push
button heading. Otherwise, write 0. This means the buttons work 24
hours a day.
5 If any time zone should be used for registration, write the number of the
zone under the Time zone registration heading. Otherwise, write 0.
This means that the registration is on 24 hours a day.
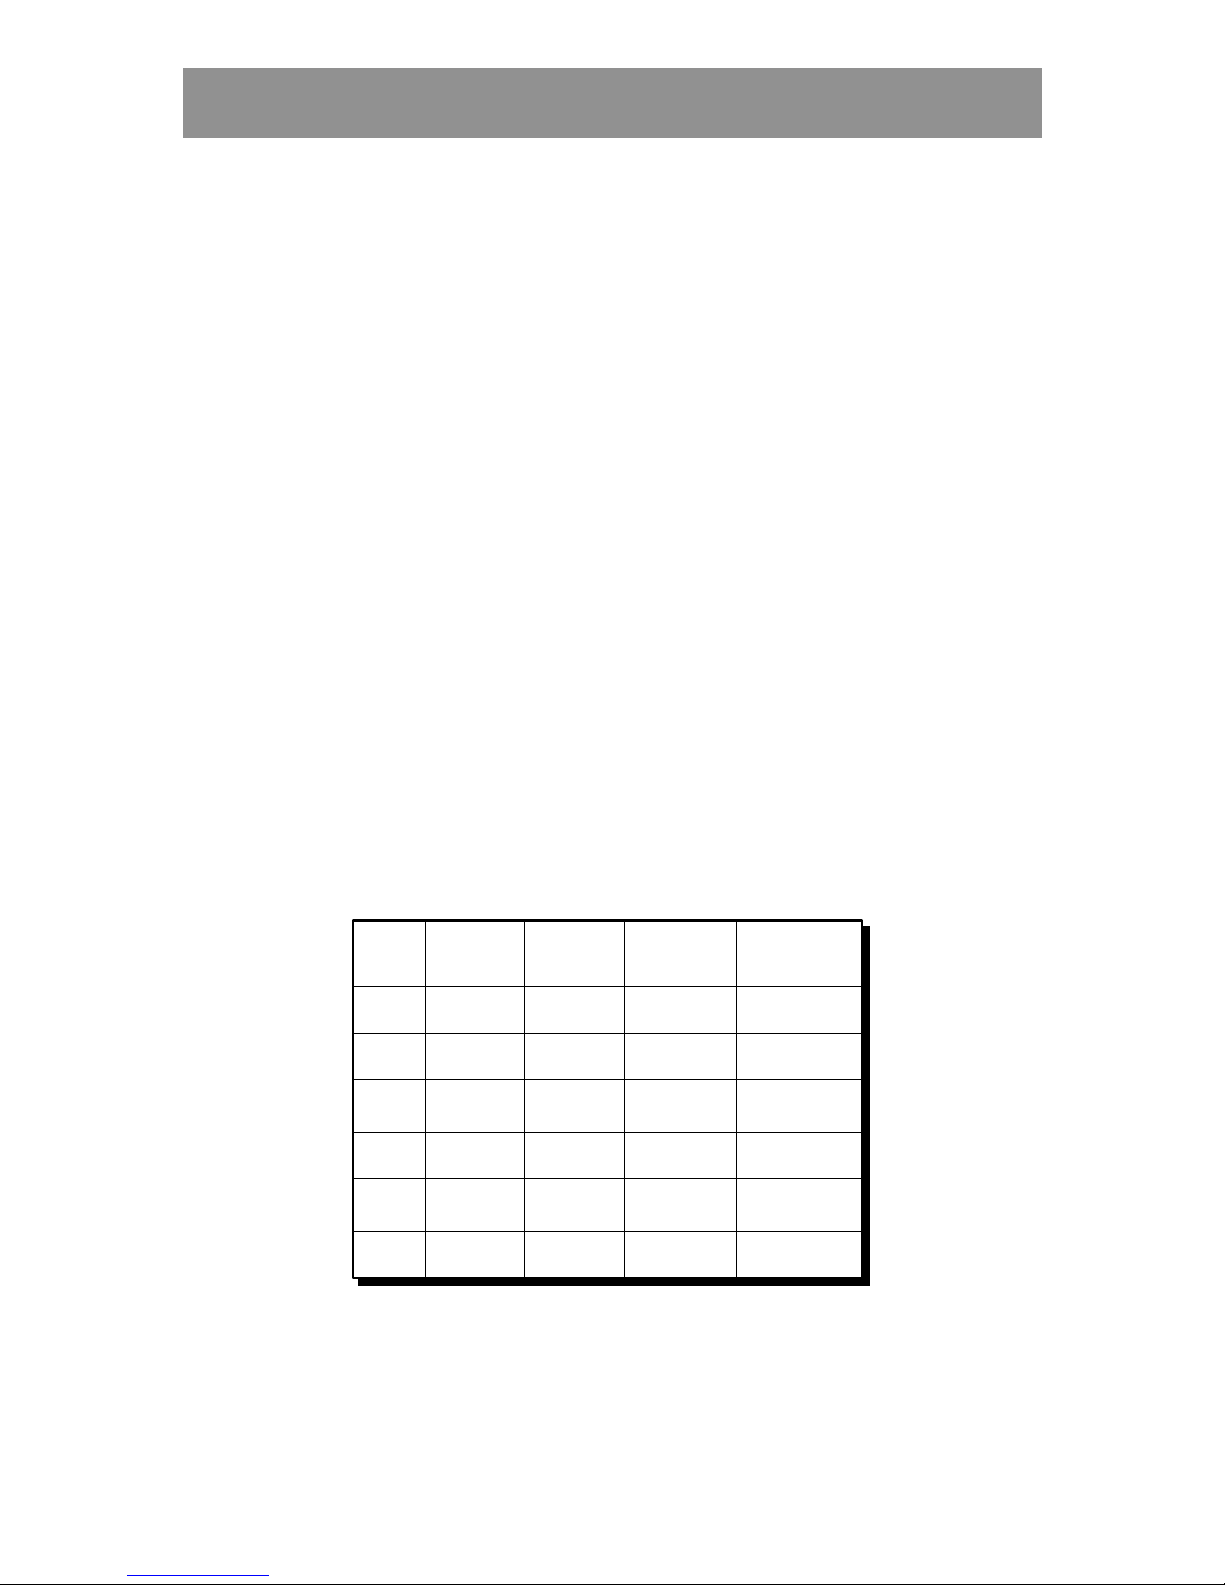
Using the example, the Doors chart would look like this:
Doors
Door
Lock
activating
time
Time zone
for
free access
Time zone
for
push button
Time zone
registration
1 7 0 0 0
2 7 0 0 0
3 7 0 0 0
4 7 0 0 0
5 7 0 0 0
6 7 0 0 0
In the above example the lock activating time is the system’s pre-set time
(7 seconds). All doors are locked 24 hours a day, there is no limitation for
the push button and the registration is on 24 hours a day.
Page 13
KC5000 Technical manual — Preparations 13
Codes
Now it is time to fill in the access codes to be used at the doors:
1 Take out a copy of the Codes chart and write the first code under the
Code heading. Write also under the User heading, who should use the
code.
2 Under the Door heading, write down in which doors the code should be
valid. 1=door 1, 2=door 2 etc.
3 Under the Time zones heading, write during which time zones the code
should be valid (3 at the most).
4 Write the next code to be used in the system. Follow step 1-3.
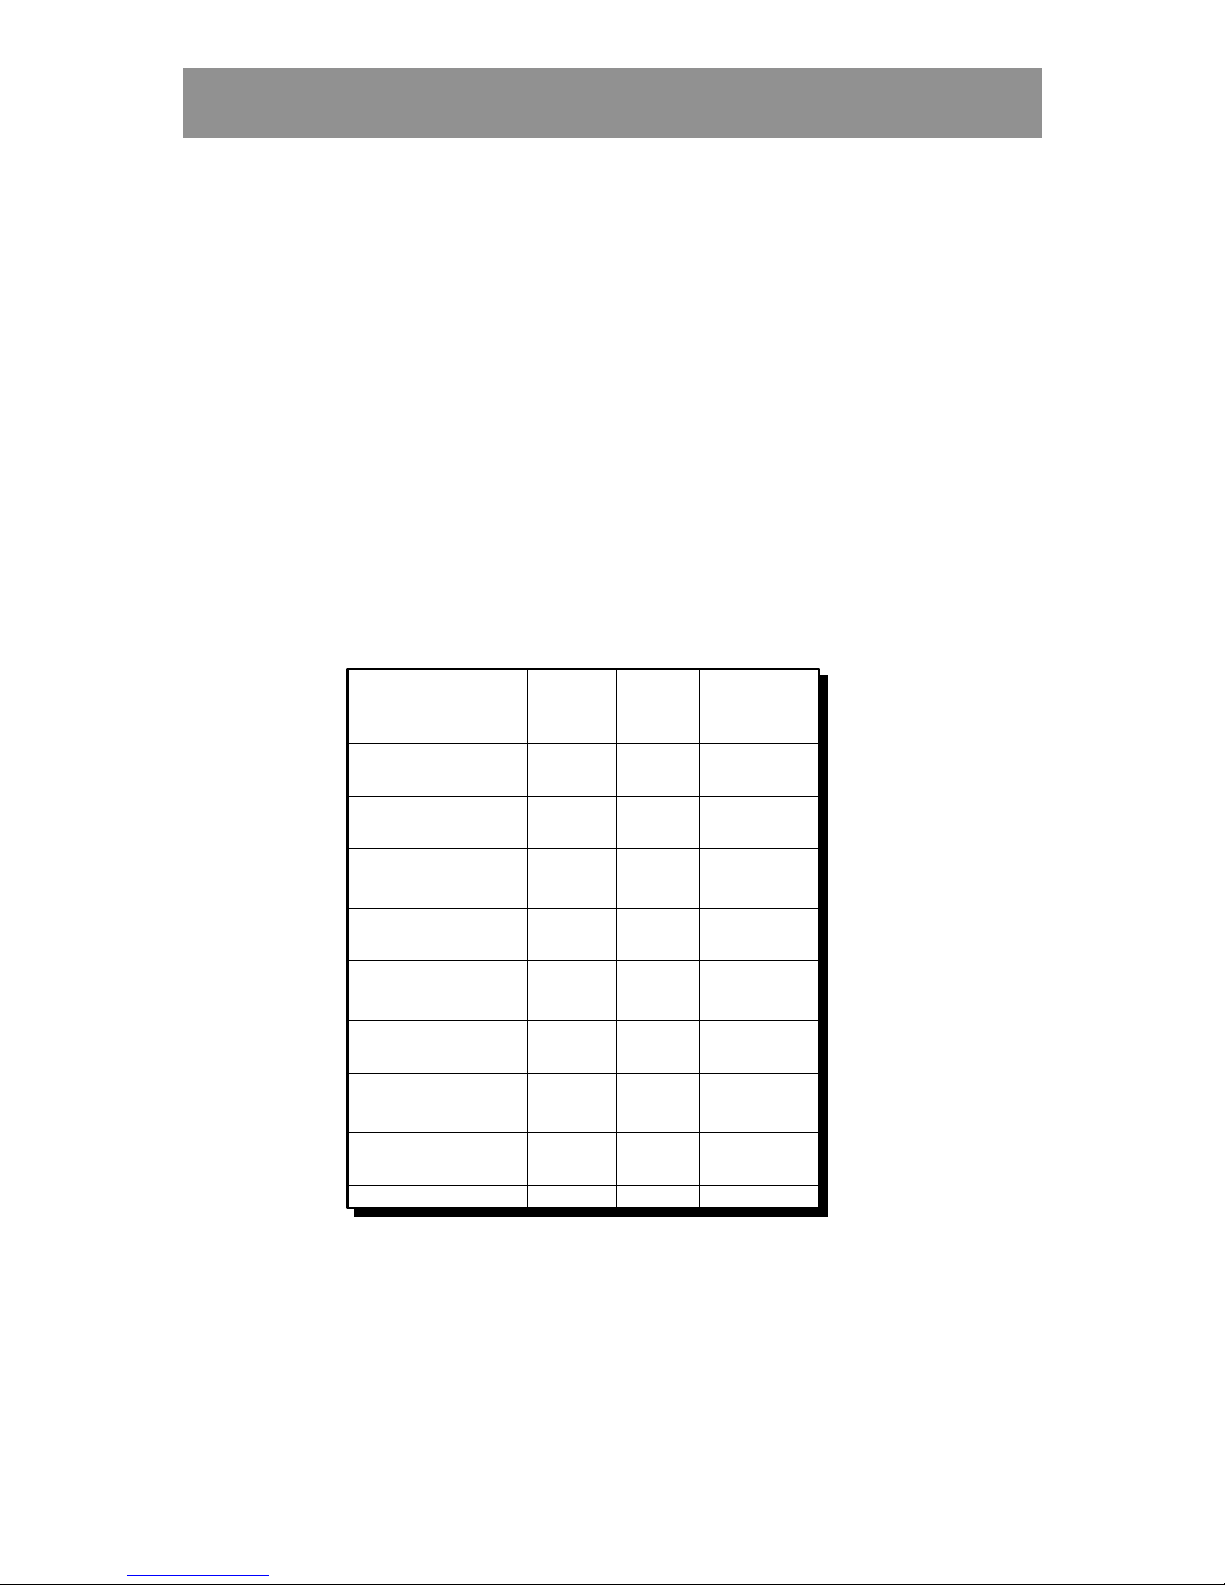
Using the example, the list may look like this:
Codes
User Code Door Time zones
Tenants 1 1066 1 1
Tenants 2 4881 2 1
Tenants 3 2419 3 1
Tenants 4 6112 4 1
Tenants 5 9437 5 1
Tenants 6 1786 6 1
Mail 1587 123456 2
Newspaper 7392 123456 3
In the example each door has its own access code. You could of course have
the same code at several doors. In all doors the tenants’ code is valid 24
hours a day, all days, since time zone 1 is chosen (see the Time zones chart
on page 11). The postman’s and the newspaper boy’s code is working on all
doors but under limited time.
Page 14
14 KC5000 Technical manual — Programming
Programming
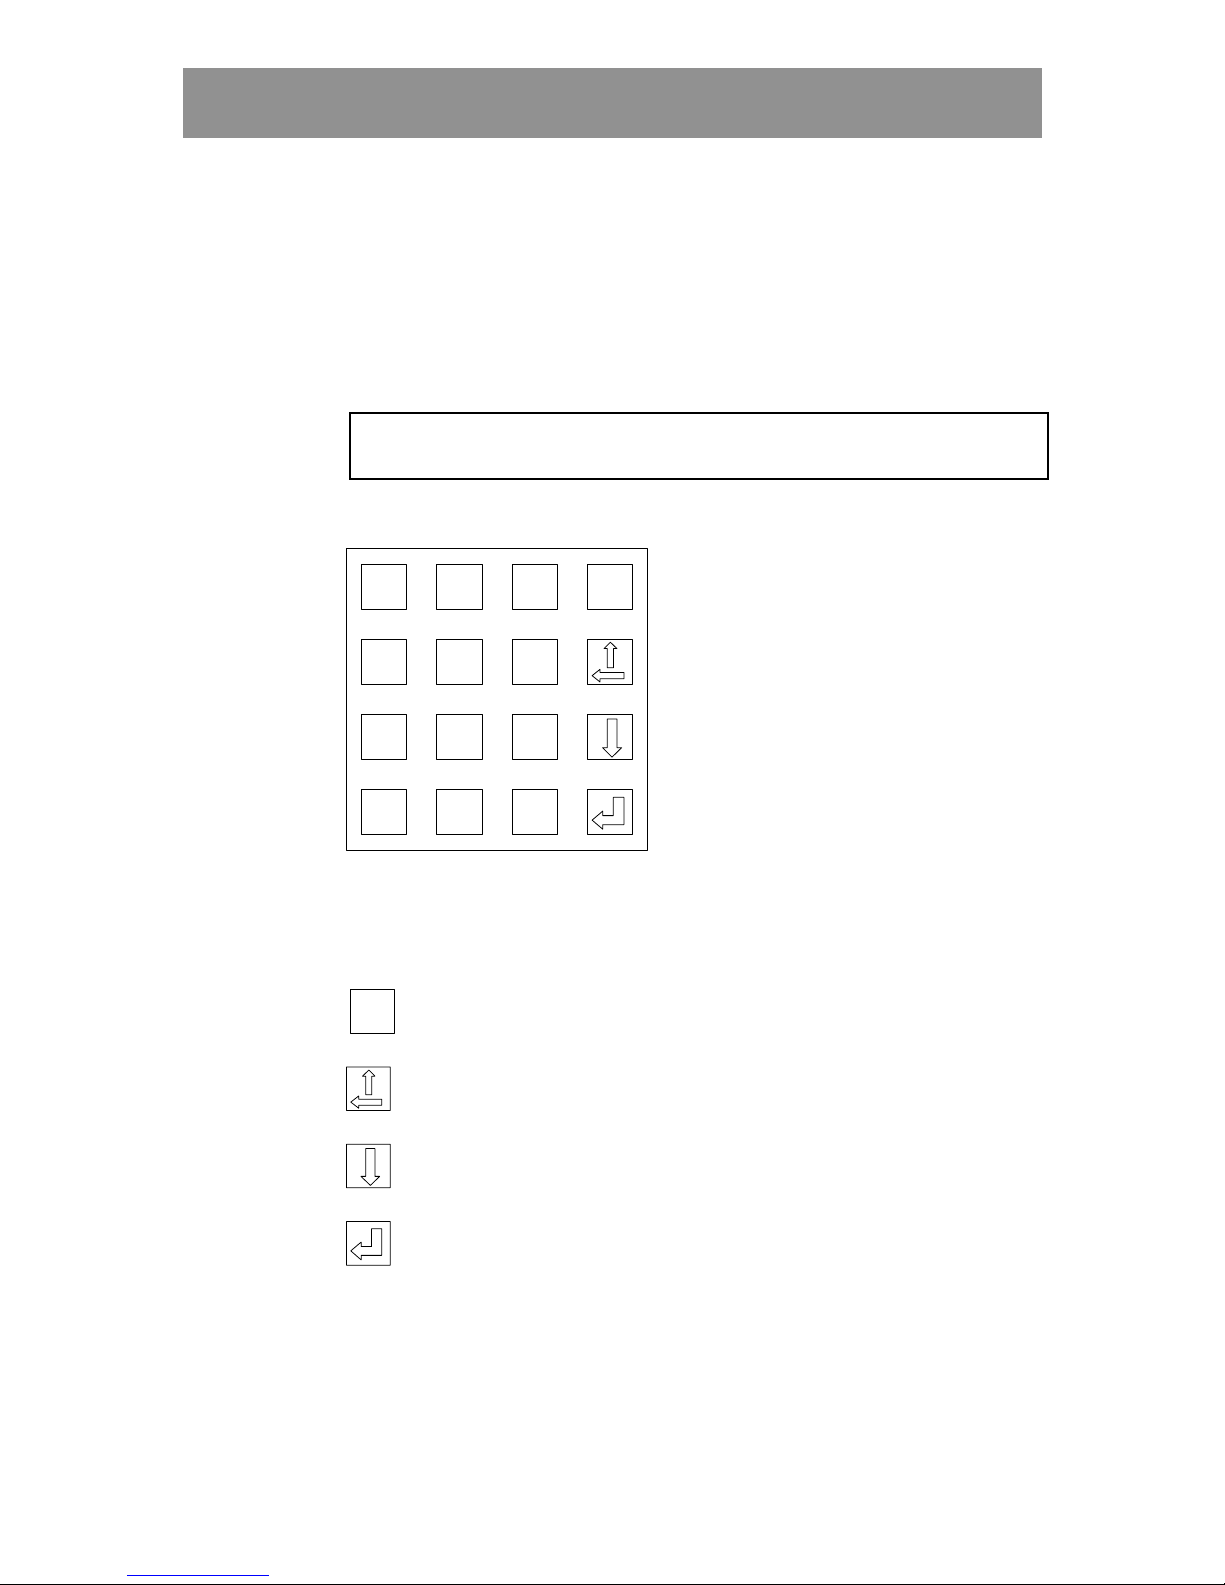
In this chapter are instructions on how to program time zones, codes etc. All
information is programmed with help of the keyboard in the central unit.
The display shows prompts telling what to do next.
Note! When programming the KC5000 all the codes works as normal, but
the new information will not be updated until the next shift of minute.
11112
22
2
0000
999988887777
55554444
3333
6666
****
####
Esc
EscEsc
Esc
Keys
0-9 Used to enter digits.
Esc
EscEsc
Esc
Used to leave menus and to interrupt what you are currently
doing.
Used to delete characters backwards and to scroll backward
through stored entries, e.g. codes.
Used to scroll forwards through stored entries.
Used to confirm (“enter”) entered information.
!
!!
! # Not used.
Page 15
KC5000 Technical manual — Programming 15
Display
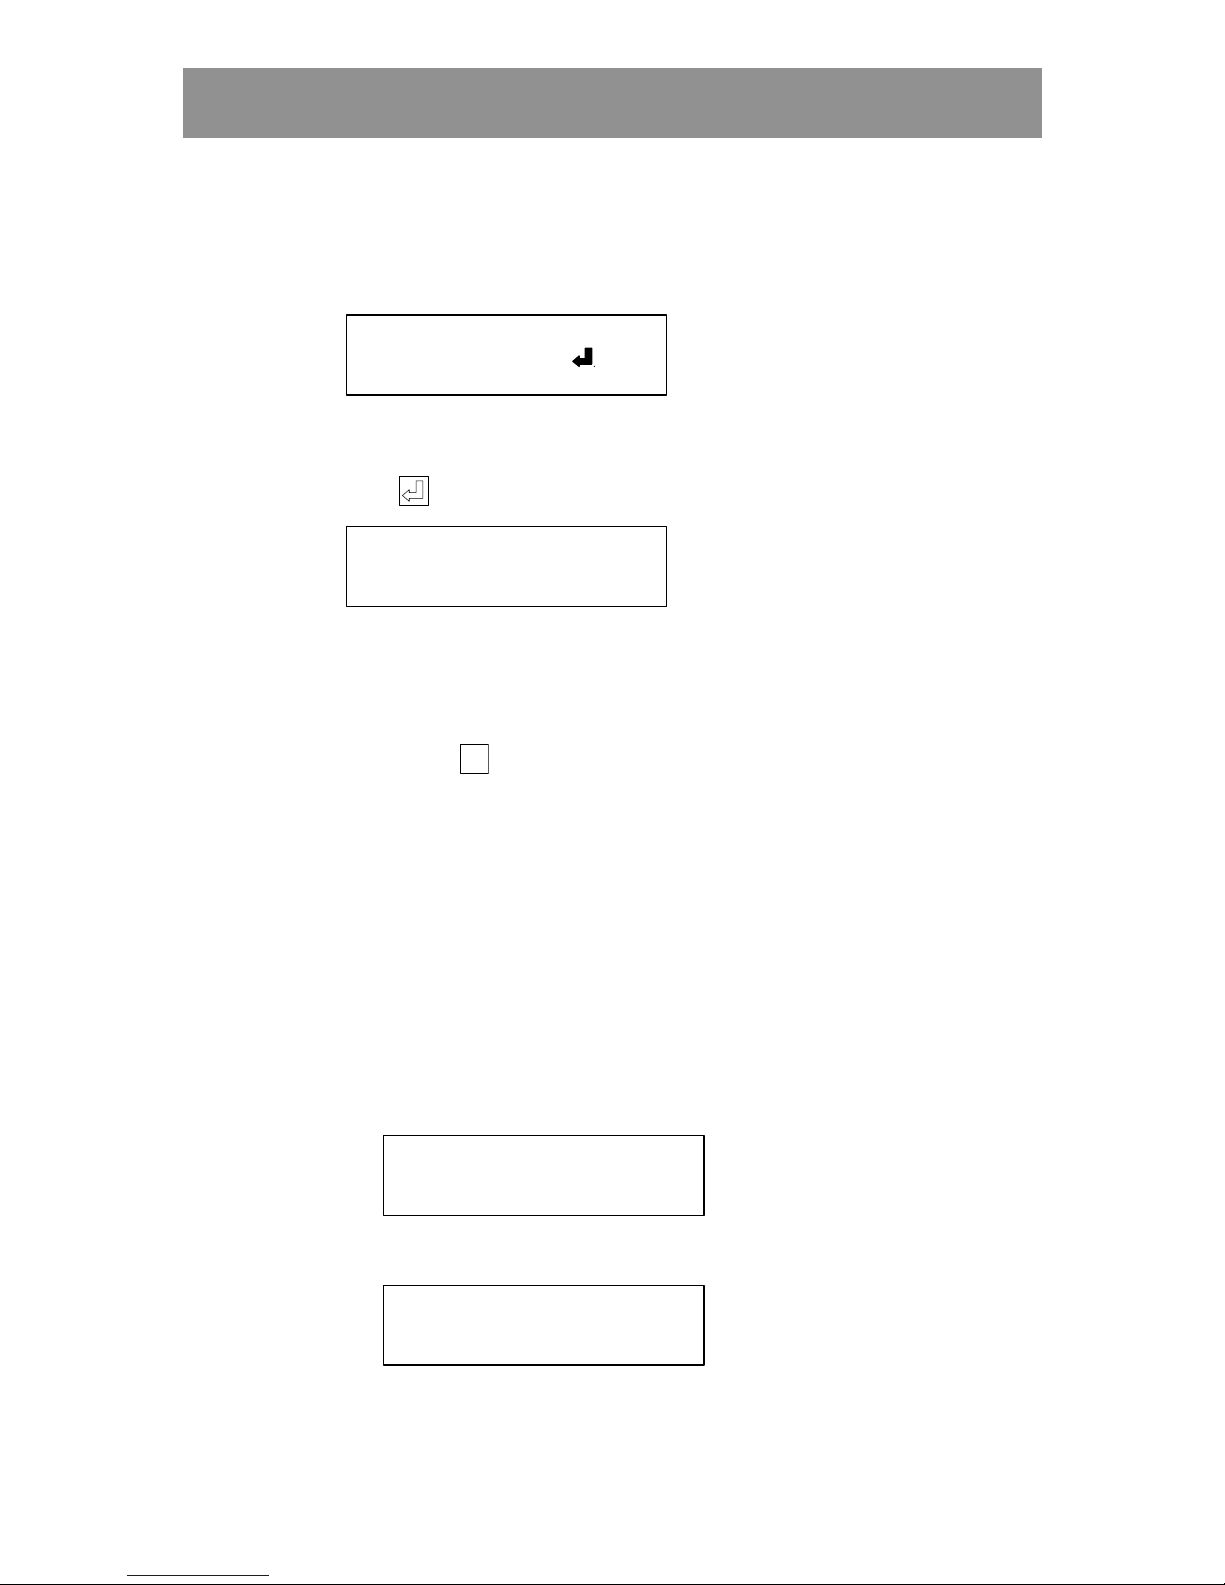
In stand-by position, the following text is displayed:
01-06-10 15:40
PRESS
Today’s date and time are displayed.
Press . The main menu is displayed:
1) CODES 2) _ _ _ _ _
3) DOORS 4) TIMES
You can now choose what information to register, change or delete. If
nothing is entered within two minutes, the central unit reverts to stand-by
position.
Note! Press
Esc
EscEsc
Esc
to cancel a programming sequence already started.
Set time and date
Use this function to set the time and date.
When the system is delivered, time and date are already set, so normally
there is no need to change this information. Adjustment to daylight saving
time is done automatically on the last Sunday in March and the last Sunday
in October.
To change time and date, proceed as follow:
1 Display the main menu and choose TIMES (press 4). The following text
is displayed:
1)
TIME OF DAY
2) TIME ZONES
2 Choose TIME OF DAY (1). The following text is displayed:
ENTER TIME 13:35
:
Page 16
16 KC5000 Technical manual — Programming
3 Enter the current time by typing hours and minutes in one sequence,
e.g. 0935. If no change is to be made to the time, go straight to step 4.
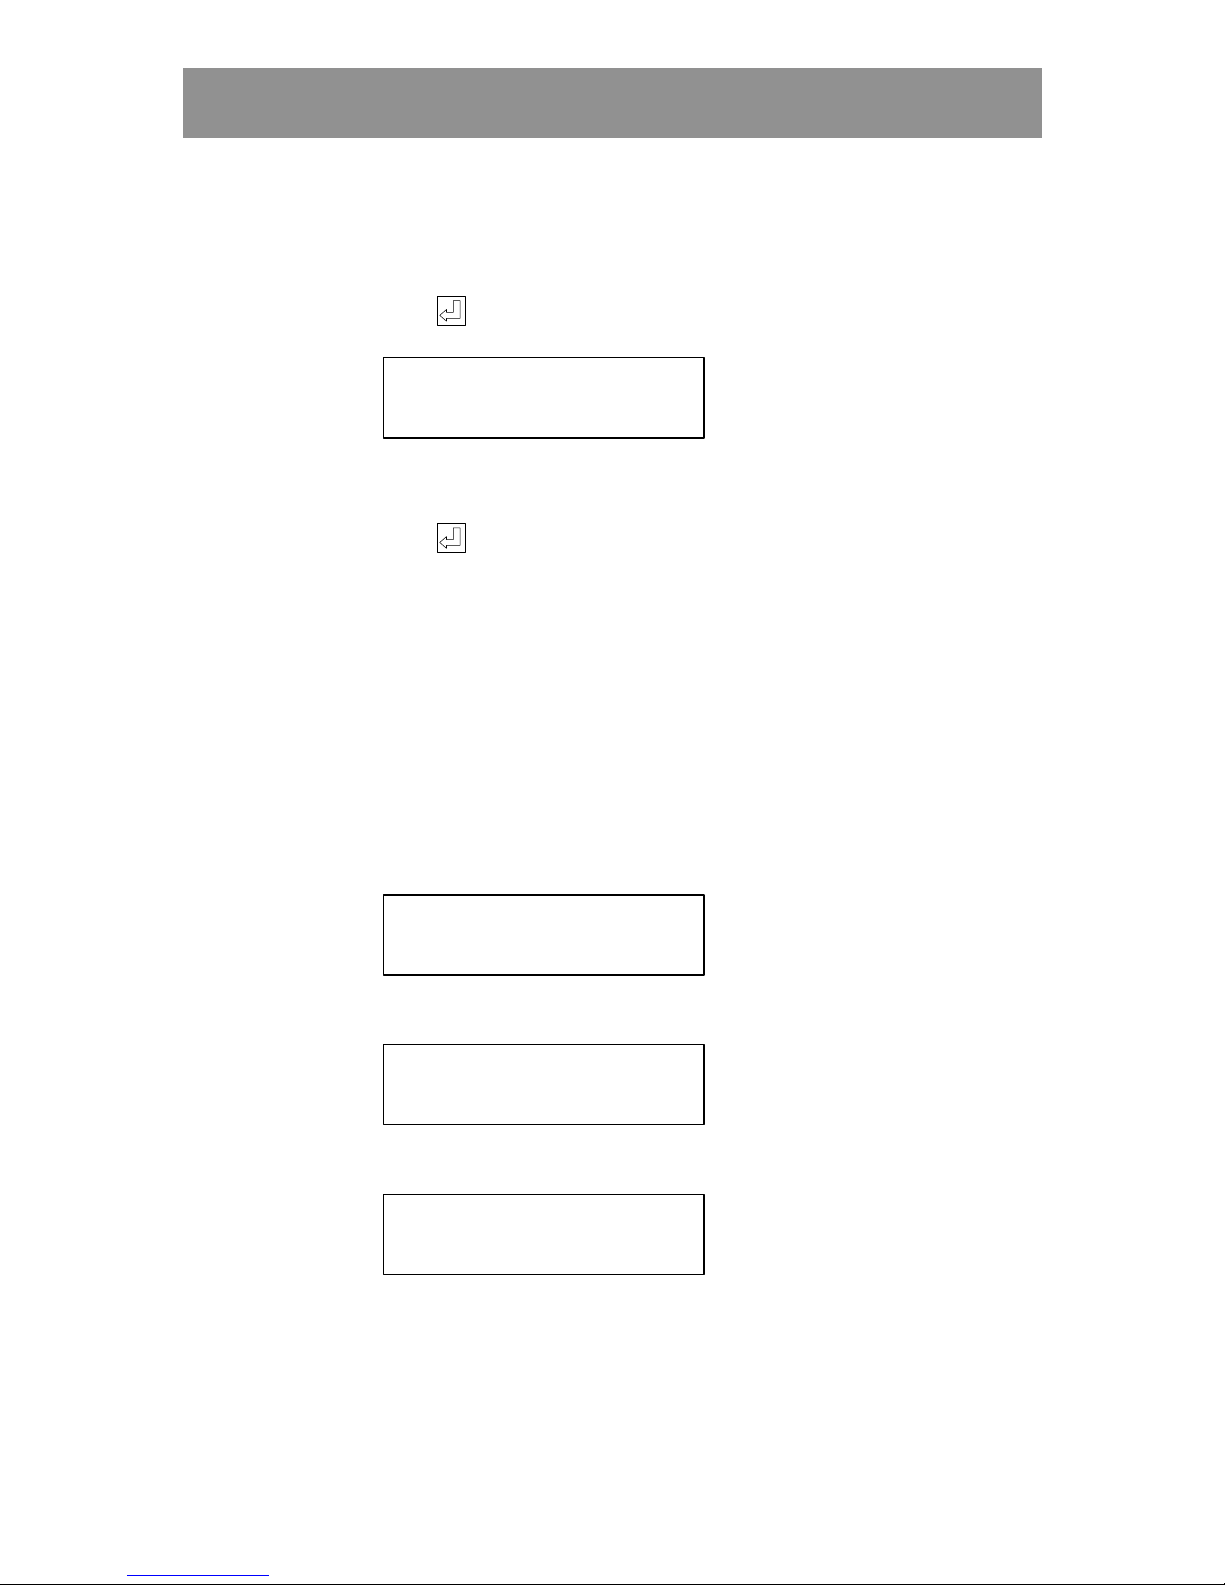
4 Press . The following text is displayed:
ENTER DATE 01-06-30
- -
5 Enter the current date by entering year, month and day in one sequence,
e.g. 010701. If no change is to be made to the date, go straight to step 6.
6 Press
. The main menu is displayed again.
Time zones
This chapter describes how to program information about New Entry,
Changing and Deleting time zones.
New Entry of time zones
Take out the Time zones chart and program the time zones that should be
valid in the building.
1 Choose TIMES (4) on the main menu. The following text is displayed:
1)
TIME OF DAY
2) TIME ZONES
2 Choose TIME ZONES (2). The following text is displayed:
1) NEW 2) EDIT
3) DELETE 4) PRINT
3 Choose NEW (1). The following text is displayed:
ENTER TIME (ZONE 01)
-
4 Enter between what hours the first time zone should be valid,
e.g. from 0000-2359 (24hours).
Page 17
KC5000 Technical manual — Programming 17
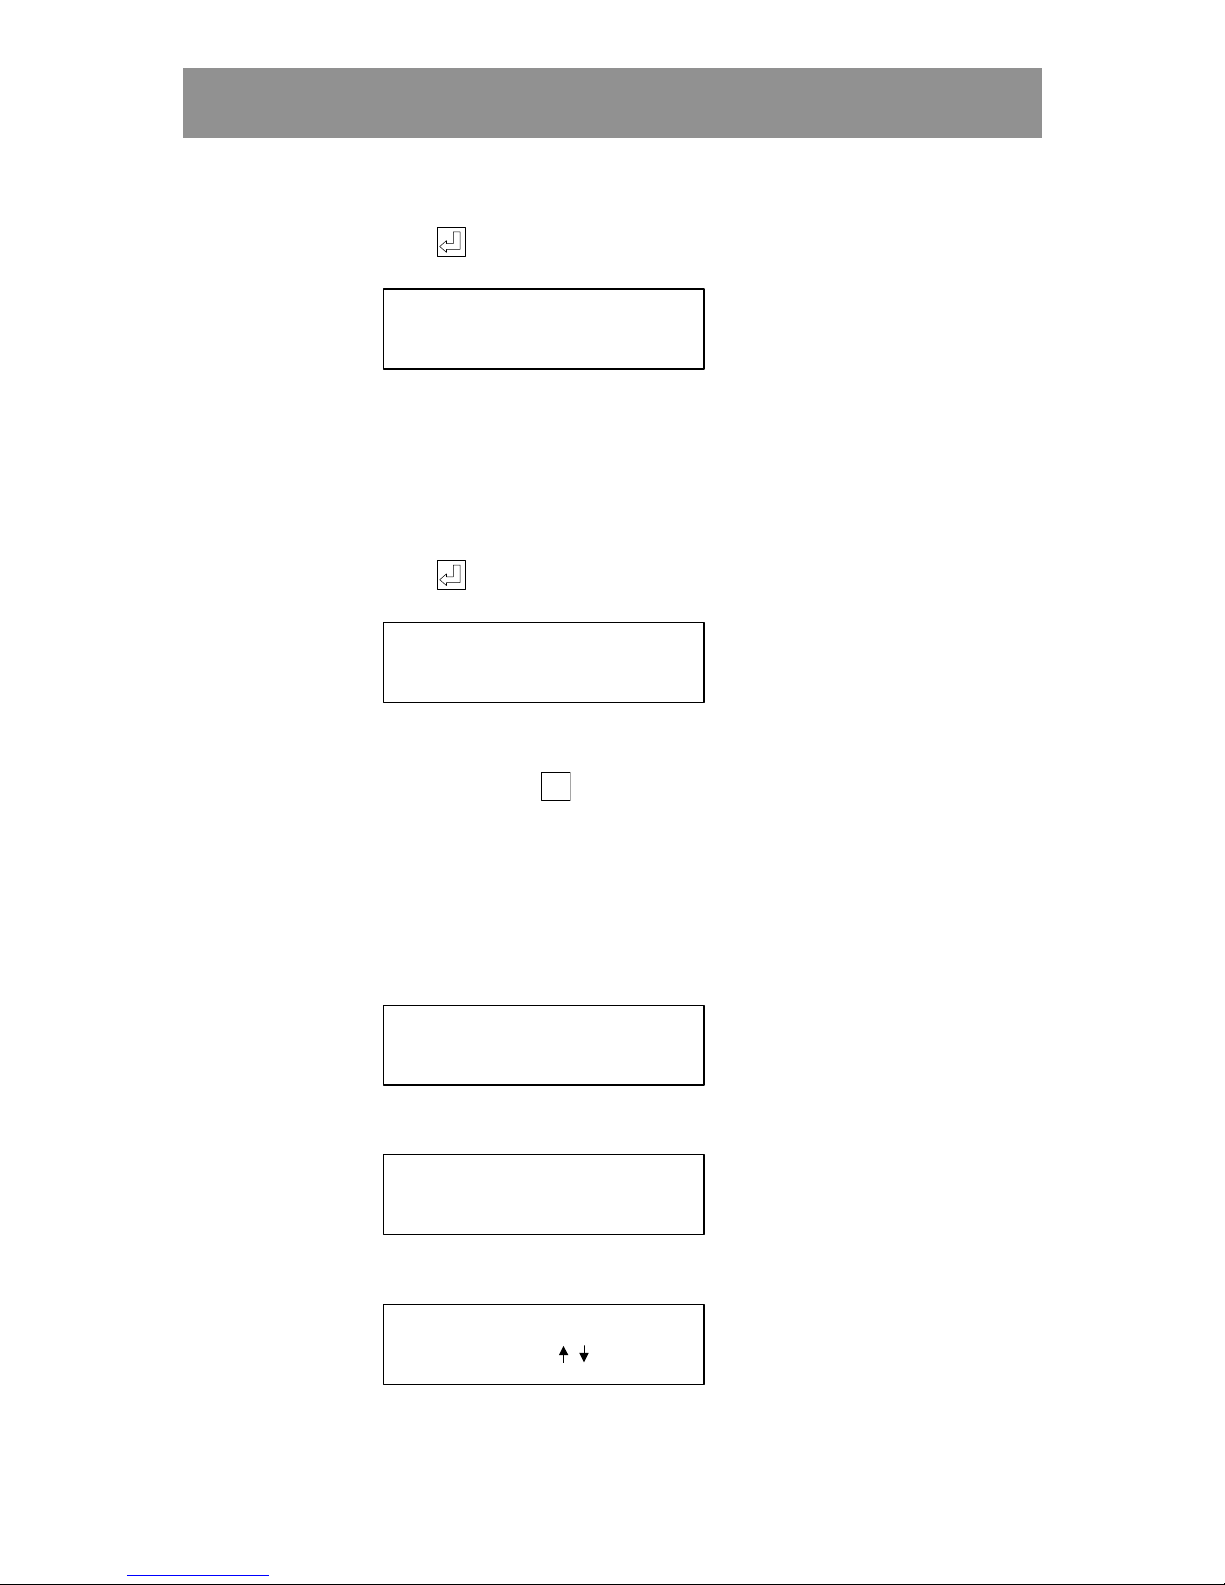
5 Press . The following text is displayed:
ENTER VALID DAYS
0000-2359 [ ]
6 Choose which days the time zone should be valid. 1=Monday,
2=Tuesday etc. If the time zone should be valid the whole week,
press 1, 2, 3, 4, 5, 6 and 7.
If it only should be valid on Saturdays and Sundays, press 6 and 7.
If the wrong digit is entered by mistake, press the same digit again to
delete it.
7 Press . The following text is displayed:
ENTER TIME (ZONE 02)
-
8 Enter time interval and days for the next time zone in the same way, if
more time zones are needed.
Otherwise, press
Esc
EscEsc
Esc
to go back to the main menu.
Changing time zones
To change a programmed time zone, proceed as follows:
1 Display the main menu and choose TIMES (4). The following text is
displayed:
1)
TIME OF DAY
2) TIME ZONES
2 Choose TIME ZONES (2). The following text is displayed:
1) NEW 2) EDIT
3) DELETE 4) PRINT
3 Choose EDIT (2). The following text is displayed:
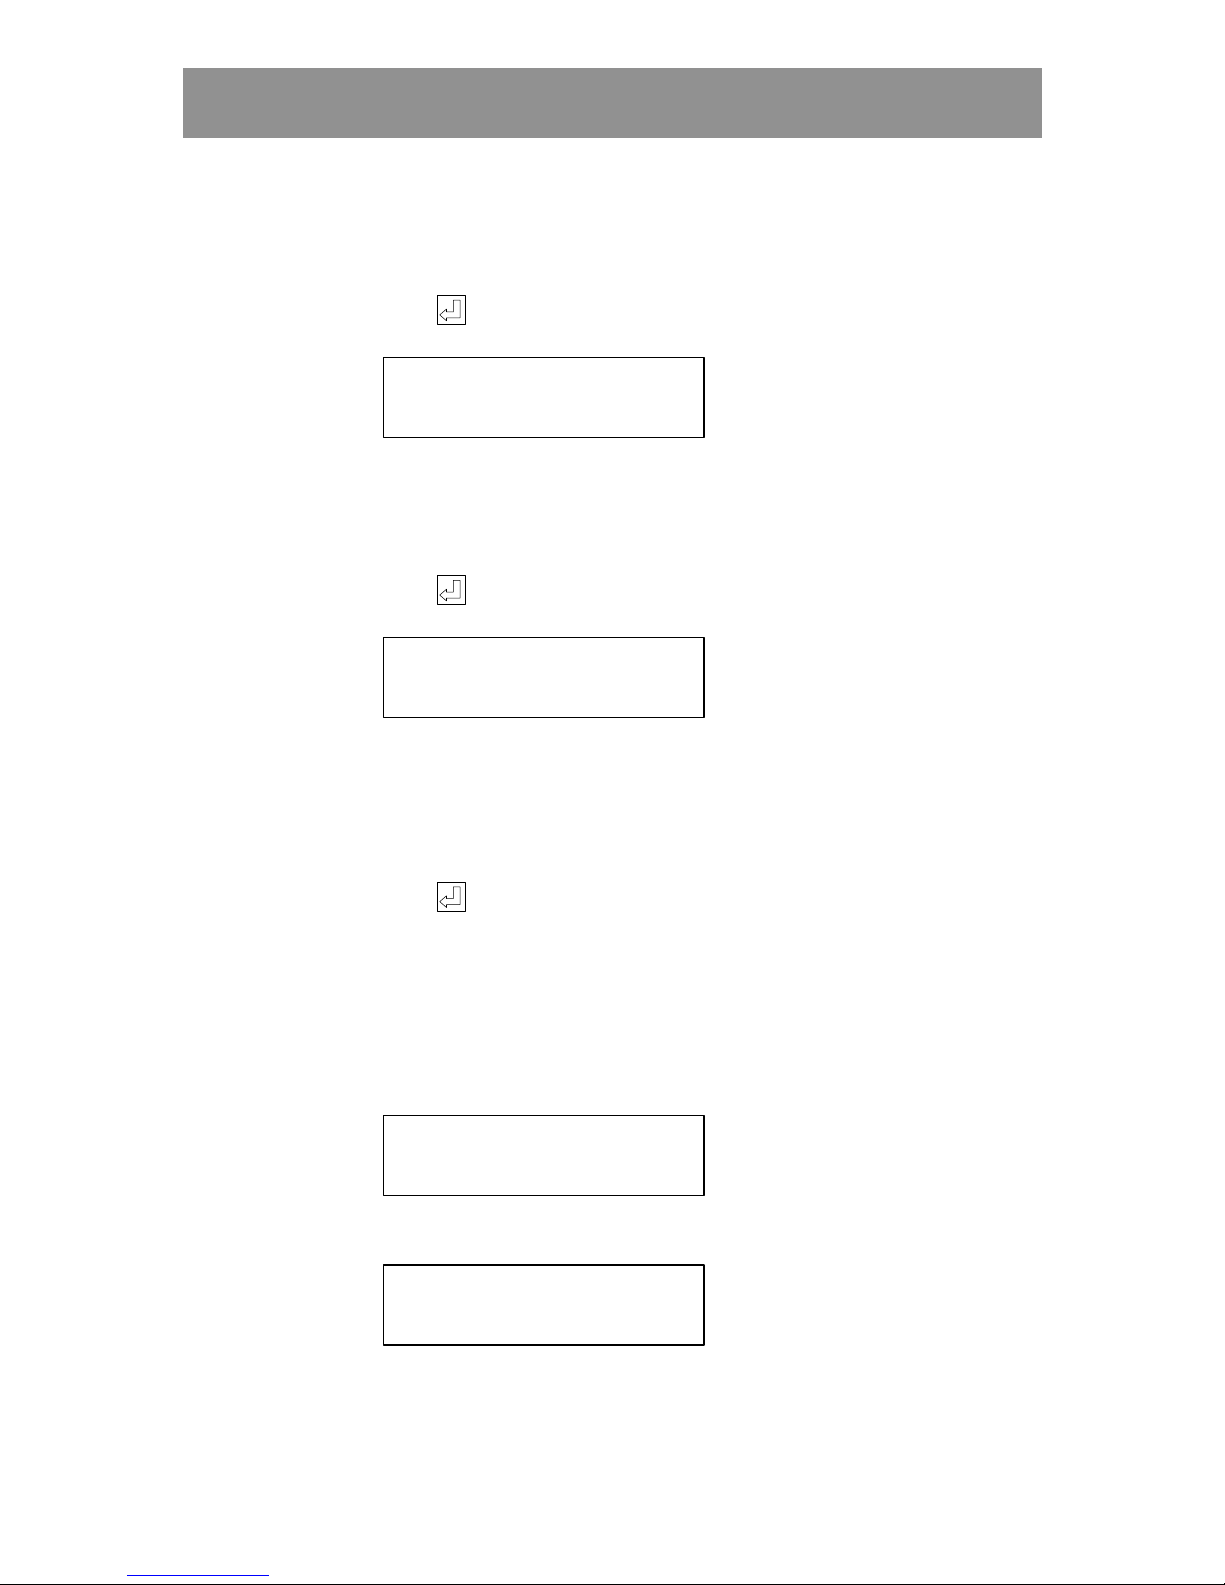
WHICH TIMEZONE?
(TIMEZONE
OR / )
Page 18
18 KC5000 Technical manual — Programming
4 Enter the number of the desired time zone e.g. 2, or use the arrow keys
to scroll to the desired time zone.
5 Press . The following text is displayed:
ENTER NEW TIME (02)
-
The number of the time zone is displayed within brackets.
6 Enter a new interval, or, to only change the days, leave the prompt
unanswered.
7 Press . The following text is displayed:
ENTER VALID DAYS
0800-1500 [12345 ]
The programmed time interval for the time zone is displayed
automatically.
8 If needed, change the days by pressing the desired digits (1=Monday,
2=Tuesday etc.) or, to make no changes, leave the prompt unanswered.
9 Press . The main menu is displayed again.
Deleting time zones
To delete a programmed time zone, proceed as follows:
1 Display the main menu and choose TIMES (4). The following text is
displayed:
1)
TIME OF DAY
2) TIME ZONES
2 Choose TIME ZONES (2). The following text is displayed:
1) NEW 2) EDIT
3) DELETE 4) PRINT
Page 19
KC5000 Technical manual — Programming 19
3 Choose DELETE (3). The following text is displayed:
WHICH TIMEZONE?
(TIMEZONE
OR / )
4 Enter the number of the time zone to be deleted, or use the arrow keys to
scroll forward or backwards to the desired time zone.
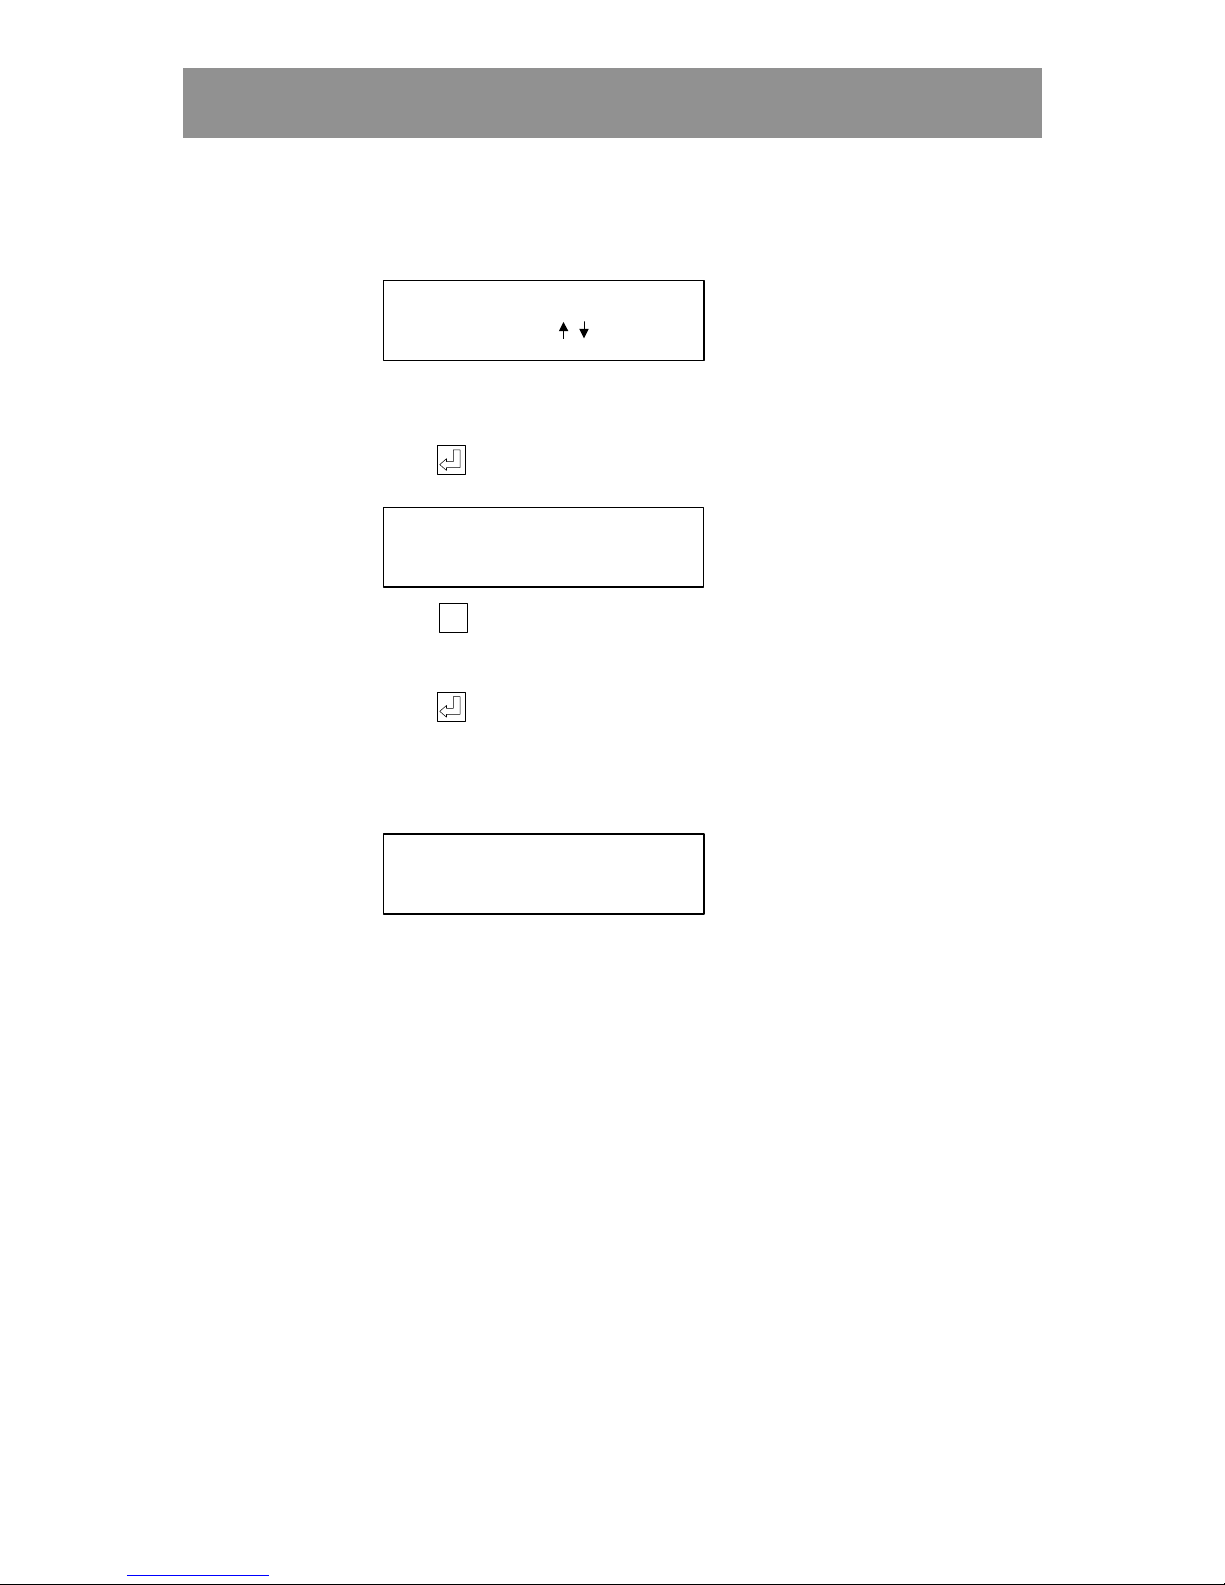
5 Press . The following text is displayed:
ARE YOU SURE?
1700-1500 [12345 ]
6 Press
Esc
EscEsc
Esc
to interrupt the sequence without deleting the time zone.
The main menu is displayed.
Press to delete the time zone.
If the time zone is deleted, the following text is displayed for a few
seconds:
DELETING TIME ZONE
(02) 0700-1500!
The main menu is displayed again.
Page 20
20 KC5000 Technical manual — Programming
Codes
This chapter describes how to program information about New Entry,
Changing and Deleting codes
New Entry of codes
Take out the Codes chart and program the codes to be used in the doors:
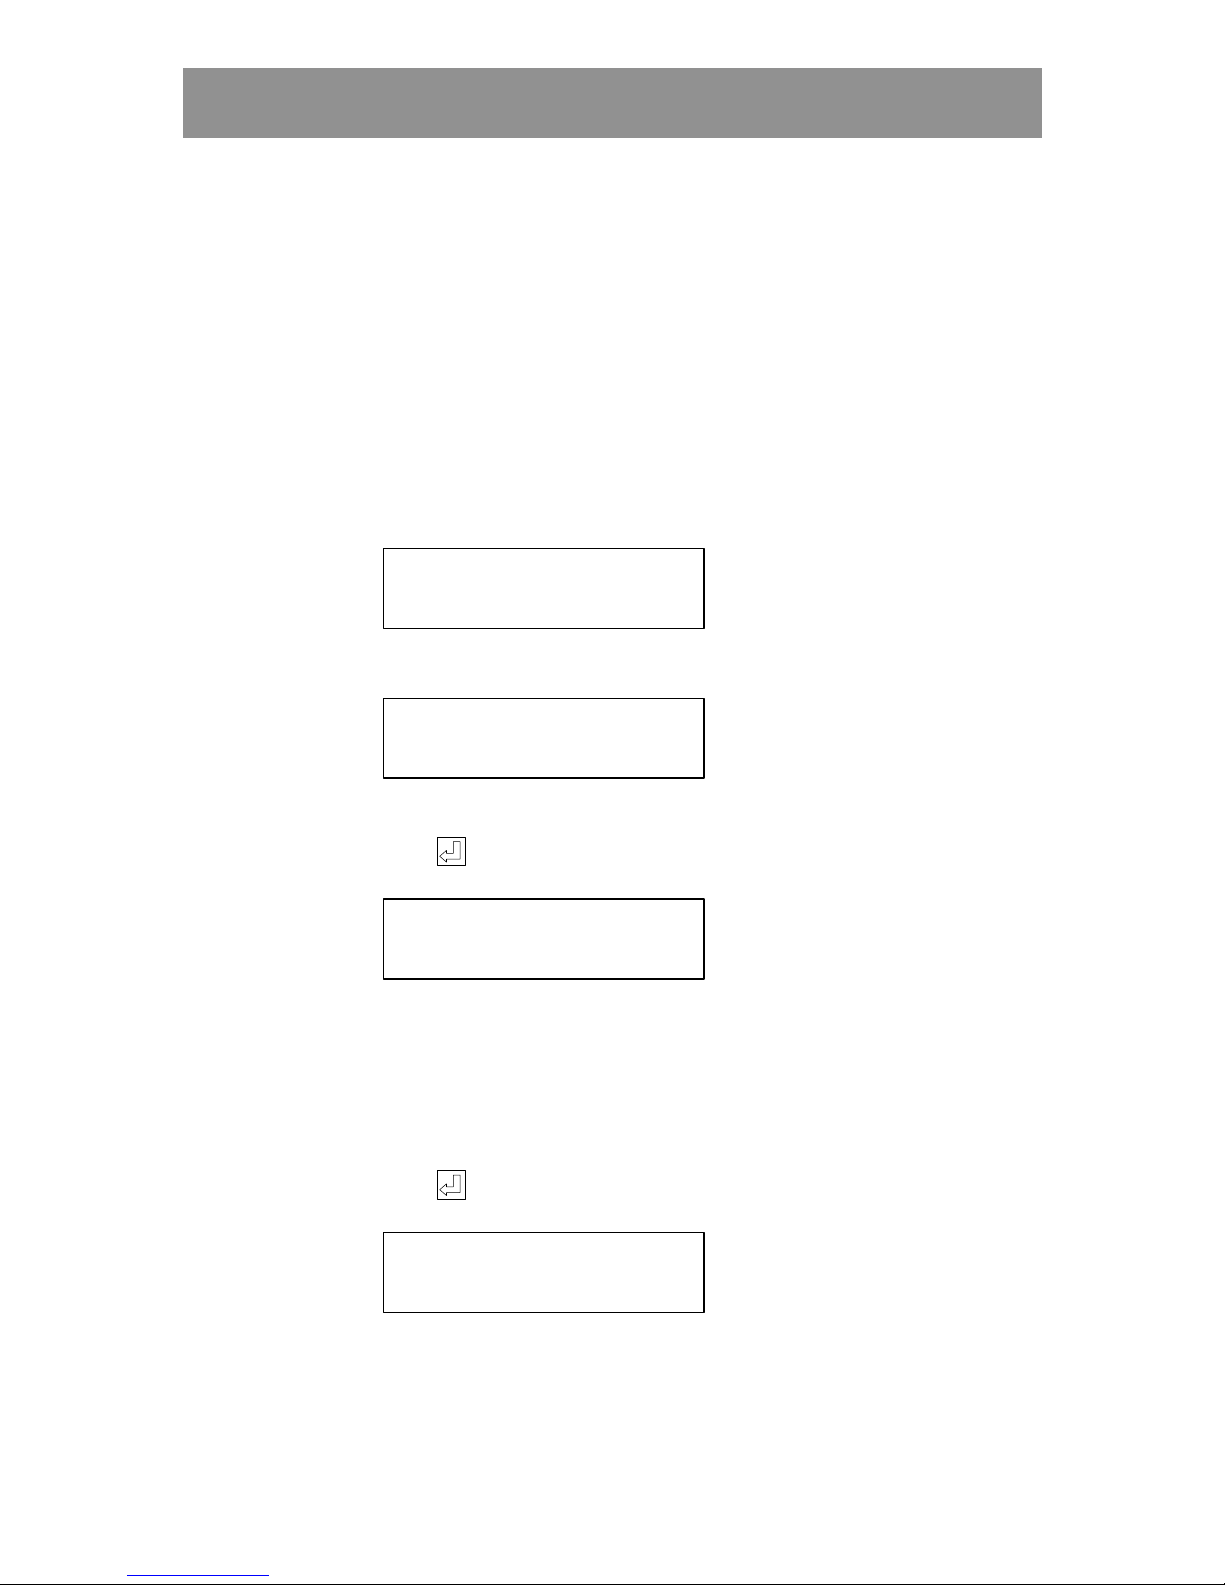
1 Choose CODES (press 1) on the main menu. The following text is
displayed:
1) NEW 2) EDIT
3) DELETE 4) PRINT
2 Choose NEW (1). The following text is displayed:
ENTER NEW CODE
3 Enter a four-digit code, e.g. 2580.
4 Press . The following text is displayed:
WHICH DOOR’S?
2580 [ ]
The entered code is automatically displayed.
5 Enter in which doors the code should work. 1=the first door,
2=the second door etc. If the code should only work in the second door,
only press 2. If the wrong digit is entered by mistake, press the same
digit again to delete it.
6 Press . The following text is displayed:
ENTER TIME ZONES
, , (00,00,00)
7 Enter during which time zones the code should be valid. A code can be
used under three time zones at the most, e.g. 01, 02, 06.
If no time zone is programmed at all, the code will not work.
Page 21
KC5000 Technical manual — Programming 21
If the wrong digit is entered by mistake, press and replace the
incorrect value with the correct value.
8 Press . The following text is displayed:
ENTER NEW CODE
9 Program any additional codes in the same way.
Otherwise, press
Esc
EscEsc
Esc
. The main menu is displayed.
Changing codes
To change information about codes, proceed as follows:
1 Display the main menu and choose CODES (1). The following text is
displayed:
1) NEW 2) EDIT
3) DELETE 4) PRINT
2 Choose EDIT (2). The following text is displayed:
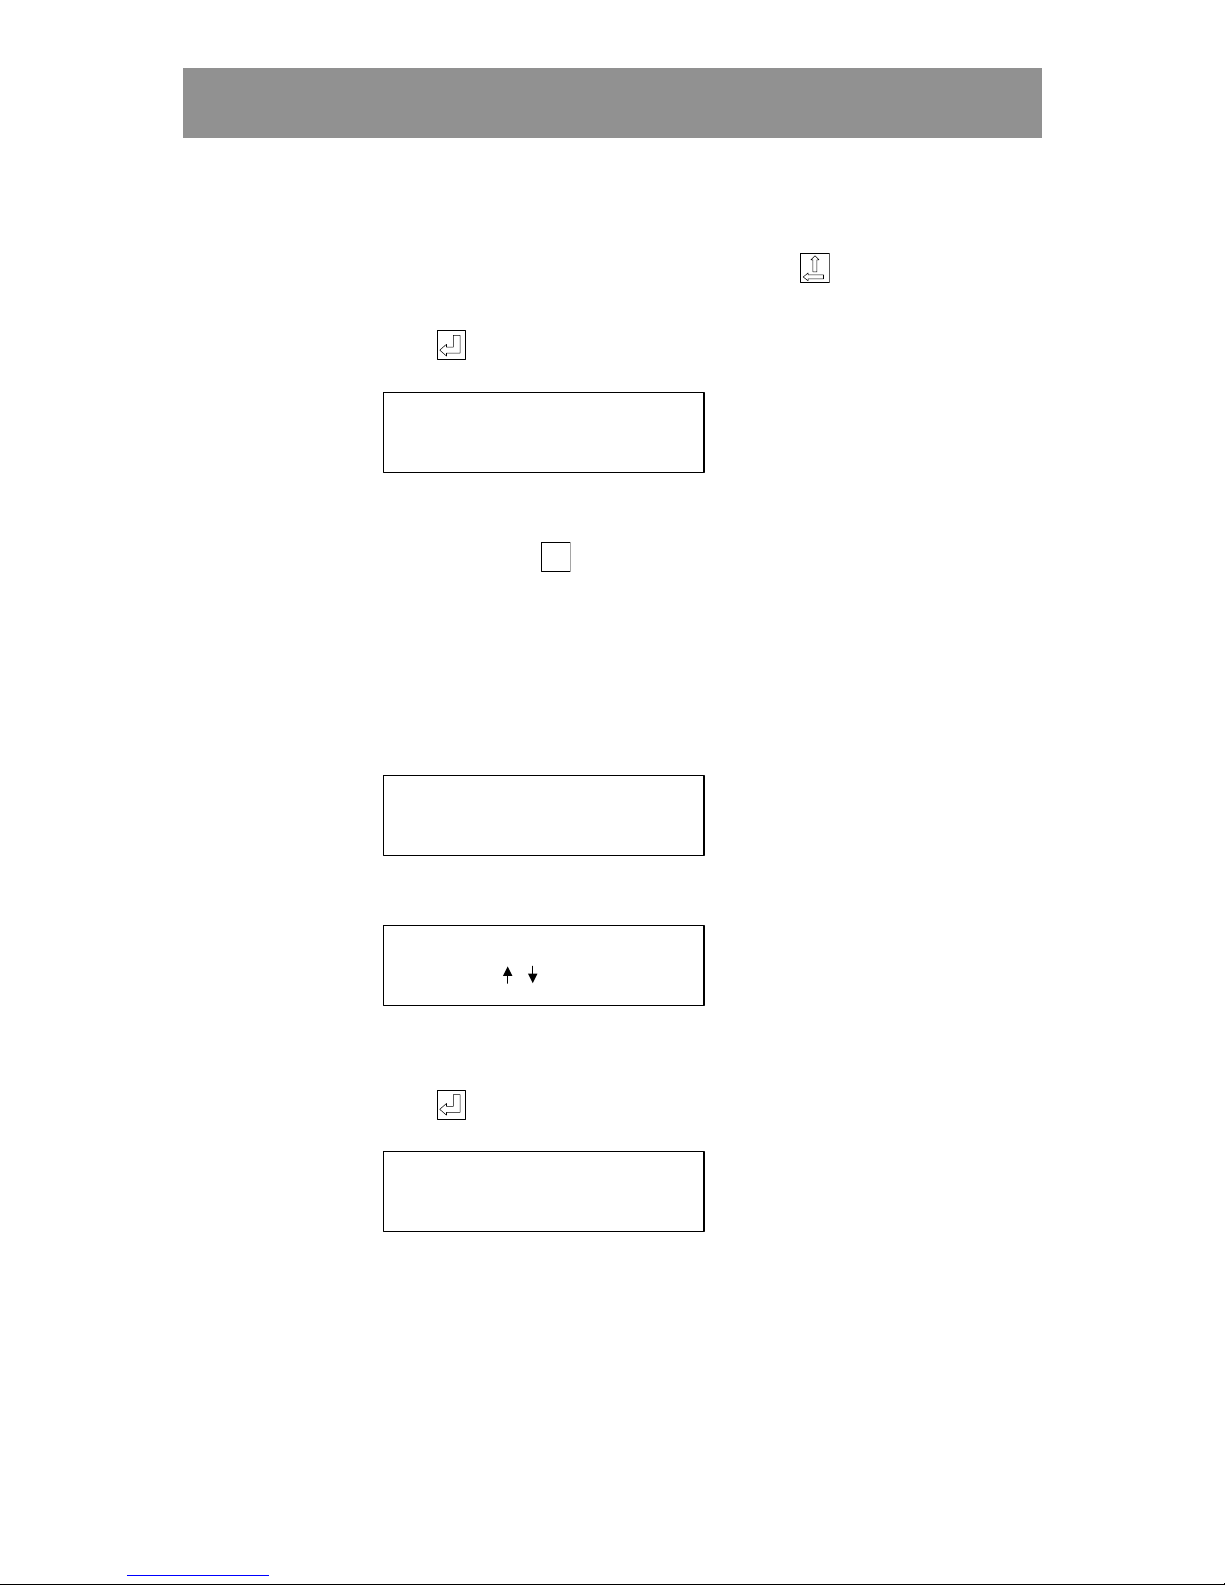
WHICH CODE?
(CODE
OR
/ )
3 Enter the code to be changed or use the arrow keys to scroll to the
desired code.
4 Press . The following text is displayed:
ENTER NEW CODE (2580)
The current code is automatically displayed within brackets.
5 Enter the new four-digit code, or leave the prompt unanswered. Next,
change in which doors and during which time zone/s the code should be
valid.
Page 22
22 KC5000 Technical manual — Programming
6 Press . The following text is displayed:
WHICH DOORS?
1377 [1 ]
The numbers of the doors where the code is currently valid is displayed
within the brackets.
7 Enter at which doors the code should be valid, or leave the prompt
unanswered. Next, change during which time zone/s the code should be
valid.
8 Press . The following text is displayed:
ENTER TIME ZONES
, , (01,00,00)
The time zones that are currently valid are displayed within the brackets.
9 Enter during which new time zones the code should be valid, or leave
the prompt unanswered to make no changes.
10 Press . The main menu is displayed again.
Deleting codes
To delete codes, proceed as follows:
1 Display the main menu and choose CODES (1). The following text is
displayed:
1) NEW 2) EDIT
3) DELETE 4) PRINT
2 Choose DELETE (3). The following text is displayed:
WHICH CODE?
(CODE
OR
/ )
3 Enter the code to be deleted, or use the arrow keys to scroll forward or
backwards to the desired code.
Page 23
KC5000 Technical manual — Programming 23
4 Press . The following text is displayed:
ARE YOU SURE?
1377 [12 ]
5 Press
Esc
EscEsc
Esc
to interrupt the sequence without deleting the code.
The main menu is displayed.
Press to delete the code.
If the code is deleted, the following text is displayed for a few seconds:
DELETING CODE 1377!
Then the main menu is displayed again.
Page 24
24 KC5000 Technical manual — Programming
Doors
This chapter describes how to program information about New Entry and
Changing doors.
Doors cannot be deleted from the system – only the information can be
changed. However, the information can be changed for any programmed
door using the Codes functions (see Changing codes).
New Entry of doors
Take out the Doors chart and program the information that should be valid
for each door.
1 Display the main menu and choose DOORS (3). The following text is
displayed:
1)
EDIT
2) PRINT
2 Choose EDIT (1). The following text is displayed:
WHICH DOOR?
(1-6)
3 Enter the door to program information for, e.g. 1 for the first door.
The following text is displayed:
OPENINGTIME?
(1-999) (7)
4 Enter the desired lock activating time (between 1-999 seconds), or keep
the pre-set time (7 seconds).
5 Press . The following text is displayed:
TIMEZONE F. DAYOPEN?
(0=DISABLED) (0)
Page 25
KC5000 Technical manual — Programming 25
6 Enter the number of the time zone when the door should be unlocked.
If the door should be locked 24 hours, keep the pre-set setting (0).
7 Press . The following text is displayed:
TIMEZONE OPEN BUTTO N?
(0=ALWAYS) (0)
8 Enter the number of the time zone when the push button on the inside
should work. If the button should always work, keep the pre-set
setting (0).
9 Press . The following text is displayed:
TIME ZONE REGISTRATION
(0=ALWAYS) (0)
10 Enter the number of the time zone to control printing to the printer.
If printing is to occur 24 hours, keep the pre-set setting (0).
11 Press . The following text is displayed:
WHICH DOOR?
(1-6)
12 Enter information about the next door in the same way.
Press
Esc
EscEsc
Esc
to go back to the main menu.
Changing doors
To change programmed information about doors, proceed in the same way
as when registering new entries (see New Entry of doors).
Page 26
26 KC5000 Technical manual — Printouts
Printouts
If a printer is connected to the central unit, you have the possibility to have
two types of printouts.
• Programmed information. At any time you can print the information
you have programmed about Time zones, Codes and Doors.
The printout will give a good overview of the codes, time zones etc. that
are currently used. You print out the information by choosing PRINT (4)
after you make your choice from the main menu.
• Events. This type of information will automatically be printed to the
printer if it is connected. These registrations are possible to control with
a time zone, for example printing only in the nighttime. In the chapter
Doors it is described how to add a time zone for registration.
Print event log
If you choose not to have the printer connected it is still possible to have a
printout of the 400 latest events, since they are always stored in the KC5000.
Proceed as follows:
1 Connect the printer.
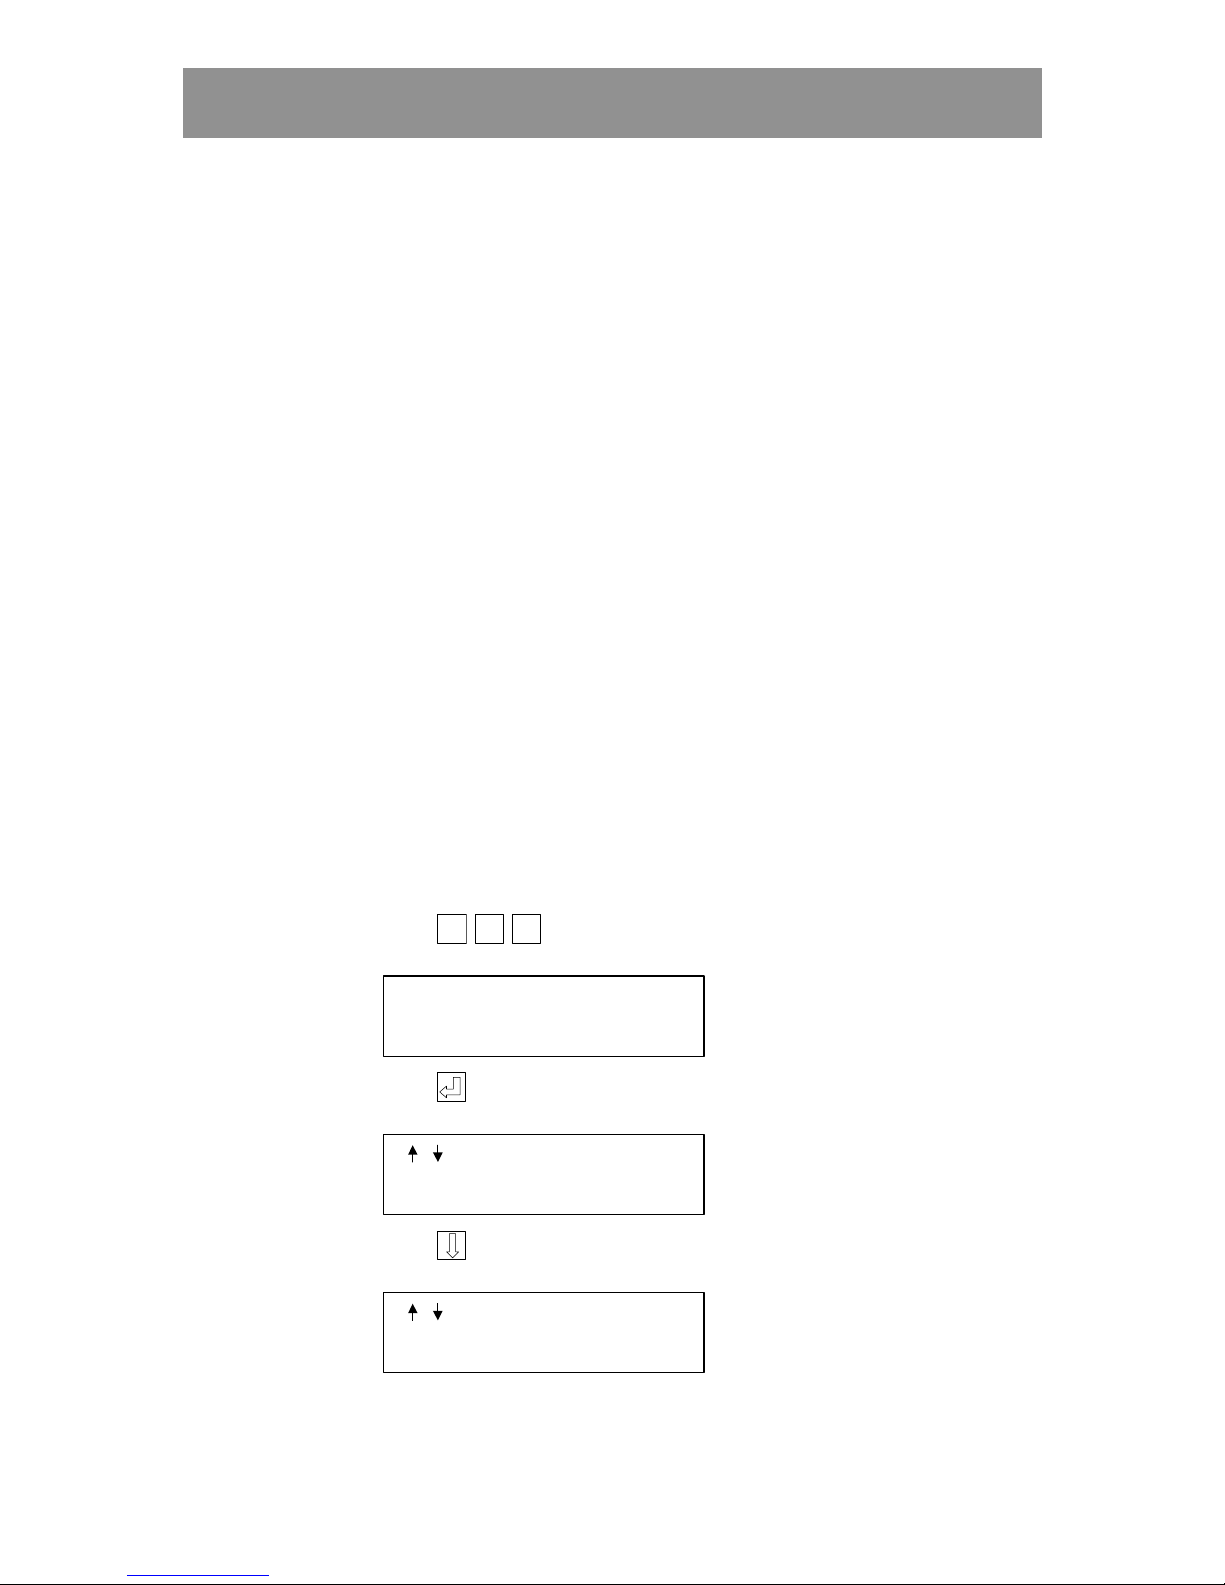
2 When the display is in stand-by position,
press
Esc
EscEsc
Esc Esc
EscEsc
Esc Esc
EscEsc
Esc
(three times). The following text is displayed:
OPTIONS MENU
3 Press . The following text is displayed:
/ TO STEP
4 Press . Until the following text is displayed:
/ TO STEP
PRINT EVENT LOG
Page 27
KC5000 Technical manual — Printouts 27
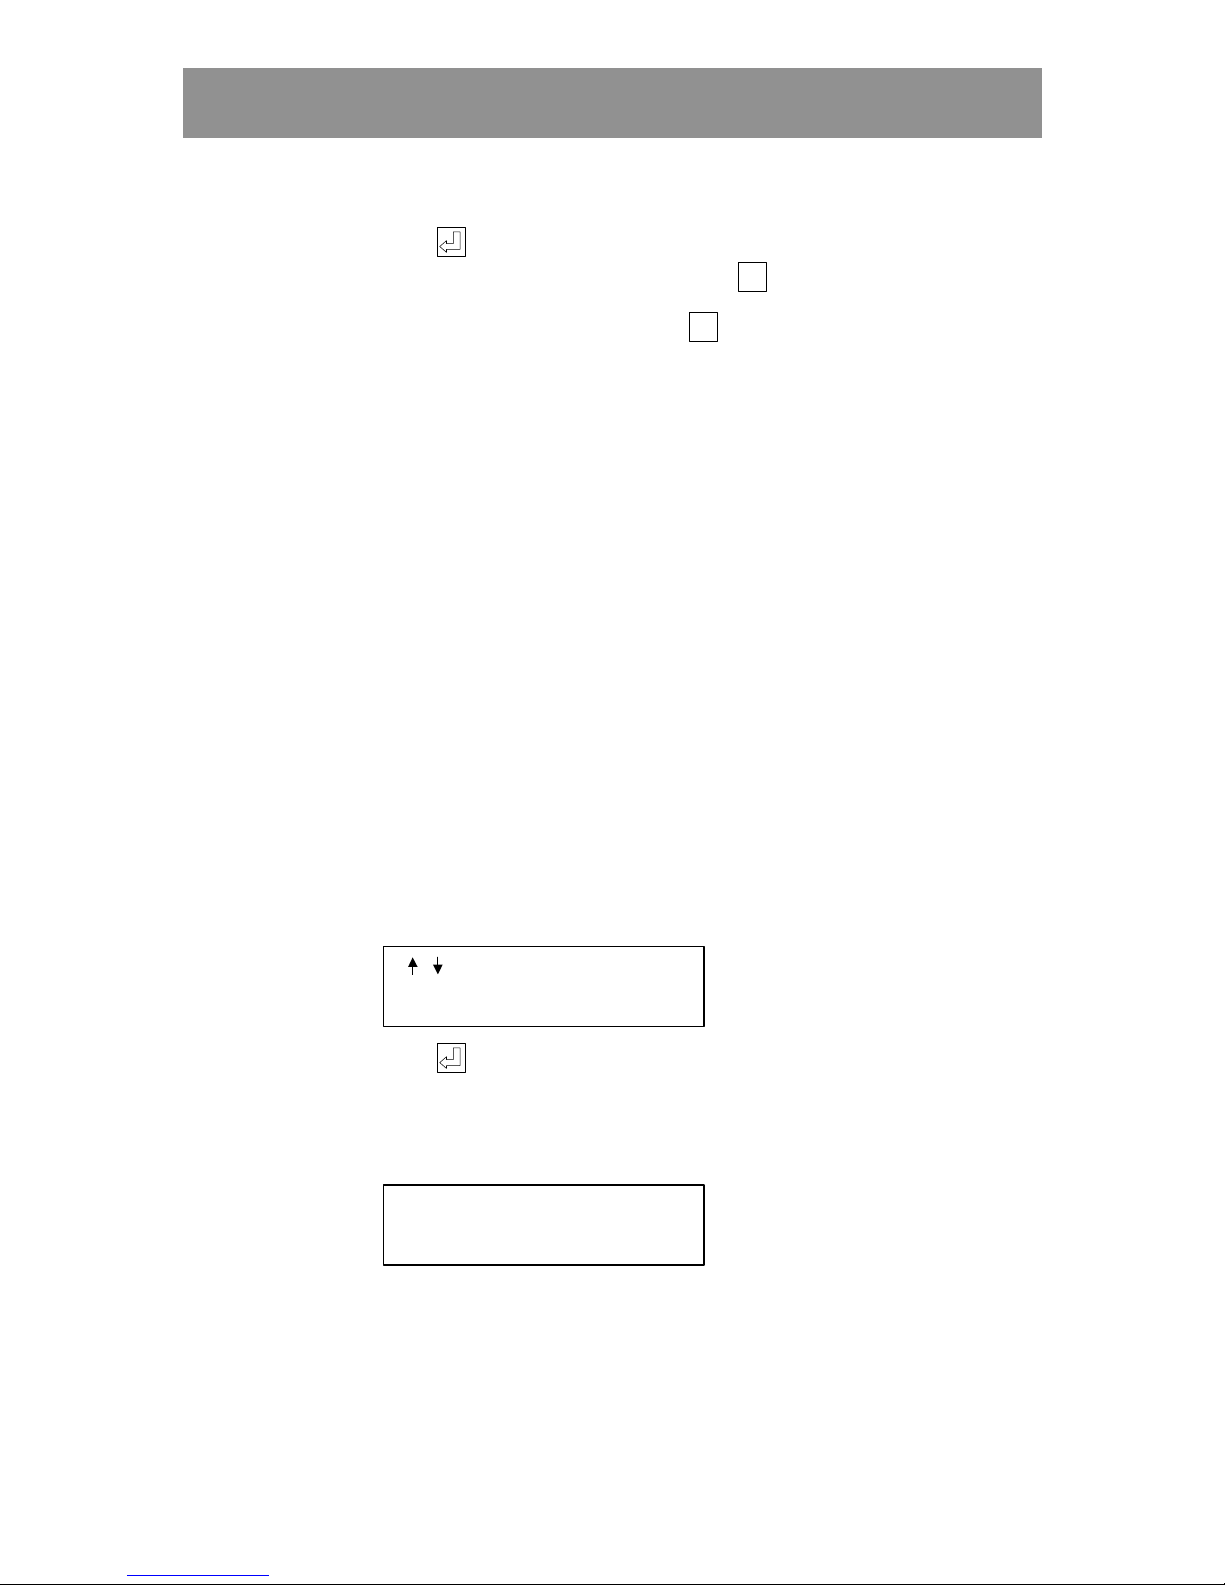
5 Press , to start the printout.
Printing can be terminated by pressing
Esc
EscEsc
Esc
.
6 When printing is complete, press
Esc
EscEsc
Esc
to go back to stand-by position.
Edit level of registration
With the choice EDIT LEVEL OF REGISTRATION in the OPTION
MENU, you can choose what type of transaction that is sent to the printer.
The event types are divided in to five different levels, 1, 2, 3, 4, and 5. You
can choose to have one or several of these levels.
When the system is delivered all five levels are activated.
The levels have the following meaning:
1 = System Error. (To high or low power, restarts etc.).
2 = Valid Logins. (At the central unit and at remote programming).
3 = Failed Logins. (At remote programming).
4 = Valid Access.
5 = Access Denied. (Wrong code, wrong time zone).
To gain access to this function:
1 Choose the OPTION MENU and step forward until the following text is
displayed:
/ TO STEP
EDIT LVL OF REGISTR.
2 Press , and enter the required levels.
If you, for example only wish to have System Error and Valid Access
registered, then the following text should be displayed:
ENTER LEVELS:
[ 1 4 ]
Page 28
28 KC5000 Technical manual — Remote programming
Remote programming
One of the great advantages with the KC5000 is that the system can be
remotely programmed. Using this feature, you don’t have to go to the central
unit to maintain the information in the system – instead; you can call the
KC5000 number and perform programming from an ordinary telephone. The
only condition is that the telephone you are calling from must use tone
dialling.
As an extra accessory it is also possible to program KC5000 via modem
from a PC with Windows 95. For more information about this, see the
manual supplied with the PC software.
Password
Before you start programming from a telephone you must decide on a
password for remote programming. This is to guarantee that nobody else can
call the KC5000 and change the information.
The password consists of six digits.
You enter the password direct in the central unit:
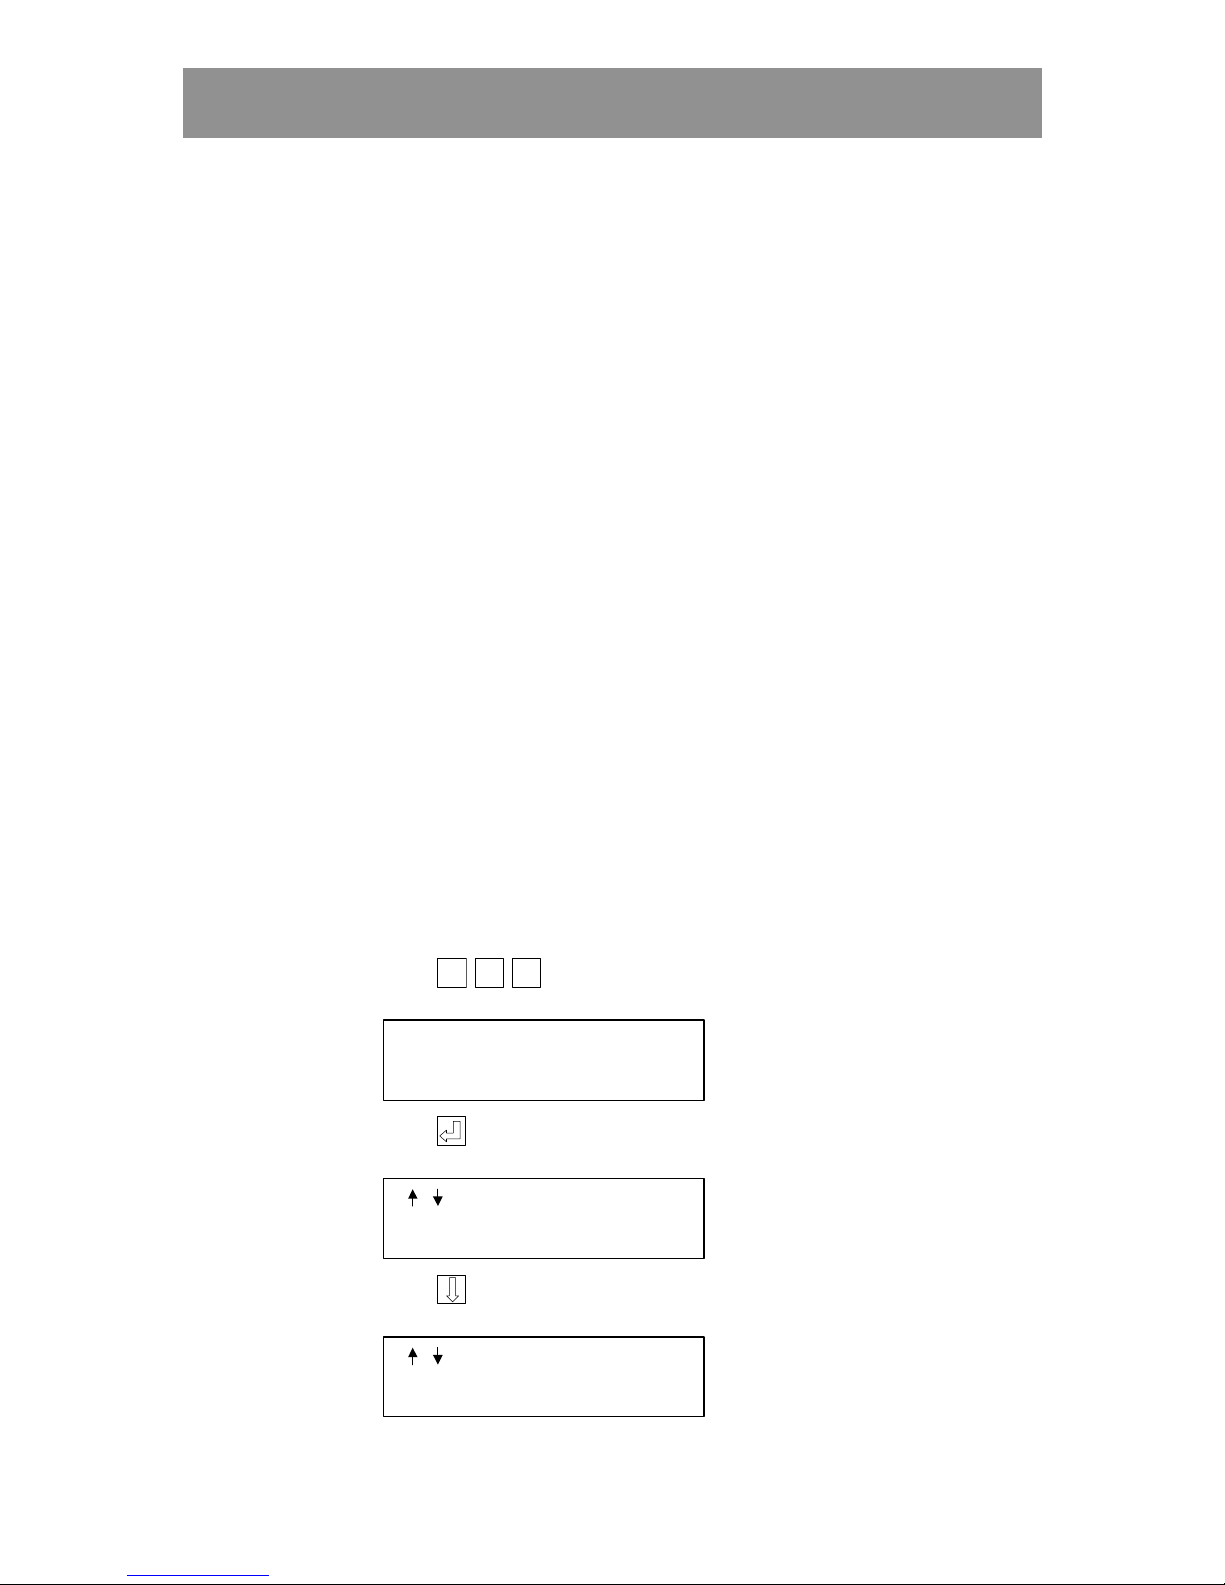
1 When the display is in stand-by position,
press
Esc
EscEsc
Esc Esc
EscEsc
Esc Esc
EscEsc
Esc
(three times). The following text is displayed:
OPTIONS MENU
2 Press . The following text is displayed:
/ TO STEP
3 Press . The following text is displayed:
/ TO STEP
CHANGE PASSWORD
Page 29
KC5000 Technical manual — Remote programming 29
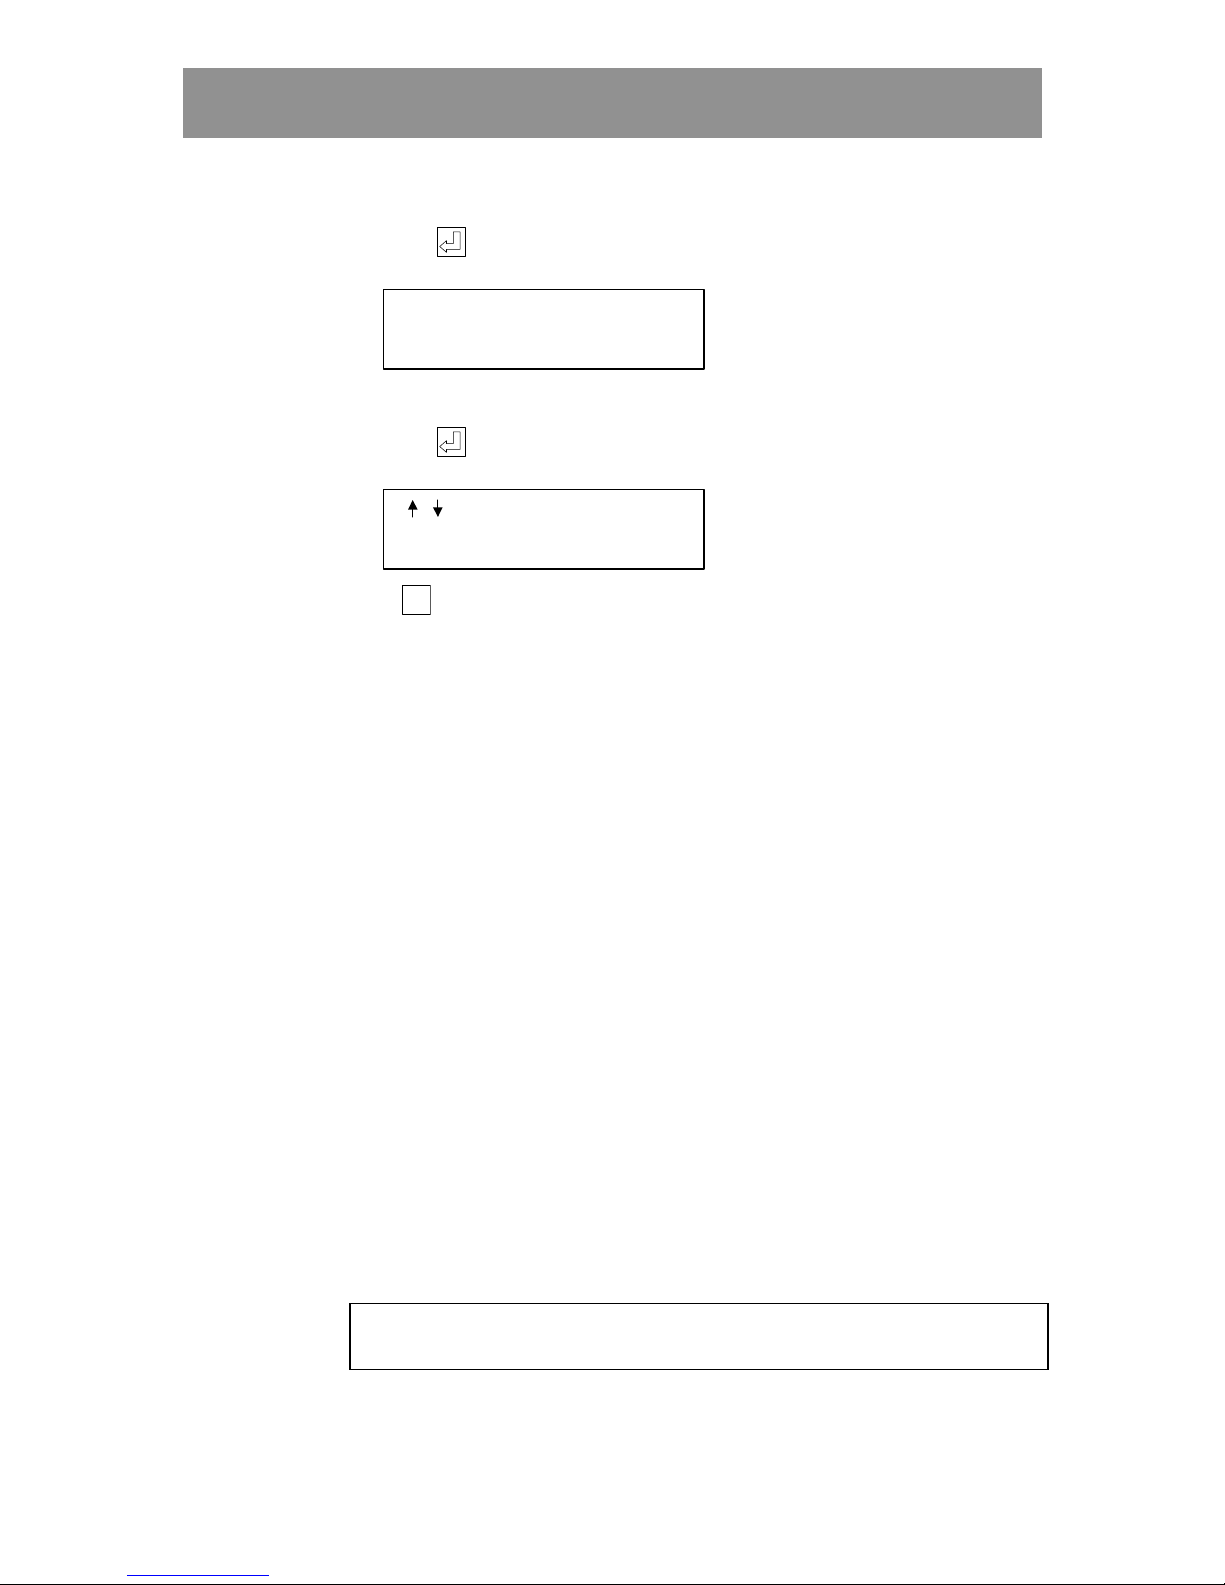
4 Press . The following text is displayed:
ENTER PASSWORD
5 Enter a six-digit password.
6 Press . The code is now stored. The following text is displayed again:
/ TO STEP
CHANGE PASSWORD
Press
Esc
EscEsc
Esc
to leave the Option menu and go back to stand-by position.
General information about remote pr ogr amming
When you program your KC5000 from a telephone you should call the
telephone number given to your KC5000 according to the subscription.
You use the telephone’s keyboard when programming.
Proceed as follows:
1 Dial the telephone number to KC5000. When you get through you will
hear KC5000 characteristic tune.
2 Press !
!!
! and enter your password. Finish by pressing !!!!.
3 If you have entered the correct code, three tones in a rising sequence are
heard. If you enter the wrong code, you will hear four identical tones.
4 Program the desired functions. How this is done is described on the
following pages.
5 Finish programming by pressing #.
KC5000 characteristic tune is heard as a confirmation that programming
is completed.
6 Replace the handset.
Note! If no programming is performed within 4 minutes, the call is
automatically disconnected.
Page 30
30 KC5000 Technical manual — Remote programming
Points to remember
When programming from the central unit, you always see the result of your
key presses. However, when programming from a telephone you will get no
confirmation. Therefore, it is important that you follow the instructions
carefully and that you know what you are programming.
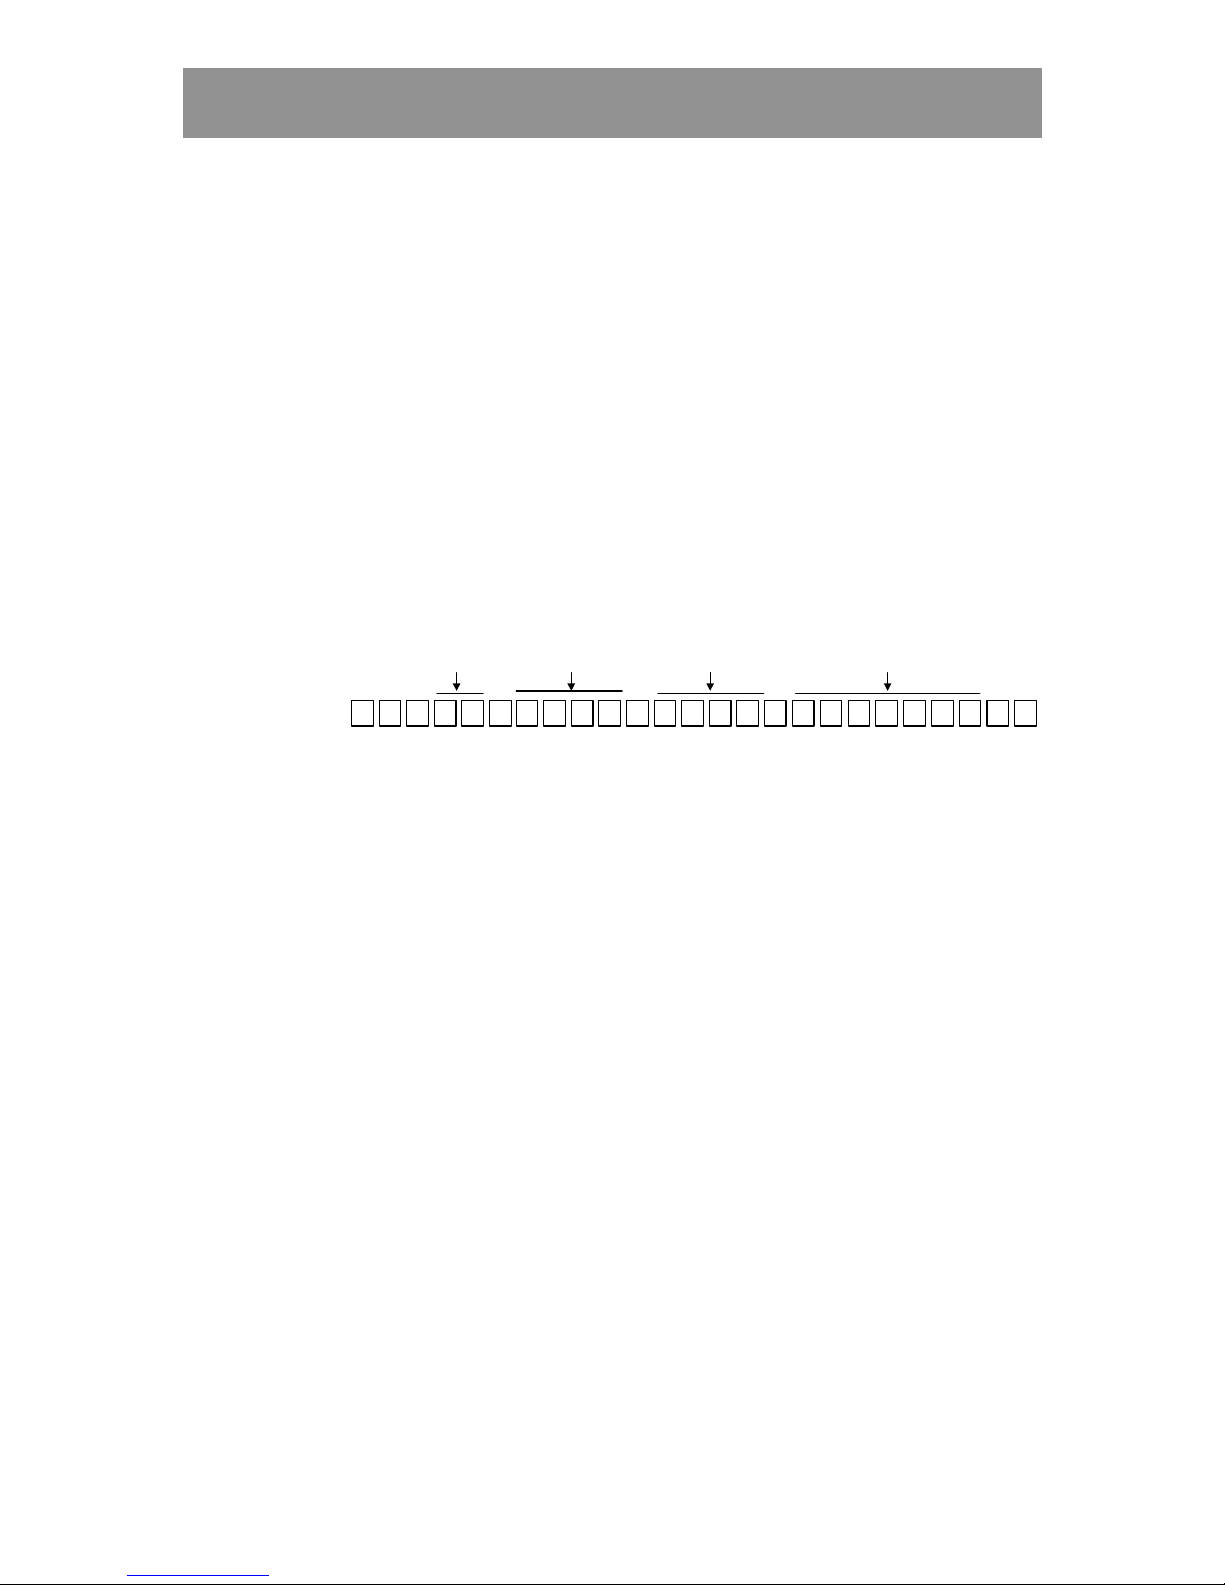
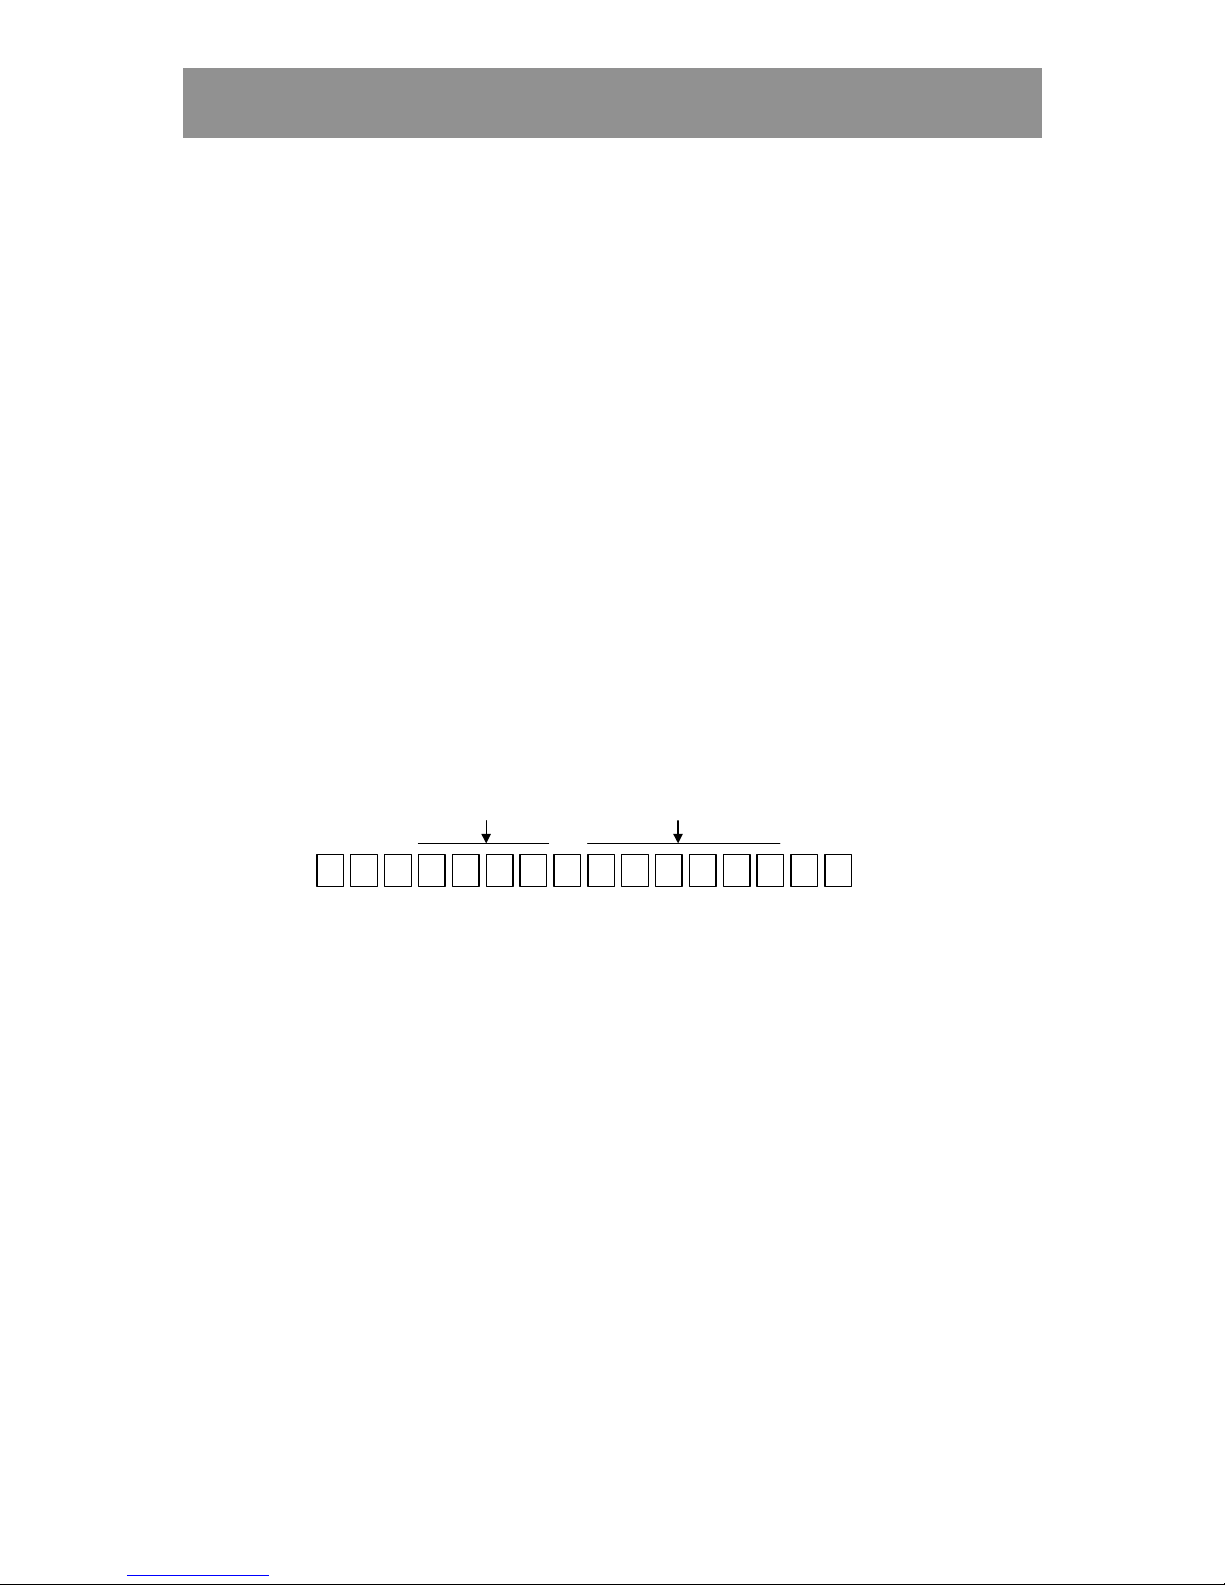
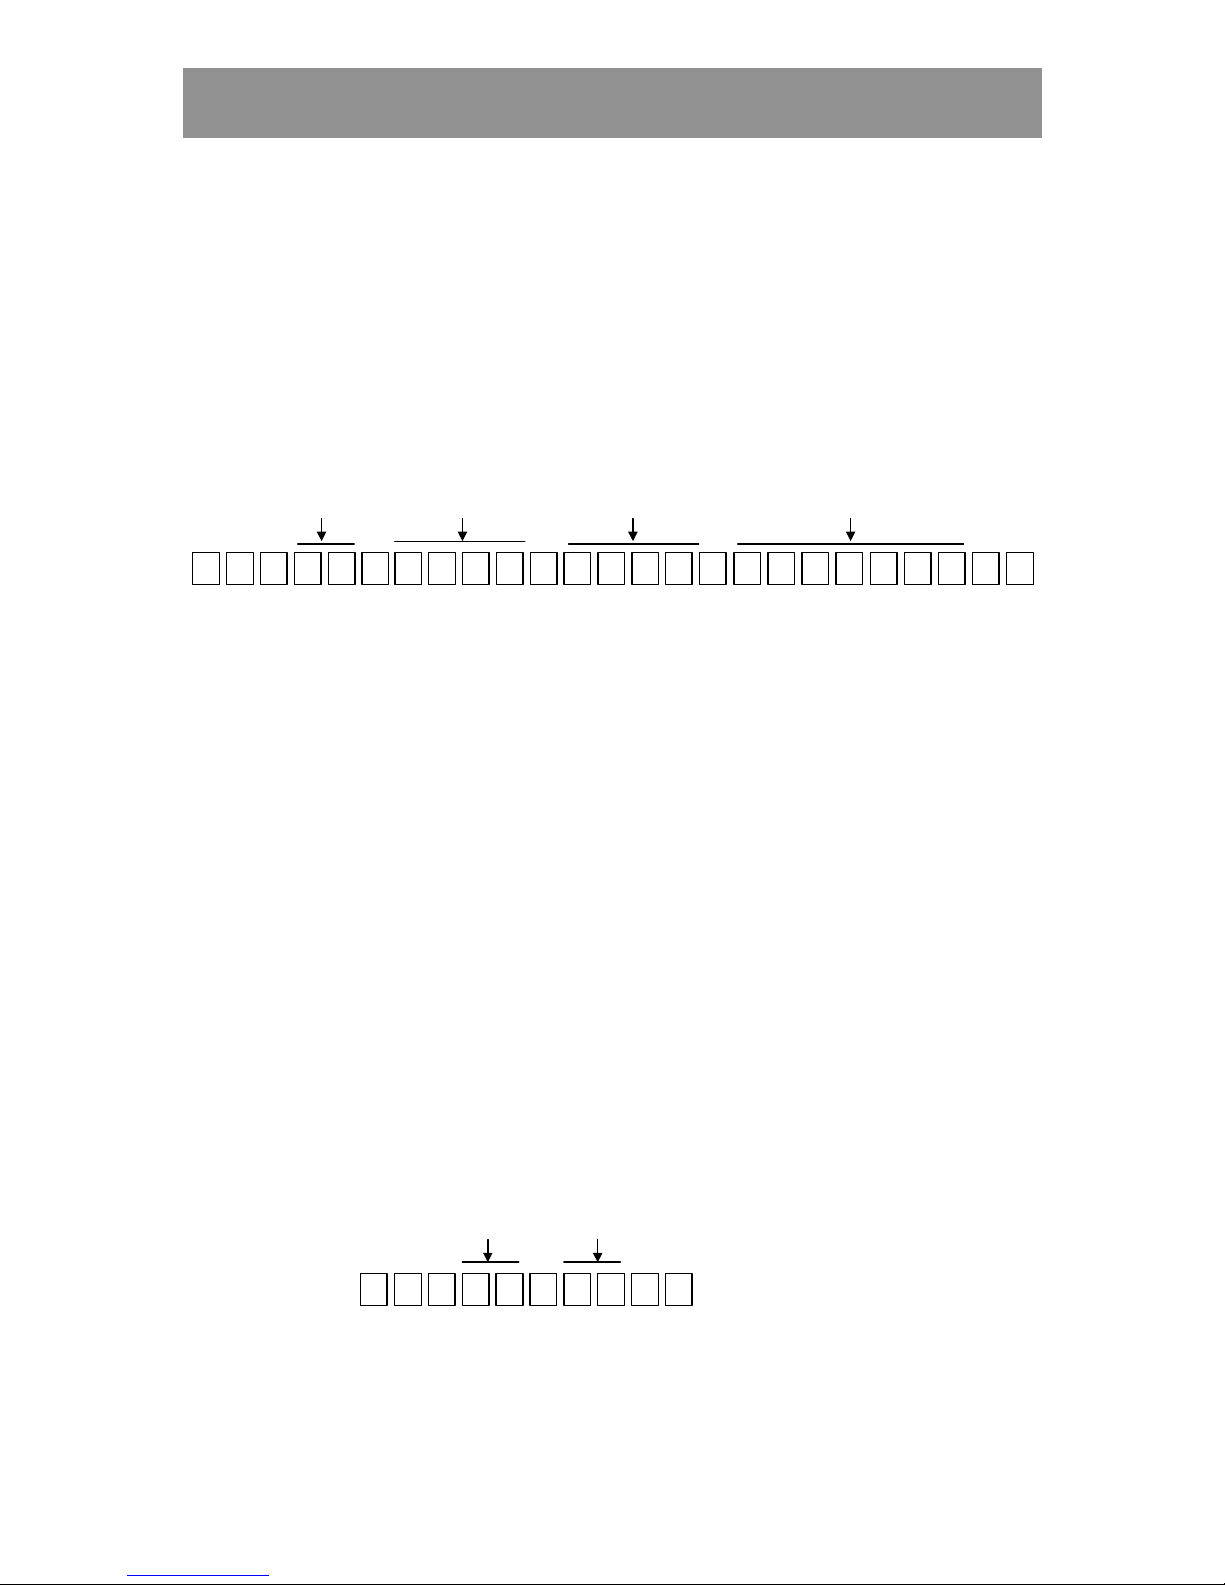
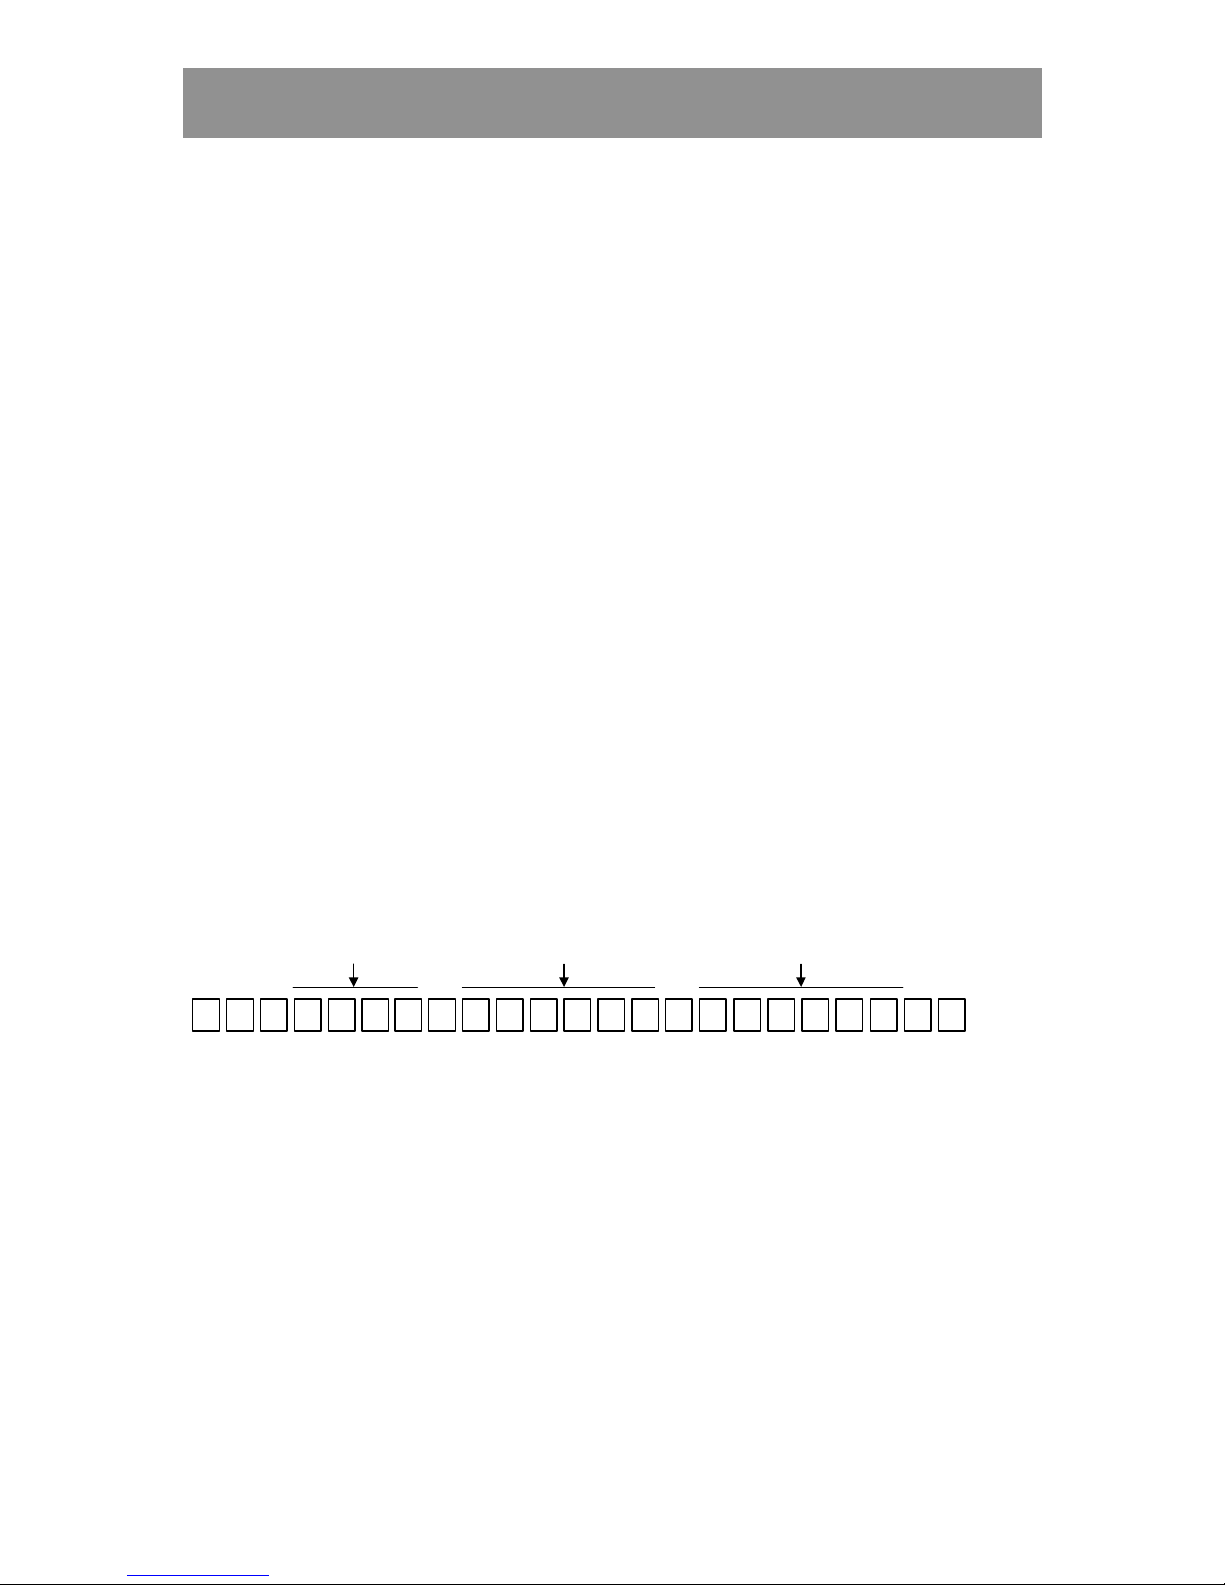
As an aid when programming from a telephone, use the templates at the
back of this manual. Make a few copies of the templates and fill in the
information before you start programming. Put the template in front of you
when programming. This will make it easier for you to know how far you
have got in the programming sequence.
For each function below, an example is shown of how the template can be
filled in.
0 1
42
* *
0 7 0 0 2 1 0 0
*
Start time Stop time Time zone
*
1 2 3 4 5
#
*
Days
Page 31
KC5000 Technical manual — Remote programming 31
Enter new information
Change time and date
To change time and date, proceed as follows:
1 Call up the KC5000 and enter !
!!
! password !!!!.
2 Press 4 1. Finish with !
!!
!.
3 Enter the time, e.g. 0830 for eight thirty am. Finish with !
!!
!.
4 Enter the current date, e.g. 980709 for the 9:th of July 1998.
Finish with
!!!!.
If programming was performed correctly, three rising tones are heard,
otherwise four identical tones are heard.
5 Proceed and program other information (start from step 2) or press
#
to disconnect the call.
Example:
0 8 3 0 9 8 0 7 0 9
*
41
**
#
Time
Date
Time zones
This describes how to remote program information about New Entry,
Changing and Deleting time zones.
New Entry and Changing of time zones
To program a new time zone or change a previously programmed time zone,
proceed as follows:
1 Call up the KC5000 and enter !
!!
! password !!!!.
2 Press 4 2 . Finish with !
!!
!.
3 Enter the number of the desired time zone, e.g. 01. Finish with !
!!
!.
4 Enter the starting time of the zone, e.g. 0700. Finish with !
!!
!.
5 Enter the finishing time of the zone, e.g. 2100. Finish with !
!!
!.
Page 32
32 KC5000 Technical manual — Remote programming
6 Enter which days the time zone should be valid, e.g. 12345 for Monday
to Friday. Finish with !
!!
!.
If programming was performed correctly, three rising tones are heard,
otherwise four identical tones are heard.
7 Proceed and program other information (start from step 2) or press #
to disconnect the call.
Example:
0 1
42
* *
0 7 0 0 2 1 0 0
*
Start time Stop time Time zone
*
1 2 3 4 5
#
*
Days
Deleting time zone
This is how to delete time zones:
1 Call up the KC5000 and enter !
!!
! password !!!!.
2 Press 4 3 . Finish with !
!!
!.
3 Enter the number of the time zone you want to delete, e.g. 01.
Finish with !
!!
!.
4 Enter the number of the time zone once again. Finish with ★
★★
★.
If programming was performed correctly, three rising tones are heard,
otherwise four identical tones are heard.
5 Proceed and program other information (start from step 2) or press #
to disconnect the call.
Example:
0 1 0 1
43
***
#
Time
zone
Same
time zone
Page 33
KC5000 Technical manual — Remote programming 33
Codes
This describes how to remote program information about New Entry,
Changing and Deleting codes.
New Entry of codes
This is how to program a new code:
1 Call up the KC5000 and enter
!
!!
! password !!!!.
2 Press
1 1 . Finish with !!!!.
3 Enter the desired four-digit code. Finish with
!!!!.
4 Enter the number of the door/s where the code should be valid.
Finish with
!!!!.
5 Enter during which time zone/s the code should be valid.
Finish with
!!!!.
If programming was performed correctly, three rising tones are heard,
otherwise four identical tones are heard.
6 Proceed and program other information (start from step 2) or press
#
to disconnect the call.
Example:
2 5
11
*
8*0 1 2
Door/s Code
0*1
Time zone/s
#
*
Changing codes
This is how to change a previously programmed code:
1 Call up the KC5000 and enter
!
!!
! password !!!!.
2 Press
1 2 . Finish with !!!!.
3 Enter the code to be changed. Finish with
★★★★.
4 Enter the new code. Finish with
!!!!.
Page 34
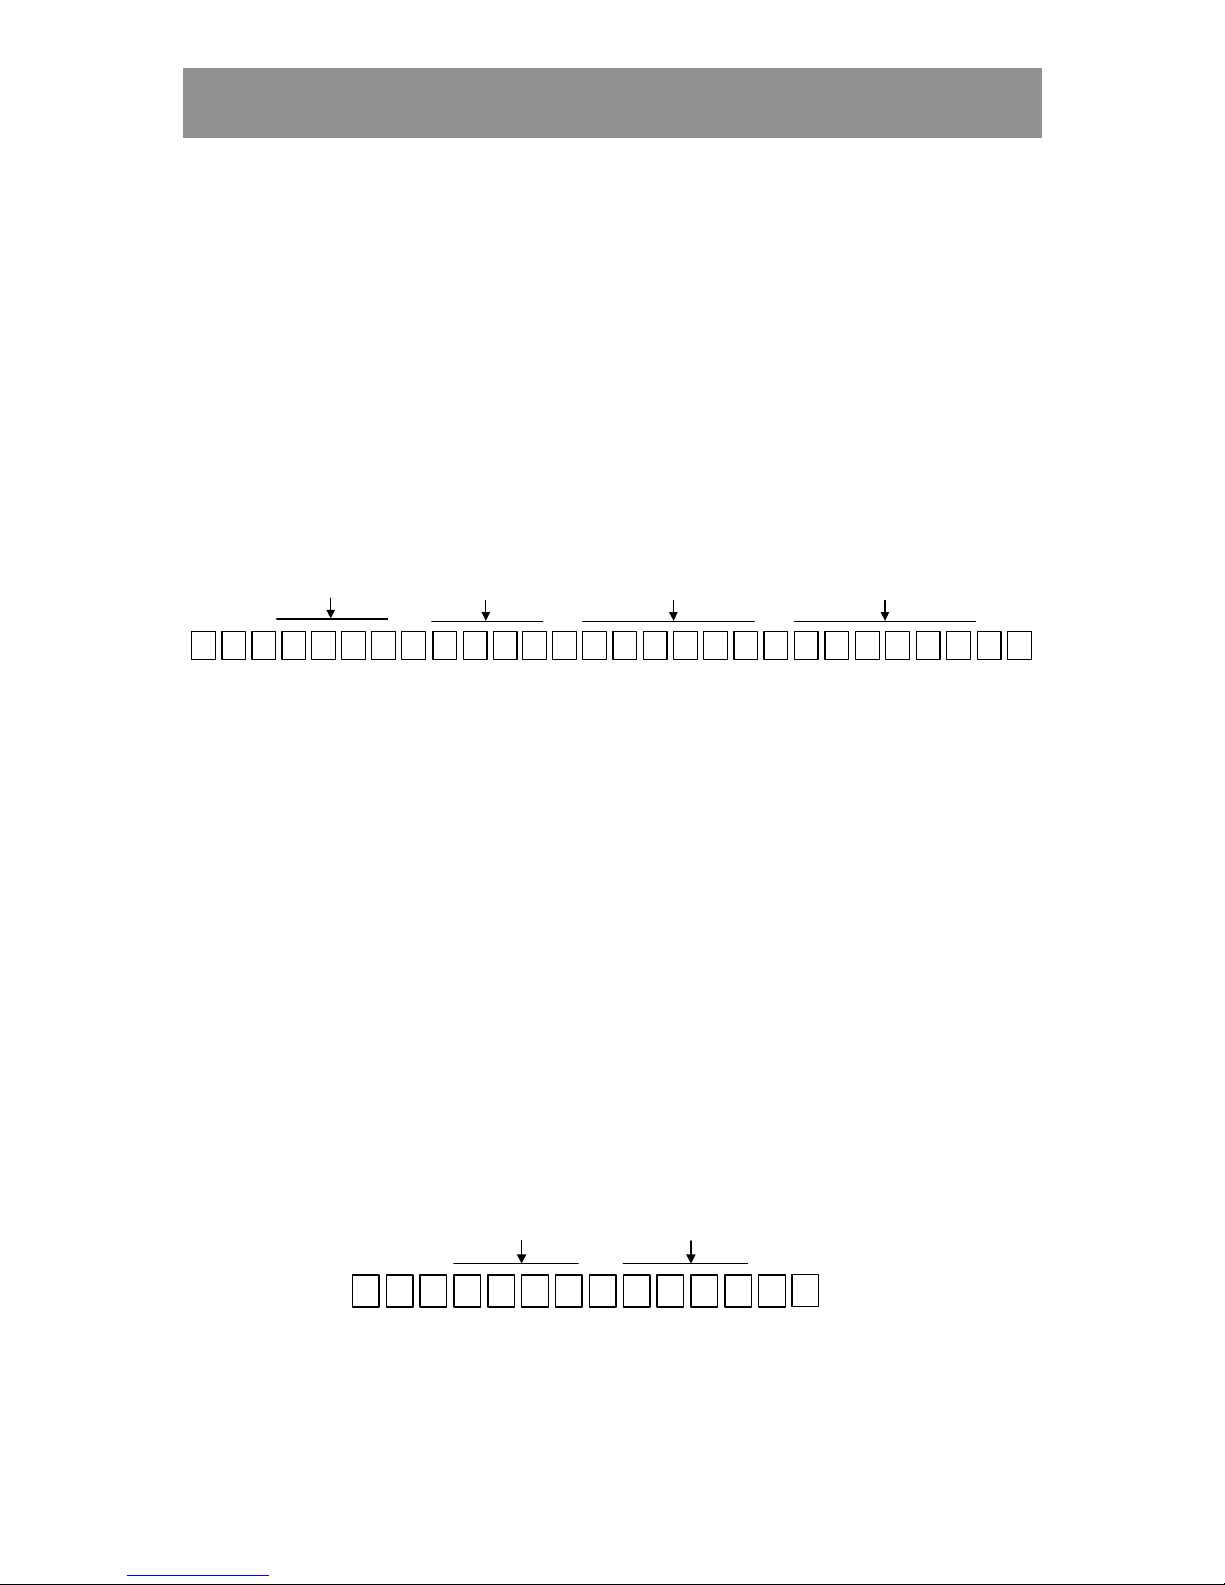
34 KC5000 Technical manual — Remote programming
5 Enter the number of the door/s where the code should be valid.
Finish with
!!!!.
6 Enter during which time zone/s the code should be valid.
Finish with
!!!!.
If programming was performed correctly, three rising tones are heard,
otherwise four identical tones are heard.
7 Proceed and program other information (start from step 2) or press
#
to disconnect the call.
Example:
3 6*9*1 1 2
Door/s New code
0*1
Time zone/s
#
*
2 5
12
*
8 0
Current code
Deleting codes
This is how to delete codes:
1 Call up the KC5000 and enter
!
!!
! password !!!!.
2 Press
1 3 . Finish with !!!!.
3 Enter the code to be deleted. Finish with
!!!!.
4 Enter the code once again. Finish with
!!!!.
If programming was performed correctly, three rising tones are heard,
otherwise four identical tones are heard.
5 Proceed and program other information (start from step 2) or press
#
to disconnect the call.
Example:
3 6 9 1 3 6 9 1
13
**
#
Same
code
Code
*
Page 35
KC5000 Technical manual — Remote programming 35
Doors
This describes how to remote program information about Changing doors.
Changing doors
This is how to change information about doors:
1 Call up the KC5000 and enter
!
!!
! password !!!!.
2 Press
3 1 . Finish with !!!!.
3 Enter the number of the desired door. Finish with
!!!!.
4 Enter the desired lock activating time. Finish with
!!!!.
5 Enter the desired time zone for free access. Finish with
!!!!.
6 Enter the desired time zone for pushbutton. Finish with
!!!!.
7 Enter the desired time zone for registration. Finish with
!!!!.
If programming was performed correctly, three rising tones are heard,
otherwise four identical tones are heard.
8 Proceed and program other information (start from step 2) or press
#
to disconnect the call.
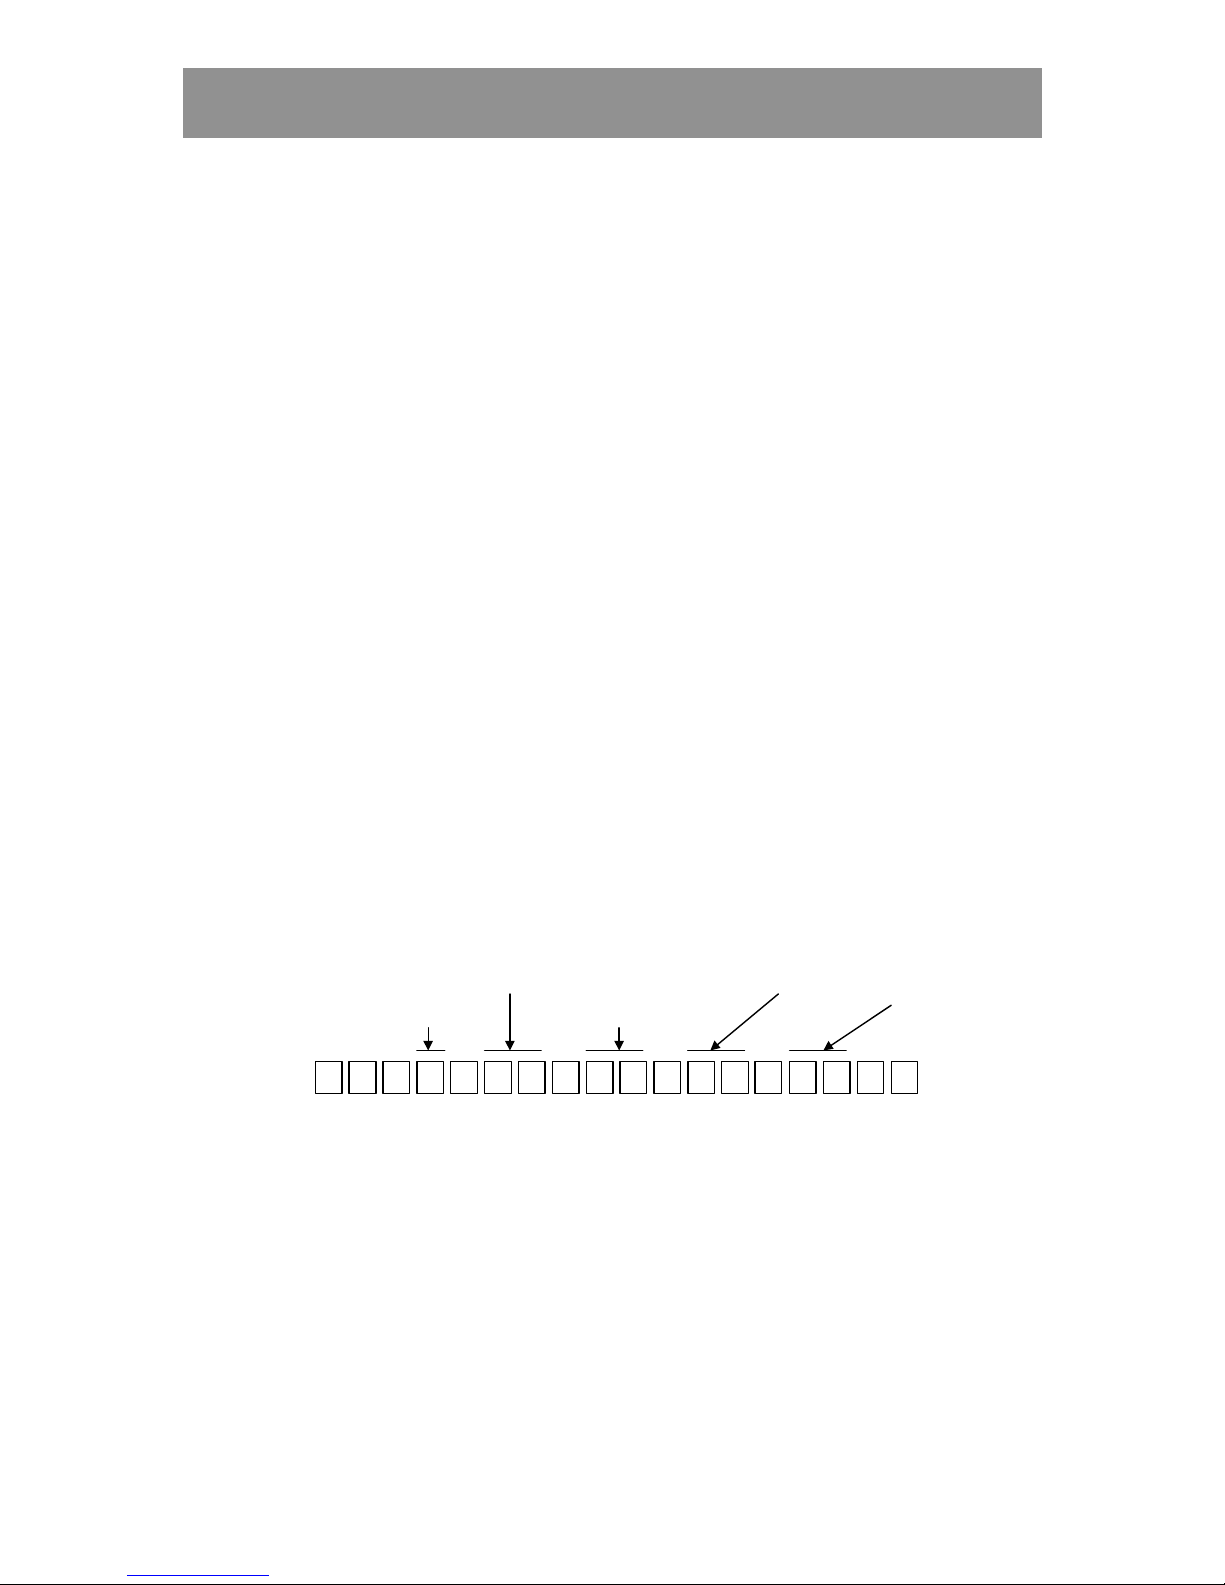
Example:
1 0 7 0 0
*
31
*
#
T. zone for
pushbutton
Door
* ***
T. Zone for
free access
Lock act. time T. zone for
registration
0 4
Page 36

36 KC5000 Technical manual — Technical information
Technical information
Central unit KC5000
• Code central for 6 doors.
• 99 codes.
• 99 time zones
• Opening time 1-999 seconds.
• Code blocked after 12 wrong attempts.
• Lockable housing for wall mounting.
• For installation inside in a dry environment only.
• Temperature range: 0° till +50°.
• Dimensions: 140 x 200 x 60 mm (HxWxD).
• Power supply: 24V AC/DC.
• Power consumption: 250 mA.
• Built in memory for storage of the 400 latest events.
• RS232 interface:
– 9 600 bps
– no parity
– 8 bits
– 1 start bit
– 1 stop bit
Keypad M65
• Keypad for 1 lock/door.
• Cast metal housing with stainless steel keys.
• Lockable housing in weatherproof design according to IP54.
• Housing fitted with tamper switch.
• Keypad with background illumination.
• Max load on relay contacts: 2 A, 30 V DC.
• Exit request input.
• Temperature range: –35° till +50° C.
• Dimensions: 140 x 80 x 36 mm (HxWxD).
• Power supply: 24 V DC.
• Power co nsumption: 75 mA.
Page 37
KC5000 Technical manual — Charts 37
Time zones
Time zone From To
Days
Page 38
38 KC5000 Technical manual — Charts
Codes
User Code Door Time zones
Page 39
KC5000 Technical manual — Charts 39
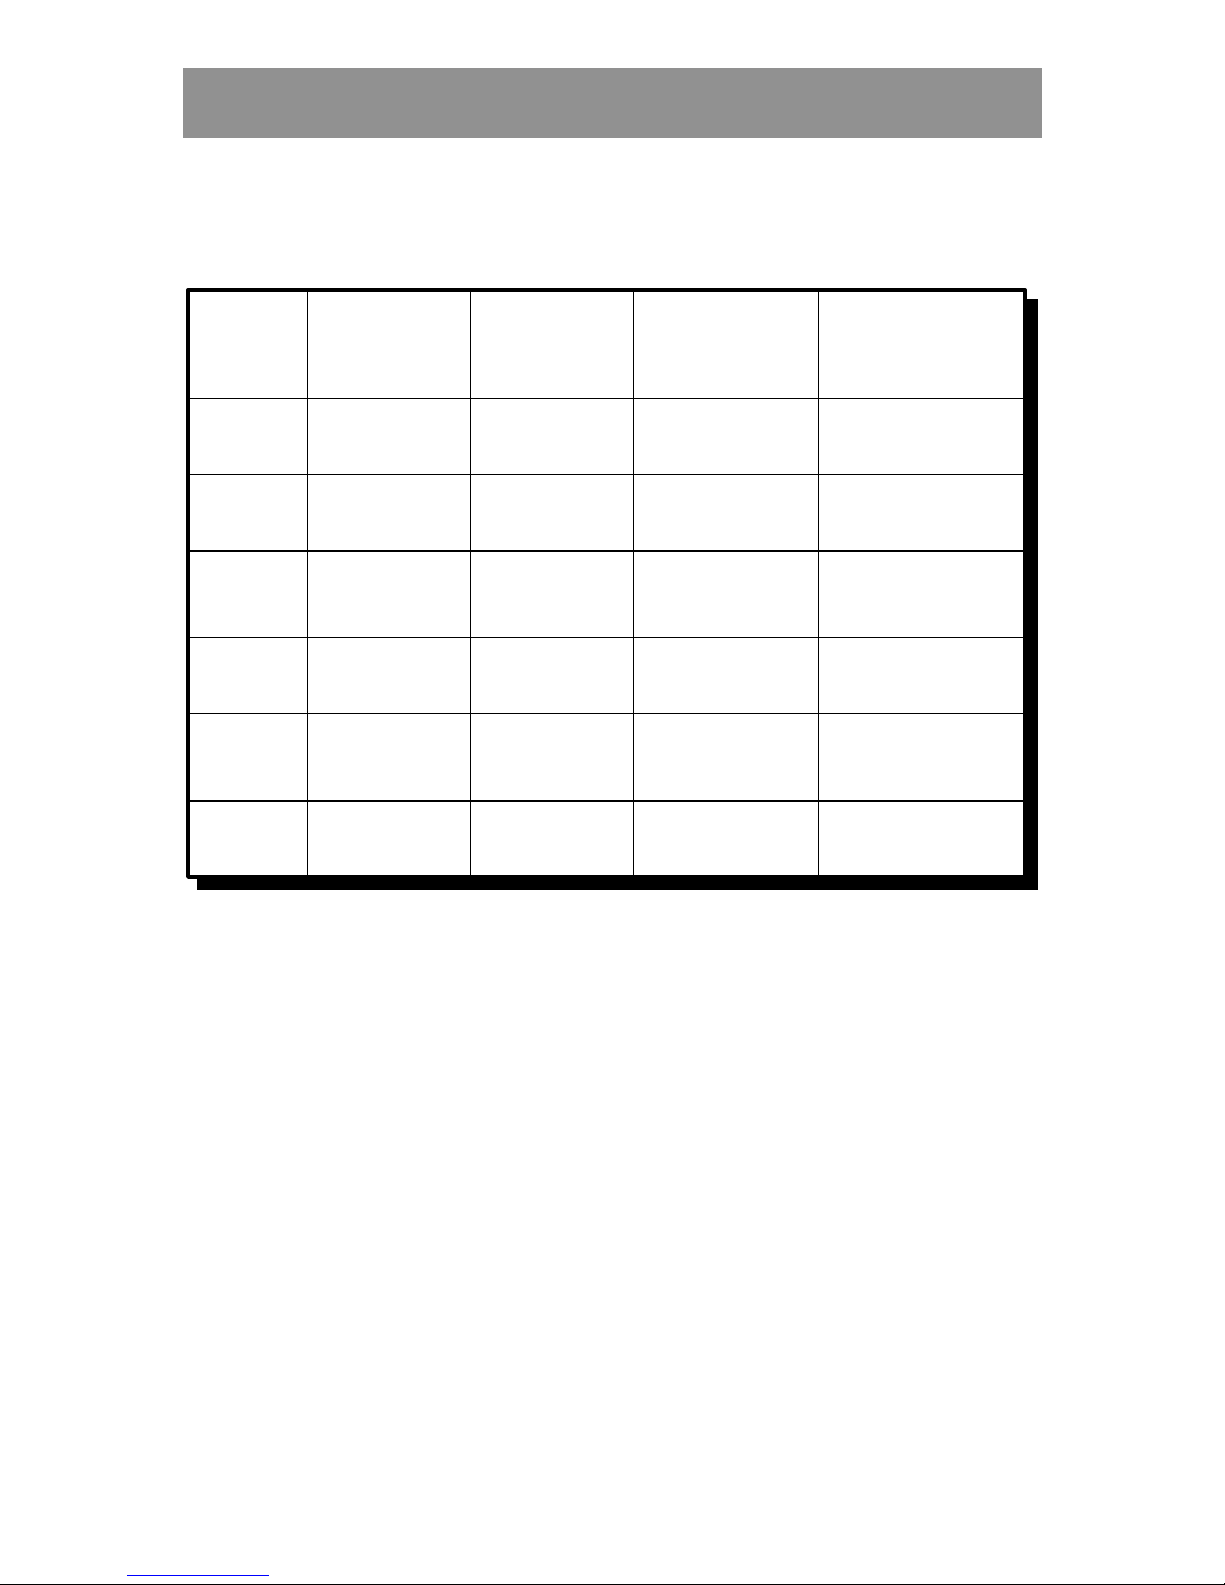
Doors
Door
Lock
activating
time
Time zone
for
free access
Time zone
for
push button
Time zone
registration
Page 40
40 KC5000 Technical manual — Templates remote programming
Templates for remote programming
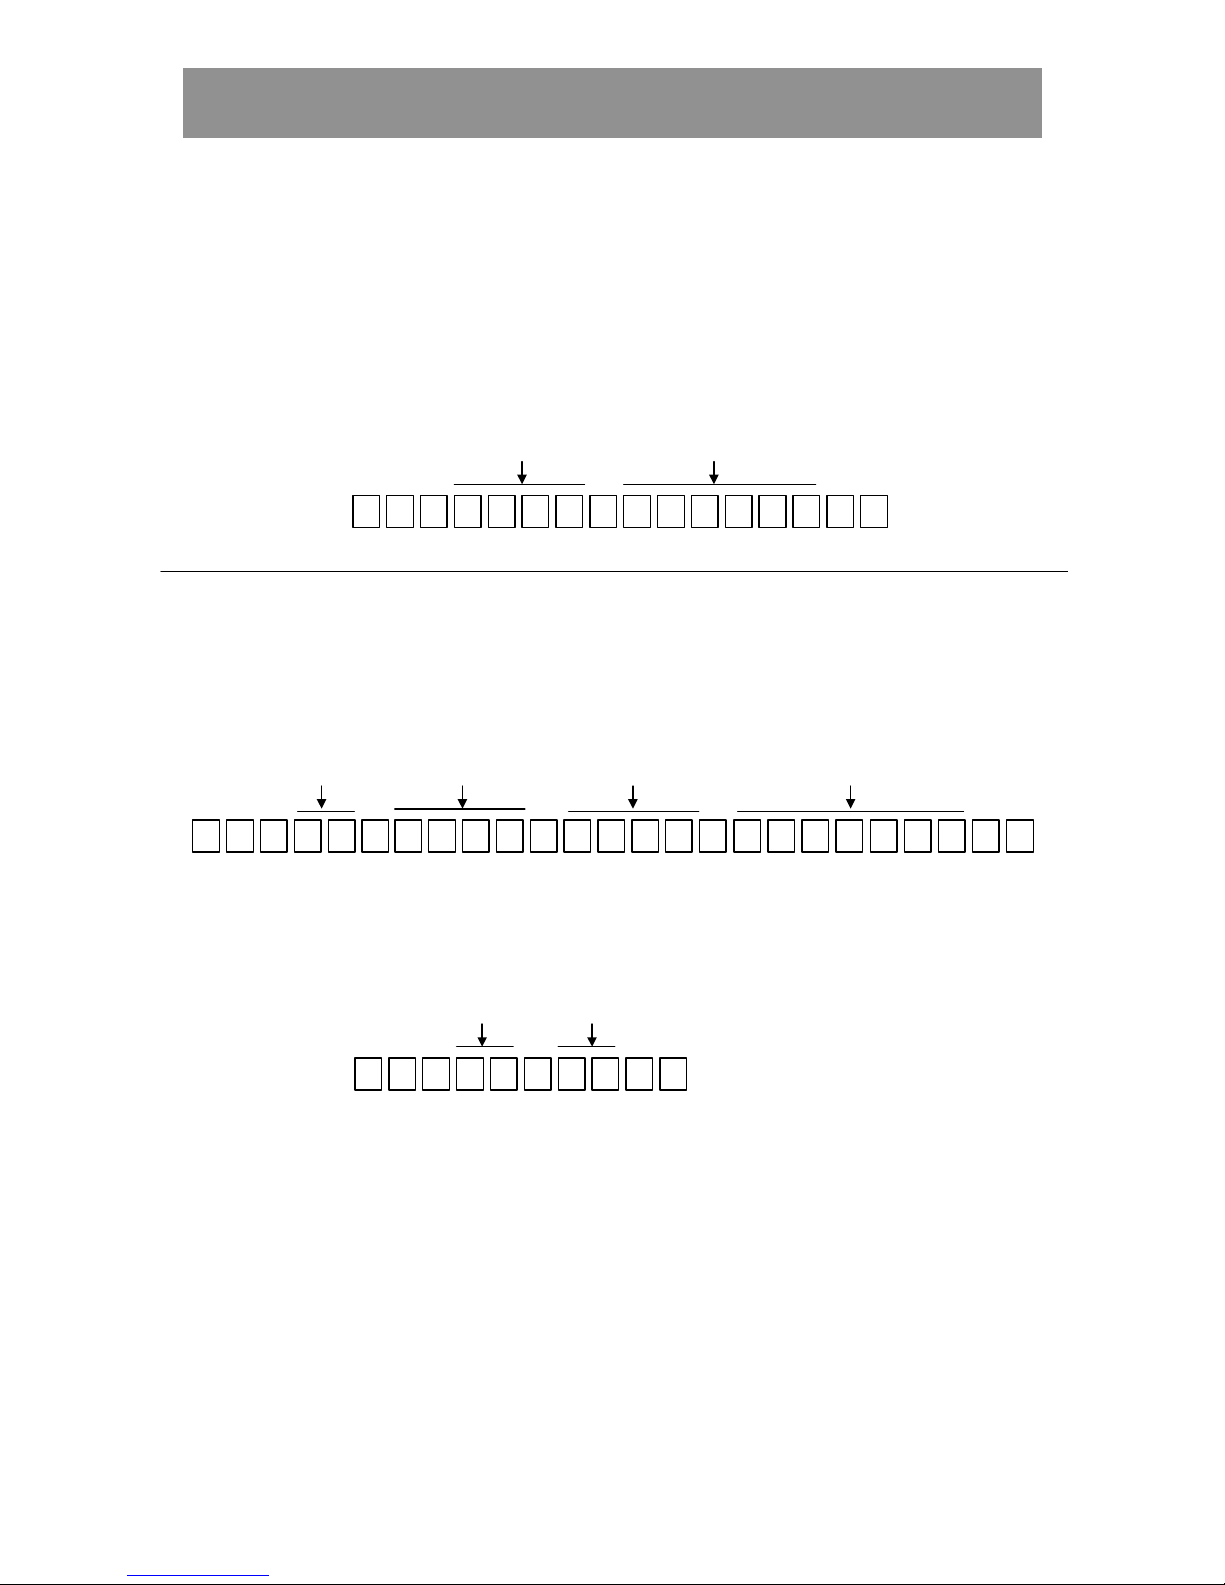
Change time and date
*
41
**
#
Time
Date
Time zones
New Entry and Changing
42
* * *
Start time Stop time Time zone
*
#
*
Days
Delete
43
***
#
Time
zone
Same
time zone
Page 41
KC5000 Technical manual — Templates remote programming 41
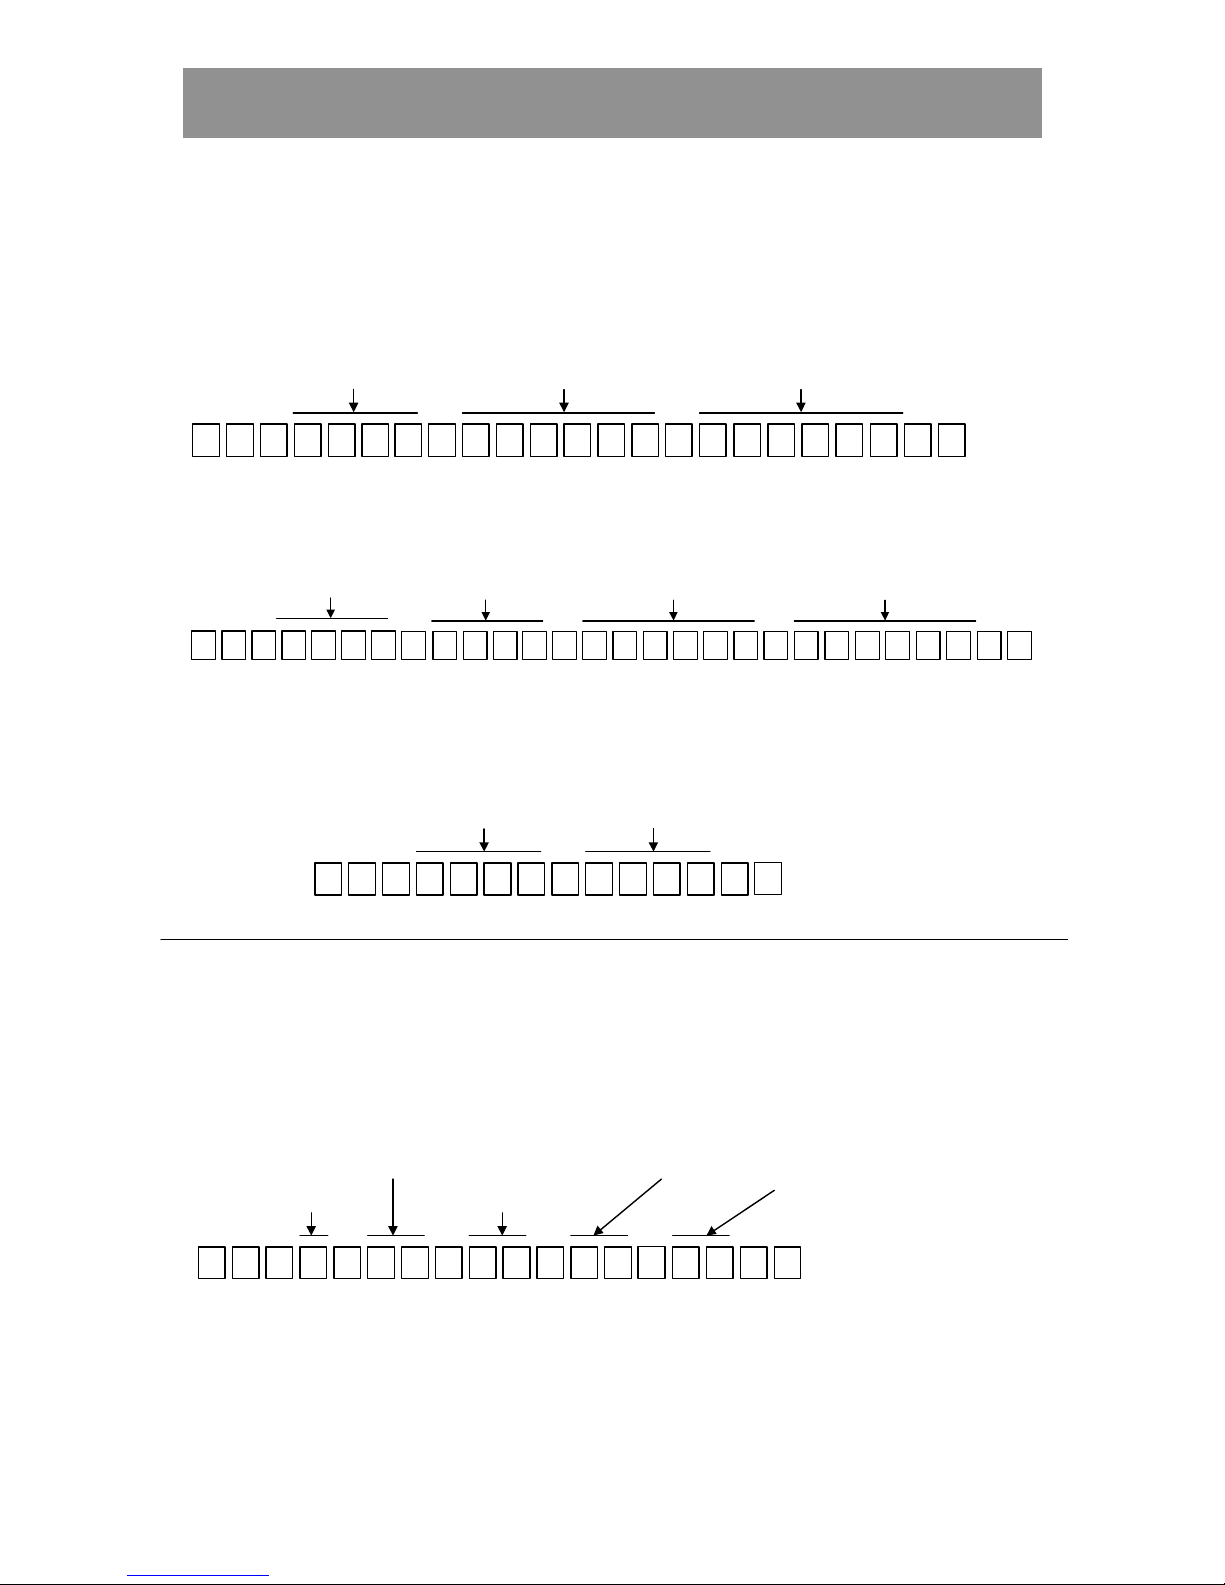
Codes
New Entry
11
*
*
Door/s Code
*
Time zone/s
#
*
Changing
*
*
Door/s New code
*
Time zone/s
#
*
12
*
Current code
Delete
13
**
#
Same
code
Code
*
Doors
Changing
*
31
*
#
T. zone for
pushbutton
Door
* ***
T. Zone for
free access
Lock act. time T. zone for
registration
Page 42

42 KC5000 Technical manual — Templates remote programming
Notes
___________________________________________________________________________
___________________________________________________________________________
___________________________________________________________________________
___________________________________________________________________________
___________________________________________________________________________
___________________________________________________________________________
___________________________________________________________________________
___________________________________________________________________________
___________________________________________________________________________
___________________________________________________________________________
___________________________________________________________________________
___________________________________________________________________________
___________________________________________________________________________
___________________________________________________________________________
___________________________________________________________________________
___________________________________________________________________________
___________________________________________________________________________
_________________________________________________________________________
Page 43

Page 44

 Loading...