

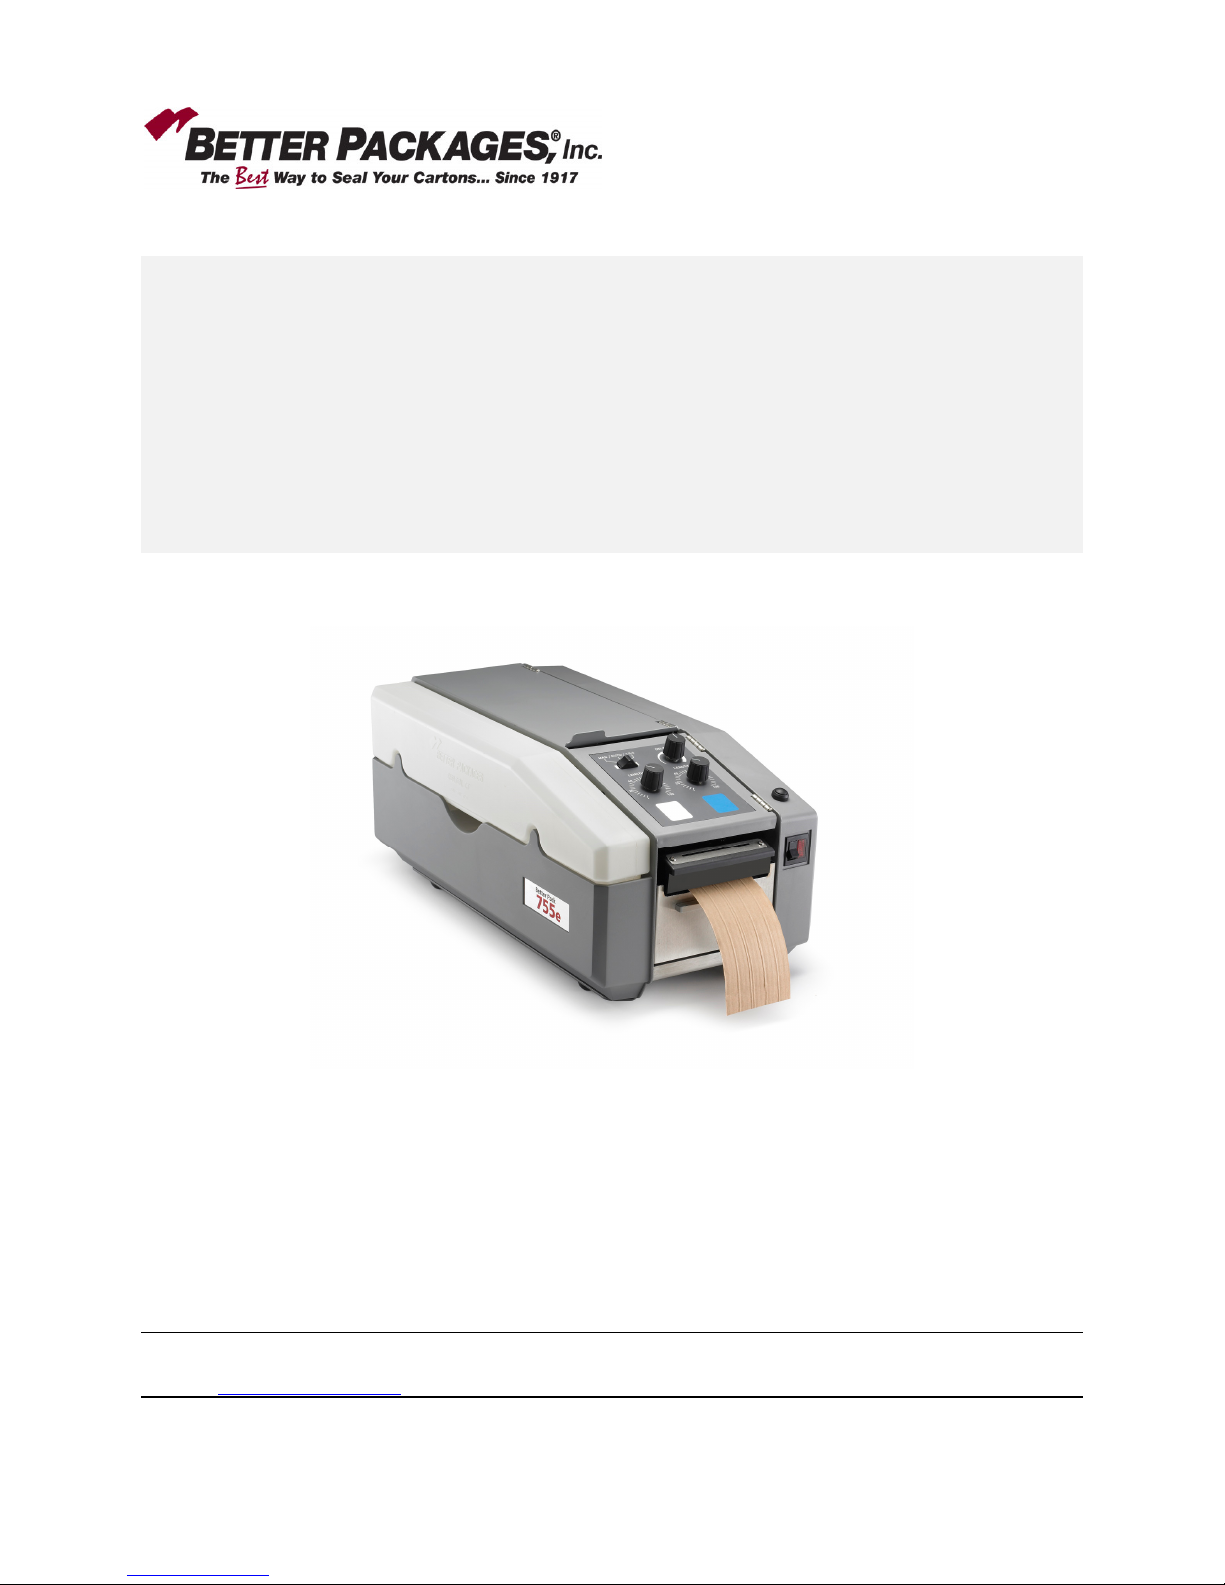
Better Pack® 755e Series
Model 755eMA
Electronic Tape Dispenser
BP755eMA OPERATING MANUAL
B
ETTER PACKAGES
4 Hershey Drive Ansonia, CT 06401
Web Site: www.betterpackages.com
BP P/N: MAN-755eMA-OPR File Name: BP755eMA-OPERATING MANUAL-21July14.doc
®
1

This manual is a non-controlled document.
Information in this manual does not constitute a warranty of performance. Futhermore Better Packages
reserves the right to revise this publication and make changes in its content from time to time.
Better Packages ASSUMES NO LIABILITY WHATSOEVER FOR ANY LOSSES OR DAMAGES
INCURRED AS A RESULT OF INFORMATION CONTAINED IN THIS MANUAL
Proprietary Notice
This publication contains information proprietary and confidential to Better Packages. Any reproduction,
disclosure, or use of this publication is expressly prohibited except as Better Packages may otherwise
authorize in writing.
Better Packages
4 Hershey Drive
Ansonia, CT 06401
Telephone: (800) 237-9151 or (203) 926-3700
Fax: (203) 926-3706
Web Site: http://www.betterpackages.com
2

Safety Precautions
Technical Data
Unpacking .
Preparing the Machine for Operation
Operating Instructions .
Recommended Maintenance . .
Warranty Statement
. . . . . . . . . . . . . . . . . . . . . . . . . . . . . . . Page 5
. . . . . . . . . . . . . . . . . . . . . . . . . . . . . . . . Page 6
TABLE OF CONTENTS
. . . . . . . . . . . . . . . . . . . . . . . . . . . . Page 4
. . . . . . . . . . . . . . . . Page 7
. . . . . . . . . . . . . . . . . . . . . . . . Page 11
. . . . . . . . . . . . . . . . . . Page 12
. . . . . . . . . . . . . . . . . . . . . . . . . . Page 14
3

SAFETY PRECAUTIONS
This must be read before servicing equipment.
Always unplug the machine before performing any maintenance or repair.
Line voltages may be present even with power switch in Off position.
This machine is designed for sealing cartons with water activated tape. Any other use will void all
warranties and any responsibility or liability of Better Packages, Inc.
Read all Safety Precautions and Operating Instructions before powering on and using the machine.
Any operator of this machine must be fully trained in the operation and safety.
In the event of a malfunction or breakdown, grounding provides a low resistance path for electric
current to reduce the risk of electric shock. This machine is equipped with an electric cord having an
equipment-grounding conductor and a grounding plug. The plug must be plugged into a matching
outlet that is properly installed and grounded in accordance with all local codes and ordinances.
Before connecting the machine to the power mains, verify that the electrical ratings of the machine
match the electrical supply intended for connection. If not, do not connect. If the correct power is not
available, contact the reseller.
The electrical safety of this machine is guaranteed only when it is correctly connected to a grounded
electrical system as prescribed by the present electrical safety rules.
Before maintenance or repair, disconnect the power cords from the electrical supply and protect the
cables from any possible accidental connection carried out by unauthorised personnel.
Keep the machine away from children and from personnel who are not authorised or adequately
instructed in its use.
4

TECHNICAL DATA
Size: 21” L x 10.5” W x 9.5” H
Dispensing Speed: Up to 32” per second
Water Bottle Capacity: 2 quarts
Tape Width: 1” to 4” Wide
Maximum Roll Size: Up to 600 ft. of tape
Up to 7.5” diameter roll
Tape Lengths Dispensed: Adjustable from 6” to 100 ”
Shipping Weight: 42 lbs.
Power Requirements: 115 volts, 60 Hz, 4 Amps
All specifications are subject to change without notice.
5
UNPACKING
Water Bottle
ty-rap
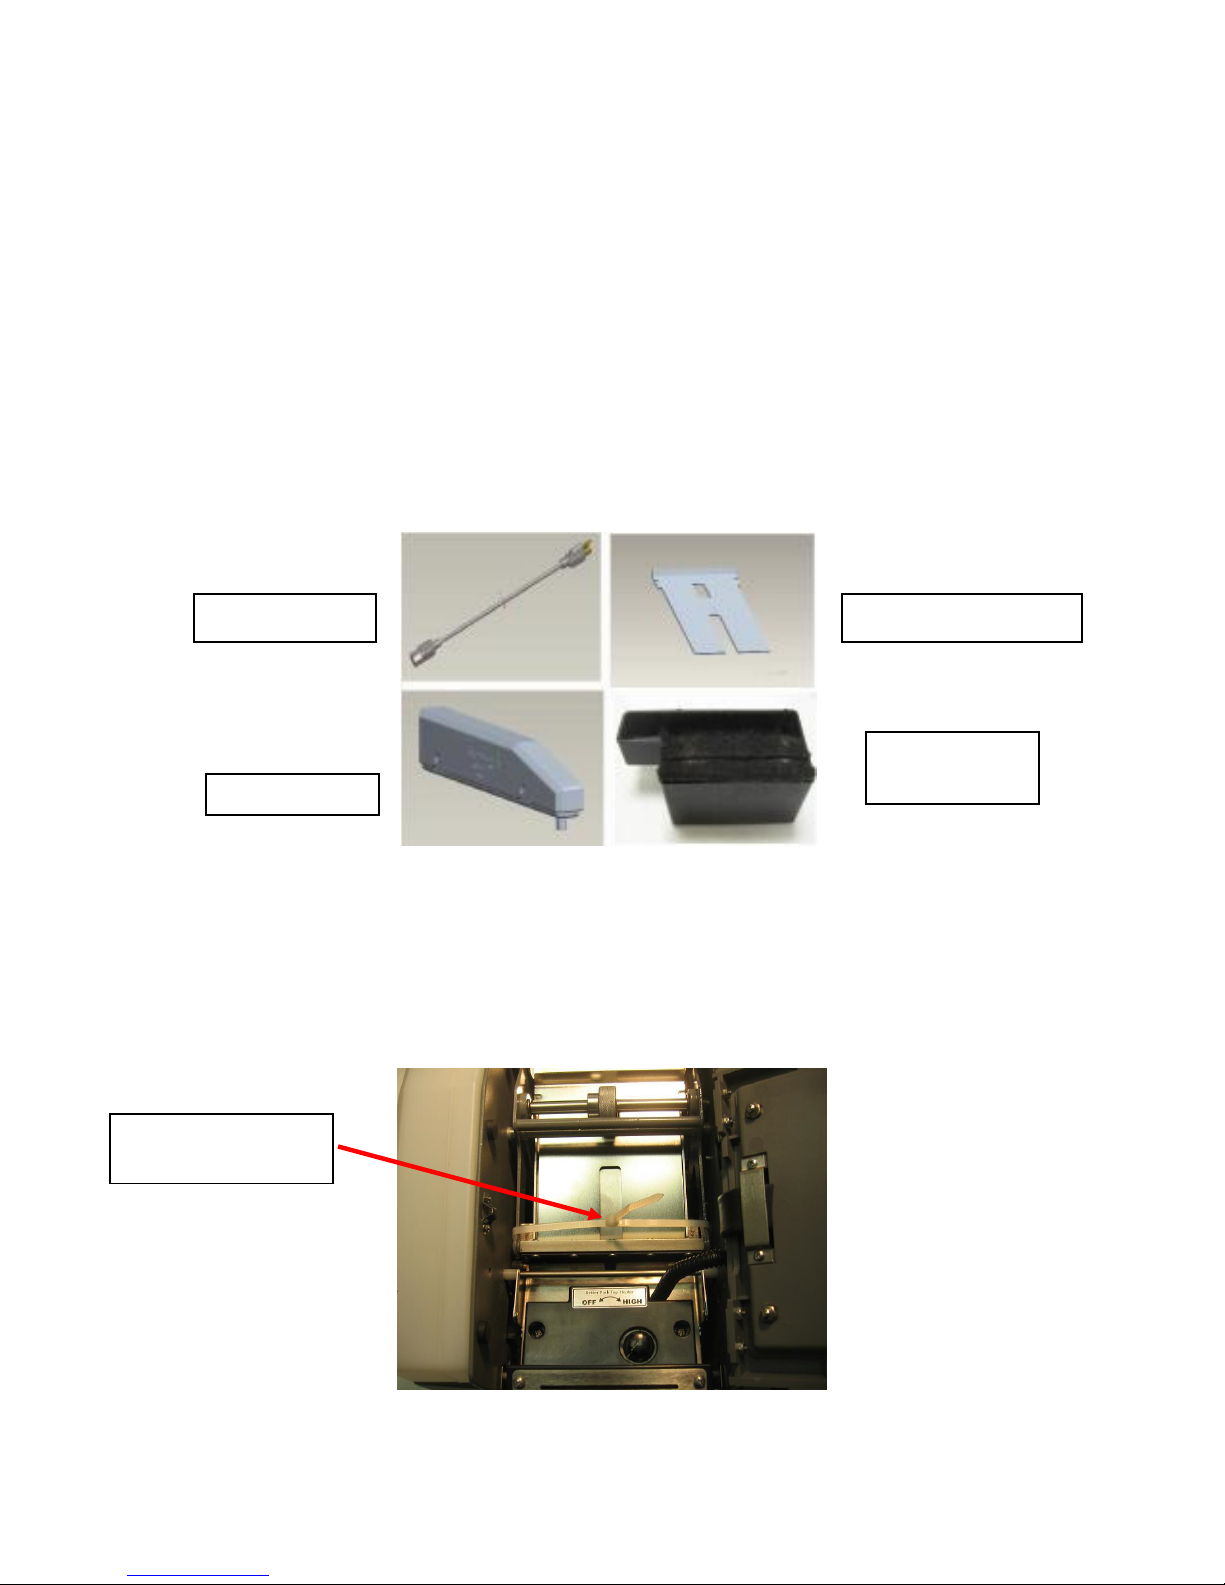
When unpacking your new Better Pack Tape Dispenser, check to make sure you have the following items
before discarding packing material:
• Operating Manual
• Power Cord
• Upper Tape Plate
• Water Bottle
• Water Tank and 2 Brushes
Note: The upper tape plate is held in position by packing materials, but may have been dislodged in
shipping. (see page 7, “Checking the Upper Tape Plate” if this has occurred.) Remove all packing
material before using the machine.
Power Cord
`
Cut off and remove the plastic ty-rap used to secure the blade during shipping.
Cut and remove
Upper Tape Plate
Water Tank
& Brushes
6

PREPARING THE MACHINE FOR OPERATION
1. ADJUSTING TAPE ROLL GUIDES
Adjust tape roll guides located inside the rear of the machine to accommodate the width for your
tape. The guides should be adjusted to minimize roll movement from side to side, but should not be
tight against the sides of the roll, which could create excessive drag.
Using the thumbscrew, adjust the width between the guides slightly wider than the tape width. If the
adjustment is more than ¼” or so, lift the back of the guides out of their slots, so they do not bind
while turning the thumbscrew, then insert the guides back into the slots.
Place the roll of tape into the machine and adjust the thumbscrew so the front end of the guides has
approximately 1/16” of clearance on each side of the tape.
Roll Guide Slots
Tape Roll Guides
Thumbscrew for roll
guide adjustment
2. CHECKING THE UPPER TAPE PLATE
If the upper tape plate has been dislodged in shipping, reposition it as follows: slide the tape plate under
the feed wheel, by placing the slotted edge behind the feed wheel and sliding it down and forward. Move
it all the way forward until the rectangular cutout is centered under the feed wheel. The rear sides of the
upper tape plate should be positioned under the retaining tabs of the lower tape plate.
Plate Retaining Tabs
Feed Wheel
Upper Tape Plate
7

Water Tank
Brushes
3. LOADING TAPE (wound adhesive side in).
Take the roll and unwind about 12". Place the roll in the machine so that the strip unwinds off the rear
of the roll as the leading end is brought up toward the front of the machine with the adhesive side
down.
Thread tape between the tape guide adjustment screw and the roller below it. Lift the rear of the tape
plate slightly and slide the tape leading edge forward under it and the upper feed wheel until it can be
seen in the slot of the upper tape plate.
Tape Guide Adj. Screw
Upper Tape Plate
Upper Feed Wheel
4. PREPARING THE MOISTENING BRUSHES
Remove the water tank and brushes. Wash brushes thoroughly in warm water and soap or mild
detergent. Place brushes back into the water tank. Note: the two brushes are beveled; place them
into the tank, being sure each brush is positioned with the high side toward the front of the tank. Place
tank and brushes back into the machine.
8
Water Bottle
5. PREPARING THE WATER BOTTLE
Fill bottle with water and place in bottle holder so that the spout of the bottle is in the tank.
6. ELECTRICAL CONNECTION
a. Attach power cord to the receptacle in the rear of the machine.
b. Plug machine into a standard power outlet (115Vac - 60 Hz current only).
WARNING
FOR YOUR SAFETY all the metal parts of this machine are electrically grounded through a 3-
wire power supply cord and a 3-prong grounding type plug which must be plugged into a 3-wire
grounded type receptacle.
If you are not sure the electrical system in your building is properly grounded, call a licensed
electrician.
c. When all connections have been made, turn on the power switch at the right front of machine.
The power light should be illuminated and indicates the machine is ready for operation.
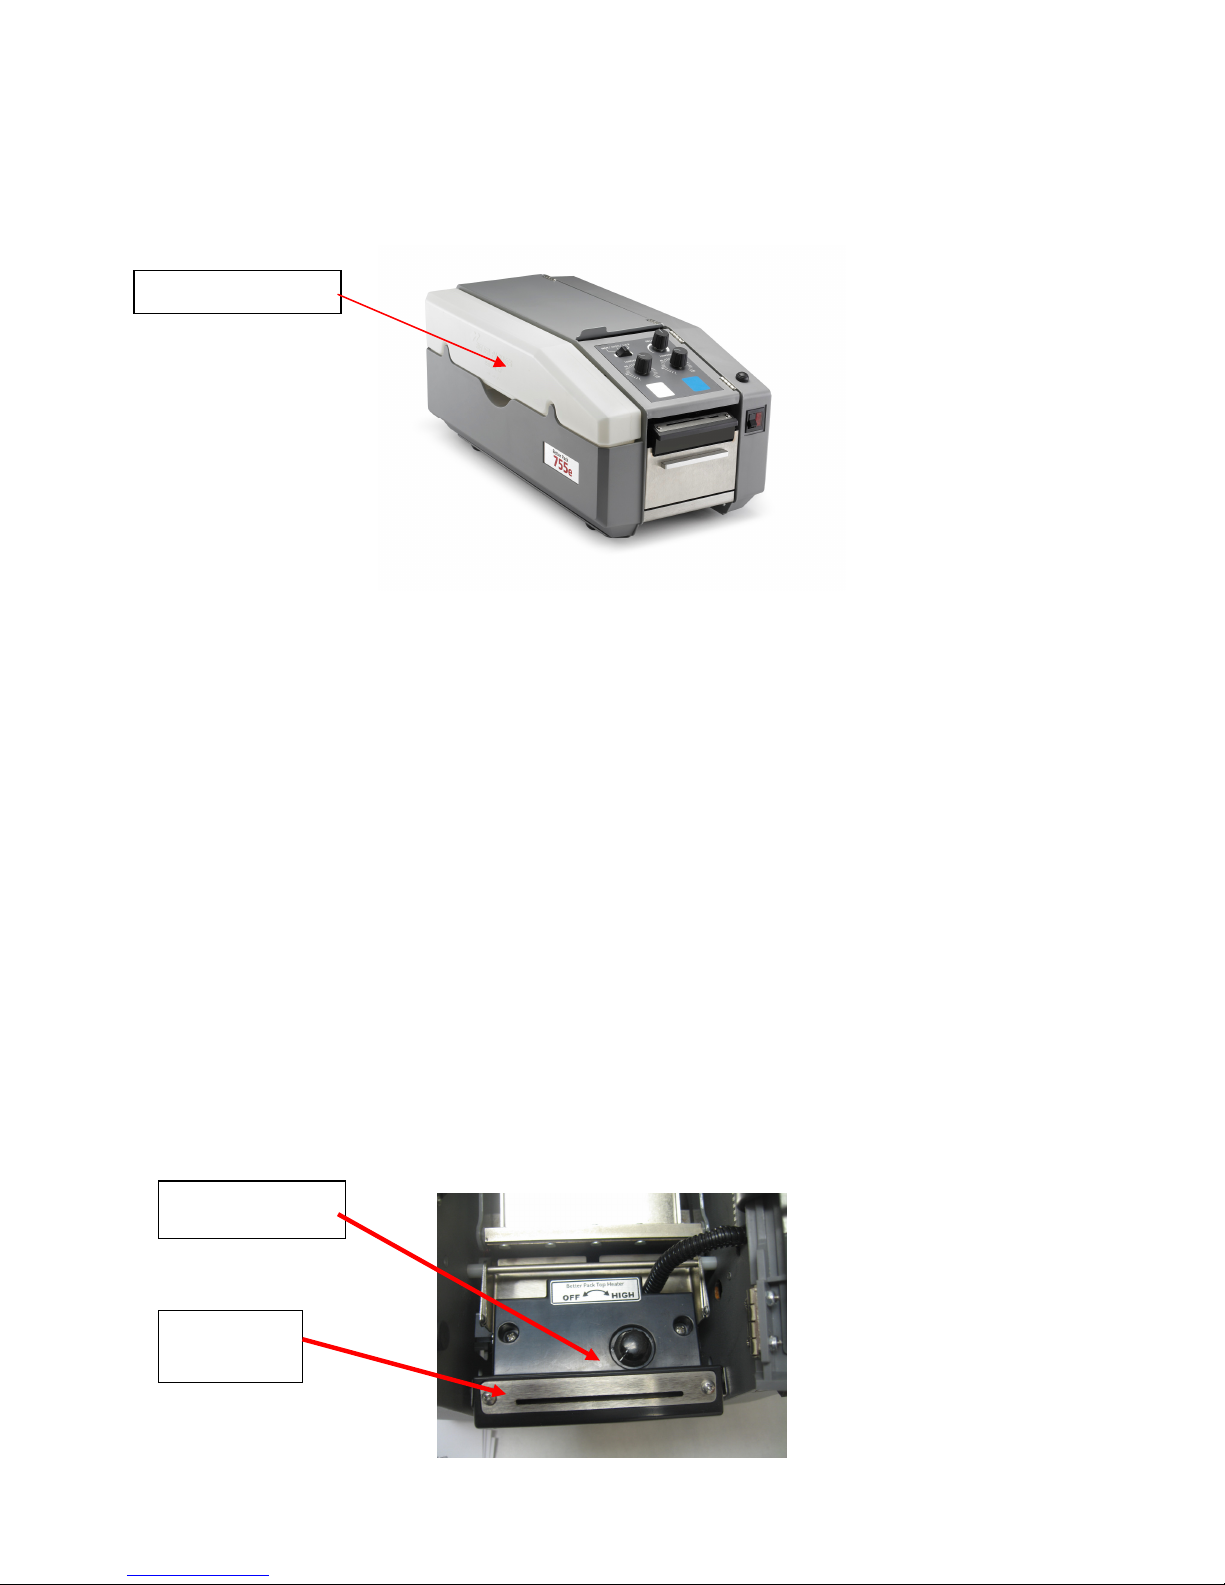
7. TOP HEATER SETTING
Finding the correct setting for the tape you are using is a matter of simple testing. Turn the
adjustment knob (clockwise) to the highest setting, then while using the machine, incrementally back
off the control to the lowest temperature setting that best meets your needs.
Heater Knob
Top
Heater
9

7. SETTING WATER LEVEL
The water level is factory preset to provide proper moistening of the tape adhesive for most types of
tape and should not need to be adjusted unless the tape is not sticking to the box properly. If more or
less water is needed for optimum performance of your tape, then the water level may need to be
adjusted. The water level in the tank is controlled by the position of the water bottle nozzle which can
be raised or lowered with the bottle bracket. To adjust the water level, loosen the thumb screw on the
bracket slightly, then slide the bracket up for more water or down for less and retighten the
thumbscrew.
Bottle Bracket
Thumb screw
10

OPERATING INSTRUCTIONS
Mode Selector
Switch
Dispense Delay
Control
Length Control
1
Dispense Key
1
Length Control
2
Dispense Key
2
Random Button
Power Switch
1. After following the machine preparation instructions, including loading the roll of tape, you are now
ready to operate the machine.
2. To dispense tape, adjust the length control dial for the length of tape you wish to dispense, lightly
press the dispense key below dial. There are two adjusting dials so that you can program two
different lengths of tape at one time. This allows you to prepare an “H” pattern for the length and
width of the carton.
3. RANDOM LENGTHS - The button at the right front of the machine is for visually measured lengths
of tape. As the button is held down, tape is dispensed. With a little practice, the operator can
quickly develop his "time" sense and dispense lengths with considerable accuracy.
4. OPERATOR MODE SELECTION – Choose the operating mode for the machine by positioning the
mode selector switch to MAN (manual), AUTO (automatic), or 1-2-2, as appropriate.
11

Tape Sensor
5. DELAY CONTROL – Set the delay time so that the machine waits before automatically dispensing
the next length of tape. The delay can be set from approximately 1 to 30 seconds. Delay is for use
in Auto or 1-2-2 mode only.
6. MANUAL MODE – Tape is dispensed immediately each time a dispense key is pressed.
7. AUTO MODE – The automatic mode dispensing sequence is started by depressing a dispense key.
The tape length is set by the length dial above the key pressed. The machine waits the set delay
time after the operator removes tape and then automatically dispenses the next piece of tape. The
same length is repeated until either the other dispense key is pressed or the mode is changed.
8. 1-2-2 MODE – The 1-2-2 mode dispensing sequence is started by moving the mode selector switch
from MAN to the 1-2-2 position and then depressing the left dispense key. The 1-2-2 dispensing
sequence begins by dispensing a length set by the left length dial and then 2 lengths of tape set with
the right length dial. The dispenser waits the set delay time after the operator removes the tape and
then automatically dispenses the next piece of tape. The 1-2-2 sequence repeats until the mode is
changed.
Note: If the machine does not dispense tape when in “Auto’ or “1-2-2” modes, check to make
certain there is no tape stuck in the machine under the tape sensor. The tape sensor is
located under the rear of the heater cover and sees the tape through a hole in the heater
plate. Remove the tape piece to fix the problem. Check for a tape obstruction by lifting up the
heater to view the tape sensor. There should not be any tape visible in the hole area.
Bottom view of Heater
12

Recommended Maintenance
To ensure ongoing performance of your 755e tape dispensing machine, regular maintenance is
important. Maintenance is quite simple and just takes minutes. Without regular maintenance, the
efficiency of your equipment will be undermined. The frequency of maintenance depends on many
factors, including the volume of machine use. Frequencies indicated below are “standard”…your
frequency may vary.
Warning: Be sure the dispenser is UNPLUGGED before performing any cleaning procedures.
Clean Brushes – Weekly
Clean the brushes on a weekly basis or when adhesive build up effects proper moistening of the
tape. The adhesive can prevent sufficient and even water flow to the tape causing poor
moistening of the tape. Regular cleaning will extend the life of the brushes and insure that
adhesive build-up will not cause performance to deteriorate.
Procedure:
1. Unplug power from the machine! Remove the water bottle and water tank.
Caution: Heater may stay hot for a period after machine is off.
2. Remove the brushes from the tank to remove any dried adhesive. Notice how the brushes
are positioned in the tank because they must be replaced correctly.
3. Wash the brushes with warm water and soap.
4. Place the brushes back into the water tank. It is extremely important that they are positioned
correctly. The top of the brushes are cut at an angle. Shorter brushes go in the back. The longer
length bristles must be toward the front of the machine (tank).
Notice: Installing the brushes backwards will cause excessive tape jams.
Never cut the brush tips to remove adhesive as they are cut at a specific angled
and flagged to facilitate proper moistening. Cutting will most likely cause
poor performance.
Cleaning the Shear Blades
In order for this dispenser to cut the tape well, the blades need to be free of adhesive, dust or any other
materials. The adhesive that is laminated onto reinforced tape often accumulates on the dispenser’s
blades. Even single layer Kraft paper tape without reinforcing yarn can cause an accumulation of dust
and adhesive on the blades. These materials need to be cleaned off the blades. Use a scraper to remove
the accumulation of adhesive, but never scrape the cutting edge because the blade may become dull and
need replacement.
Coating the blade with a light grade oil can help slow down the accumulation of adhesive.
Caution: The blade is sharp and can cut easily, so be careful working around it.
13

General Machine Cleaning
The feed wheel pushes tape through the machine. Obstructions such as dirt or dried adhesive can divert
the tape and cause it to jam. Periodical cleaning of the tape path will mitigate tape jams.
Procedure
1. Remove the upper tape plate that sets on the tape next to the feed wheel. Pull tape off from the
lower tape plate if it hasn’t already been removed. Clean any dirt and adhesive from the upper
and lower tape plates.
2. Lift the heater up and clean the bottom of it. Under the heater is a lower plate that the tape rides
over. The lower plate and heater plate are separated by a small gap that helps the tape to move
under the heater and onto the brushes with minimal obstruction. Pull down on the front of the
lower plate to separate it from the heater plate. Clean between the plates the snap the lower plate
back onto the heater plate. Be careful not to bend the lower plate. A bent plate can be a cause of
tape jams.
LUBRICATION – Not Needed!
1.
All vital moving parts of this machine have oil retaining porous bushings and should not require
additional oil for the average life of the machine.
2. FEED WHEEL SHAFT -
internal parts.
Do not oil this shaft. Oil can creep in through the bearings and effect
14

Better Packages, Inc.
Warranty Information
The manufacturer warrants each new Better Packages machine and accessory to be free from defects in material
and workmanship under normal and proper use. Its obligation under this warranty being limited to replacing or
repairing any defective parts within the time period indicated for the specific model after delivery (at the company’s
discretion) to the customer. Wearable parts such as shear blades, water bottles and caps, water brushes and motor
brushes are not covered under the warranty. Machines used for any reason not intended by the manufacturer will not
be considered for warranty protection.
The company will replace or repair (at the company’s discretion) any defective parts within the warranty period, on a
no-charge basis. The Authorized Distributor/Service Center will furnish, without charge, within the time period
indicated for the specific model, necessary labor to service the machine.
If customer wishes, they may forward any machine listed below with authorization from Better Packages or an
Authorized Distributor/Service Center for warranty service. Any item shipped for warranty service must be shipped in
the original factory carton and properly packed with the original protective packaging inserts or a secure carton that
will properly protect the unit during transit. Units received improperly packed are subject to costs associated with
damage caused during transit. These costs will be the responsibility of the customer. All associated shipping or
freight costs related to items shipped for service are the sole responsibility of the customer.
For service under this warranty, call or write your nearest Better Packages Distributor/Service Center or Better
Packages, Inc. Ansonia, CT at 800-237-9151 (US only) or (203) 926-3700. To locate your local Authorized
Distributor/Service Center, visit www.betterpackages.com. Transportation charges on machines or parts returned
to Better Packages for service must be prepaid by the customer. Customers will be responsible for freight expenses
on parts or machines returned to them.
Better Packages’ ship-to address is: 4 Hershey Drive
Ansonia, Connecticut 06401
Product Warranty*
Model Parts Labor
Better Pack® 755e Series
Better Pack® 555e Series
Better Pack
®
500 Series 2 Years 6 Months
2 Years 6 Months
2 Years 6 Months
Better Pack® 333 Series 2 Years 6 Months
TapeShooter® 404 2 Years 6 Months
Packer® 3S 2 Years 6 Months
Better Pack® PS2A 1 Year 6 Months
*When servicing a Better Packages product, genuine Better Packages replacement parts should be
used. Any other parts used will void all existing warranties along with UL, CE and CSA
certifications and may create a safety hazard.
This warranty statement dated May 1, 2014 supersedes all other prior published statements.
15
 Loading...