

Best Data WR300NR User Manual

Wireless Extender&Router
WR300NR
Quick Installation Guide(Q.I.G.)
REV.1.0

Introduction:
The
Wireless Extender&Router is a combined wired/wireless network
connection device designed specifically for small business, office, and
home office networking requirements. It complies with the IEEE 802.11n
(Draft 2.0) standard. It adopts MIMO as well as SST technologies. It also
works well with other 11b/g and 11n protocol wireless products. Create
instant WiFi hotspots at any location where you have Internet connection .
Main Features
Complies with IEEE 802.11n, IEEE 802.11g, IEEE 802.11b standards
Supports Router, Client, Bridge, Repeater, AP mode
QoS function assures the quality of VoIP and multimedia streaming
Wireless N speed up to 300Mbps and Backward compatible with
802.11b/g products
Compact and portable, powerful wireless signal as well
Travel size design, ideal for home or travel use
Supports WEP, WPA/WPA2, WPA-PSK/WPA2-PSK encryptions
Package Contents
Before you starting to use this router, please check if there’s anything
missing in the package, and contact your dealer of purchase to claim for
missing items:
• 1 x Wireless N Mini Router
• 1 x Quick Installation Guide
• 1 x RJ-45 Networking Cable
Getting Started
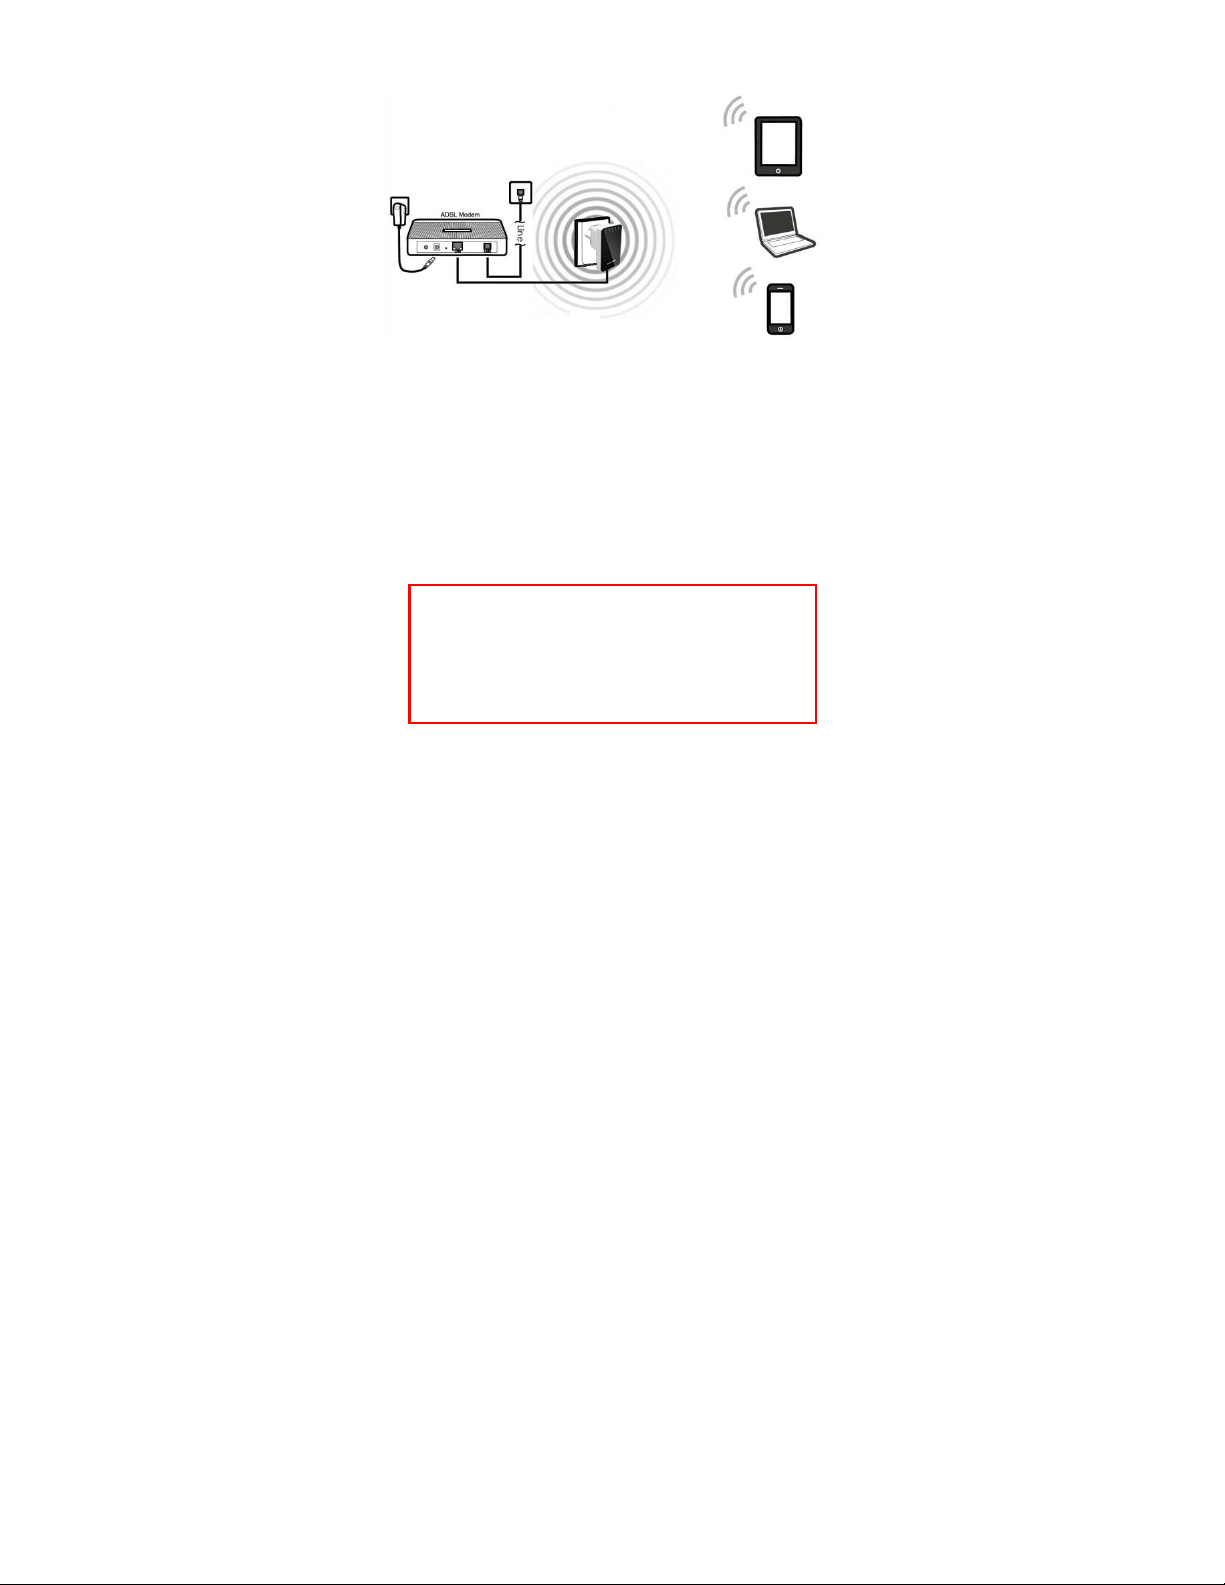
Setting up a Wireless Infrastructure Network
For a typical wireless setup at home (as shown above),
Please do the following:
1. You will need broadband Internet access (a ADSL, Cable Modem line
into your home or office).
2. Consult with your ADSL or Cable Modem provider for proper
installation of the modem.
3. Connect the ADSL or Cable modem to the Wireless N Mini Router.
Plug the power plug of the Router in electrical wall socket.
4. Adding computers to the Wireless N Mini Router.
IMPORTANT NOTE
You can reset your Wireless-N Router to default setting by
press the ‘RESET’ button on the back side of the Router.
You can use this solution if you forget your password.

Adding computers to the Wireless N Mini Router Router
1. Log on to the computer.
2. Open Connect to a Network by right-clicking the network icon ( or
) in the notification area.
3. Choose the wireless network
“
Wireless-N
”
from the list that
appears, and then click
Connect
.
4. Type the network security key or passphrase if you are asked to do
so, and then click OK.
You'll see a confirmation message when you are connected to the
network.
5. To confirm that you added the computer, do the following:
Open Network by clicking the
Start
button , and then clicking
Control Panel
. In the search box, type
network
, and then, under
Network and Sharing Center, click
View network computers and
devices
.
You should see icons for the computer you added and for the other
computers and devices that are part of the network.
Note : If you don't see icons in the Network folder, then network discovery
and file sharing might be turned off.
For more information:
http://windows.microsoft.com/en-US/windows7/Add-a-device-or-computer-to-a-network
http://windows.microsoft.com/en-US/windows7/Setting-up-a-wireless-network
http://windows.microsoft.com/en-US/windows-vista/Setting-up-a-wireless-network

Configuring via Web Browser
Open web browser and type http://192.168.10.253 in the browser's address
box. This number is the default IP address for this device.
The login screen below will appear. Enter the “User Name” and “Password”
and click “OK” to login.
The default User name is “admin” and the Password is “admin”.

Setup Wizard
After a successfully login, you can click the Quick Setup menu to quickly
configure your Router.
Choose the Operation Mode you need,and then click Next.
AP Mode:
Set the wireless parameter.It's recommended that you rename an SSID,
choose a Security Mode and enter a Key.
Click Save&Reboot to reboot the Router and make the settings take effect.
 Loading...