

Besafe X3-GB User Manual
REARWARD- & FORWARD-FACING
USER MANUAL
ECE R44 04
GROUP WEIGHT AGE
0+/1 0-18 kg 6m-4y
1
Thank you for choosing BeSafe iZi Combi.
BeSafe has developed this seat with much care, to protect your
child during the next phase of her or his life.
It is important that you read this user manual BEFORE installing
!
your seat. Incorrect installation could endanger your child.
Contents
Vital information 2
Preparing to install 4
Rearward-facing in the back or front seat: preparation 5
Rearward-facing in the back seat: installation 9
Rearward-facing in the front seat: installation 12
Removing the seat 14
Forward-facing belt installation 15
Removing the seat 16
Positioning of the child 17
Sleeping position 18
Removing and refitting the cover 19
Cleaning instructions 21
Warning: potential misuse 21
Important advice 22
Point of sale information 23
Guarantee 24
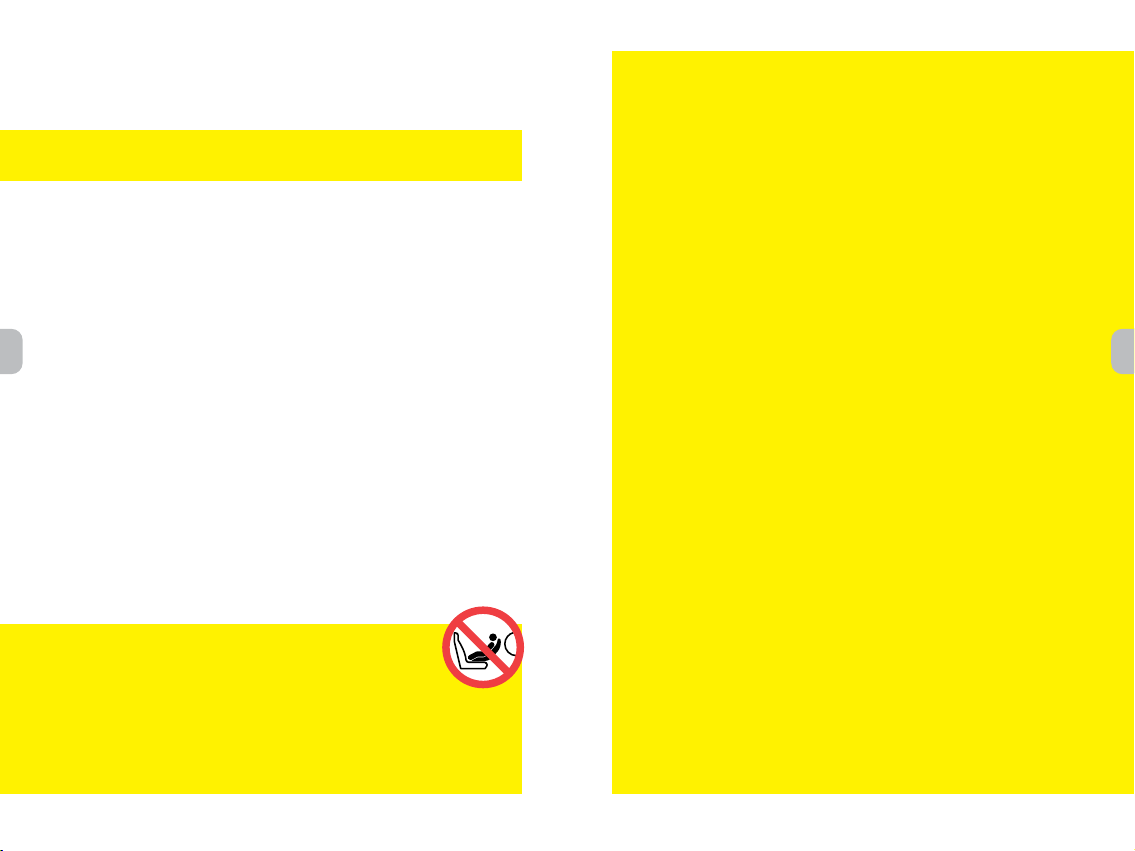
Vital information
• It is NOT ALLOWED to mount the seat in a front
!
passenger seat WITH AN ACTIVATED AIRBAG.
• iZi Combi can be installed rearward-facing with a
3-point car belt, approved to UN/ECE Regulation
No. 16 or other equivalent standards.
• iZi Combi can be installed forward-facing with a 3-point
car belt, approved to UN/ECE Regulation No. 16 or other
equivalent standards.
• iZi Combi is approved in groups 0+ and 1, rearward-facing
from 0-18 kg and group 1, forward-facing from 9-18 kg.
• Read the car list to find out whether your car model is
approved to use the seat.
• The harness straps must always be locked when the child is
in the seat.
• The harness straps must be tightened without slack and
not twisted.
• The seat cover contains magnets in the areas with the orange
indications. Magnets can influence electronic equipment like
pacemakers.
• The floor support must always be used when it is installed
rearward-facing. Make sure that the floor support is fully
pushed down. When installing forward-facing the floor support
and the front brace shall not be used.
• We recommend to use the seat as long as possible in the
rearward-facing installation.
• We recommend that this seat is used only for children who
can sit upright, so not younger than 6 months.
• For children under 1 year and/or under 10 kg weight, we
recommend that the most reclined sitting position and the
body hugger and seat cushion are used.
• When the child weighs over 18 kg or the shoulder height
grows above the highest position of the shoulder straps, the
child must change to a group 2/3 seat.
• After an accident, the seat must be replaced. Although it may
look undamaged, if you were to have another accident, the
seat may not be able to protect your child as well as it should.
• Prevent the seat from becoming trapped or weighed down by
luggage, seats and/or slamming doors.
• Before every use, make sure the harness is not damaged
or twisted.
• Make sure you can fit no more than one finger between the
harness and your baby (1cm).
• If in doubt, consult either the child restraint manufacturer or
the retailer.
2 3
32
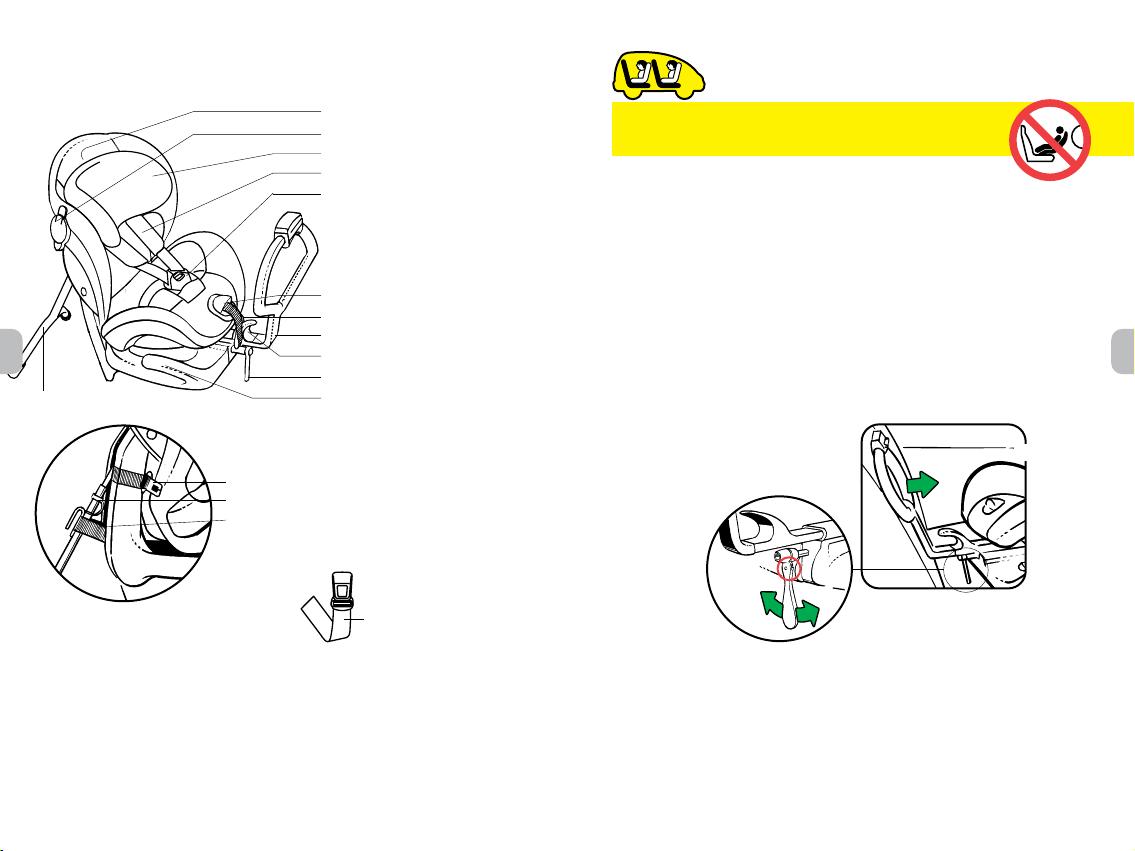
Preparing to install Rearward-facing in the
Crucial parts
Floor support
Release handle head rest
Belt clamp (2x)
Adjustable head rest
Harness shoulder straps
Harness buckle
Central adjuster
Reclining lever
Front brace
Belt guiding hook
Ratchet for front brace
Belt guiding horns (2x)
Connector for anchor belt (2x)
Locking bolt floor support
Belt loop floor support
Anchor belt (2x)
It is NOT ALLOWED to mount the seat in a front
passenger seat WITH AN ACTIVATED AIRBAG.
When mounting in the back seat of the vehicle, push the
1-
front seat of the vehicle forward as much as possible. When
mounting in the front seat, adjust the back rest in an upright
position.
Install the front brace by sliding the two pins in the holes of
2-
the belt guiding hook. Move the front brace inwards with the
ratchet, not further than the stop sign. The ratchet is used to
adjust the front brace in both directions. Slide the knobs (see
red circle) on the ratchet up or down to change direction (1).
back or front seat: preparation
!
(1)
Assemble the floor support before you install the seat in your
3-
vehicle.
4 5
5
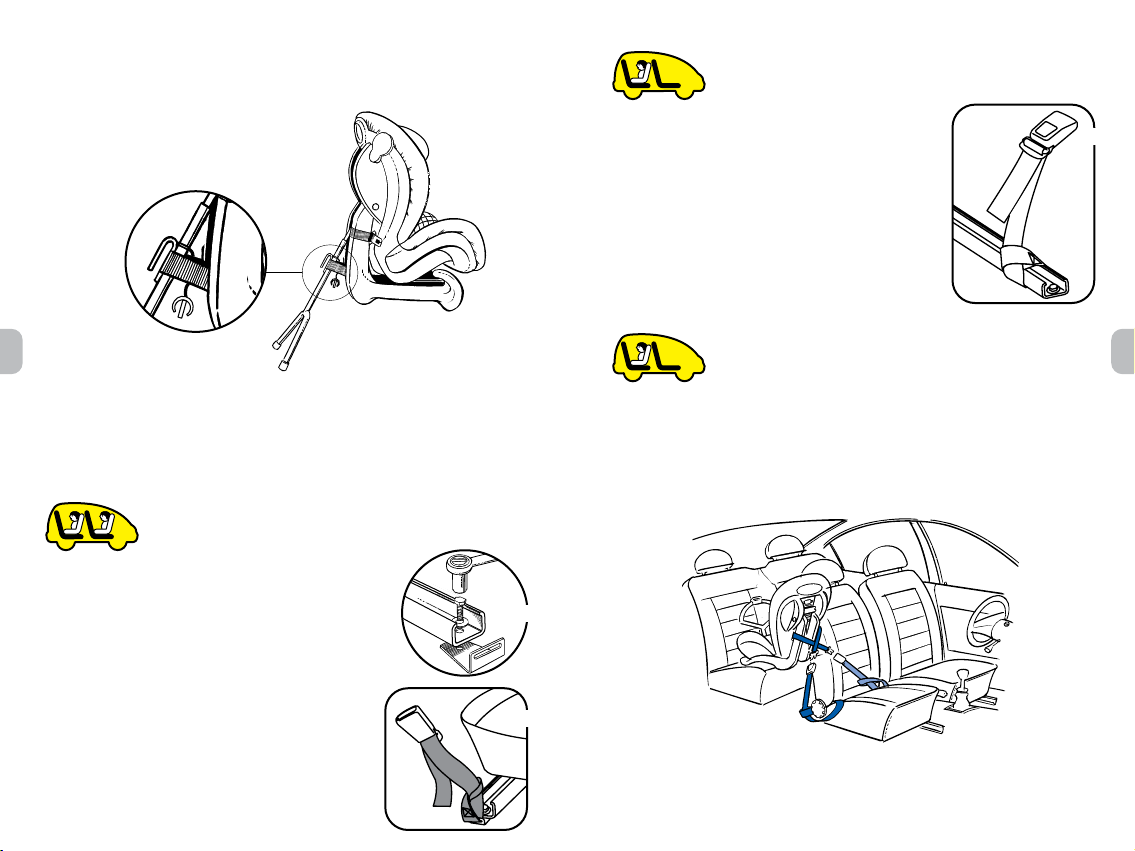
The floor support must go through the belt loop. The belt loop
4-
must also be led into the hook on the floor support (2).
Do not fasten the locking bolt yet.
5-
a-
Secure an anchor belt round each
of the rails of the front seat of the
Second alternative: using the rails
of the front seat
vehicle by bringing the locking
device of the anchor belt through the
(2)
belt loop. Pull tight (5).
Cross the anchor belts under the front
b-
seat of the vehicle.
Third alternative: using the front seat
6-
Before you can install the seat in the vehicle, you have to
mount 2 anchor belts which will be connected with the
connectors at the backside of the child seat. The anchor
belts have to be connected with the vehicle.
This can be done in 4 different ways.
Insert the belt loop through the gap between the seat cushion
a-
and the seat back on the front seat of the vehicle. Then bring
the locking device through the belt loop and tighten (6).
Cross the anchor belts under the front seat of the vehicle (6).
b-
First alternative: using the rails
of the front seat
a-
Release the fixing bolts on the 2 rear/front
(6)
fixing points of the rails of the front seat of
the vehicle.
b-
The attachment fittings have to go
(3)
underneath the rail on the vehicle seat
chassis. Reassemble the fixing bolts
and tighten firmly (3).
Thread the belt loop of the anchor belt
c-
(4)
through the opening of the attachment
fitting. Then bring the anchor belt
locking device through the belt loop
and pull hard (4).
6 7
(5)
 Loading...