

Page 1
Pommel
The pommel can be moved forward or back simply by loosening the bolt using the Allen
key (supplied). Re-tighten the pommel once the desired position has been achieved.
Thigh Pads
These are attached to the seat and the width can be adjusted by loosening the two
bolts with the 4mm Allen key. Adjust as required and ensure the bolts are tightened
securely.
Corner Back & Head Support
These can be adjusted up or down by loosening the two bolts (behind the padding on
the corner seat). Slide up or down to the required position and ensure the bolts are
tightened securely.
Footshoes
These attach to the footrest from the top and are adjustable forward or back. Loosen
the bolts, reposition as required and then ensure the bolts are tightened securely.
Straps
There are a variety of straps available for use with the chairs. They are used as postural
support to improve the child's position whilst seated. Once the child is in the chair,
secure them with the straps before you do anything else. All straps are securely
fastened to the chair and are adjustable.
IMPORTANT
This chair is very versatile and has been developed to meet the needs of children with
learning or behavioural difficulties. There are many special adaptations available.
If you require replacement parts or you are in any doubt as to the continued safe use of your
Breezi, Teezi Breezi and Breezi Max please do not hesitate to contact our customer services
department on 01179 666 761
131 South Liberty Lane,
Ashton Vale,
BBrreeeezzii UUsseerr IInnssttrruuccttiioonnss
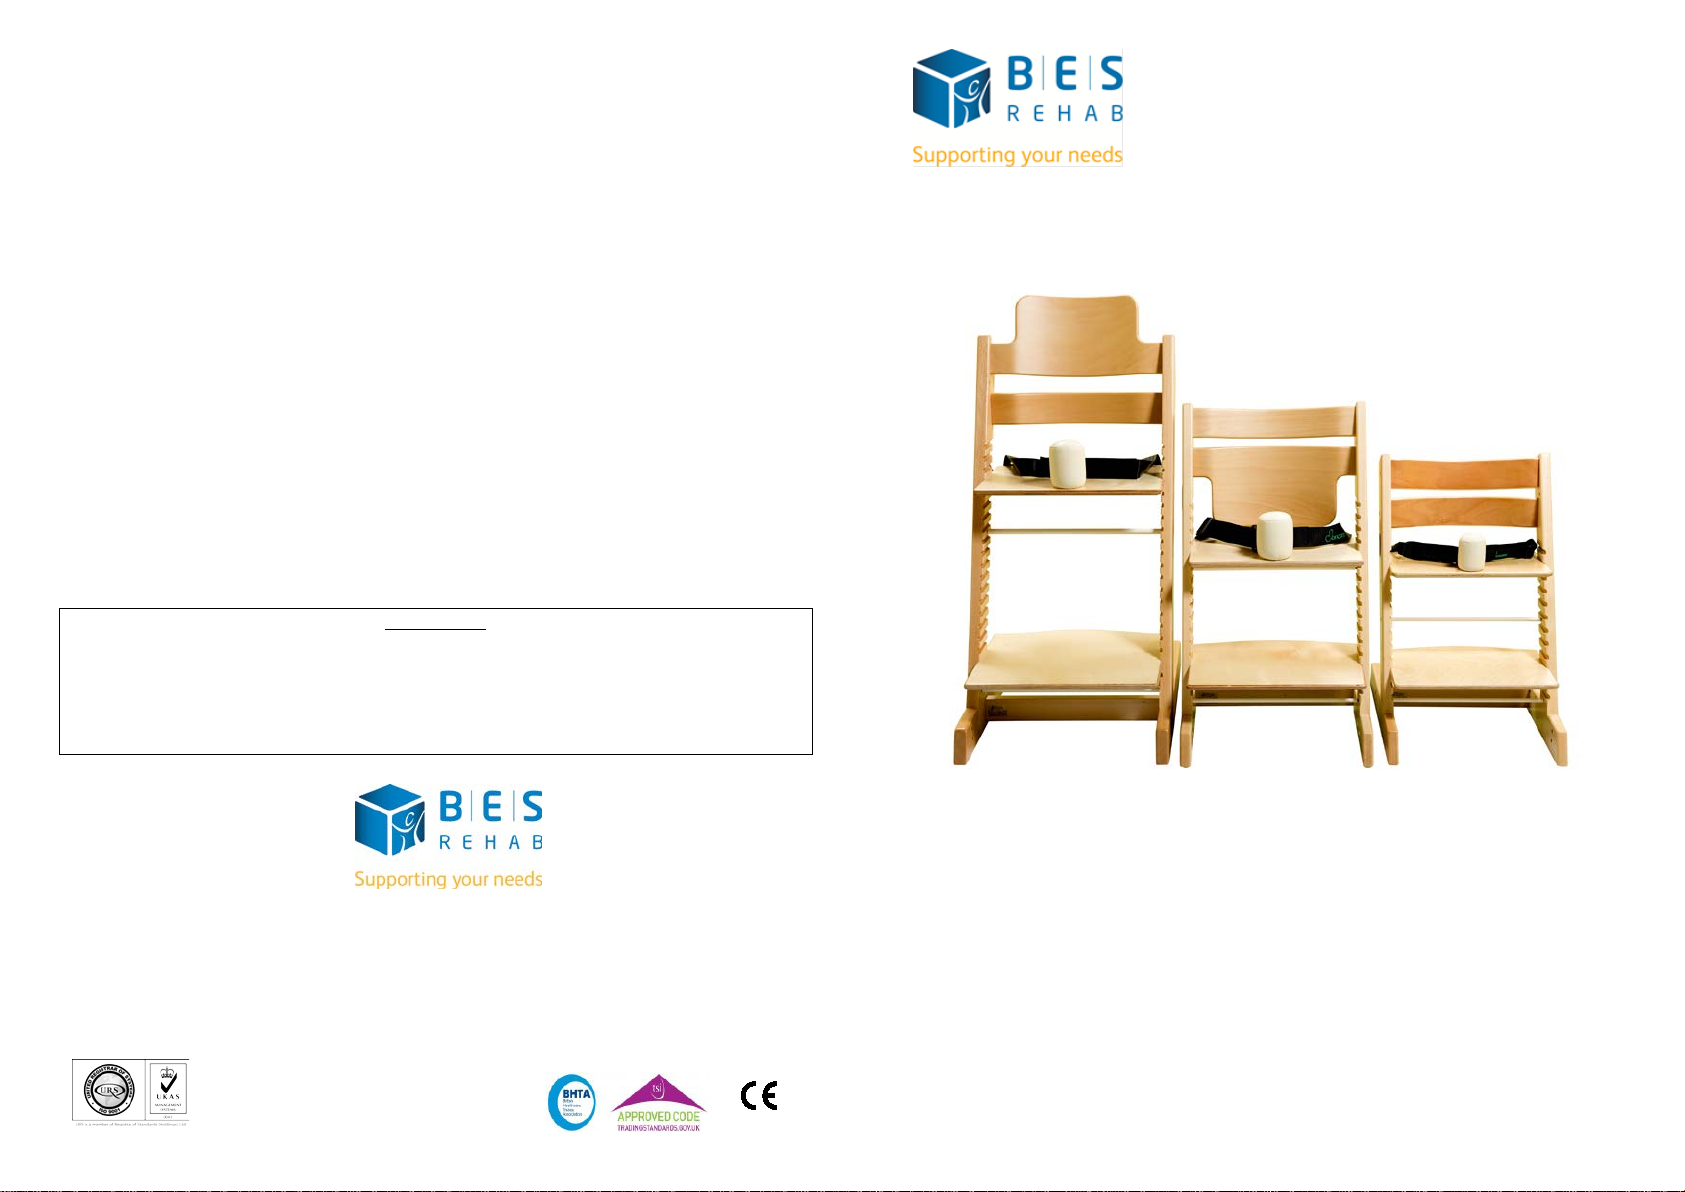
The adjustable chair for children with a wide range of needs
Page 2

IMPORTANT- READ THESE INSTRUCTIONS BEFORE USE
Failure to follow these instructions, especially in regard to moving parts, may pose
a risk to the user.
Before using your Breezi
Assembly of parts/products must be done before use. Should you have any queries
regarding this product, please address them before use. BES Rehab recommends that
a therapist be consulted when adjusting any supports. The product should be used
only on a level floor.
Keep products well maintained at all times
Clean products regularly using a non-abrasive cleaner to ensure maximum life. Note
any changes in performance and contact BES Rehab for advice if necessary. It is
recommended that the product is checked weekly to ensure that all fixings and bolts
are securely attached and tightened. This applies to the product and any fitted
accessories.
Precautions for chairs fitted with castors
This product is not to be used as a mobility aid. Castors are fitted to ease basic
transportation (e.g., from room to room). Apply brakes when stationary. Do not push
the product along when the brakes are applied or when the end user is seated in the
chair. Do not push the product by its headrest. Do not lean or put excessive weight on
the tray.
Safety
All safety straps fitted to the chair must be employed when the product is in use. Do
not leave children unattended. Do not allow other children to climb onto the
equipment. This product contains small parts - take care with young children.
TEEZI MAXIMUM USER WEIGHT 65KG, BREEZI MAXIMUM USER WEIGHT 75KG,
BREEZ MAX MAXIMUM USER WEIGHT 85KG
If there is a fault with your chair
Do not use or allow others to use the product if you suspect that it is faulty or broken.
Contact BES Rehab immediately for advice.
Use with other manufacturer's products
This product conforms to the Medical Devices Directive. It has not been tested in
conjunction with other manufacturer's products. Do not use accessories other than
accessories advised for use by BES Rehab.
The Initial Set Up of Your Breezi
Your chair will arrive set up to the agreed specifications at the time of the assessment.
If the child's needs have changed, please refer to the "ADJUSTMENT" section.
Accessories will usually be fitted to the chair before despatch. However, for packing
purposes, trays, head supports and mobile frames may be wrapped separately.
PLEASE MAKE SURE YOU HAVE RECEIVED ALL THE PARTS ORDERED BEFORE
USING THE CHAIR (INCLUDING THE ALLEN KEY USED TO MAKE ADJUSTMENTS).
Making Adjustments to Your Breezi
FOR THE CONTINUED SAFETY AND STABILITY OF THE CHAIR, THE TIE BARS MUST
BE RE-TIGHTENED EVERY TIME AN ADJUSTMENT IS MADE. IT IS ALSO
RECOMMENDED THAT THIS FUNCTION IS CHECKED AND TIGHTENED WEEKLY
ENSURING THAT BOTH THE SEAT AND FOOTPLATE ARE SECURE.
We recommend that all adjustments start at the top of the chair to ensure the
optimum positioning of the child in relation to the user's activity surface.
Seat Height
To raise or lower the seat height, insert the Allen key (supplied) into the holes on the
frame that are in line with each end of the beige bars. Turn the Allen key anti-clockwise
to loosen the bolts, but do not remove them completely.
Remove the seat and reposition it as required, ensuring that the seat edge fills the
whole length of the retaining grooves. It is important that once the seat has been
repositioned, you ensure the bars are *re-tightened.
Seat Depth
Loosen the Tie bars as above. Adjust the depth by sliding the seat forward or back,
ensuring that the seat edge fills the whole length of its retaining groove. Re-tighten the
bars securely.
Footrest
To adjust the footrest, simply follow the instructions for SEAT HEIGHT & SEAT DEPTH.
Tray
You can adjust the position of the tray forward or back in relation to the child's body
by up to 50mm (2"). Loosen the bolts that attach the hook arms underneath the tray
using the Allen key (supplied). Reposition the tray as required and ensure the bolts are
tightened securely.
 Loading...