

Page 1
BR1519-4 (Rustic Gray)
Model No:
UPC CODE:
NOTE:
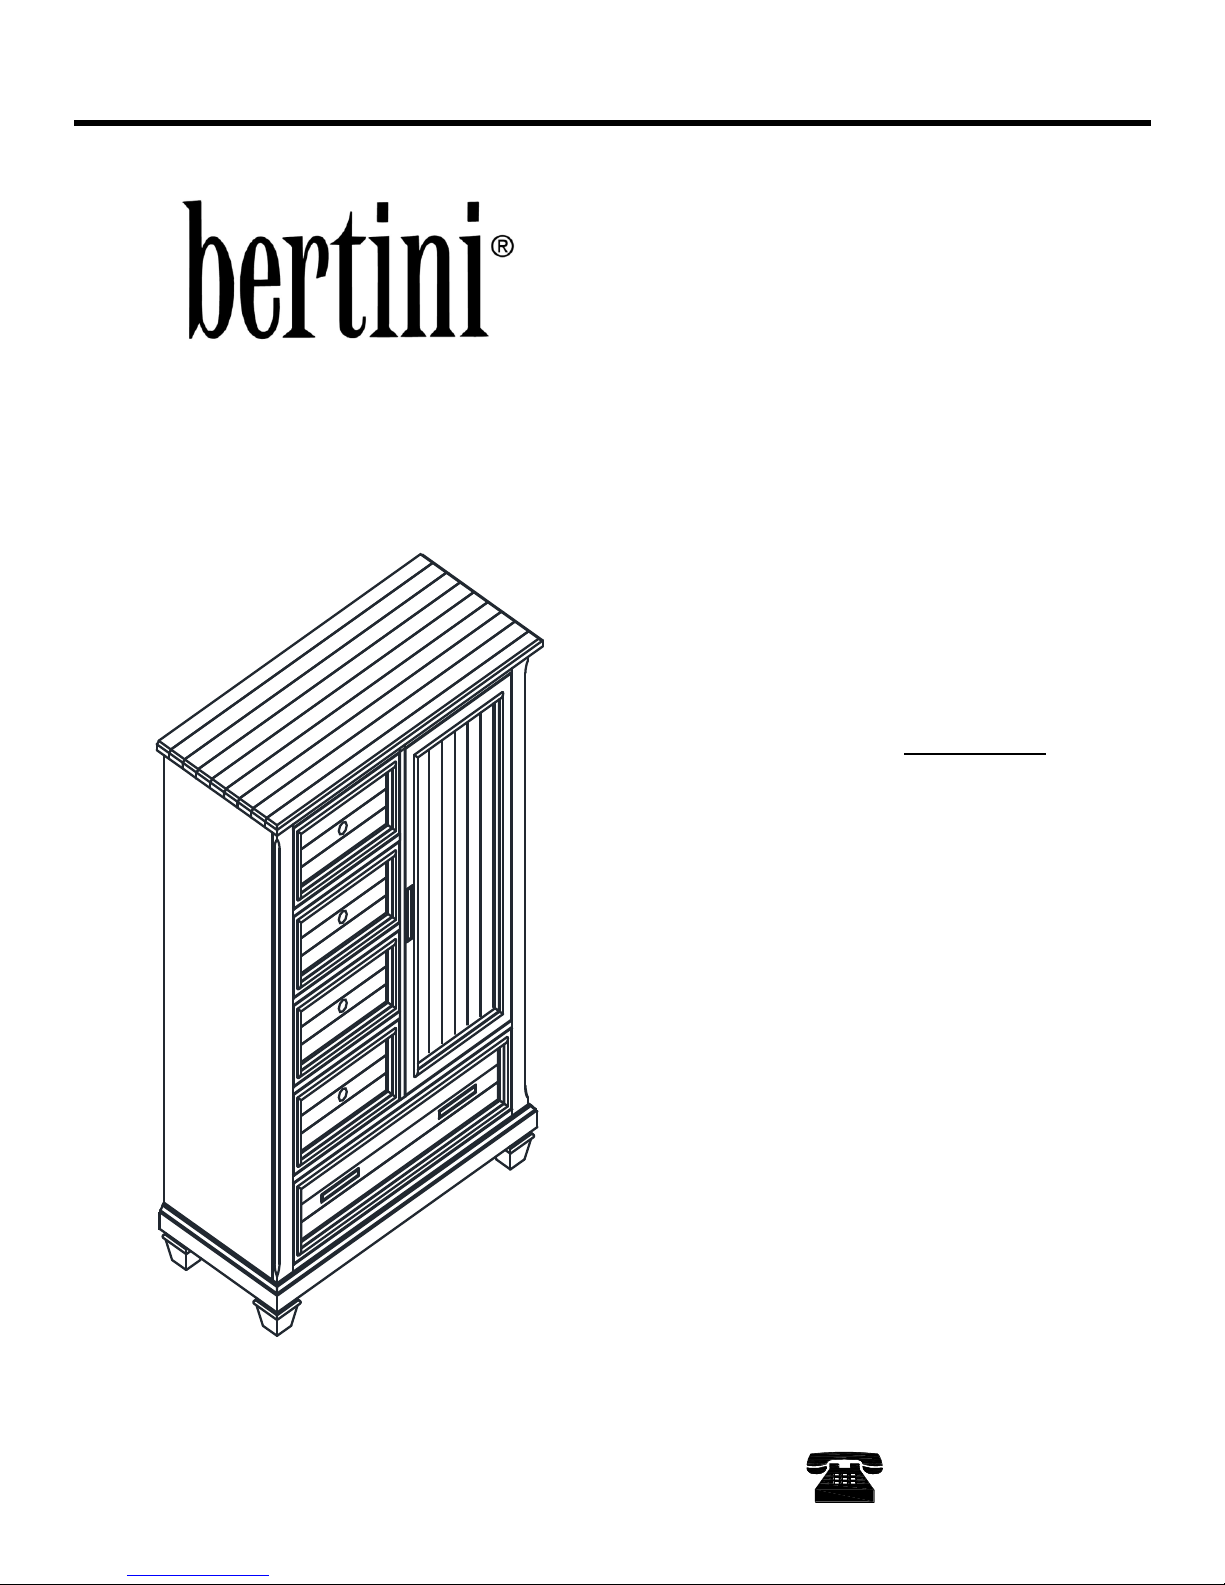
NASHVILLE KNOX
CHIFFOROBE
0-65857-17291-1
(TAKEN FROM CARTON)
Date of purchase:
CONTAINS IMPORTANT SAFETY
KEEP FOR FUTURE REFERENCE.
Lot number:
INFORMATION. PLEASE READ AND
www.bertinibaby.com
INSTRUCTION MANUAL
_______ / _______ / _______
THIS INSTRUCTION BOOKLET
_____________________________________
Contact Customer Service with
NEED HELP!
CALL US FOR ASSISTANCE
1-800-295-1980
Page 2

*
* Handling will require two people.
Dorel warrants its product to be free from defects in material and workmanship and agrees
to remedy any such defect. This warranty covers 1 year from the date of original purchase.
This warranty is valid only upon presentation of proof of purchase. This is solely limited to
the repair or replacement of defective furniture components and no assembly labor is
included. This warranty does not apply to any product which has been improperly
assembled, subjected to misuse or abuse or which has been altered or repaired in any
way. This warranty gives you specific legal rights and you may also have other rights which
vary from State to State.
LIMITED WARRANTY
Canada H1G 3L1
WARNING: Should this product become damaged,
and/or components are broken or missing, DO NOT USE.
MAINTENANCE
Dust regularly with a soft, lint-free cloth to prevent soil build-up. A damp cloth may be used
occasionally to clean surface. Dry immediately. Do not use any abrasives that may
damage finish. Excessive exposure to sunlight and extreme changes in temperature and
moisture can damage wood furniture.
CARE AND CLEANING
Do not use the armoire unit if it is damaged or broken.
E-MAIL: [email protected]
Customer Service Department No. 413
Check bolts/screws periodically and tighten them if necessary.
If you have any questions about this product, contact our customer service representative
first!
CUSTOMER SERVICE
NOTES:
Montreal, Quebec
12345 Albert-Hudon Boulevard, Suite 100
CALL 1-800-295-1980
Page 3

PARTS LIST
NO. Drawing Description Q'ty
A
Small Drawer
4 PC
B
Large Drawer
1 PC
C
Door
1 PC
D
Shelf
2 PCS
E
Front Foot (With
Adjustable
Leveler)
2 PCS
F
Back Foot
2 PCS
G
Safety Strap kit
1 KIT
H
Adjustable
Leveler
2 PCS
Note:
The front feet (E) are equipped with adjustable levelers (H).
Before placing this item in the desired location, make sure that the chifforobe rests evenly
on the floor by rotating the leveler clockwise or counter clockwise (as needed).
NASHVILLE KNOX CHIFFOROBE
BR1519-4
H
H
E
E
Page 4

Step 1:
Attach front feet (E) & back feet (F) to the chifforobe by rotating the feet
clockwise.
NASHVILLE KNOX CHIFFOROBE
BR1519-4
E
F
F
E
Page 5

BECKEM ARMOIRE
NASHVILLE KNOX CHIFFOROBE
BR1519-4
CAUTION: This unit is intended for use only with the
products and/or maximum weights indicated. Use with
other products and/or products heavier than the maximum
weights indicated may result in instability or cause
possible injury.
MAXIMUM WEIGHT
FOR SMALL
DRAWER - 10 LBS
MAXIMUM WEIGHT FOR
LARGE DRAWER - 15
LBS
MAXIMUM WEIGHT
FOR TOP - 25 LBS
MAXIMUM WEIGHT
PER SHELF - 10 LBS
Contact Customer Service with any
NEED HELP!
CALL US FOR ASSISTANCE
1-800-295-1980
Page 6
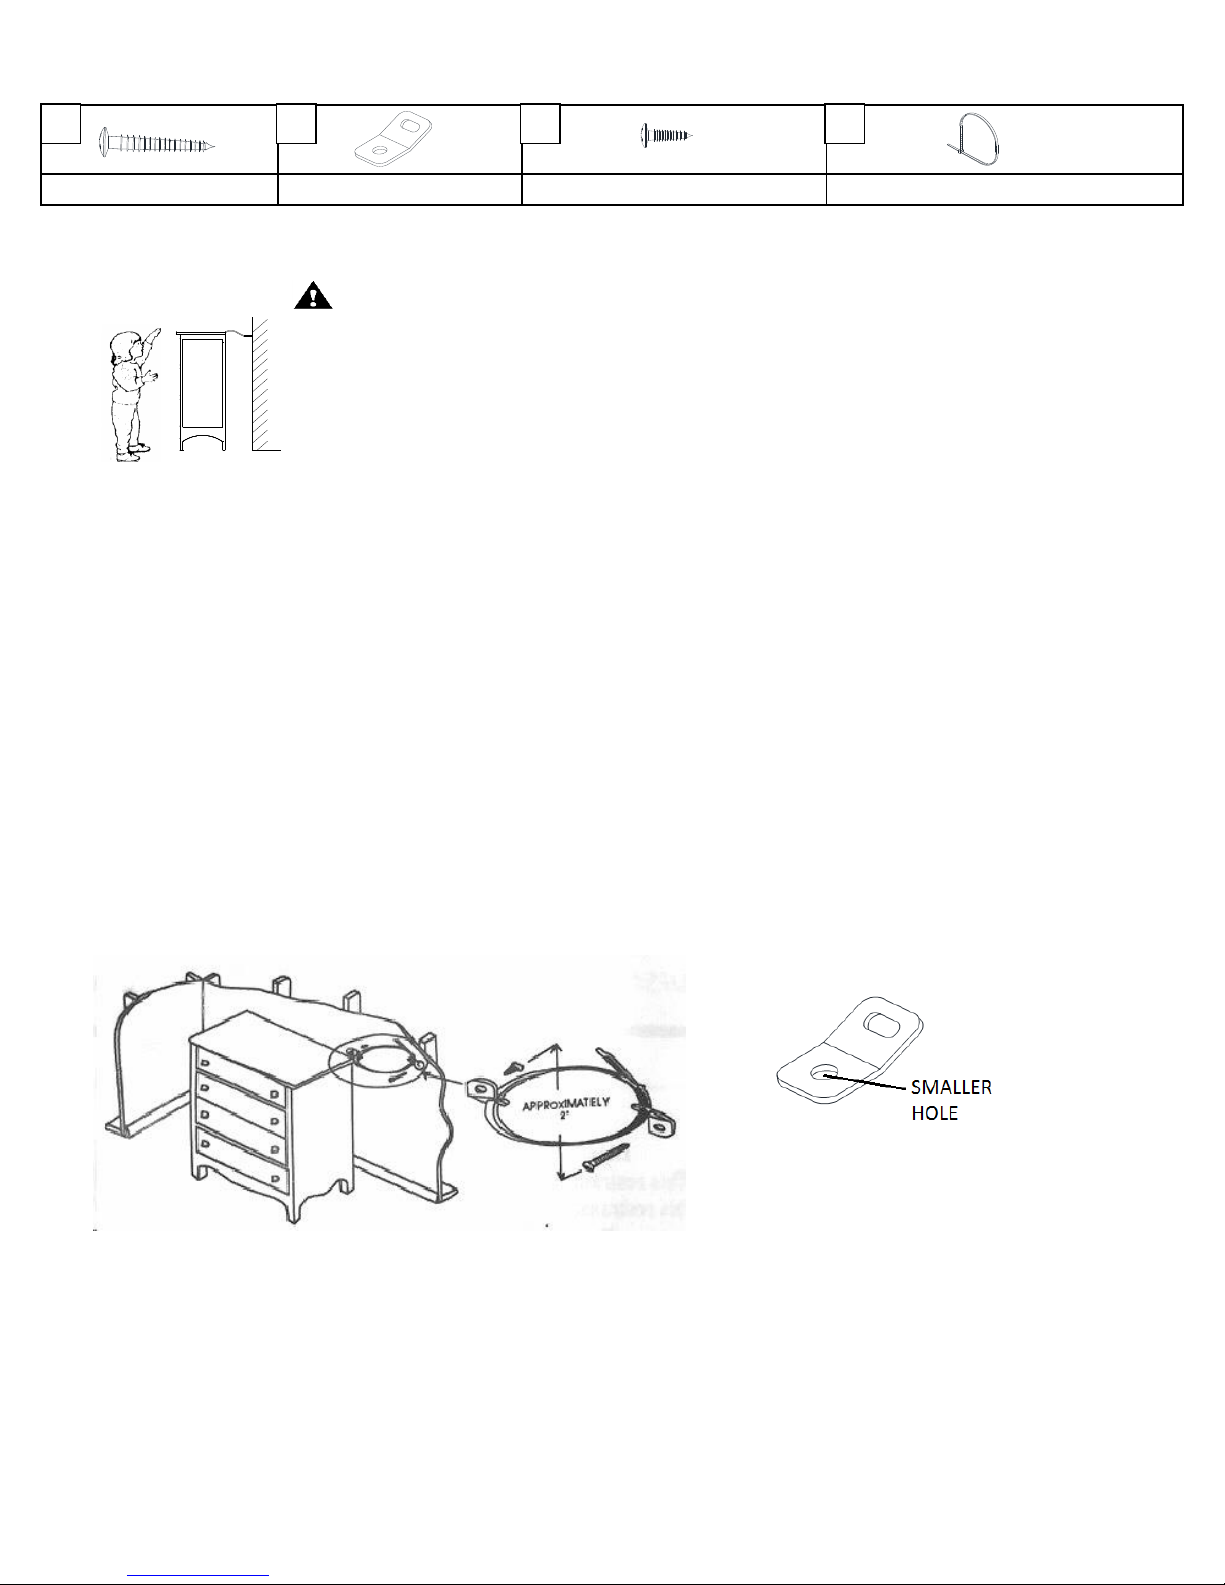
Furniture Wall Safety Strap
Hardware List
TOOLS NECESSARY: RUBBER MALLET AND PHILLIPS SCREW DRIVER ARE NOT INCLUDED.
NOTE: 5/16" DRILL BIT AND ELECTRIC DRILL ARE NOT PROVIDED.
PLEASE READ ALL INSTRUCTIONS CAREFULLY BEFORE USING THIS PRODUCT
AND KEEP THESE INSTRUCTIONS FOR FUTURE REFERENCE. IF YOU HAVE ANY
QUESTIONS, PLEASE CALL OUR CUSTOMER SERVICE NUMBER: 1-800-295-1980.
TO MOVE THE FURNITURE AFTER THE SAFETY WALL STRAP HAS BEEN INSTALLED, SIMPLY
REMOVE THE SCREW (A) FROM THE WALL TO LOOSEN THE SAFETY WALL STRAP.
LONG SCREW 1 PC
METAL BRACKET 2 PCS
SHORT SCREW 1 PC
SAFETY WALL STRAP 1 PC
WARNING: WHEN UPRIGHT, IT IS POSSIBLE THAT THE FURNITURE MAY TIP
OVER. PLEASE INSTALL THE SAFETY WALL STRAP BEHIND THE FURNITURE TO
ENSURE SAFETY.
STEP 1: ATTACH A METAL BRACKET (B) SECURELY TO THE BACK TOP RAIL OF FURNITURE USING THE SHORT
SCREW (C), THROUGH THE SMALLER HOLE.
STEP 2: LOCATE THE OTHER METAL BRACKET (B) ON THE WALL OVER A WALL STUD AND 2 INCHES BELOW
THE MOUNTING BRACKET SECURED TO THE BACK OF YOUR UNIT. ATTACH TO THE WALL STUD USING THE
LONG SCREW (A) PROVIDED, THROUGH THE SMALLER HOLE.
STEP 3: PLACE THE FURNITURE INTO POSITION SO BOTH MOUNTING BRACKETS ARE VERTICALLY IN LINE.
LACE THE END OF THE SAFETY WALL STRAP (D) THROUGH THE LARGER HOLE IN EACH MOUNTING BRACKET
(B). BRING BOTH ENDS TOGETHER AND SLIDE THE FLAT END THROUGH THE LOCKING END AND DRAW IT
THROUGH UNTIL ALL SLACK IS REMOVED.
STEP 4: CONFIRM THAT THE STRAP IS SECURELY LACED AND LOCKED.
ABC
D
B
B
A
C
D
B
Page 7

MODEL #: BR1519-4
PLEASE CONTACT CUSTOMER SERVICE REPRESENTATIVES AT THE FOLLOWING
NUMBERS SHOULD YOU HAVE ANY QUESTIONS.
Customer Service Fax Number 514-353-7819
Request Date:
Name:
Shipping Address:
Street & Number:
City & State:
Zip Code:
Day Time Phone Number:
(including area code)
Date & Place of Purchase:
Part(s) description and quantity (Please be sure to list model number or SKN number):
Email: [email protected]
Customer Service
Customer Service Representative Mailing Address:
Customer Service Department No. 413, 12345 Albert-Hudon Boulevard, Suite 100, Montreal, QC, Canada, H1G 3L1
Customer Service Phone Number 1-800-295-1980
PLEASE DO NOT RETURN THIS PRODUCT TO THE STORE
 Loading...