

Page 1
DesignerPlus V6 - Carving Stamps
Open a New File
• Select File/New or click on the New File icon.
• Right click on Show Hoop.
• Make sure Display Hoops is checked and select artista 400 x
150 Mega—Auto Split Machines.
Draw the rectangles
• Select C42 from the Color Bar.
• Select the Rectangle tool and draw a rectangle by clicking in the
upper left hand corner and dragging to the lower right hand corner.
• Press Escape.
• Select the rectangle and open Object Properties. Click on the
General tab. Make sure Proportional Scaling is turned off.
• Change the width of the rectangle to 70 mm and the height to
85 mm. Click OK.
• Quick Clone (right click and drag on the object) to make a copy
of the rectangle. Move the copy in a below the first rectangle.
• Clone the second rectangle; position below the second object.
• Select File/Save As.
• Navigate to the folder in which the file will be stores. Name the
file Carving Stamps. Click Save.
Using an Object for a Stamp
• Select File/Insert Design.
• Navigate to My Computer/C: My Designs Embroidery Software
6. Select the Animal folder. Open the folder.
• Select FB 253-48. Open the file.
• Decrease the size of the dragonfly by clicking and dragging on
one of the corner black sizing handles. Move it away from the
rectangles.
Note: Decrease th object so that it will fit within the rectangle, or
use the stamp so that only part of the object stamps the background.
• Open the Carving Stamp dialog box.
• Click on the Use Object Tab.
• Click on the Start Selecting button and use one of the selection
tools to select the dragonfly. The dragonfly will appear in the
Use Object window. Press Esc.
• Select one of the rectangles. Click on Use Stamp—the outline
of the stamp is visible.
Notes:
Carving stamp defines a pat-
tern of needle penetrations in
a fill. There are three different
ways to stamp— use a design, use a built-in stamp, or
create a custom stamp.
Any of the selection tools be
used to select the object that
will be used as a stamp.
Select part of the object by
drawing the bounding box
around part of the design or
by using Polygon Select
(remember to first ungroup).
Add stamps to selected background objects or choose to
not pre-select an object and
add the stamp to other objects.
Follow the prompts on the
lower left corner of the screen
for information on setting the
stamps.
2009 BERNINA® of America, Inc DL Page 1 of 3
Page 2
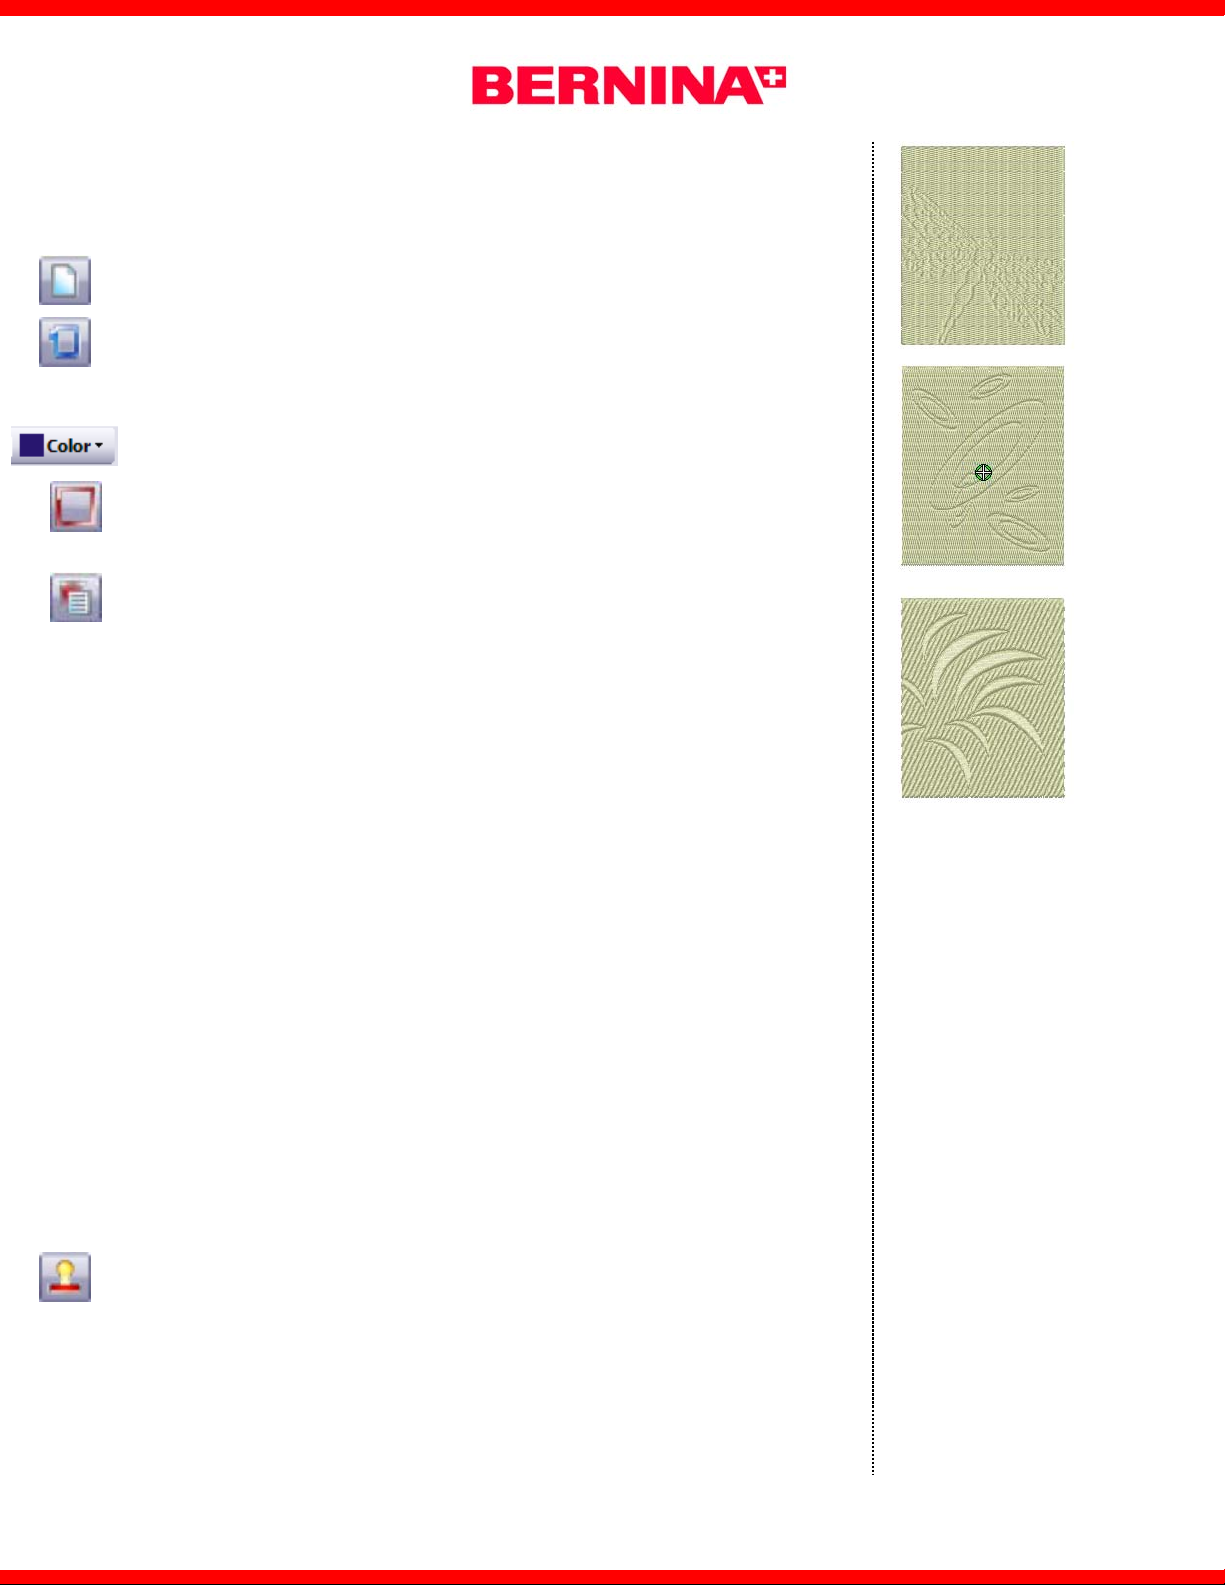
• Click on one of the rectangles at the point where the
stamp will be places and move the cursor to rotate the
dragonfly as desired. Click a second time to set the stamp.
Press Esc to deactivate the stamp.
• Click on the inserted dragonfly design, Delete.
Changing the background + stamp appearance properties
• Select the rectangle. Open Object Properties.
• Click on the Fill Stitch Tab. Select Step Stitch 6; click Ap-
ply.
• Click on the Stitch Angle Tab and change the stitch angle
to 0.°
• Click OK to activate the changes and close the dialog box.
• Click on the Appearance tab of the Carving Stamp dialog
box and select Softened Stamp.
Using a pattern for a stamp
• Select the Use Pattern tab from the Carving stamp dialog
box.
• From the Set selection drop down menu choose Carving
Stamps. Scroll down to select Ring Ellipse..
• Select the ellipse. Notice that it now appears in the win-
dow.
• Select another rectangle.
• Click Use Stamp.
• To set the stamps, click on the base fill and rotate the cur-
sor to rotate the stamp as desired; click again to set the
stamp at that angle.
⇒ To increase the size of the stamp, hold the shift key
down, and drag the cursor away from the first click and
click again once the stamp reaches the desired size.
⇒ To decrease the size of the stamp, hold the shift key
down and drag the cursor toward the first click and click
again once the stamp reaches the desired size.
• Stamp the background fill as desired. Press Esc.
• Select the background rectangle. Open Object Properties
and select the Angle tab. Set the stitch angle to 90° and
click on OK.
• To remove stamps created, click, Clear All Stamps in the
Appearance tab.
Notes:
The stamp will remain active
for multiple uses until the Escape key is pressed.
To save an object as a stamp
for future use, it must be
saved by adding it to the library.
Vary the type of the background fill and the angle of
the fill, for different effects.
Carving stamps can be used
with satin, step or fancy fills.
They may also be used with
satin outlines.
Visit...
www.berninausa.com
Find additional BERNINA projects ,
product information and promotions!
2009 BERNINA® of America, Inc DL Page 2 of 3
Page 3

Digitizing a pattern stamp
• Click on the Digitizing tab of the Carving stamp dialog
box.
• Click on Start Digitizing button.
• Digitize the shape needed on the workspace.
⇒ Use right clicks for curves.
⇒ Use left clicks to change directions or to draw a
straight line.
⇒ Digitize the last point directly on top of the first digi-
tized point to draw a closed shape.
⇒ Press enter twice to place the digitized shape within
the digitized drawing box.
Adding a stamp to the library
• To add the digitized shape to the Carving Stamp Li-
brary, click on Add to Library.
• Click New Set and name the set. Click OK.
• Name the new stamp and click OK.
• Following the prompts digitize the first reference point
and the second reference point. (Use left clicks.) Or,
press Enter to let the software set the reference points.
• A dialog box confirms that the pattern stamp has been
created. Click OK.
•
The created stamp is saved in the Use Stamp tab under
the named folder.
Using the created stamp
Select the third rectangle.
•
•
Click on Use Stamp to place the pattern stamps on the
background.
⇒
Hold the shift key and drag the cursor away from the
first click to enlarge the stamp as desired.
⇒
Hold the shift key and drag the cursor toward the first
click to decrease the size of the stamp.
⇒
A stamp extended beyond the parameters of the
background fill, will be stamped partially on the fill.
•
Place the stamps as desired on the background.
•
Open Object Properties and click on the Fill Stitch tab.
•
Select step fill # 4.
•
Click on Apply.
•
Select the Stitch angle tab.
•
Change the angle to 95°. Click on OK.
•
Make sure the rectangle is selected.
•
Click on the Appearance tab.
•
Select the Raised stamp option.
•
Save the design.
It is necessary to complete
the entire shape, pressing
enter will not close the object..
No spaces or punctuation
should be in the name of the
file.
The reference line sets the
baseline of the stamp.
Rename and delete custom
stamps by right clicking and
choosing the desired option.
Reshape the carving stamps
by selecting the background
object and selecting the Reshape icon.
Move, rotate, scale, reshape,
or delete. See pages 251-253
in the Help Manual.
Vectors shapes from Art
Canvas may be used as
carving stamps.
Care must be used when
changing the Raised appearance of a stamp since satin
stitches are added. Switch to
Design View and check for
any streaked lines in the
stitching—these indicate
satin stitches are too long.
2009 BERNINA® of America, Inc DL Page 3 of 3
 Loading...