

Page 1
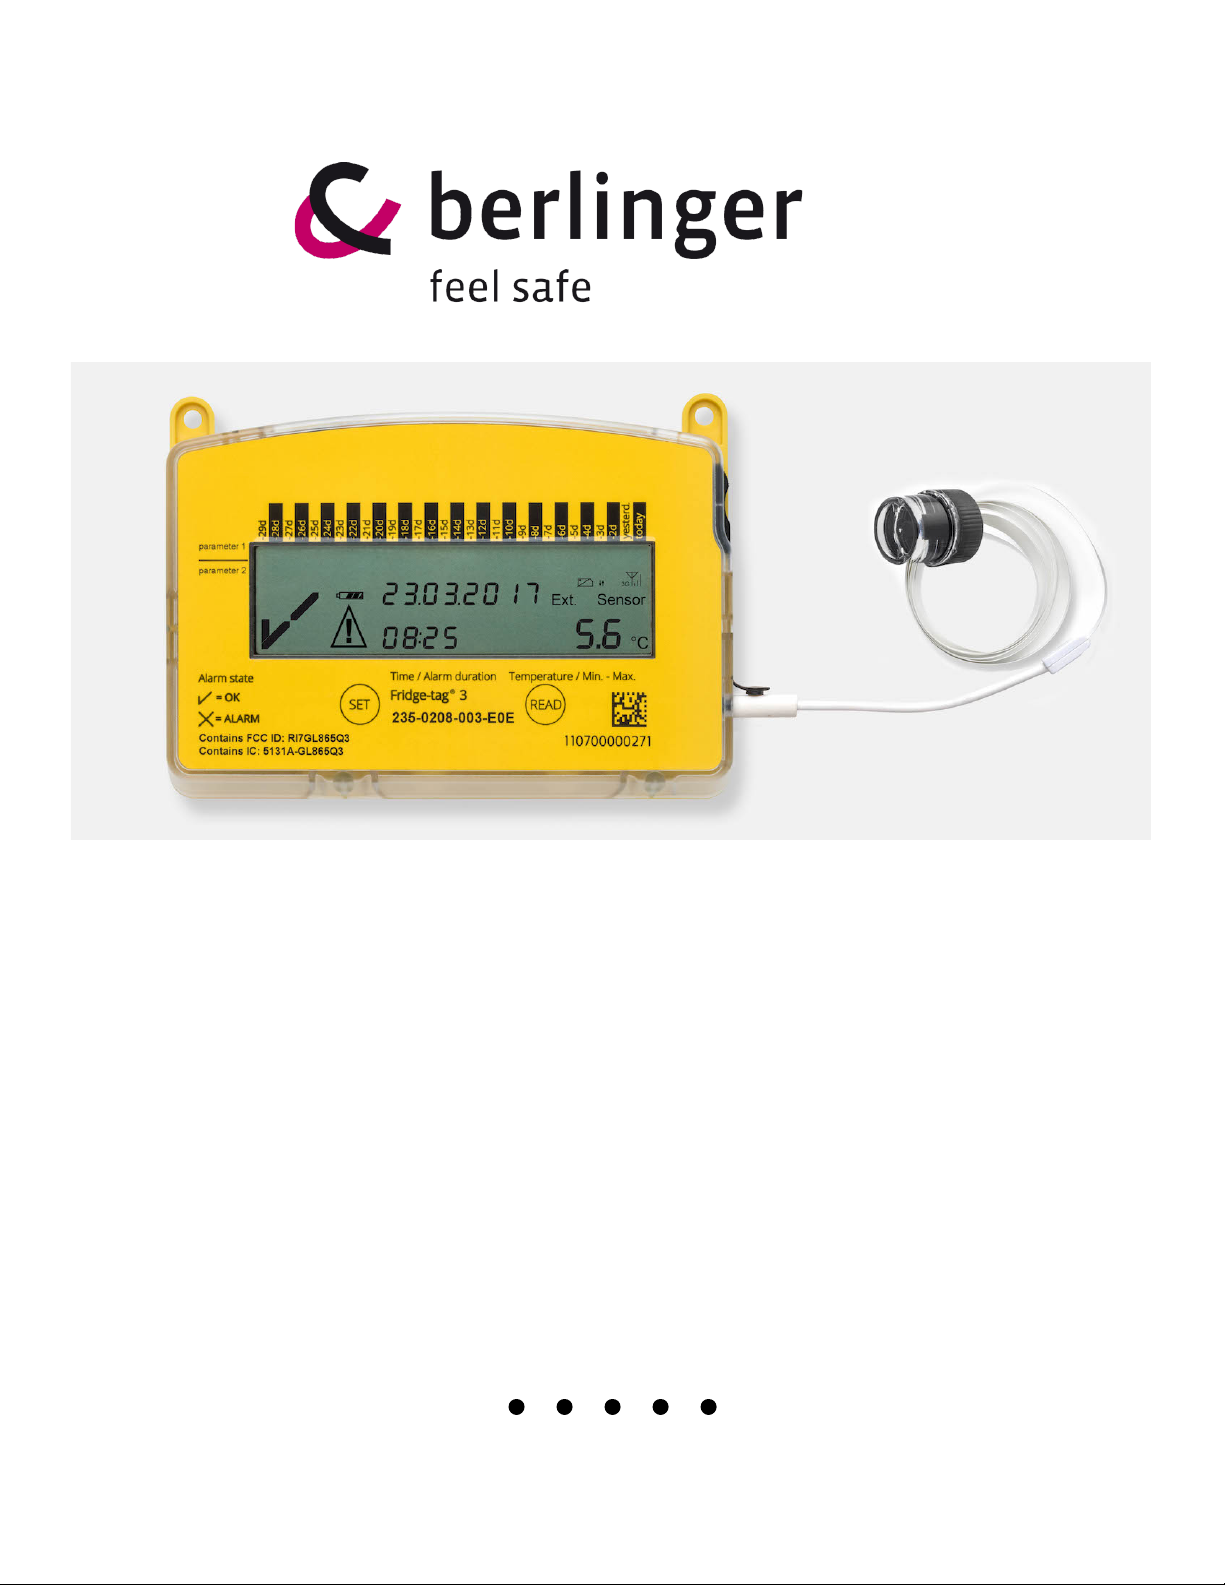
Congratulations on purchasing your Fridge-tagⓇ 3 device and SMS data plan.
You are now three steps away from completing your device activation.
Step 1. Submit your Fridge-tag
Ⓡ
3 device custom profile.
Step 2. Complete device installation instructions.
Step 3. Turn on and activate your device.
Page 2

Step 1. Fill out your Fridge-tag
Ⓡ
3 device custom profile
We have made activating your device very easy. First determine the custom temperature
monitoring settings for your device(s). Once you have determined your settings, submit them to
our team for us to update your device profile for you. You can use the PDF form on the next page
to collect your settings. If you have any questions about your settings, please don’t hesitate to call
us at 1 (508) 366 – 0084.
Submit your device profile settings by going to:
www.berlingerusa.com/deviceprofile
Once you have filled on the form on the webpage linked above, Berlinger USA will notify you
when your device settings have been updated."
Page 3

Fridge-tag
Ⓡ
3 Device Custom Profile PDF Form:
Please note, all alarms are set in Celsius even if Fahrenheit is chosen as the display temperature
unit. Notifications are sent by SMS to all subscribed users for all alarms and warnings, but only
alarms are reported in the LCD display. If you have any questions about your settings, please don’t
hesitate to call us at 1 (508) 366 – 0084.
Order Number:
Name of Setting Profile (e.g. refrigerator or freezer):
Name of Administrator:
Email of Administrator:
Company:
Time Zone: ▢ Eastern ▢ Central ▢ Mountain ▢ Pacific
Administrator’s cell phone number:
User cell phone numbers (max 5):
Fridge-tagⓇ 3 Device(s) Serial Number(s) (Please use commas to separate):
Temperature Monitoring Settings:
High Alarm Temperature (-40.0 to +55.0 °C in 0.1. increments)
High Alarm Duration (0 = disable to 1440 minutes in 1 min. increments; suggestion: one minute
to indicate alarm limit has been breached)
Low Alarm Temperature (-40.0 to +55.0 °C in 0.1. increments)
Low Alarm Duration (0 = disable to 1440 minutes in 1 min. increments)
High Warning Temperature (suggestion: same as high alarm; -40.0 to +55.0 °C in 0.1.
increments)
High Warning Duration (0 = disable to 1440 minutes in 1 min. increments)
Low Warning Temperature (suggestion: same as low alarm; -40.0 to +55.0 °C in 0.1. increments)
Low Warning Duration (0 = disable to 1440 minutes in 1 min. increments)
Submit your device profile settings by going to:
www.berlingerusa.com/deviceprofile!
Page 4

Step 2. Complete device installation instructions
1. When you receive the shipment, the first thing you should do is place the glycol bottle
containing the external sensor probe in the respective refrigerator and freezer units.
2. Next attach the Fridge-tagⓇ 3 device with LCD on the outside of the cabinet either on the door
near the hinge or the side near the hinge using the supplied Velcro strips.
3. Plug the power adapter into an electrical outlet and connect one end of the USB cable into the
power adapter and the other end into the USB connector on the Fridge-Tag 3 and leave it
connected to continually charge the batteries.
4. Wait two hours before connecting the Fridge-tagⓇ 3 device to the sensor to allow the
temperature to equilibrate.
Step 3. Turn on and activate your device
1. Wait to receive an email from BerlingerUSA confirming that the data plan has been activated
and the device settings are ready to be delivered to each device.
2. To get the settings updated from the Berlinger server, hold down the SET button until NeT
ConF appears on the LCD. It will be blinking. Once the settings are updated, it will stop blinking
and a check mark will appear momentarily. After about a minute the screen will go blank. You
can then proceed to the next step.
3. To activate the Fridge-tagⓇ 3, attach the external sensor and then hold down both the SET and
READ buttons until information is displayed on the LCD (about 3 to 4 seconds). You then press
the SET button twice. The first time to choose SET DATE (the date is automatically set based
on the time zone chosen in the settings profile), and the second time is to accept the date/
time and return the device to the STATUS screen. The activation is now complete.
4. Provide the phone number of each device to each of the users along with an assigned name
for each of the storage units. Each user should create a contact in their smart phone for each
of the storage units using the name that you have given to it.
5. Send a test SMS to each of the storage units. Open your messaging app, select the storage
cabinet and type STATUS and push send. You should get a reply in about minute.
Page 5

For more information on the Fridge-tagⓇ 3 and installation click here to download the full FridgetagⓇ 3 Manual: http://www.berlinger.com/fileadmin/user_upload/temperature-monitoring/
training_and_support/user_manuals/fridge_tag_3/User_Manual_Fridge-tag_3_EN.pdf
 Loading...