

Page 1
QUICK USER GUIDE v1.2.1
Berkeley Audio Design
The Alpha USB is an asynchronous High Speed USB to digital audio interface designed to
provide the highest possible audio quality from computer audio sources. Please take a few
minutes to familiarize yourself with this User Guide before connecting power to the Alpha USB.
Doing so will help ensure the best possible performance.
®
Alpha USB
INSTALLATION
The Alpha USB should be installed in a space with several inches of clearance above, behind
and on both sides of the chassis to provide adequate ventilation. Avoid placement directly
above other equipment that produces significant heat.
Power Connection
The Alpha USB is designed to run continuously when connected to AC mains power. It has no
power switch and as soon as AC power is connected the unit is powered on. Units for sale in
the United States are set internally for 120VAC operation. An Alpha USB dealer can select
240VAC operation for use outside of the United States by setting an internal switch and adding
a 240V label to the rear panel. 100VAC operation requires a specific power transformer. The
AC power fuse used for all mains voltages is a 5 x 20mm Cartridge, .05A Time Lag (Slo-Blo)
Littelfuse 0218.050MXP.
Powering the Alpha USB from the same power source as the D to A converter and other
analog components is recommended. Its linear power supply has several layers of isolation
between the power cord and the digital circuitry, and it performs best when treated as an
analog component. The computer should be powered from a separate circuit whenever
possible to minimize power line noise.
Signal Connections
®
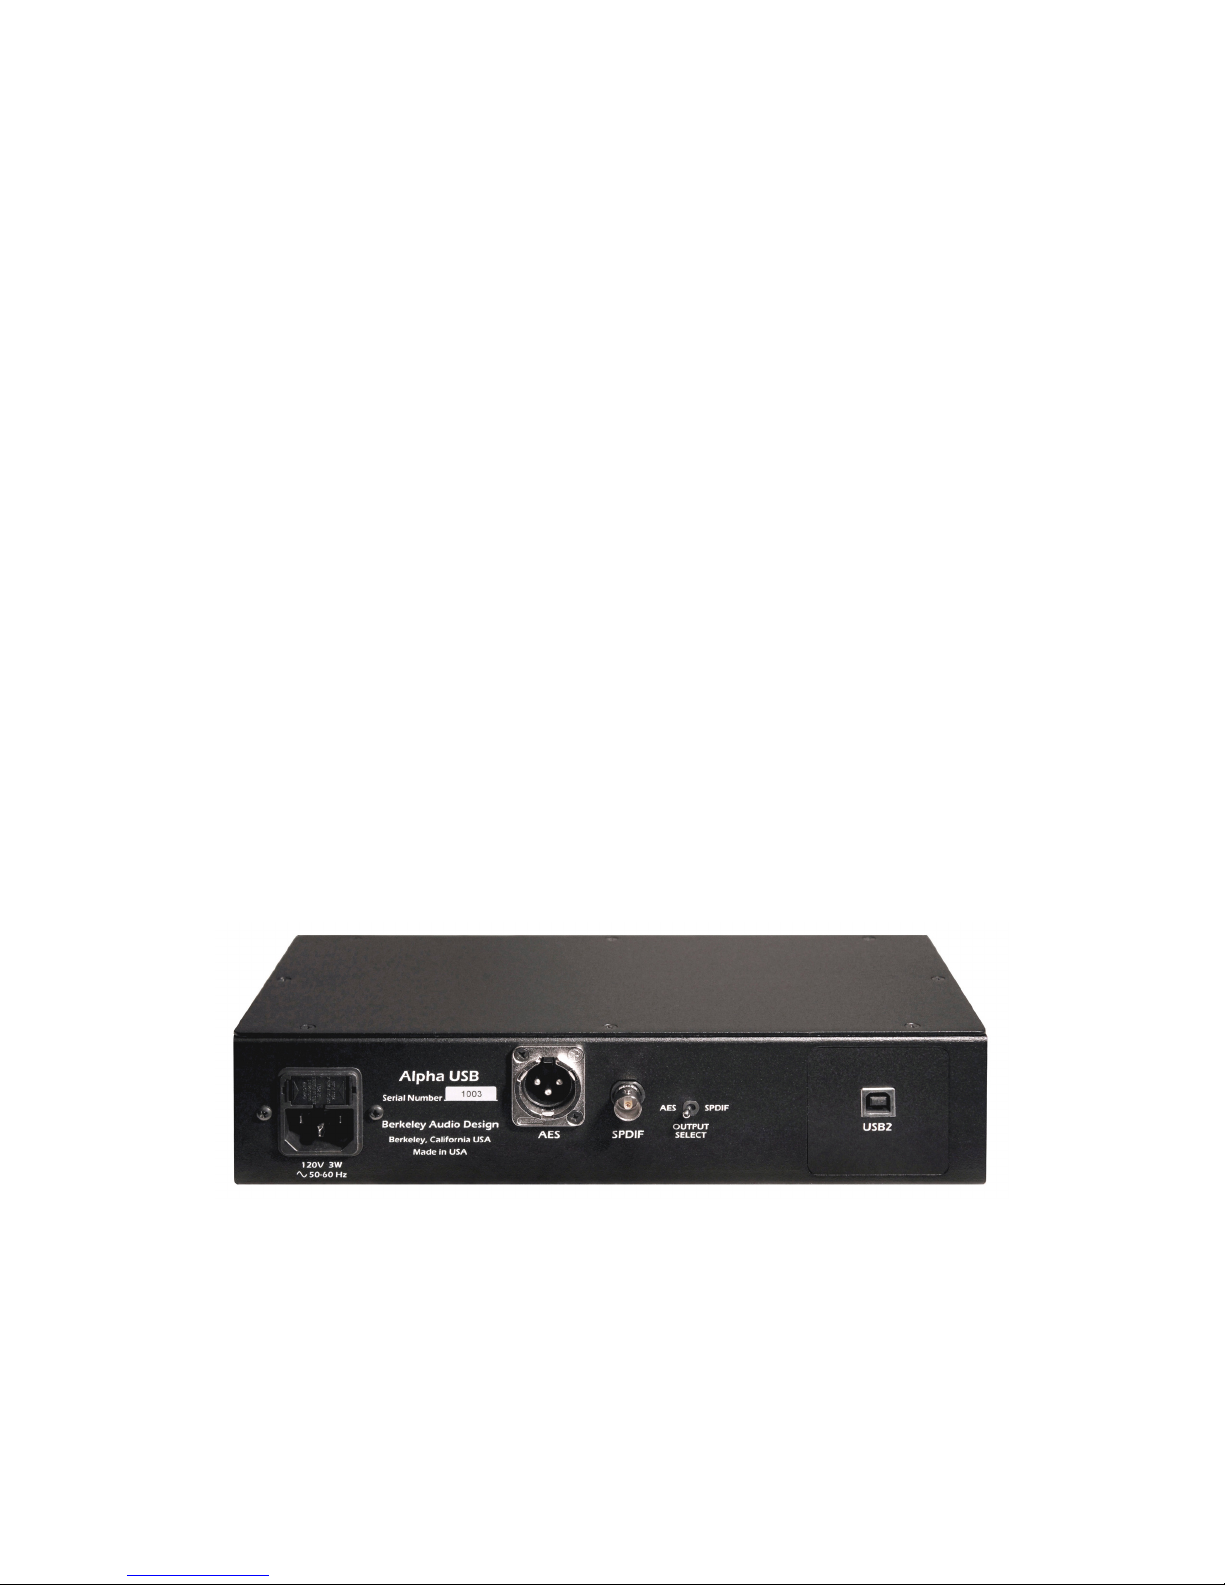
The Alpha USB has a High Speed USB 2.0 input data connection and has switch selectable
output signal type – either coaxial SPDIF using a BNC connector or balanced AES using an
XLR connector. Sampling rates up to 192 kHz and word lengths up to 24 bit are supported.
Lead Dress
It is good practice to keep various types of signal and power cables physically separated from
each other. This is especially important for the USB cable to the computer. It should be routed
away from the chassis of the Alpha USB and any other component or cable that is part of the
audio system. 1.5 meters is a good default length for USB, SPDIF and AES cables.
Alpha USB Rear Panel
1
Page 2
OPERATION
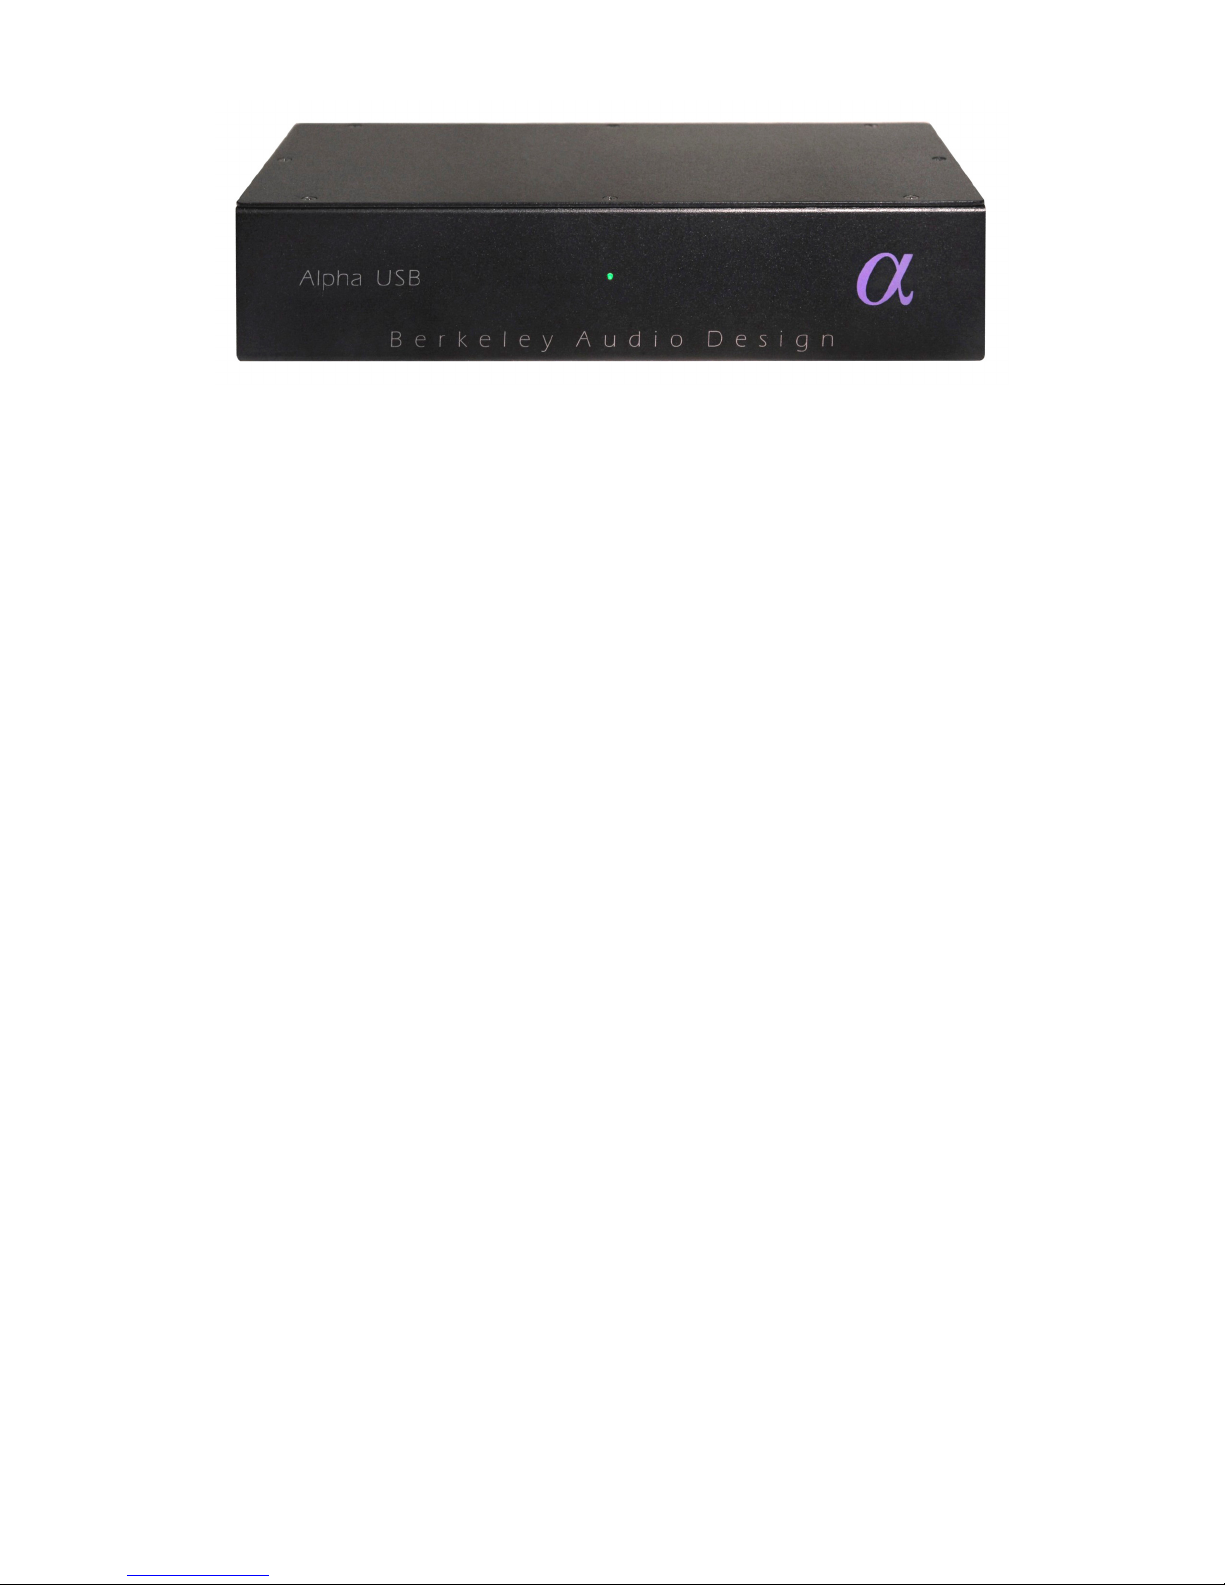
Alpha USB Front Panel
Controls & Indicators
• Output Select: switch selects coaxial SPDIF or balanced AES type output
• Status LED: Green indicates USB Lock, Amber indicates Standby
The Alpha USB has one control and one bi-color indicator LED. The digital audio output is
available as either a 75 ohm SPDIF signal on a BNC connector or as a 110 ohm balanced
AES type signal on an XLR connector. A switch on the rear panel selects which output is
active. Only one output is active at a time in order to minimize jitter. Whenever possible, use
of the balanced AES signal output is recommended for best performance.
The indicator LED on the front panel is amber when AC line power is on but the USB
connection is not active. As soon as the USB connection to the computer is established and
the computer and the Alpha USB are talking to each other, the LED turns green.
In normal use, AC power to the Alpha USB should be applied first. Then the computer should
be powered up or the USB cable connected. Nothing catastrophic happens if the computer
side is powered up first, but since the Alpha USB audio master oscillators are not powered, the
USB driver in the computer may become confused. If this happens, unplug the USB cable and
then plug it back in.
The Alpha USB has no AC power switch and is designed to be left powered on. It draws only
3 watts of power and when the USB input is not active, the unit goes into a standby mode.
The Alpha USB is designed to work with both Apple Macintosh and Windows PC computers
and also works with some versions of Linux. For Linux, the operating system must be ALSA
1.0.23 or above. It must also have the ability to select the output device.
The Alpha USB interface conforms to the new USB 2.0 High Speed audio interface standard
that supports sample rates up to 192 kHz/24-bit. This means that for Apple Macintosh
computers using the Snow Leopard or later operating system, the USB Audio Driver from
Apple interfaces properly to the Alpha USB. It is not necessary to install a custom driver. This
is also true for some versions of Linux, but not Windows at this time. For optimum audio quality
with a Mac, use of high resolution music server software such as Pure Music® or JRiver Media
Center is highly recommended.
Computer Configuration
Apple Macintosh Computers
2
Page 3

The Pure Music application uses iTunes to manage files and as a user interface, but the audio
data is played through its own engine, bypassing core audio in the Mac for bit-perfect output. It
also has the ability to switch sample rates on the fly in full coordination with the Alpha USB and
Alpha DAC, while maintaining bit accurate transparency.
Please follow the 27 steps below in exact numerical order to install and optimize Pure
Music for use with the Alpha USB.
1. Plug the Alpha USB into one of the USB ports on the Mac. See Note below.
2. Under the Apple Menu, click on “About This Mac”.
3. Click on “More Info”.
4. In the Contents column under Hardware, click on “USB”.
5. In the USB Device Tree “Alpha USB Digital Output” should appear.
6. Make sure it is the only active device on its USB High-Speed Bus. See Note below.
7. If necessary, move the USB cable to a different port, or disable the conflicting device
and check again.
8. Quit the System Profiler.
9. Open the Audio MIDI Setup application in the Utilities folder.
10. “Alpha USB Digital Output” should appear on the list of devices.
11. It should NOT be selected as an output device. Select “Built-in Output” for music and
system sounds.
12. Quit the Audio MIDI Setup application.
13. Launch Pure Music.
14. If you have altered the default settings, go to Preferences under the Pure Music Menu.
15. Click the “Defaults” button near the bottom, and accept the action. PM will re-launch.
16. On the Pure Music menu bar under Metering, click on “Signal Metering” to un-select it.
17. Under the Music Server menu, click on “Memory Play” and “Disable DSP Options” to
select them.
18. Under the Pure Music menu, click on “Audio Setup…”
19. In the Output Device area, select “Alpha USB Digital Output” in the drop-down list.
20. Check the box “Enable Exclusive Access (“Hog” Mode)”.
21. Near the bottom of the window, click on the “Click to Apply Changes” button.
22. After PM re-launches, once again go to Pure Music > Audio Setup…
23. To the right of the Hog Mode check-box is a box for “Native Integer Format Support”.
24. Click to check the box. Note: Native Integer Format Support is not available at present
with the Lion operating system. For the Lion operating system do not check the box.
25. The menu should close and take you to iTunes with the message “Nonmixable Integer
Output Stream” (if selected) and “Select track and press return”.
26. Select a track and press play or return.
27. The track should start playing through the Alpha USB, and on the Pure Music bar
above iTunes there should be a series of status messages in small green letters:
• Alpha USB Digital Output
• Native Sample Rate (xxx kHz)
• Playing from Memory
• Native Integer Device Stream (if selected)
• DSP Options disabled
Pure Music setup is complete.
3
Page 4

NOTE: not all USB connections on a computer are equal. USB does not have a guaranteed
latency mode, so for a real time task like audio delivery, it is important to connect the Alpha
USB interface to a lightly loaded hub. All USB devices and where they are connected can be
seen under “About This Mac” under the Apple Menu. Click on it, and then on “More Info”,
which launches the system profiler. Click on “USB” under Hardware to see the full list.
Windows PC Computers
Microsoft has not yet supplied a driver conforming to the USB 2.0 High Speed audio interface
standard. Therefore Microsoft Windows PC’s require the Alpha USB Windows driver which
works with Windows XP, Vista, 7, 8 and 8.1. Vista is not recommended. Windows 7 and 8 both
function well as an audio server and are preferred over XP.
To install the Windows driver, insert the Alpha USB Windows Driver CD, view its contents,
open the AlphaUSB_Windows_Driver_1v26b folder, and run setup.exe. Follow the
instructions, which include connecting the Alpha USB to a USB port, and, usually, exiting any
Microsoft Wizard that tries to do things automatically. During the installation, two dialog boxes
will appear warning that Microsoft has not blessed the software. Click on the “Install Anyway”
button in both cases.
Follow the onscreen instructions, which include connecting the Alpha USB to a USB port, and,
usually, exiting any Microsoft Wizard that tries to do things automatically. During the
installation two dialog boxes may appear warning that Microsoft has not blessed the software.
Click on the Install Anyway button in both cases.
For Windows 8 and 8.1 the 1v26b version of the Alpha USB Windows driver will install without
issues if Windows 8 compatibility mode is used for the installation.
Using Windows 8 compatibility installation mode:
Right click on the driver’s setup.exe icon, select Properties from the contextual menu then
click on the Compatibility tab. In the Compatibility section, select the Run this program in
compatibility mode for: check box and select Windows 7 from the drop-down list. Click on
the OK button and then run setup.exe.
Free Windows compatible music players such as Media Monkey and Foobar, or for-purchase
music players such as JRiver Media Center should be used to provide bit-perfect output.
Windows Media Player is not recommended.
For Windows XP, ASIO must be used to connect the music player to the USB output to get bit
perfect data. The Alpha USB ASIO driver identifies itself as “TUSBaudio ASIO driver” in the
music player’s output select setup dialog. A “Kernel Streaming” output may also appear. Do
not select it. Kernel streaming is an experimental protocol that is only loosely specified, and it
does not work with the Alpha USB. Media Monkey, Foobar and JRiver Media Center all
support ASIO for Windows XP
For Windows 7 and 8, the preferred connection is WASAPI. It provides low-overhead, bitperfect data output with automatic sample rate switching, and works very well. Media Monkey
3 does not support WASAPI so Foobar or JRiver Media Center should be used with Windows
7 and 8. When using JRiver Media Center 15 or later, WASAPI - Event Style output mode
should be used
4
Page 5

SPECIFICATIONS
• Input: High Speed USB 2.0 connection - type B receptacle
• Output: switch selected, coaxial SPDIF - BNC, 75Ω or balanced AES type - XLR, 110Ω
• Supported sampling rates: 44.1 kHz, 48 kHz, 88.2 kHz, 96 kHz, 176.4 kHz, 192 kHz
• Supported word lengths: up to 24 bit
• Supported operating systems: Apple Macintosh and Microsoft Windows
• Enclosure dimensions: 2.3”H X 10.5”W x 5”D, 2.55”H including feet
• Mains power: 100 or 120 or 240 VAC, 50/60 Hz, IEC power input connector
• Power consumption: 3 Watts line, 1.5 Watts USB, designed for continuous operation
For further information on the Alpha USB, please contact Berkeley Audio Design, LLC at:
[email protected] or call 1-510-277-0512
© 2014 Berkeley Audio Design, LLC
5
 Loading...