

Page 1
TC 405
21
546
879
30
start
stop
°C/h
k
event kw/h
fix
prog
pers
prog
t
0
tmp
1
t
1
t
2
tmp
2
k
k
°C/h
°C/h
memo
1050°C 1180°C 1250°C
150°C 800°C 900°C
THERMOCOMPUTER
TC 405
Operating Instructions
Page 2
Brief Instructions
To
- start a fixed programme (e.g. no.5)
- start a personal programme (e.g. no.3)
- save a personal programme (e.g. as no.1)
- to lock the controller
fix
prog
5
start
stop
pers
prog
3
start
stop
use this key
pers
prog
fix
prog
+
1
(about 3 seconds)
Controllers Panel
21
546
879
30
start
stop
°C/h
k
event kw/h
fix
prog
pers
prog
t
0
tmp1t
1
t2tmp
2
k
k
°C/h
°C/h
memo
1050°C 1180°C 1250°C
150°C 800°C 900°C
THERMOCOMPUTER
TC 405
1
11
10
9
8
7
6
12
5
4
3
2
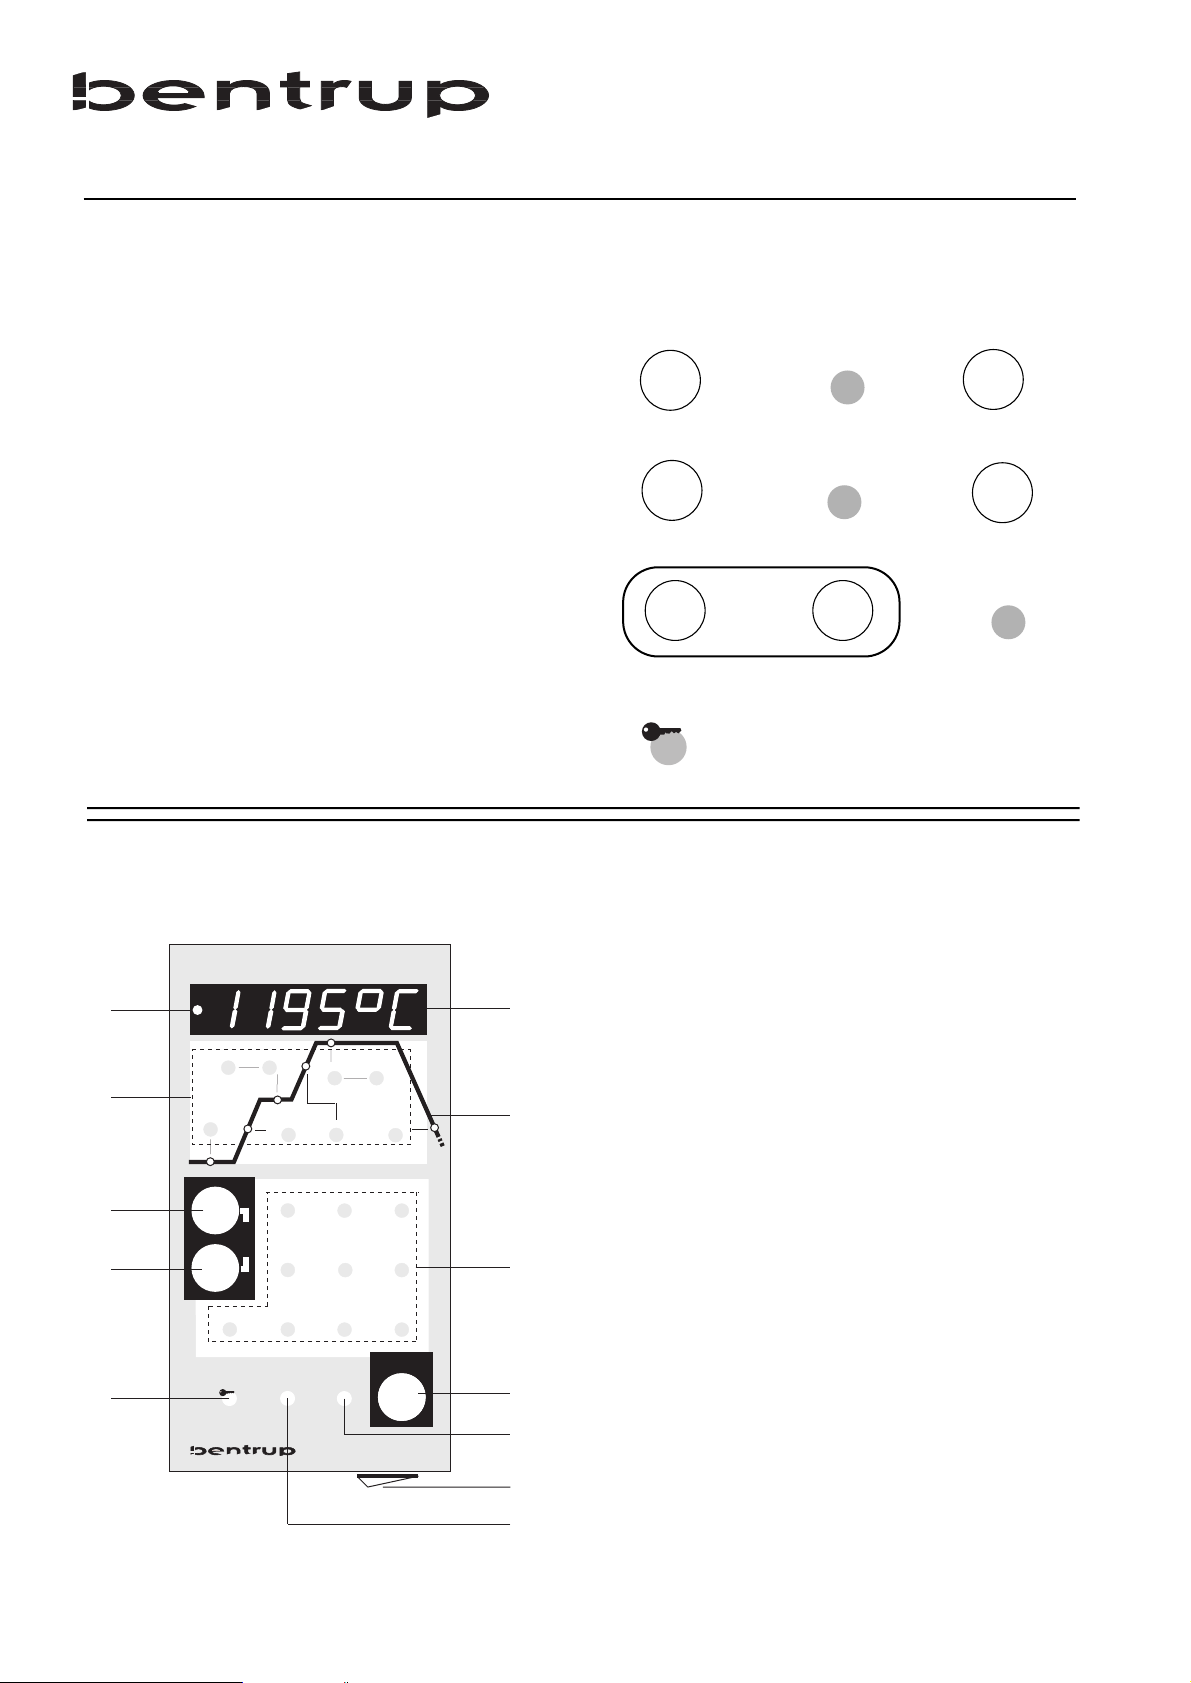
1 indicator kiln on/off (power relay)
2 keys for selecting the segments of the
curve
3 key for calling up fix programs
4 key for calling up personal programs
5 key for locking the controller
6 display
7 firing curve with indicators
8 numeric keyboard
9 start/stop key
10 key for calling up the power consump-
tion (and for installation parameters)
11 power switch (shown in "ON" position)
12 event key
Page 3

15
Your brand new bentrup TC405 represents the latest
technology in kiln controls concerning safety,
precision and features available today. The TC405 is
one of the most popular controllers on the market.
Before operating the controller, please read and
understand the manual carefully. This makes you
familiar with all features and possibilities of your new
controller quickly.
Refer to the security advice of the kiln manufacturer.
Please also make sure that the controller is mounted at
a safe distance from the kiln and that the control is not
exposed to direct heat or radiation when the kiln is
opened whilst it is hot.
The microprocessor controller TC405 provides your
kiln with a precise and reproducible controlling unit.
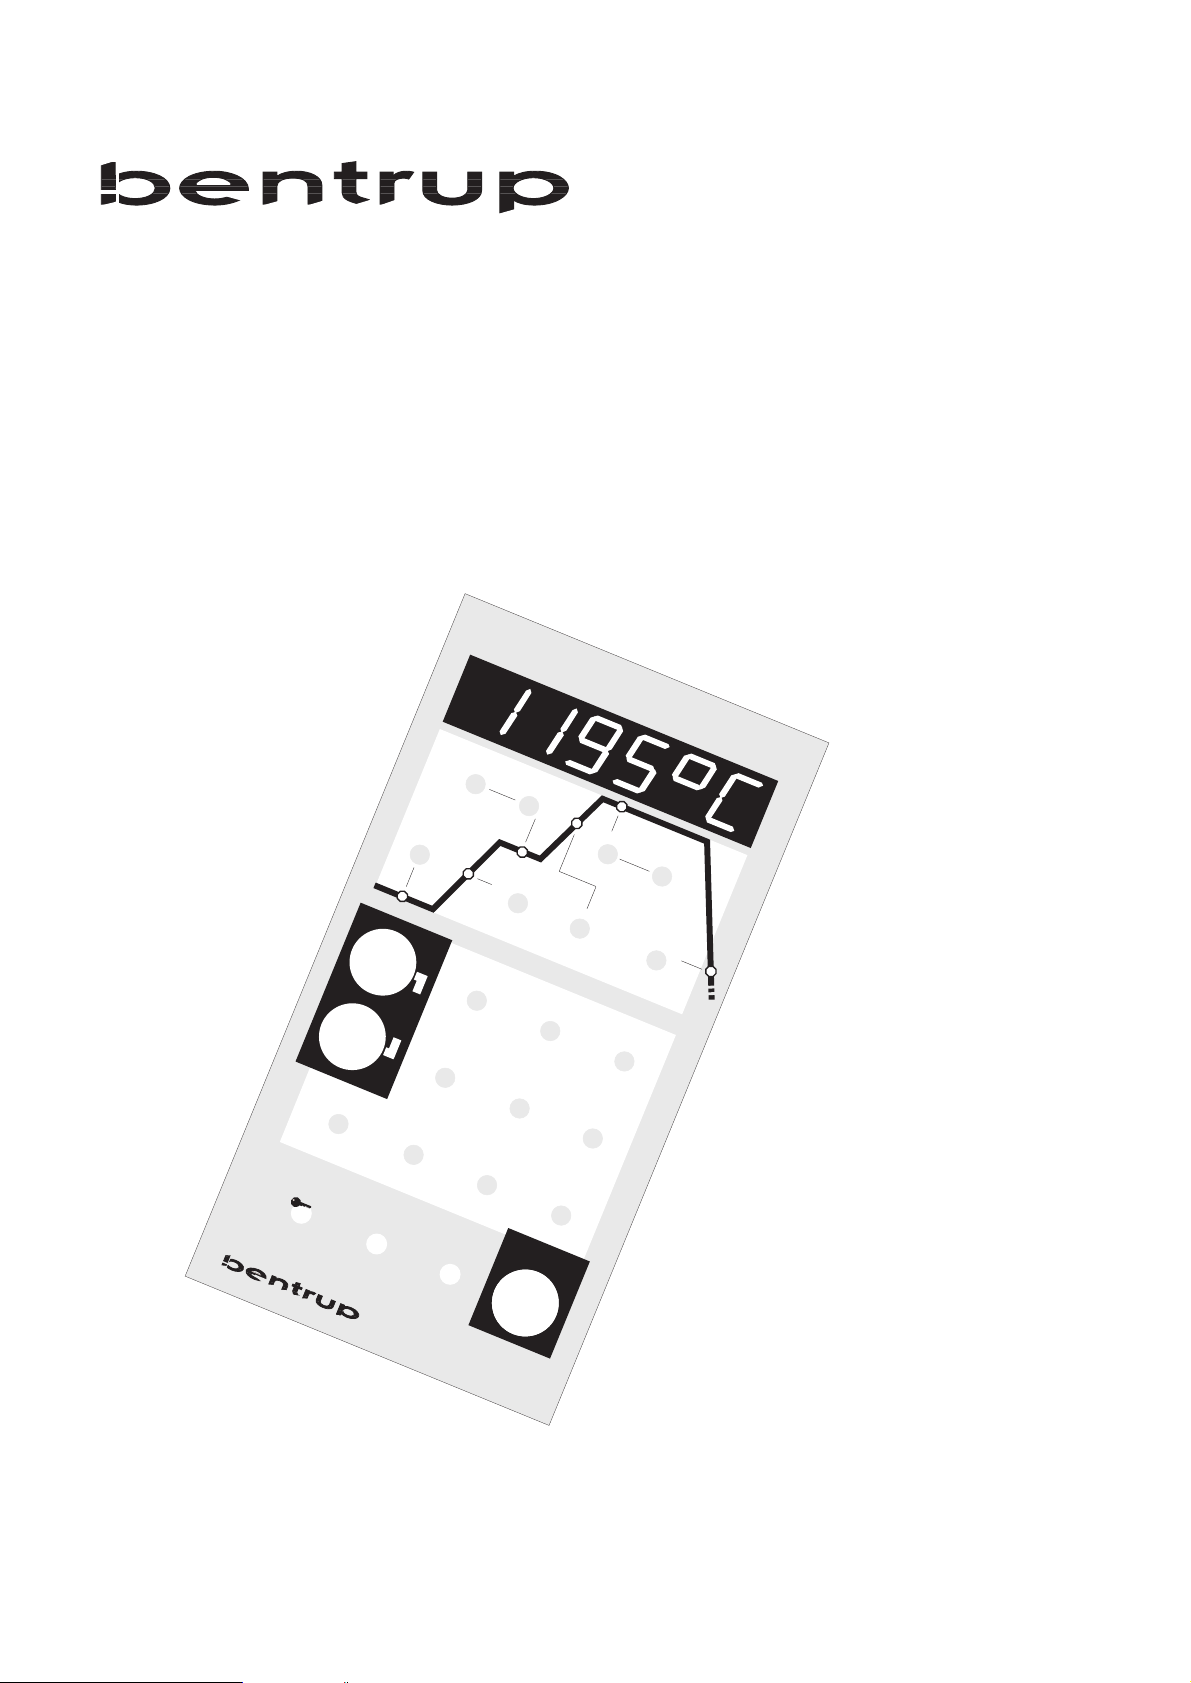
The firing course is shown as a firing curve consisting
of six segments. An example is shown below :
Contents
General Information
General Information...........................................15
Calling up a fix programme................................16
Calling a personal programme
Adjusting a fixed programme..........................17
Creating a new curve......................................18
Changing values during a running programme19
Locking the controller........................................19
Further hints
Firing curve with only one dwell.....................19
Temperature 1 higher than temperature 2 .......20
Reaction on power breakdown.......................20
Maximum values............................................20
Display of power consumption.......................21
Error messages................................................22
Programme Link .............................................24
Operating Parameters ........................................25
Electrical Links ..................................................27
Security Advice
Page 4

16
This firing curve consists of the following segments:
a. programme delay (60 min.)
b. heating up to 400°C in 120 min. (200°C/h)
c. 1
st
dwell (120 min.)
d. heating up to 700°C in 120 min. (150°C/h)
e. 2
nd
dwell (60 min.)
f. cooling down (350°C/h)
Often used curves are already in series - saved as fixed
programs in the controller. Anyway you are able to
save 9 individual curves - personal programs - which
let you consider your experience and special wishes.
Both fixed and personal programs are called up
simply by pressing the corresponding key (3) or (4)
resp.
A seldom used curve can also be started without
saving it as a programme. In this case put in all the
required values (see “creating a new curve”) and then
press the “start stop” key. If a curve is put in like this it
will be lost after firing.
The following is a list of fixed programs in the
controller:
Calling up a fix
programme
prog.-no. to (min) up (°C/h) tmp.1 (°C) t1 (min) up (°C/h) tmp.2 (°C) t2 (min) down (°C/h)
0* 0 60 1200 0 5 1200 0 999
4 0 30 150 10 999 150 0 999
5 0 100 600 0 999 800 10 999
6 0 100 550 0 999 900 10 999
7 0 180 400 0 999 1050 30 999
8 0 180 400 0 999 1180 30 999
9 0 180 400 0 999 1250 30 999
* progam no 0. is especially for initial firing of a new kiln !
Fixed programs and
personal programs
500
1000
[°C]
[min]
120 240 360 480
600
(a)
(b)
(c), (d) (e) (f)
Page 5

17
First turn on the controller. To start a firing e.g. with
fixed programme no.5 (max. firing temperature 800°C),
it must be first selected and then started. Press the key
“fix prog” (3). In the display you´ll see the left shown
display. Now press key no. “5” of the numeric keyboard
(8). To start the programme press “start/stop” (9). From
now on the displays shows the actual kiln temperature
continuously. Every 15 sec. the max. temperature ot the
selected programme is shown (flashing).
By pressing the “start/stop” key again you interrupt the
running programme or let it continue. The decimal
point flashing on the very right hand side of the display
(6) indicates the the programme is running
Before and during the firing all the parameters of the
selected programme can be shown by pressing the
corresponding key (2). Then the corresponding value is
shown for about 3 sec. on the display. The actual
segment of the firing process is shown on the depicted
curve (7) by indicators. When the firing is finished an
"E." is displayed at the very left hand side on the display
(6) (when kiln temperature reaches 150°C).
Entering a personal programme can be done in two
different ways.
1. Changing a fixed programm
An example:
You may need a programme that is like fixed
programme no “7”. But the heating segment should be
200°C/h and the 1
st
dwell should be at 600°C. This
changed fixed programme shall be saved as personal
programme “2” for future use. Every step is shown
graphically on the left. At first call up the fixed
programme no “7” as descibed in the last chapter. To
change the value of the first heating phase push the key
“up °C/h" in the left part of the printed firing curve.
fix
prog
5
start
stop
fix
prog
7
Calling up a personal
programme
°C/h
Page 6
18
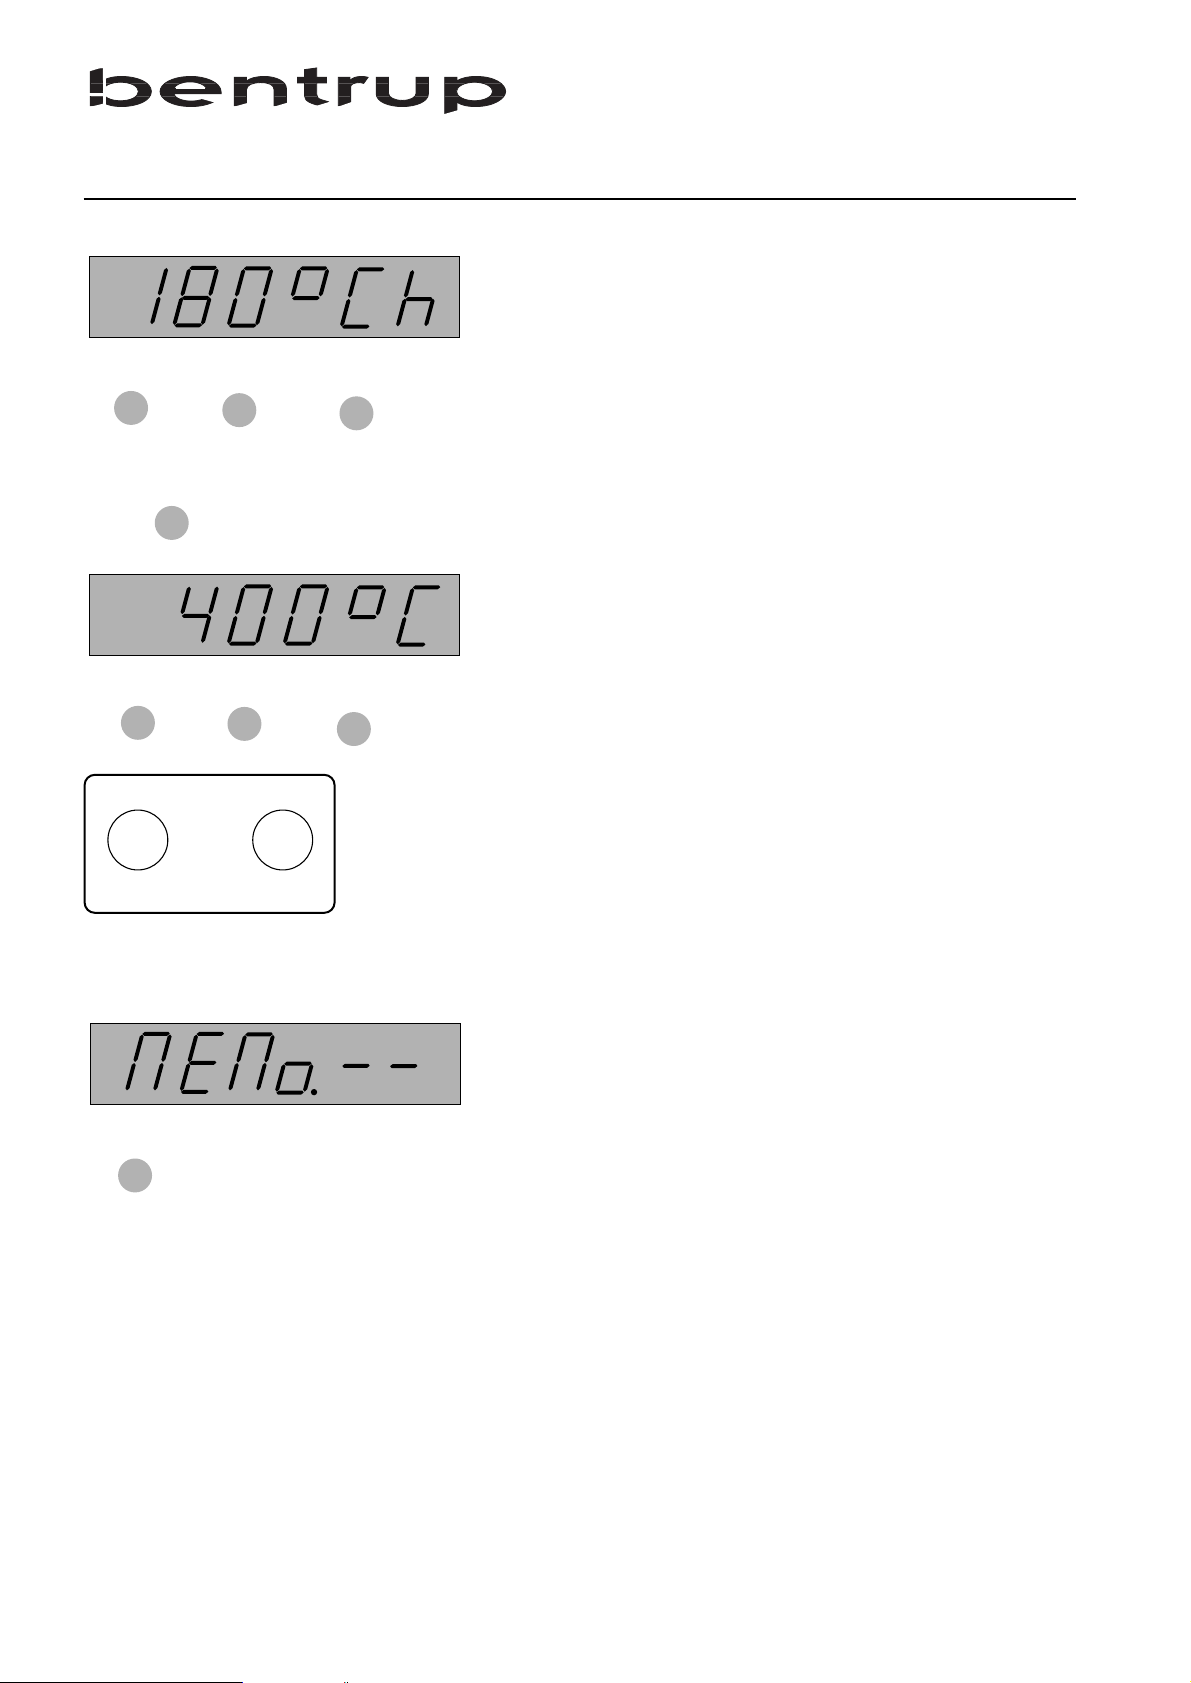
On the display (6) the original value is shown
(180°C/h).
Now enter with the numeric keyboard (8) the new
value of 200°C/h.
To change the 1
st
dwell temperature press the key
“tmp1”. The display shows original value (400°C).
Now enter your new value with the numeric keyboard
(8).
To store this changed programme press the keys “fixprog.” (3) and “pers.-prog” (4) simultaneously. The
display shows (symbolic) message “memo-”. Enter the
desired programme number "2". Now the programme
is saved as personal programme no. 2 for future use.
The personal programs stay resident even after power
off. Of course you can redefine personal programs as
often as you want.
The programme is now stored as personal programme
no.2. To recall this programme you just have to press
key "pers.prog" (4) followed by the corresponding
programme number "2".
2. Creating a new firing curve
You often need a programme which is completely
different from one of the fixed programs. In this case
enter the new values by pressing the keys (2) for all
parameters and put in the desired values using
keyboard (8). After finished save this programme as
explained in section 1.
Even after the firing process has been started you can
change the firing curve.
fix
prog
pers
prog
+
3
0
0
tmp
1
6
0
0
3
Page 7

19
Example:
While running the programme you want to change the 1
st
dwell temperature to 500°C. Interrupt the programme by
pressing the “start/stop”-key (9). Now select the segment
by pressing the corresponding key (2) and enter the new
value with the numeric keyboard (8). After pressing
“start/stop” (9) again the firing process will continue with
the new value.
When you change a segment that has already been
finished the TC405 will start from the beginning.
To prevent the TC405 from unauthorized use press the
“key button” (5) for about 3 seconds. You will see the
decimal point on the very left hand side of the display (6)
indicating that the controller is locked. The TC405
keyboard is now locked.
To unlock the TC405 press the key (5) for 3 seconds
again until the indicator goes off.
Firing course with only one dwell temperature
You need a programme with only one dwell. The kiln
required to heat up with e.g. 150°C/h until it reaches
1000°C followed by a dwell of 30 minutes. Cooling
should be done 500°C/h. Enter the following values:
t
0
.......................................................................0 min
...............................................................150°C/h
tmp1...............................................................1000°C
t
1
.......................................................................0 min
(this value doesn´t have any meaning) ..............999°C/h
tmp
2
...............................................................1000°C
t
2
.....................................................................30 min
...............................................................500°C/h
Locking the controller
Further hints
Changing the curve
during a firing
tmp
1
start
stop
5
0
0
start
stop
°C/h
°C/h
°C/h
Page 8

20
Dwell 2 temperature higher than dwell 1
The TC405 gives you the choice to make the first dwell at
a higher temperature then the second dwell. In this case
the kiln heats up to the first firing temperature, dwelling
for the given time (t1) and then cooling down to the
second temperature dwelling again (applications like
crystal glaze or simple glass fusing or slumping)
Reaction on a power breakdown
In case of a power breakdown the firing process is
interrupted. After the power comes up again the
controller will continue exactly from the point at which it
was interrupted.
Maximum values
The maximum valid programme values are listed below:
programme delay (t
0
) 0 min to 9999 min
1. heat up rate 2°C to 999°C/h*
1. dwell time (t1) 0 min to 9999 min
1. dwell temp. (tmp
1
) 20°C to 1320 °C**
2. heat up rate 2°C/h to 999°C/h*
2. dwell time (t
2
) 0 min to 9999 min
2. dwell temp. (tmp
2
) 20°C to 1320 °C**
cooling (°C/h) 2 °C/h to 999°C/h*
*the value of 999°C/h sets the controller to the maximum speed
heating or cooling respectively.
** controller is adjusted to the maximum kiln temperature
Displaying the power consumption
The TC405 gives you the possibility to call up the power
consumption of the last firing. To use this feature you
have to programme the kilns power once. Refer to the
section "Setting the parameters". Press key "kwh" to read
the power consumption since the last firing has been
started. The display switches back after 2 seconds.
Caution!
A power failure longer than 30 minutes causes the
automatic termination of the programme because
theoutcome of the firing is likely to be unsatisfactory
Page 9
21
Option: Linking Programmes
This option of your controller is included on request
only. Ask you kiln supplier if you like to use this
feature.
TC405 provides you with a very useful feature: You
can link programmes, ie. you can cause the control
for instance to continue with programme no. 2 after
programme number 1 has finished. This can be used
eg. to start the biscuit firing automatically after the
drying programme.
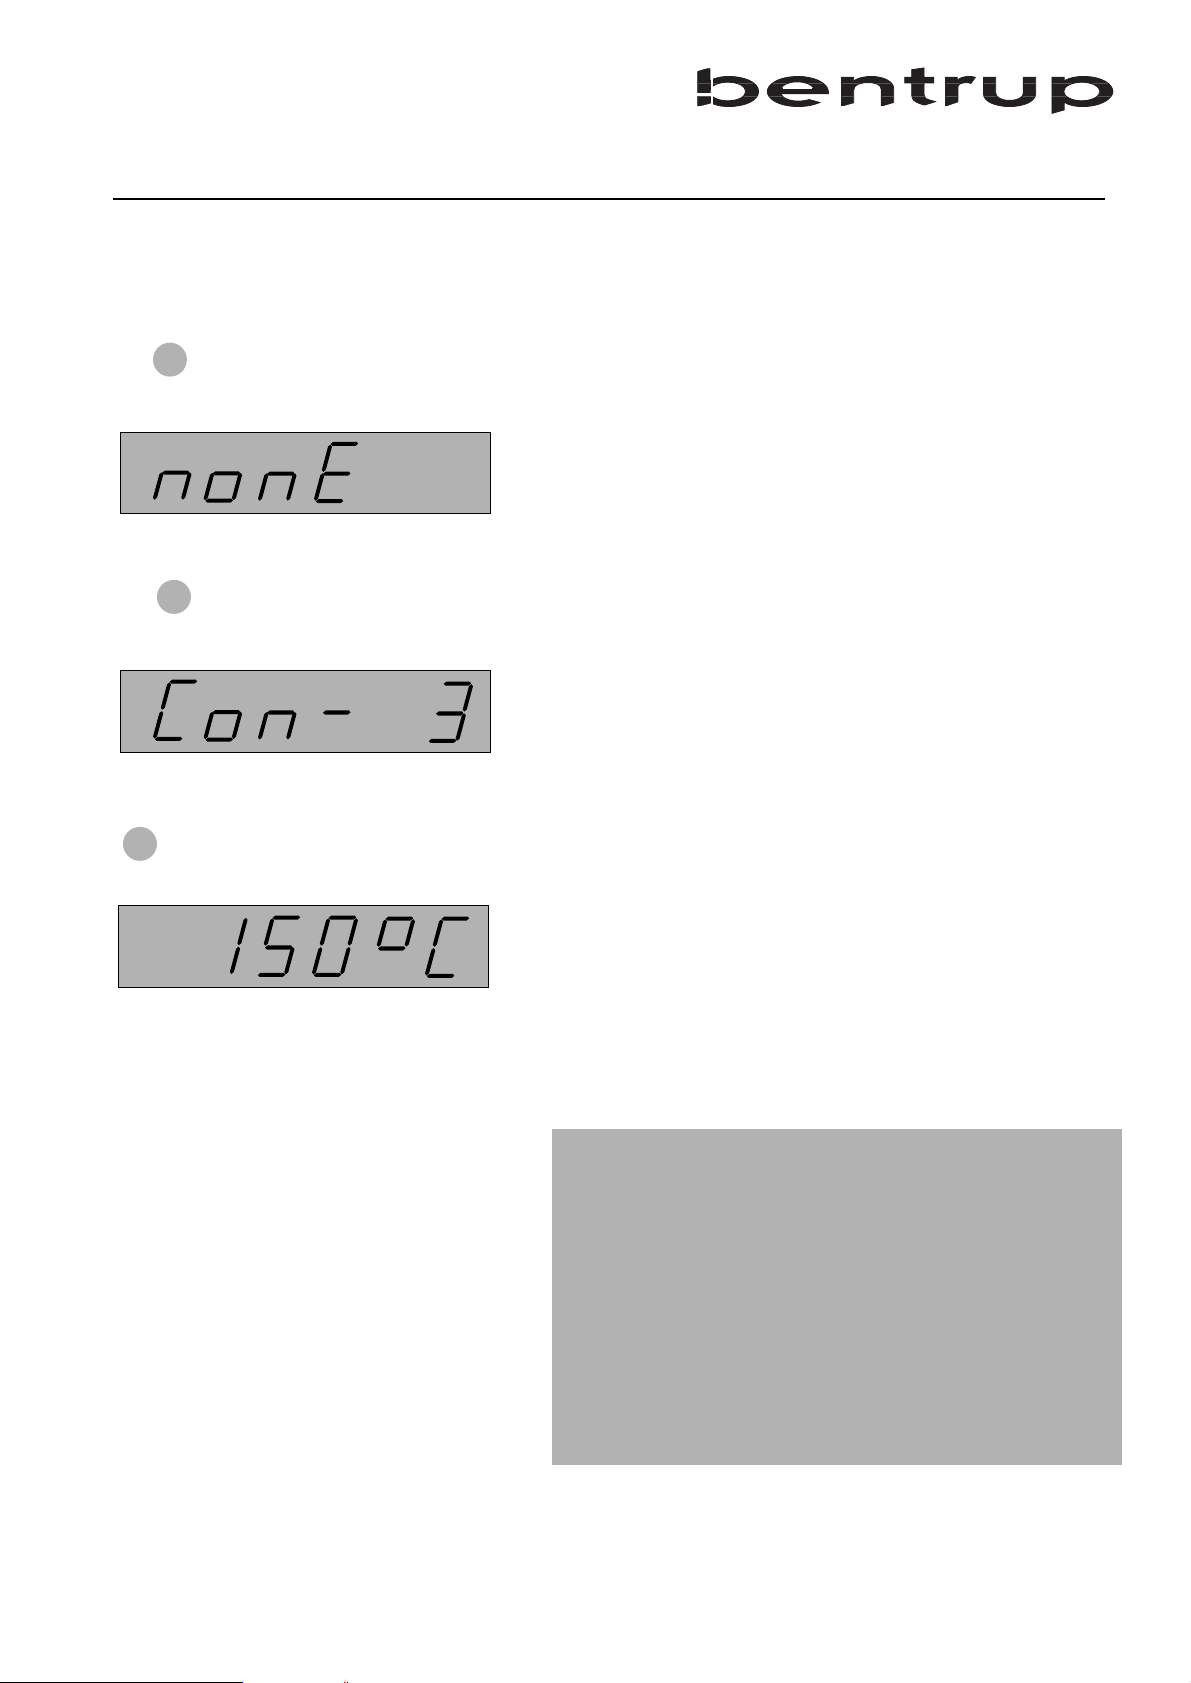
Linking programmes is done as follows: After you
have entered your first programme press the "event"
key. The display reads "none". Enter the programme
number which you would like to be started
automatically after the first programme is finished. The
display shows "Con #" where # is 1 to 9 (pers. prog. 1
to 9).
Press the "event" key again, the display shows the final
temperature of the first programme, at which point the
second programme will commence. Change this
temperature using the digit keys if required.
To switch off the programme link, enter programme
N
o
0. the display shows "none".
Important Note
The programme numbers refer to the personal
programmes only. Should you wish to link a fixed
programme, this should be re-entered and saved as
a personal programme.
Caution: If a programme is saved using the link
feature, the link is stored as well. Check when
loading programmes to avoid unintentional linking
event
3
event
. . .
Page 10
22
The integrated microprocessor inside your TC405
performs continous checking of the firing process. In
case of any malfunction the display will show an error
message pointing to the problem. Following is a
description of the possible error messages:
The kiln doesn´t follow the required temperature
increase
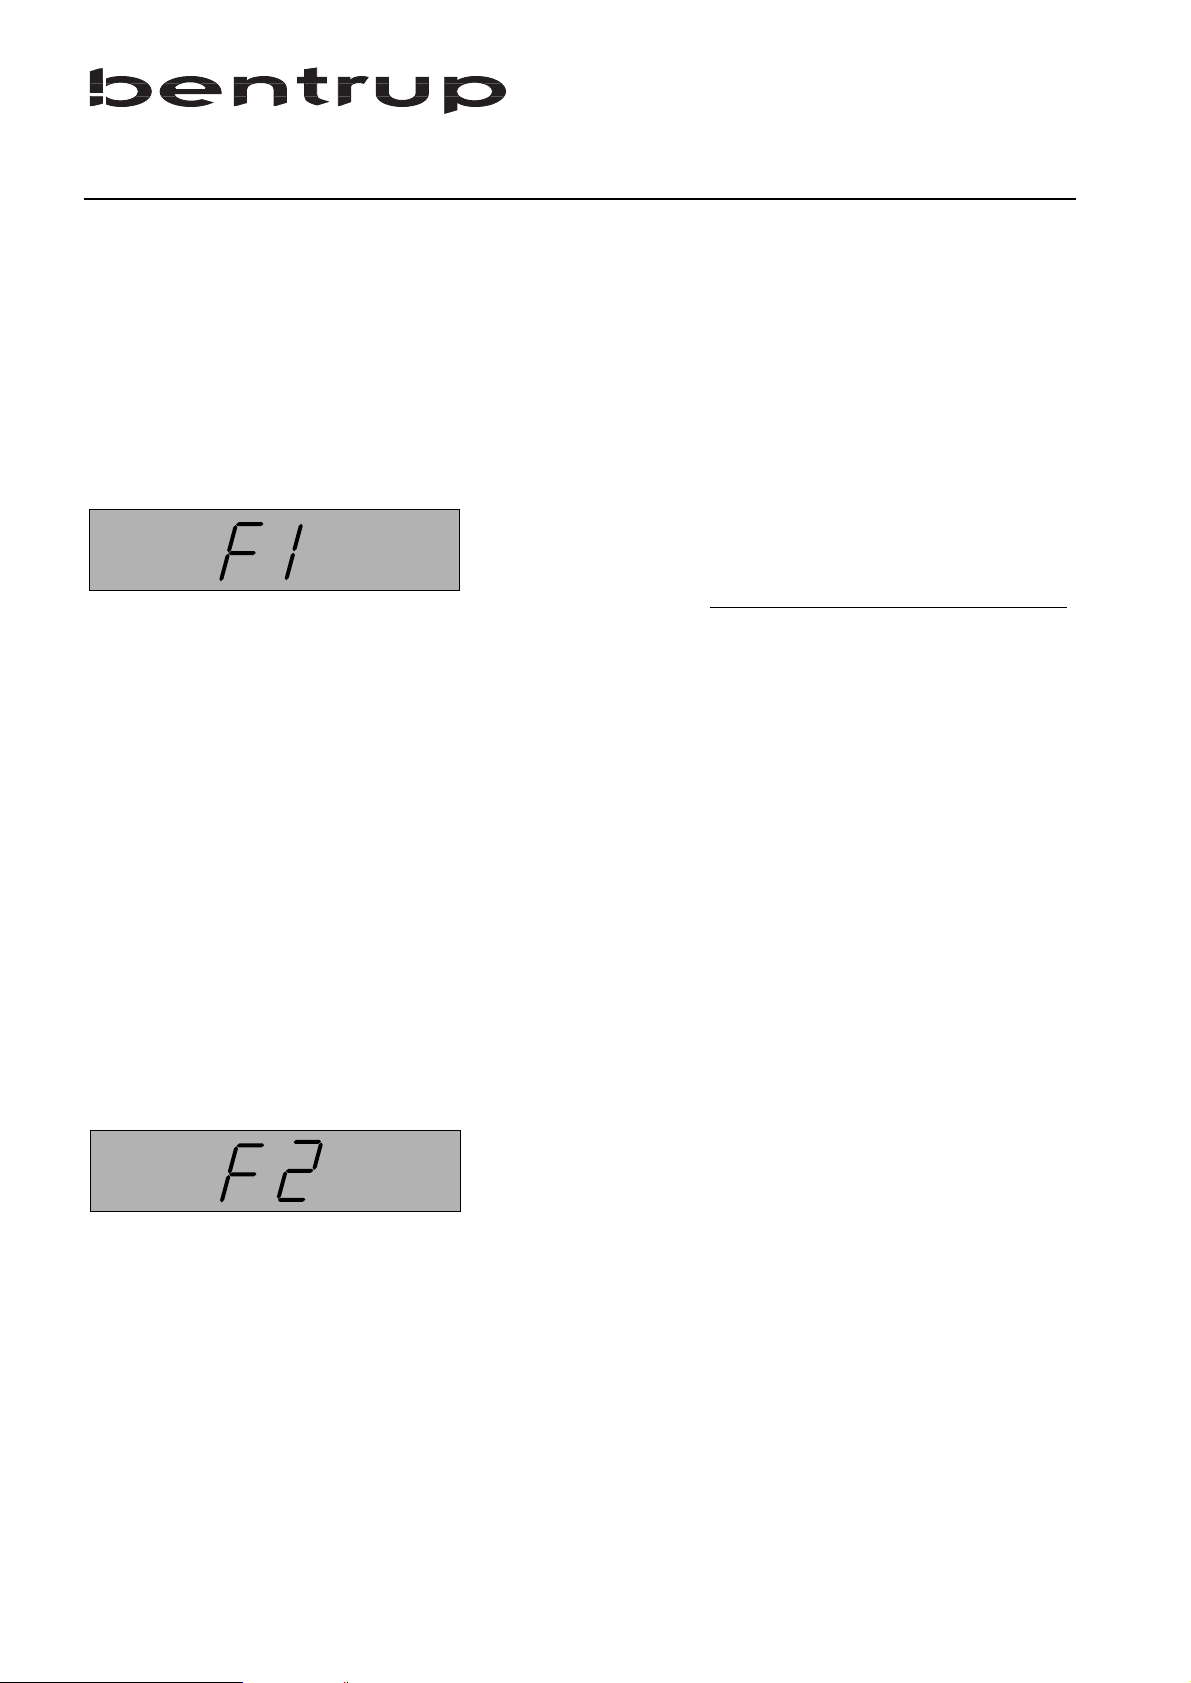
This error message points clearl
y to a kiln problem.
Possible cause:
• broken fuse
• the door (lid) contact is open
• a heating element is broken
• the heating elements are too old
(esp.with high firing temperatures)
• the thermocouple has a short circuit
• a power phase failed
• a problem with the power relay
Problem on temperature acquisition
The controller continuously checks the validity of the
measured temperature values during the firing
process. If any problem occurs an error message is
given. The right part of the display shows a number
which defines the error
1- acquired temperature too high
2- safety relay contactor was activated
3- measured temperature flacking (contact problem)
If this error message occurs refer to your local dealer.
Error messages
Page 11
23
Thermocouple or thermocouple circuit defect
Possible cause:
• thermocouple broken
• thermocouple wiring bad
• contacts of the connecting plug bad
Impossible values on data acquisition
Possible cause:
• thermocouple polarized bad
• thermocouple temperature less than -15°C
Values for heating or cooling out of range
The range of values for the heating and cooling
segments is from 2°C/h to 700°C/h.
Values for dwell temperatures out of range
These temperatures must be between 20°C and
maximum kiln temperature (e.g. 1320°C, depending
on the kiln).
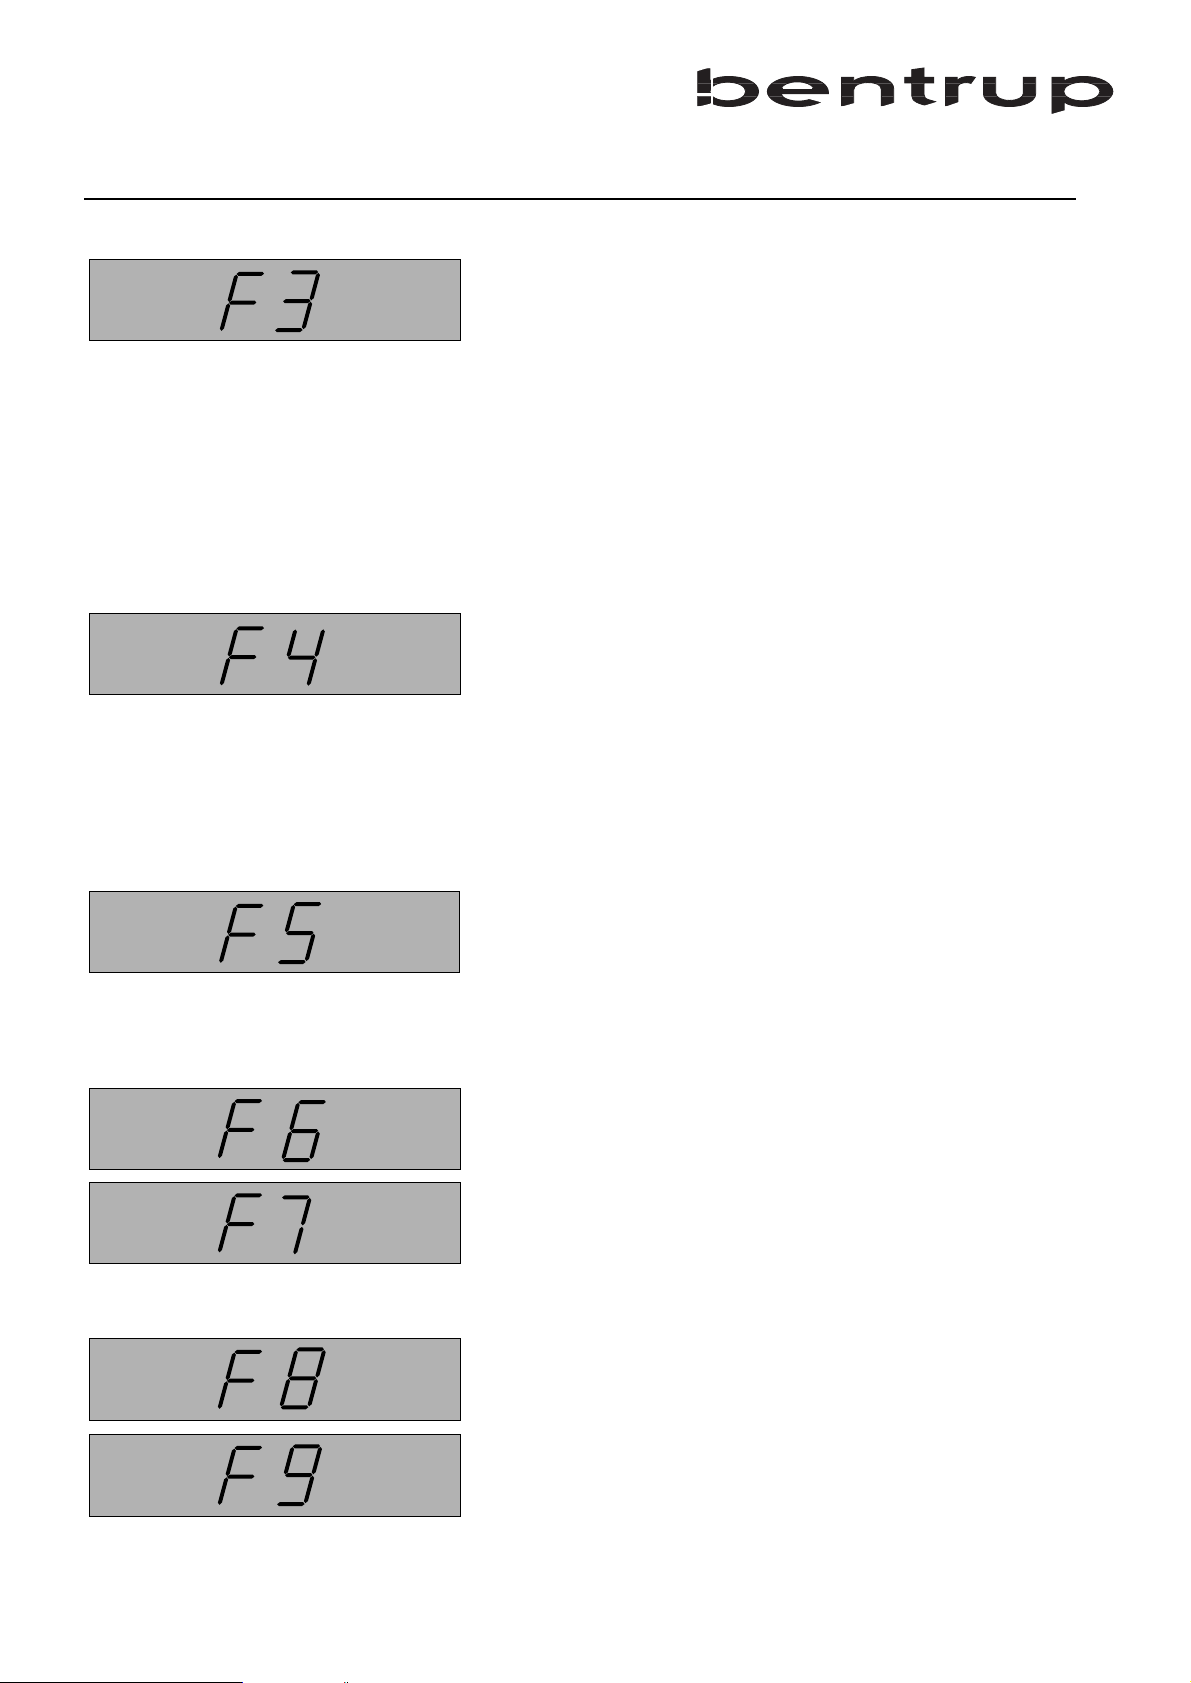
Error detected during power-up self check
On every power-up the controller performs a self
check. If an error is detected the controller shows F8
(ROM error) or F9 (hardware error). Please contact
your local dealer.
Page 12

Setting the parameters
Because your TC405 can be used in a wide range of applications some
operating parameters of the controller are adjustable. These parameters
have been set by your kiln manufacturer so usually no further
adjustments are necessary.
Following the parameter list if you require any changes:
To change the parameters the controller first has to be switched in the
parameter mode: Turn on the controller while pressing key "kwh" (10).
When the controller shows the kiln temperature press the key (10) again
and hold it down for about 3 seconds til the display (6) switches to the
first parameter of the above list. On the right hand side of the display (6)
the actual value of the parameter is shown together with the display
code. Use the numeric keyboard for changing the value.
By pressing the key "total kwh" (10) you can go step by step through the
parameter list. After having finished all entries escape the parameter
mode by pressing the key "total kwh" (10) until the display goes off. The
controller comes up in normal operation mode a few seconds later.
24
displ. code description default unit
O power of kiln 0,0 kWh
r printer-rate 0 cm/h
E type of thermocouple(0=Pt10, 1=Pt13, 2=Ni)* H maximum temperature of the kiln* 1320 °C
P proportionalband 2.0 %
I integral time 200 s
d derivative time 10 s
t cyclus time 30 s
F reserved * 1 L disable error message F1 (heat up check) 0 h heating elements operation hours counter* 0.0 h
° max. temp. reached on last firing - °C
V version code of the internal software* 5.6 -
* for changing these values additional manufacturer code is required
Page 13

25
O power rating of the kiln. This value is only used for calculating the power
consumption
r applies only if the controller is equipped with an optional printer output. Parameter
determines the length of the printout in cm per hour. Maximum length is 60 cm/h
E type of thermocouple. Locked to avoid unauthorized change.
H maximum allowed temperature of the kiln. For changing additional code required.
P,I,d
control parameters. Changing these values without detailed knowledge of the
meaning can cause worse results in firing accuracy. Parameter set suits a wide range of
kilns.
t determines the cyclus time of the control output. A short cyclus times ensures smooth
heating but reduces the lifetime of the power relay. A long cyclus time can result in
temperature oscillations. A typical value for proper operation is 30 sec.
F reserved
L disable error message F1: For certain applications it might be required to suppress the
checking of the kilns heating. "1" disables checking; disable only if really required !
h total operation time of the the kiln heating elements. All heating cycles of the kiln will
be summarized allowing the lifetime of the heating elements to be checked. For
resetting to zero additional code required
° maximum temperature reached on last firing. This value is useful if a problem is
encountered during the firing because it shows at which temperature it occurred.
Automatic reset after each power up / restarting the controller or loading a
programme.
V version code of the internal software (current version 5.6, value read only)
Page 14
26
mains supply neurtral
mains supply live
protection ground
(+)
thermocouple
(-)
(optional)
power relay
(heating)
(h,n)
(g)
(f)
(d)
(c)
(b)
(a)
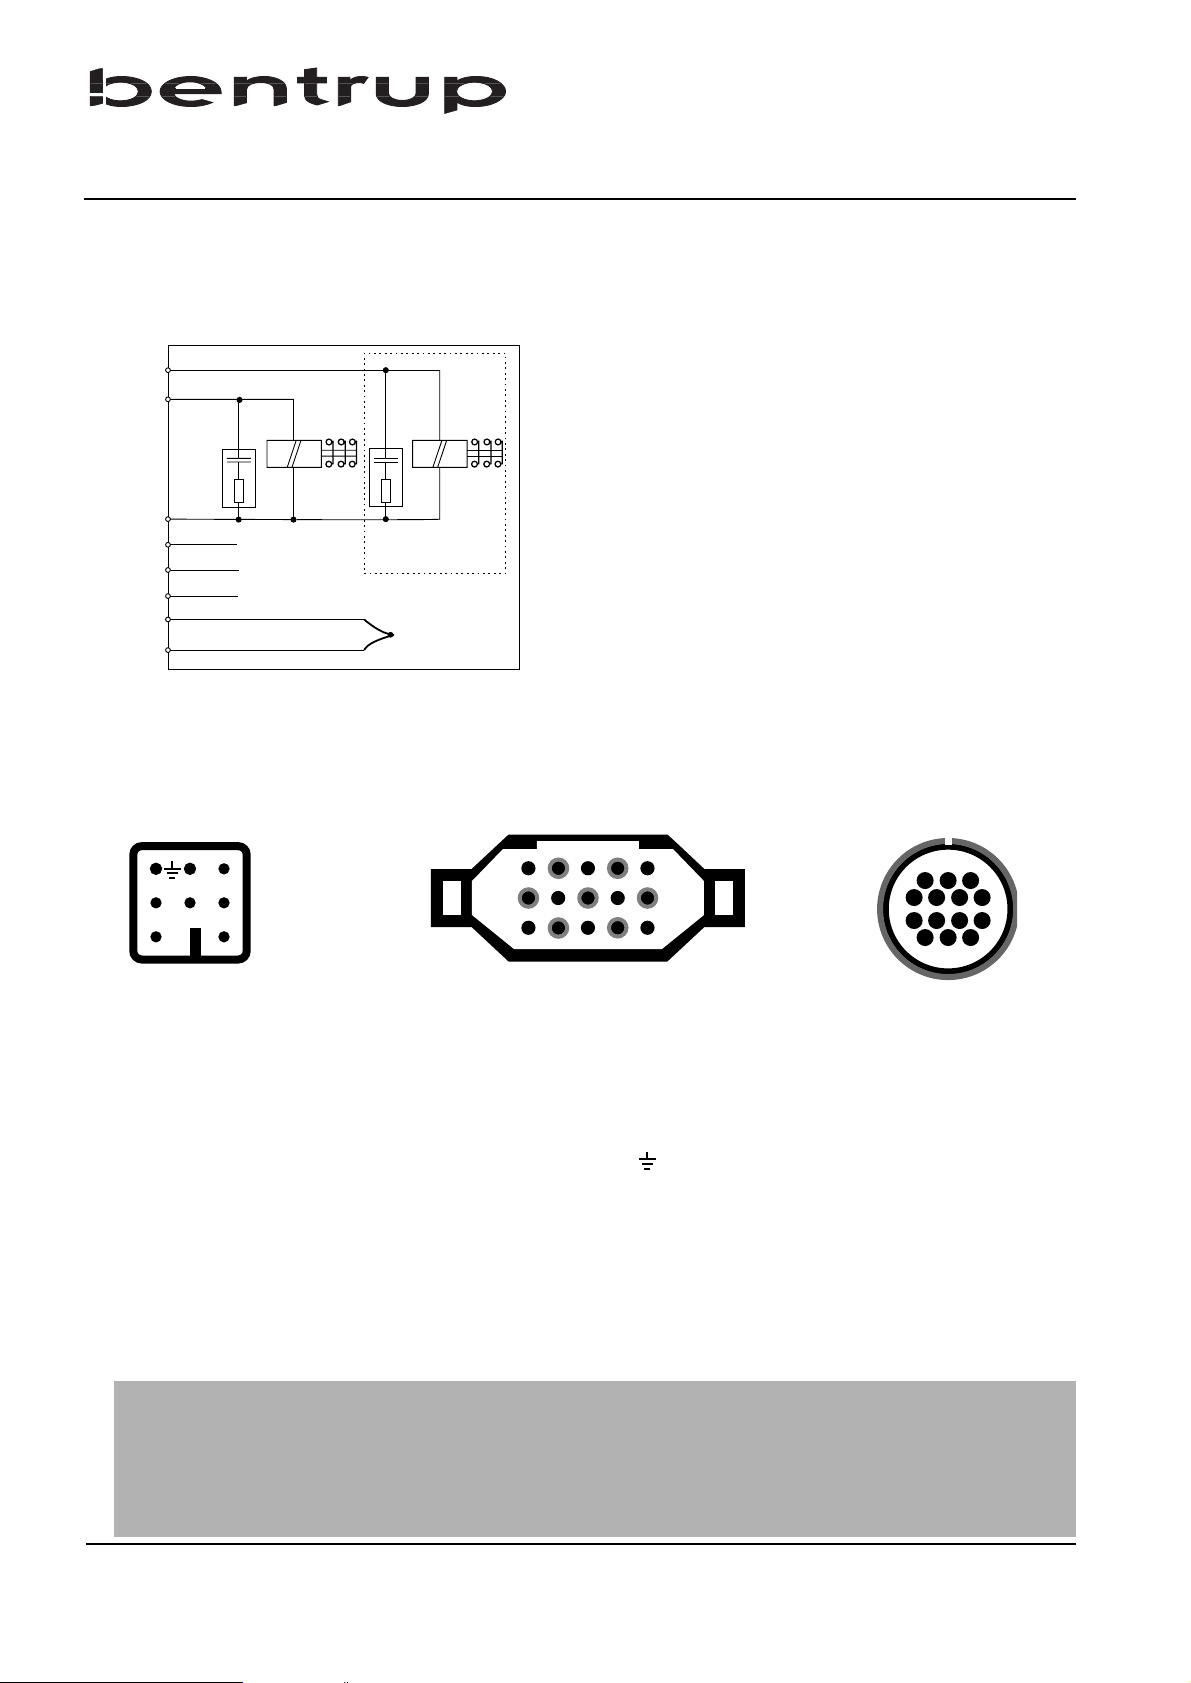
a ... n: electrical links for the controller
(e)*
e.g. 2nd power relay
6
5
4
1
2
3
7
Schematic of a Kiln
Pin Assignment
Technical Informations
HAN 7 D
Important Note
Please compare type of thermocouple used in the kiln with the controllers
thermocouple input marked on the back of the controller. Mismatch can cause
severe damage of kiln and contents
3
1
74
11
8
1412
a
b
c
12
3
45
CPC14HAN 15 D
We reserve the right to make any changes without notice
Operating Instructions TC405 V5.6 (C)opright 1998 bentrup Industrial Controls, D-35463 Fernwald
connect. function HAN7D HAN15D CPC14
a additional control output (live) 7 C3 12
b control output power relay (live) 6 A3 14
c control output power relays (neutral) 1 B3 13
d protection earth * PE clamp 11
e mains supply live 5 A1 8
f mains supply neutral 2 B1 9
g thermocouple + 3 B5 1
h thermocouple - (type S, R) 4 C5 2
n thermocouple - (type K, J) 4 A5 3
 Loading...