

BENRO MC, MA Operating Instructions Manual
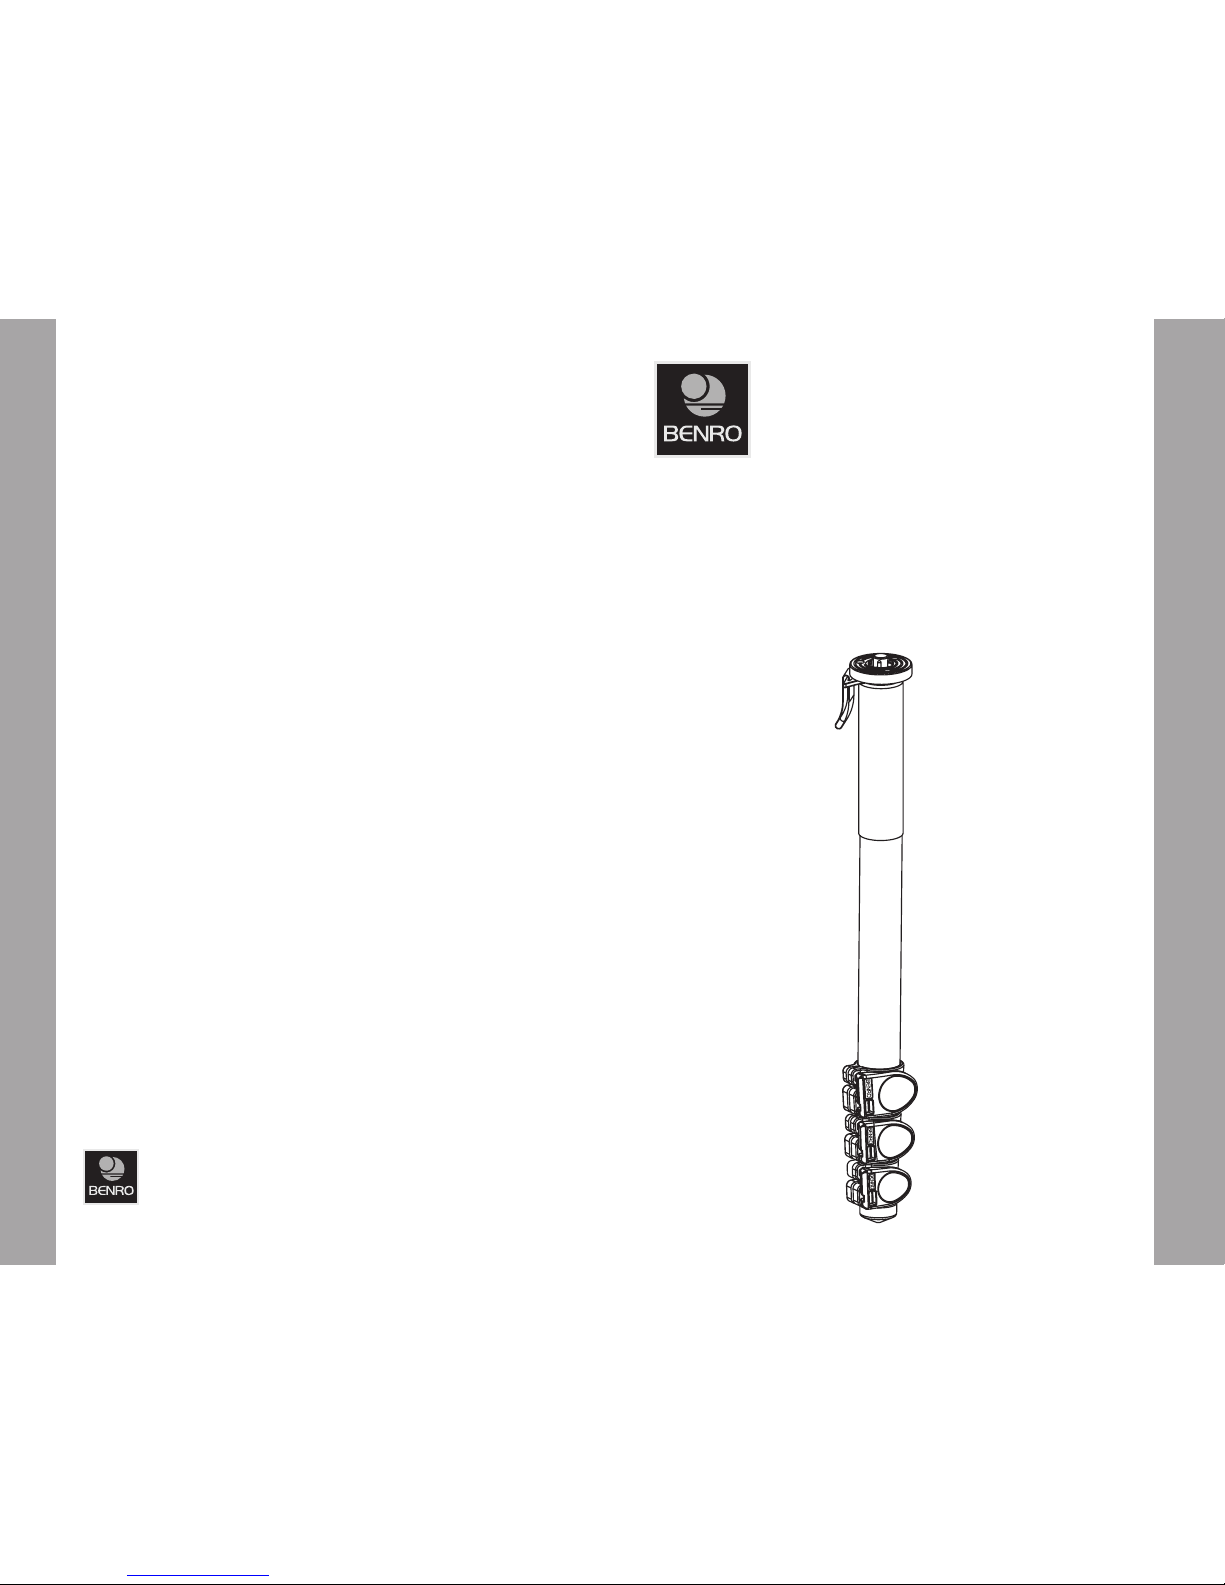
MC–SERIES AND MA–SERIES EX–MONOPODS
OPERATING INSTRUCTIONS
Thank you for making Benro your choice for professional photographic
equipment. Your Benro gear is manufactured to provide years of
dependable ser vice. In order to obtain optimum satisfaction and
performance, we suggest that you carefully read these instructions.
8 Westchester Plaza
Elmsford, NY 10523
T 914.347.3300
F 914.347.3309
info@Benro.com
Benro.com
Specifications and design ar e subject
to change without notice.
SETUP
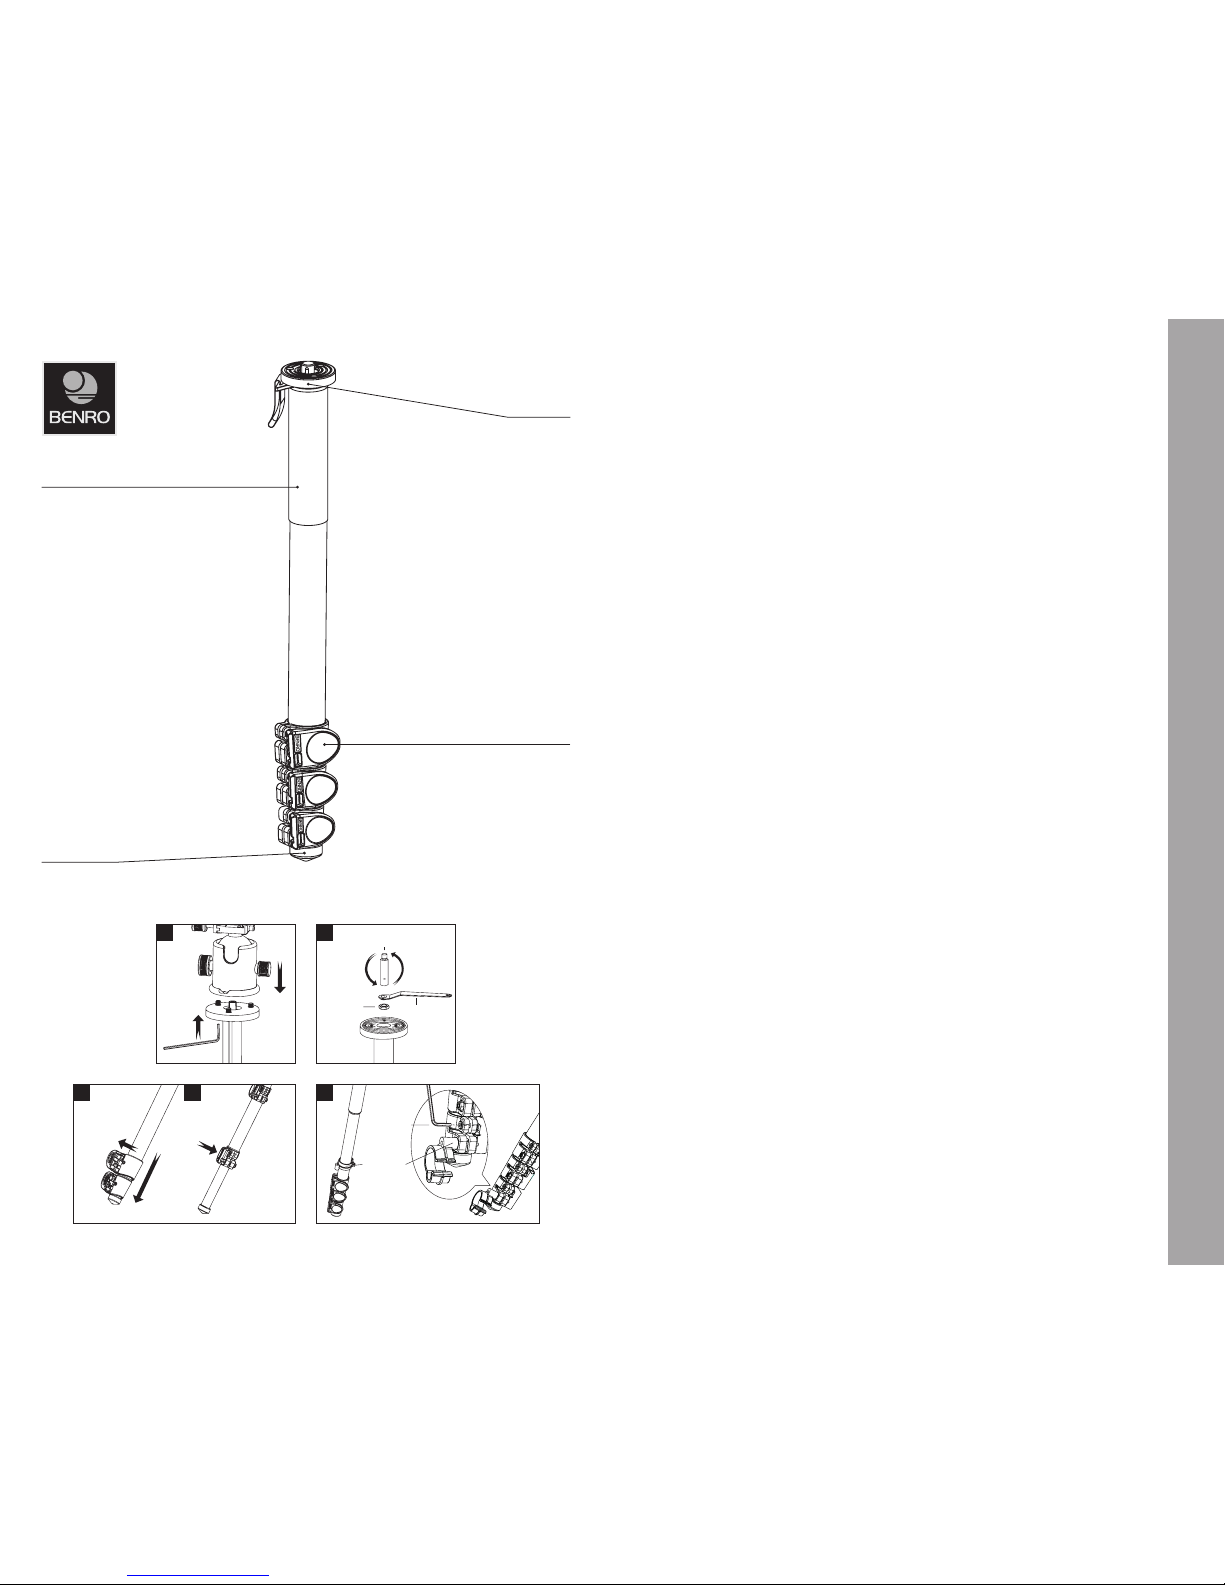
Head Mounting (FIGURES 1 & 2)
If your Monopod did not come with a Head,
select one of the fine Benro Ballheads or
Tilthead that match your size Monopod
and install by screwing the Head clockwise
onto the 3/8" Mounting Thread of the Top
Plate. Once it is hand tight, secure by fully
tightening the Head Locking Screw(s) from
below with the included Allen Key.
Most Heads have a 3/8 " Base Mount so your
Benro Monopod is shipped with the 3/8
Mounting Thread exposed, but if the Head
you choose uses a 1/4 –20 you can attach
it by simply reversing the Mounting Screw.
To do this turn the Locking Nut counterclockwise (using the supplied Wrench) until
it becomes loos e, and unscrew the Mounting
Screw until it can be completely removed.
Reverse the Screw, so that the threads are in
position and screw it back into place, secure
with the Locking Nut using the wrench.
NOTE: Allow enough of the screw threads
to be available for maximum security when
the Head is mounted onto the Monopod. It’s
recommended that at least 5 to 6 threa ds be
exposed before locking the Mounting Screw
in place.
OPERAT ION
Before using your Monopod, adjust each Leg
Section to the desired height.
Make sure that the Monopod is firmly resting
on a stable surface and mount your camer a
securely on the Monopod Head. Alway s
engage any safety locks on the Mono pod
Head to prevent any accidental dismounting.
FOR BEST RESULTS: Do not raise the
Monopod higher than neces sary and extend
the largest diameter Leg Sections fir st.
NOTE: Never carry your Mo nopod with
camera gear att ached.
Leg Section Adjustment (FIGURES 3 & 4)
Each Leg Section can be adjusted to the
desired length by opening the Flip Lock
Lever so the Leg is free to slide in or out.
Once the desired length is achieved, snap
the Flip Lock Lever closed so that the leg
section is securely locked. Repeat this step
for each Leg Section until the Monopod is
set to the desired height.
NOTE: To prevent any accidental damage
to your gear, always remove any mounted
equipment (camera, etc.) from the Monopod
before adjusting the Leg Sections.
User Adjustments (FIGURE 5)
Flip Lock Lever tension is adjusted using
the 3mm Allen Key plus the special
Six-sided Socket Wrench built into the
plastic clip which comes attached to the
monopod leg.
USER NOTICE
Do not exceed the maximum specified •
load capacity (see specific ations on the
package label or visit www.benro.com).
Always ensure that Leg and Head Lock s •
are tightly engaged before mounting any
gear on your Monopod.
Do not use any Monopod below •
temperatures of −4°F or ab ove +158°F
(−20°C / +70°C).
Always clean and dry any Monopod af ter •
it has been exposed to wet, dust y, sandy
or salty conditions. Your Monopod is not
recommended for use in salt water. If
required, clean Monopod using a mild
soap solution applied with a soft cloth,
rinse with fresh water and dry with sof t
towel. Remove any dust, dirt or sand
from all Leg Locks, Leg Sections and
all moving parts.
Do not leave any Monopod in the sun •
for prolonged periods and avoid high
temperature exposure.
Avoid leaving any Monopod or Tripod •
unattended in areas where people could
trip over the equipment and get hurt.
Remove camera, lens, and all gear from •
the Monopod when transpor ting.
For your safety, don’t let your Benro •
gear come in contact with any electrical
power source.
Top Plate
Flip Lock Lever
Closed Cell Foam Grip
Rubber Foot
Locking Nut
1/4-20 + 3/8
Mounting Screw
Wrench
21
Unlock Lock
3 4
3mm Allen Key
6-sided Socket
Wrench Clip
5
OPERATING INSTRUCTIONS & USER NOTICE
 Loading...