


L720/L720D Series
Projector RS232 Command Control
Installation Guide
Table of Contents |
|
Introduction ............................................................................................................................................. |
3 |
Wire arrangement........................................................................................................................................................ |
3 |
RS232 pin assignment .................................................................................................................................................. |
3 |
Connections and communication settings ......................................................................................... |
4 |
RS232 serial port with a crossover cable ............................................................................................................... |
4 |
Settings .................................................................................................................................................................. |
4 |
RS232 via LAN.............................................................................................................................................................. |
6 |
Settings .................................................................................................................................................................. |
6 |
RS232 via HDBaseT..................................................................................................................................................... |
6 |
Settings .................................................................................................................................................................. |
6 |
Command table ....................................................................................................................................... |
8 |
2
Introduction
The document describes how to control your BenQ projector via RS232 from a computer. Follow the procedures to complete the connection and settings first, and refer to the command table for RS232 commands.
Available functions and commands vary by model. Check the specifications and user manual of the purchased projector for product functions.
Wire arrangement
Wire Arrangement
P1 |
Color |
P2 |
1 |
Black |
1 |
|
|
|
2 |
Brown |
3 |
|
|
|
3 |
Red |
2 |
|
|
|
4 |
Orange |
4 |
|
|
|
5 |
Yellow |
5 |
|
|
|
6 |
Green |
6 |
|
|
|
7 |
Blue |
7 |
|
|
|
8 |
Purple |
8 |
|
|
|
9 |
Gray |
9 |
|
|
|
Case |
Drain wire |
Case |
|
|
|
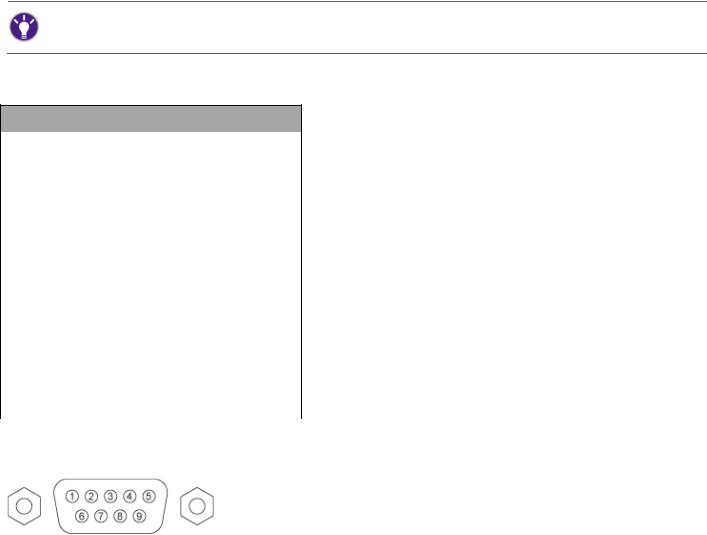
RS232 pin assignment
Pin |
Description |
Pin |
Description |
1 |
NC |
2 |
RXD |
|
|
|
|
3 |
TXD |
4 |
NC |
|
|
|
|
5 |
GND |
6 |
NC |
|
|
|
|
7 |
RTS |
8 |
CTS |
|
|
|
|
9 |
NC |
|
|
|
|
|
|
3
Connections and communication settings
Choose one of the connections and set up properly before RS232 control.
RS232 serial port with a crossover cable
D-Sub 9 pin (male) on a projector
PC or laptop
D-Sub 9 pin (female)
Communication cable (crossover)
Settings
On-screen images in this document are for reference only. The screens may vary depending on your Operating System, I/O ports used for connection, and the specifications of the connected projector.
1.Determine the COM Port name used for the RS232 communications in Device Manager.
4
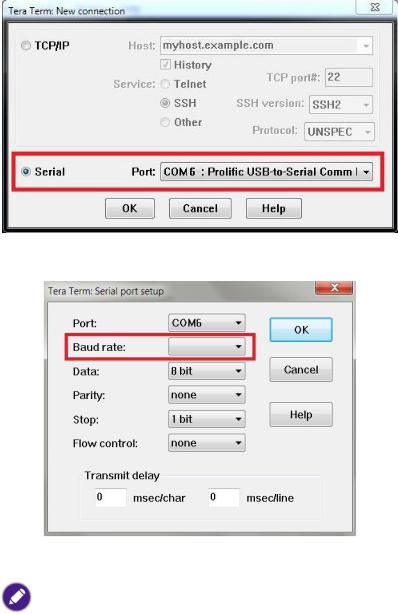
2.Choose Serial and the corresponding COM port as the communication port. In this given example, COM6 is selected.
3.Finish Serial port setup.
Baud rate |
9600 / 14400 / 19200 / 38400 / 57600 / 115200 bps |
|
Check the baud rate of the connected projector from its OSD menu. |
|
|
Data length |
8 bit |
|
|
Parity check |
None |
|
|
Stop bit |
1 bit |
|
|
Flow control |
None |
|
|
5
 Loading...